How to Use speaker: Examples, Pinouts, and Specs
Introduction
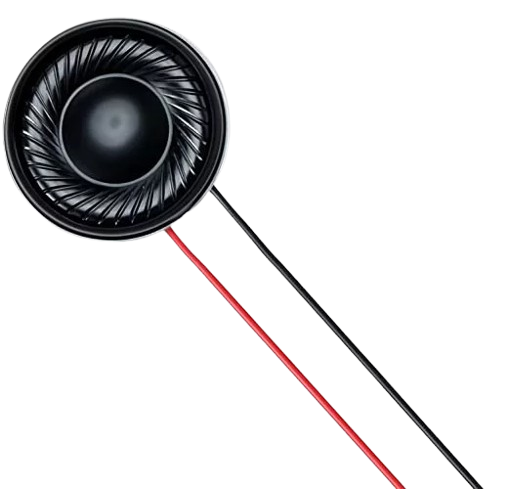
A speaker is an electroacoustic transducer that converts electrical energy into sound waves, allowing audio signals to be heard. It is a fundamental component in audio systems, used to reproduce sound in various devices such as radios, televisions, computers, and public address systems. Speakers come in various sizes and impedance ratings, making them suitable for a wide range of applications.
Explore Projects Built with speaker


Explore Projects Built with speaker
Common Applications and Use Cases
- Audio output in consumer electronics (e.g., smartphones, TVs, and computers)
- Public address systems and loudspeakers
- Home theater and sound systems
- Musical instrument amplifiers
- DIY electronics and hobbyist projects
Technical Specifications
Below are the key technical details for the 8-ohm speaker:
General Specifications
- Manufacturer: Speaker
- Part ID: 8 ohm
- Impedance: 8 ohms
- Power Rating: 0.5W to 5W (typical, depending on the model)
- Frequency Response: 100 Hz to 20 kHz (varies by model)
- Operating Voltage: Typically driven by an audio amplifier
- Size: Varies (commonly 2", 3", or 4" diameter for small projects)
Pin Configuration and Descriptions
Speakers typically have two terminals for electrical connections. These terminals are not polarized, but for consistent audio performance, polarity should be maintained when connecting multiple speakers.
| Pin | Description |
|---|---|
| + | Positive terminal (connect to amplifier output) |
| - | Negative terminal (connect to amplifier ground) |
Usage Instructions
How to Use the Speaker in a Circuit
- Connect to an Audio Amplifier: Speakers require an amplified signal to produce sound. Connect the positive terminal of the speaker to the positive output of the amplifier and the negative terminal to the ground.
- Match Impedance: Ensure the speaker's impedance (8 ohms) matches the amplifier's output impedance for optimal performance.
- Power Handling: Do not exceed the speaker's power rating to avoid damage. For example, if the speaker is rated for 5W, ensure the amplifier does not output more than 5W.
- Mounting: Secure the speaker in an enclosure or mounting bracket to enhance sound quality and protect it from damage.
Important Considerations and Best Practices
- Enclosure Design: Use a properly designed enclosure to improve sound quality and bass response.
- Avoid Overdriving: Overdriving the speaker with excessive power can cause distortion or permanent damage.
- Polarity: When using multiple speakers, maintain consistent polarity to avoid phase cancellation, which can degrade sound quality.
- Testing: Test the speaker with a low-volume signal before full operation to ensure proper connections.
Example: Connecting an 8-Ohm Speaker to an Arduino UNO
To use an 8-ohm speaker with an Arduino UNO, you will need a simple circuit with a transistor to amplify the signal, as the Arduino's GPIO pins cannot directly drive the speaker.
Circuit Diagram
- Connect the speaker's positive terminal to the collector of an NPN transistor (e.g., 2N2222).
- Connect the emitter of the transistor to ground.
- Connect the base of the transistor to an Arduino GPIO pin through a 1kΩ resistor.
- Connect the speaker's negative terminal to the power supply ground.
Arduino Code Example
// Example code to generate a tone on an 8-ohm speaker using Arduino UNO

int speakerPin = 9; // Connect the base of the transistor to pin 9 via a resistor

void setup() {
  pinMode(speakerPin, OUTPUT); // Set the speaker pin as an output
}

void loop() {
  // Generate a 1 kHz tone for 500 ms
  tone(speakerPin, 1000, 500);
  delay(1000); // Wait for 1 second before repeating
}
Note: Use a resistor and transistor to protect the Arduino pin and amplify the signal.
Troubleshooting and FAQs
Common Issues and Solutions
No Sound from the Speaker
- Cause: Loose or incorrect connections.
- Solution: Check all connections and ensure the amplifier is functioning properly.
Distorted Sound
- Cause: Overdriving the speaker or mismatched impedance.
- Solution: Reduce the amplifier's output power or use a speaker with the correct impedance.
Speaker Not Responding to Arduino
- Cause: Insufficient current from the Arduino pin.
- Solution: Use a transistor or external amplifier to drive the speaker.
Low Volume
- Cause: Insufficient power from the amplifier.
- Solution: Use an amplifier with a higher power rating, but within the speaker's limits.
FAQs
Q: Can I connect the speaker directly to the Arduino?
A: No, the Arduino cannot supply enough current to drive the speaker. Use a transistor or amplifier.Q: What happens if I reverse the polarity of the speaker?
A: The speaker will still work, but reversing polarity in multi-speaker setups can cause phase issues and degrade sound quality.Q: Can I use this speaker for high-power applications?
A: No, this speaker is designed for low-power applications. For high-power use, select a speaker with a higher power rating.Q: How do I improve the bass response of the speaker?
A: Use a properly designed enclosure to enhance bass performance.
By following this documentation, you can effectively integrate an 8-ohm speaker into your projects and troubleshoot common issues.