How to Use Thermistor onboard: Examples, Pinouts, and Specs
Introduction
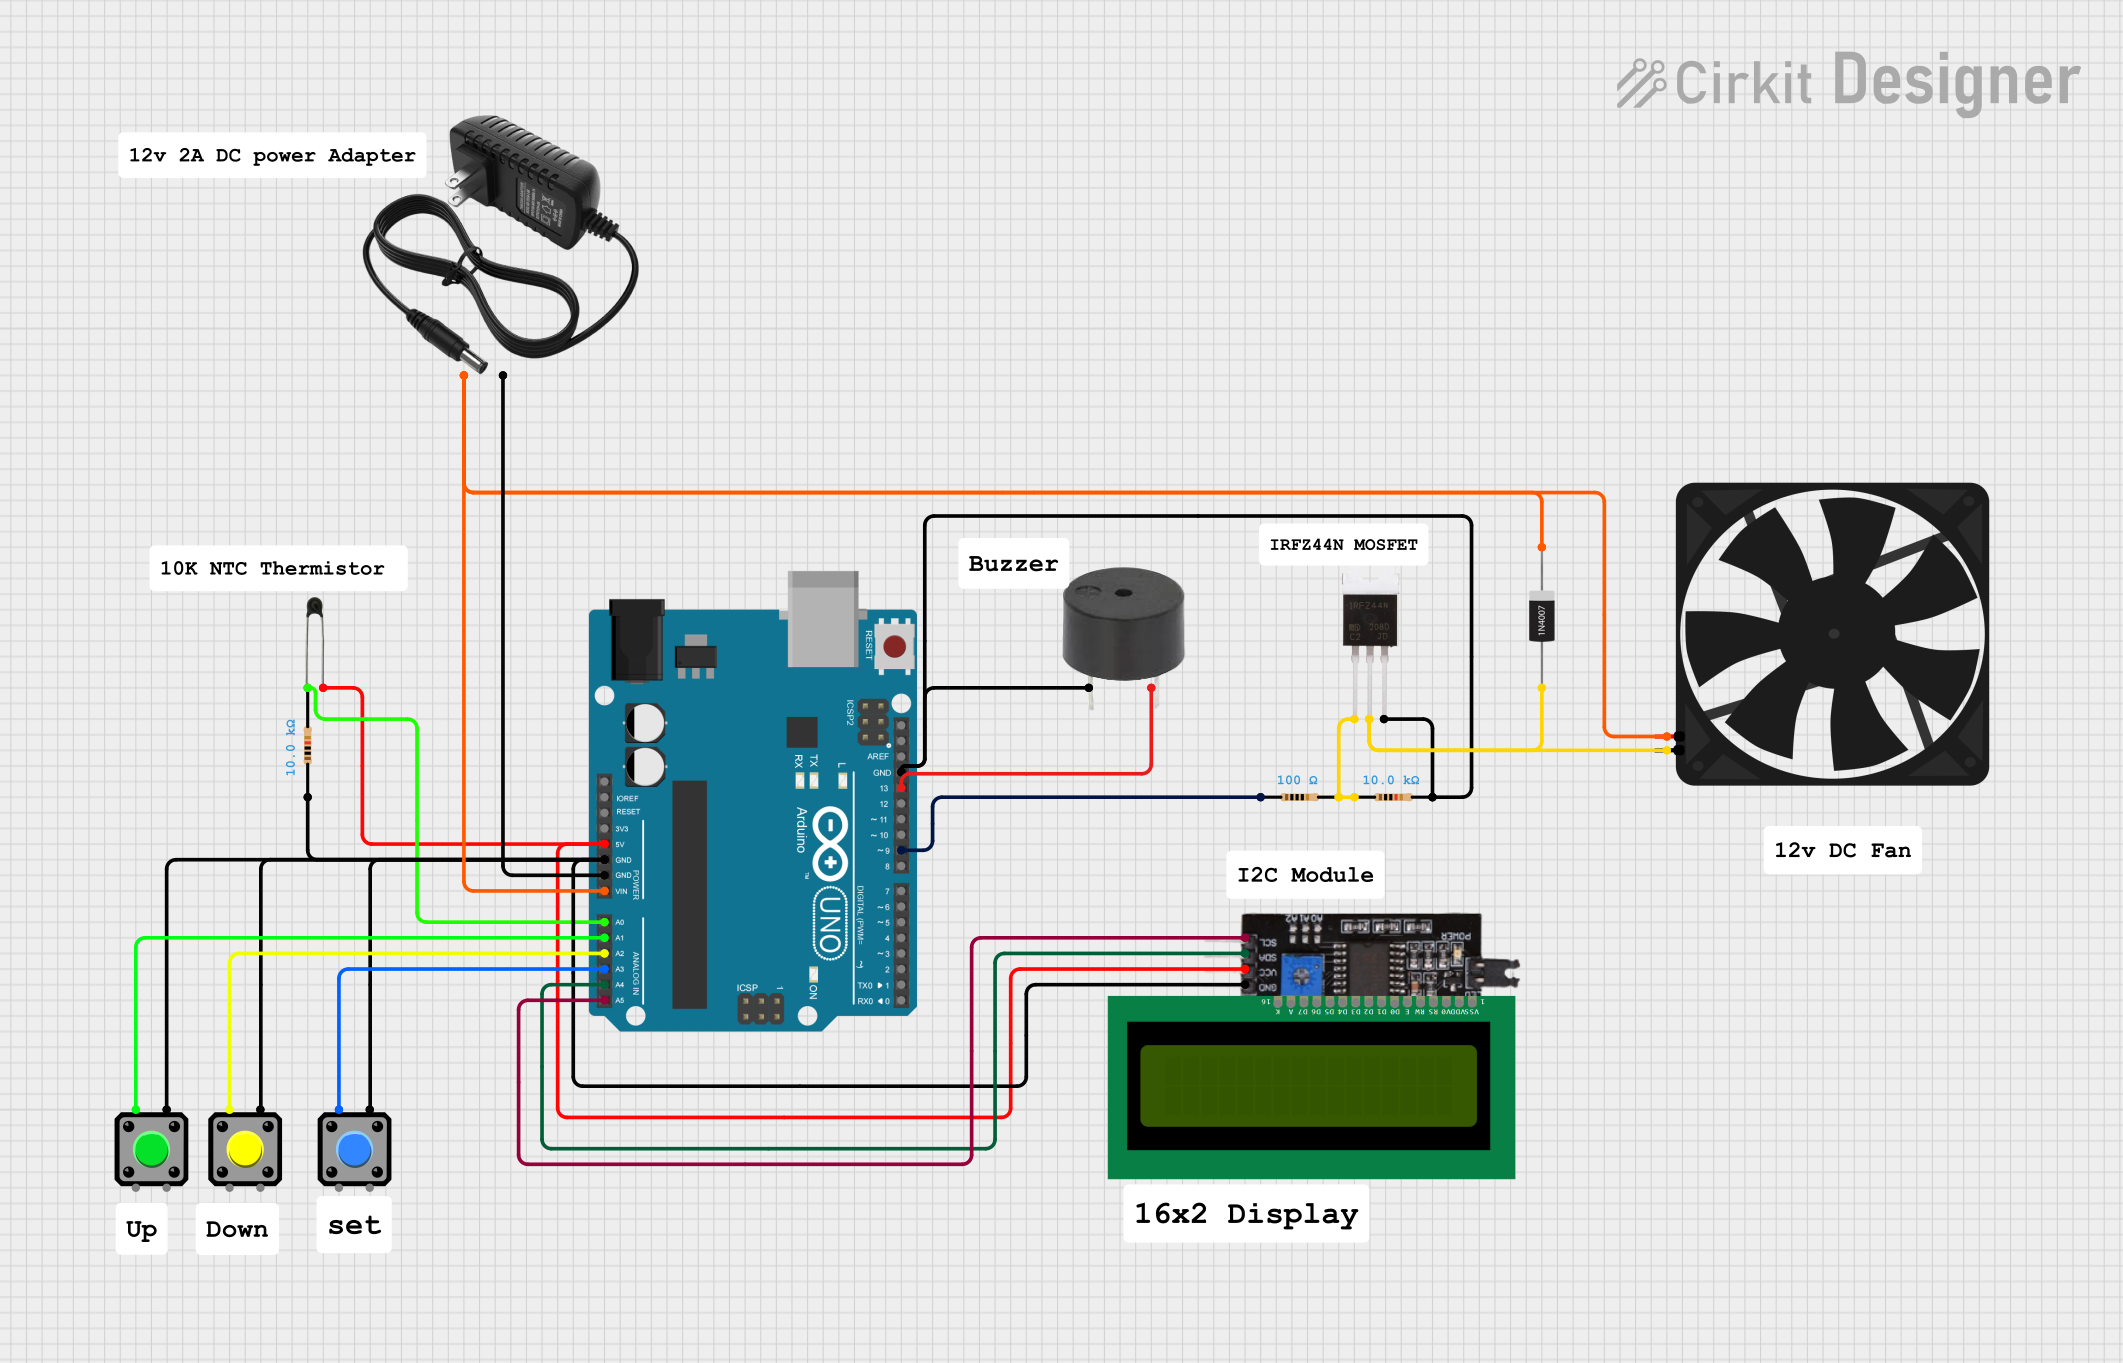
A thermistor is a type of resistor whose resistance varies significantly with temperature. This property makes it an essential component for temperature sensing and control in electronic circuits. Thermistors are widely used in applications such as HVAC systems, battery management, home appliances, and industrial temperature monitoring. The "onboard" thermistor refers to a thermistor integrated into a module or circuit board, making it easier to interface with microcontrollers and other systems.
Explore Projects Built with Thermistor onboard
Explore Projects Built with Thermistor onboard
Technical Specifications
- Type: Negative Temperature Coefficient (NTC) or Positive Temperature Coefficient (PTC)
- Operating Temperature Range: -40°C to 125°C (typical, varies by model)
- Resistance at 25°C (R25): Common values include 10 kΩ, 100 kΩ, etc.
- Accuracy: ±1% to ±5% (depending on the model)
- Power Rating: 0.1 W to 0.5 W
- Response Time: Typically 1 to 10 seconds
- Interface: Analog output (voltage divider configuration)
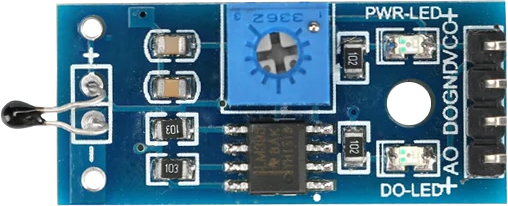
Pin Configuration and Descriptions
The thermistor onboard module typically has three pins:
| Pin | Name | Description |
|---|---|---|
| 1 | VCC | Power supply input (commonly 3.3V or 5V, depending on the module specifications) |
| 2 | GND | Ground connection |
| 3 | Signal (OUT) | Analog output voltage proportional to the temperature |
Usage Instructions
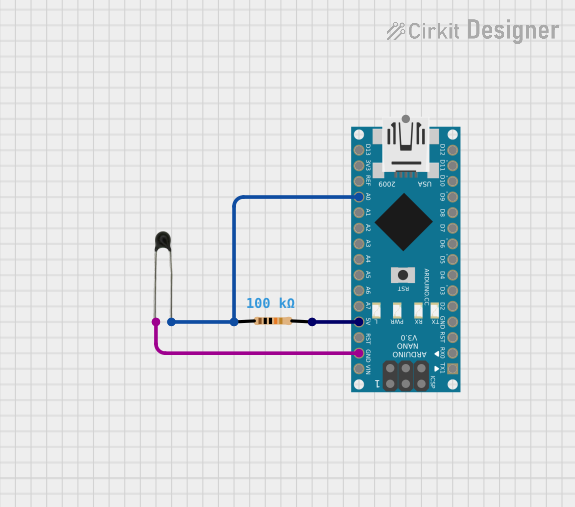
How to Use the Thermistor Onboard in a Circuit
- Power the Module: Connect the VCC pin to a 3.3V or 5V power source and the GND pin to the ground.
- Read the Signal: Connect the Signal (OUT) pin to an analog input pin of a microcontroller (e.g., Arduino UNO).
- Voltage Divider: The onboard thermistor is typically part of a voltage divider circuit. The output voltage changes with temperature, which can be read and converted to a temperature value using a microcontroller.
Important Considerations and Best Practices
- Calibration: Thermistors require calibration to ensure accurate temperature readings. Use the Steinhart-Hart equation or a lookup table for precise calculations.
- Power Supply: Ensure the module is powered with the correct voltage (3.3V or 5V) to avoid damage.
- Placement: Place the thermistor in an area where it can accurately sense the desired temperature without interference from external heat sources.
- Pull-up Resistor: If the thermistor is not part of a module, use an appropriate pull-up resistor in the voltage divider circuit.
Example: Using the Thermistor Onboard with Arduino UNO
Below is an example code to read temperature data from the thermistor onboard module:
// Define the analog pin connected to the thermistor module
const int thermistorPin = A0;

// Define the reference resistance and temperature constants
const float referenceResistance = 10000.0; // 10kΩ at 25°C
const float nominalTemperature = 25.0;    // Nominal temperature in °C
const float betaCoefficient = 3950.0;     // Beta coefficient of the thermistor
const float seriesResistor = 10000.0;     // Series resistor value in the voltage divider

void setup() {
  Serial.begin(9600); // Initialize serial communication
}

void loop() {
  int analogValue = analogRead(thermistorPin); // Read the analog value
  float voltage = analogValue * (5.0 / 1023.0); // Convert to voltage
  float resistance = (seriesResistor * (5.0 - voltage)) / voltage; // Calculate resistance

  // Calculate temperature using the Steinhart-Hart equation
  float steinhart;
  steinhart = resistance / referenceResistance; // (R/Ro)
  steinhart = log(steinhart);                   // ln(R/Ro)
  steinhart /= betaCoefficient;                 // 1/B * ln(R/Ro)
  steinhart += 1.0 / (nominalTemperature + 273.15); // + (1/To)
  steinhart = 1.0 / steinhart;                  // Invert
  steinhart -= 273.15;                          // Convert to Celsius

  // Print the temperature to the Serial Monitor
  Serial.print("Temperature: ");
  Serial.print(steinhart);
  Serial.println(" °C");

  delay(1000); // Wait for 1 second before the next reading
}
Notes:
- Replace
referenceResistance,betaCoefficient, andseriesResistorvalues with those specific to your thermistor module. - Ensure the Arduino UNO is powered correctly and connected to the thermistor module.
Troubleshooting and FAQs
Common Issues
Incorrect Temperature Readings:
- Cause: Incorrect calibration or wrong resistance values.
- Solution: Verify the thermistor's specifications and update the code with accurate parameters.
No Output Signal:
- Cause: Loose connections or incorrect wiring.
- Solution: Double-check all connections and ensure the module is powered correctly.
Fluctuating Readings:
- Cause: Electrical noise or unstable power supply.
- Solution: Use decoupling capacitors near the power pins and ensure a stable power source.
Overheating:
- Cause: Exceeding the power rating of the thermistor.
- Solution: Ensure the thermistor operates within its specified power and temperature range.
FAQs
Can I use the thermistor onboard module with a 3.3V microcontroller?
- Yes, most modules are compatible with both 3.3V and 5V systems. Check the module's datasheet for confirmation.
How do I improve the accuracy of temperature readings?
- Use precise calibration methods, such as the Steinhart-Hart equation, and ensure the thermistor is placed in a stable environment.
What is the difference between NTC and PTC thermistors?
- NTC thermistors decrease in resistance as temperature increases, while PTC thermistors increase in resistance as temperature increases.
Can I use the thermistor onboard module for high-temperature applications?
- Check the module's operating temperature range. For high-temperature applications, use a thermistor rated for those conditions.
By following this documentation, you can effectively integrate and troubleshoot the thermistor onboard module in your projects.