
How to Use ESP32 WLED Digital LED Controller: Examples, Pinouts, and Specs
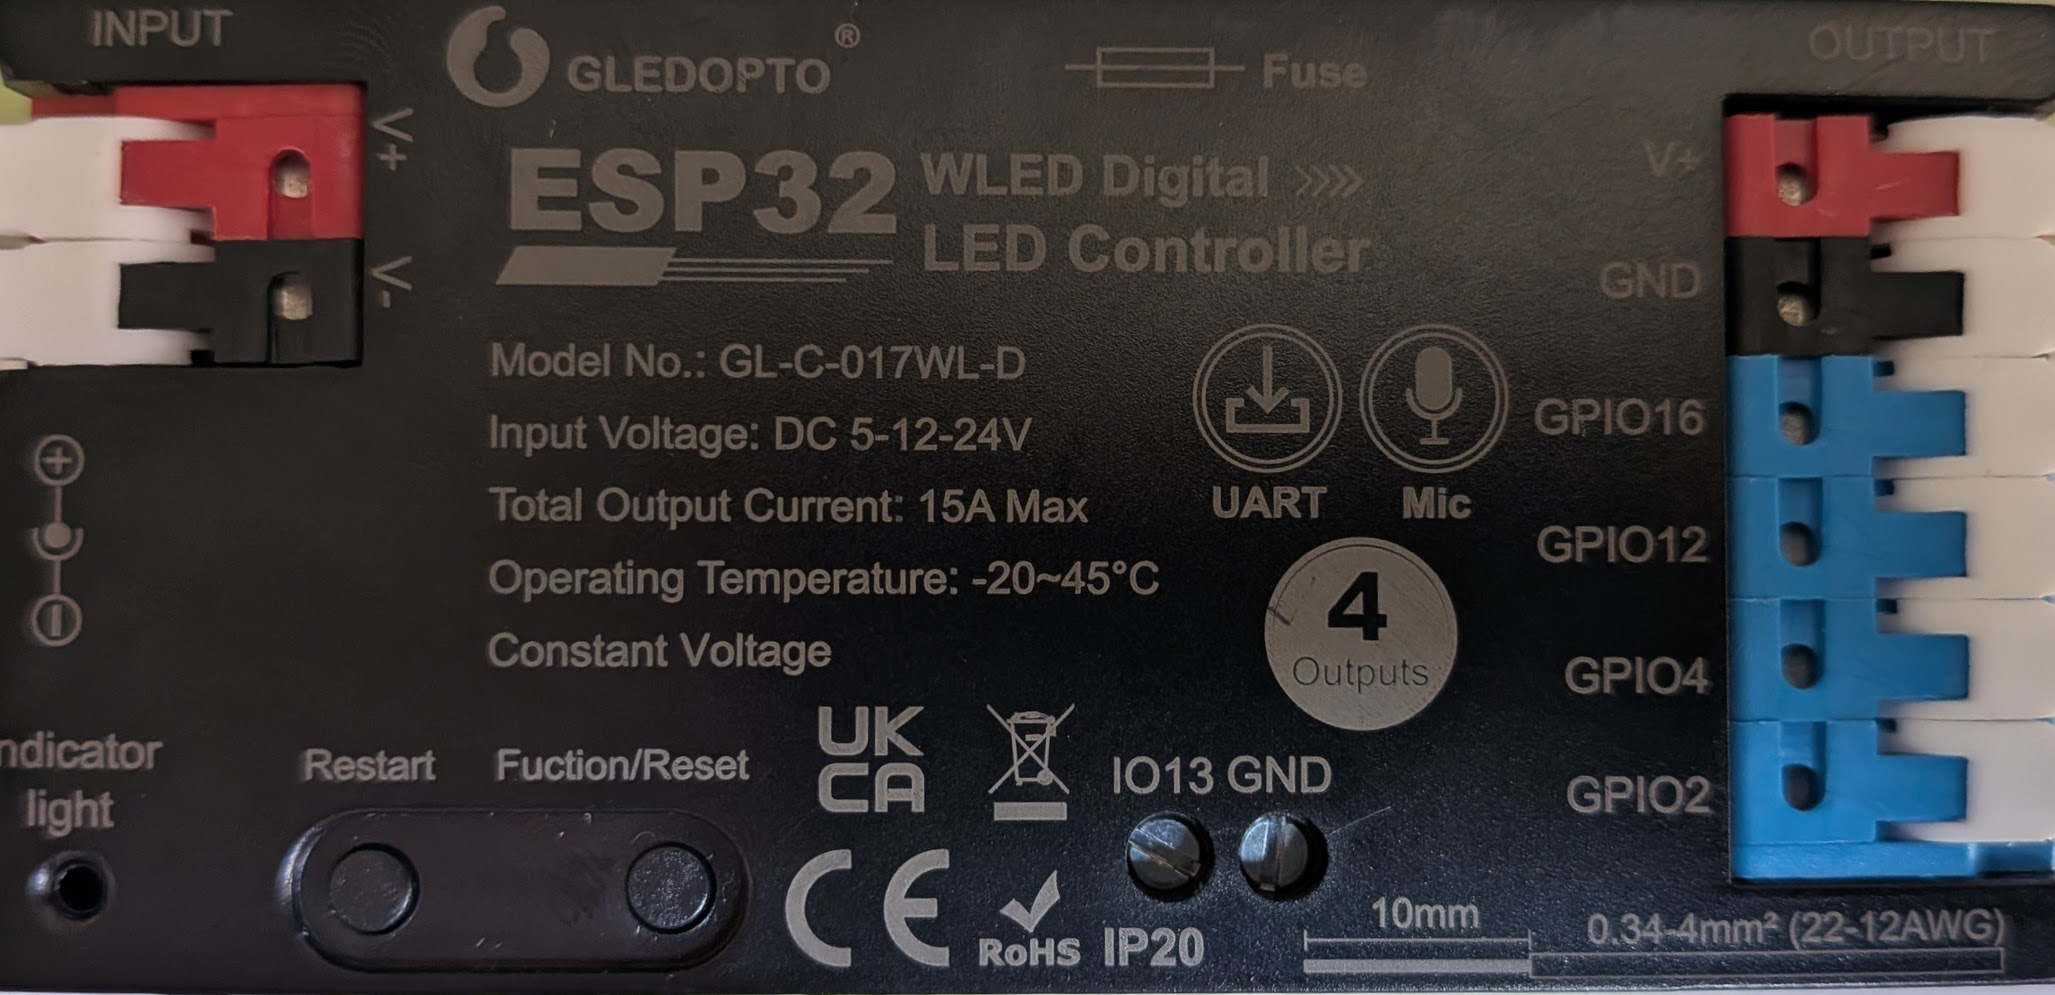
 Design with ESP32 WLED Digital LED Controller in Cirkit Designer
Introduction
The ESP32 WLED Digital LED Controller (Manufacturer Part ID: GL-C-017WL-D) by Gledopto is a versatile microcontroller board designed for controlling digital LED strips and creating dynamic lighting effects. It integrates Wi-Fi and Bluetooth capabilities, making it ideal for smart lighting applications. Preloaded with the WLED firmware, this controller simplifies the process of managing addressable LEDs, enabling users to create stunning lighting displays with minimal effort.
Explore Projects Built with ESP32 WLED Digital LED Controller
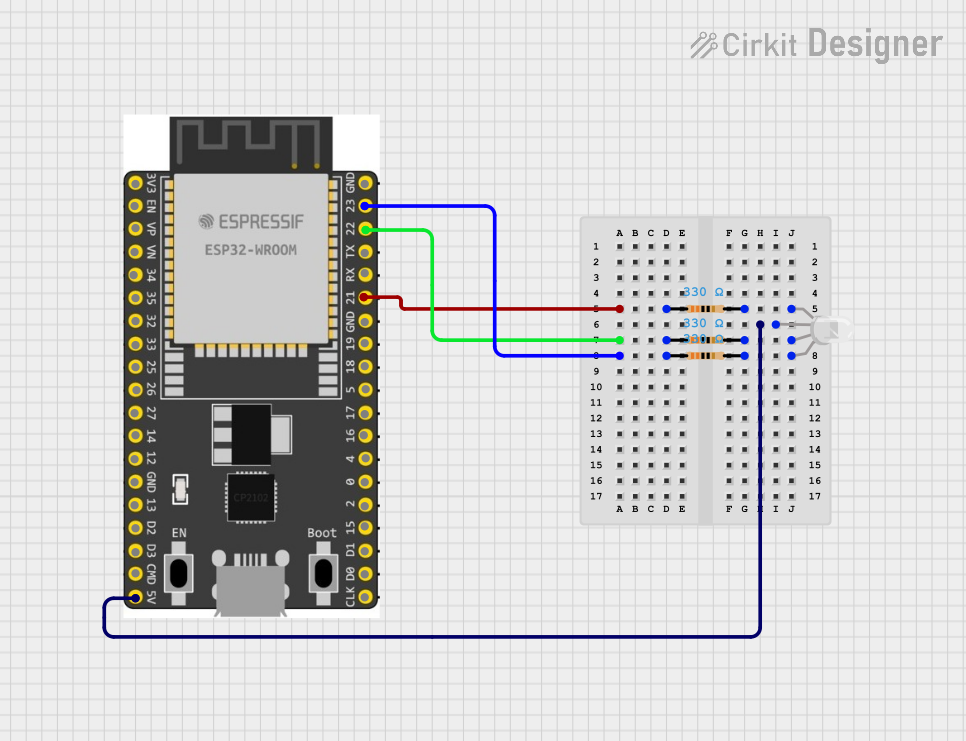 Open Project in Cirkit Designer
 Open Project in Cirkit Designer
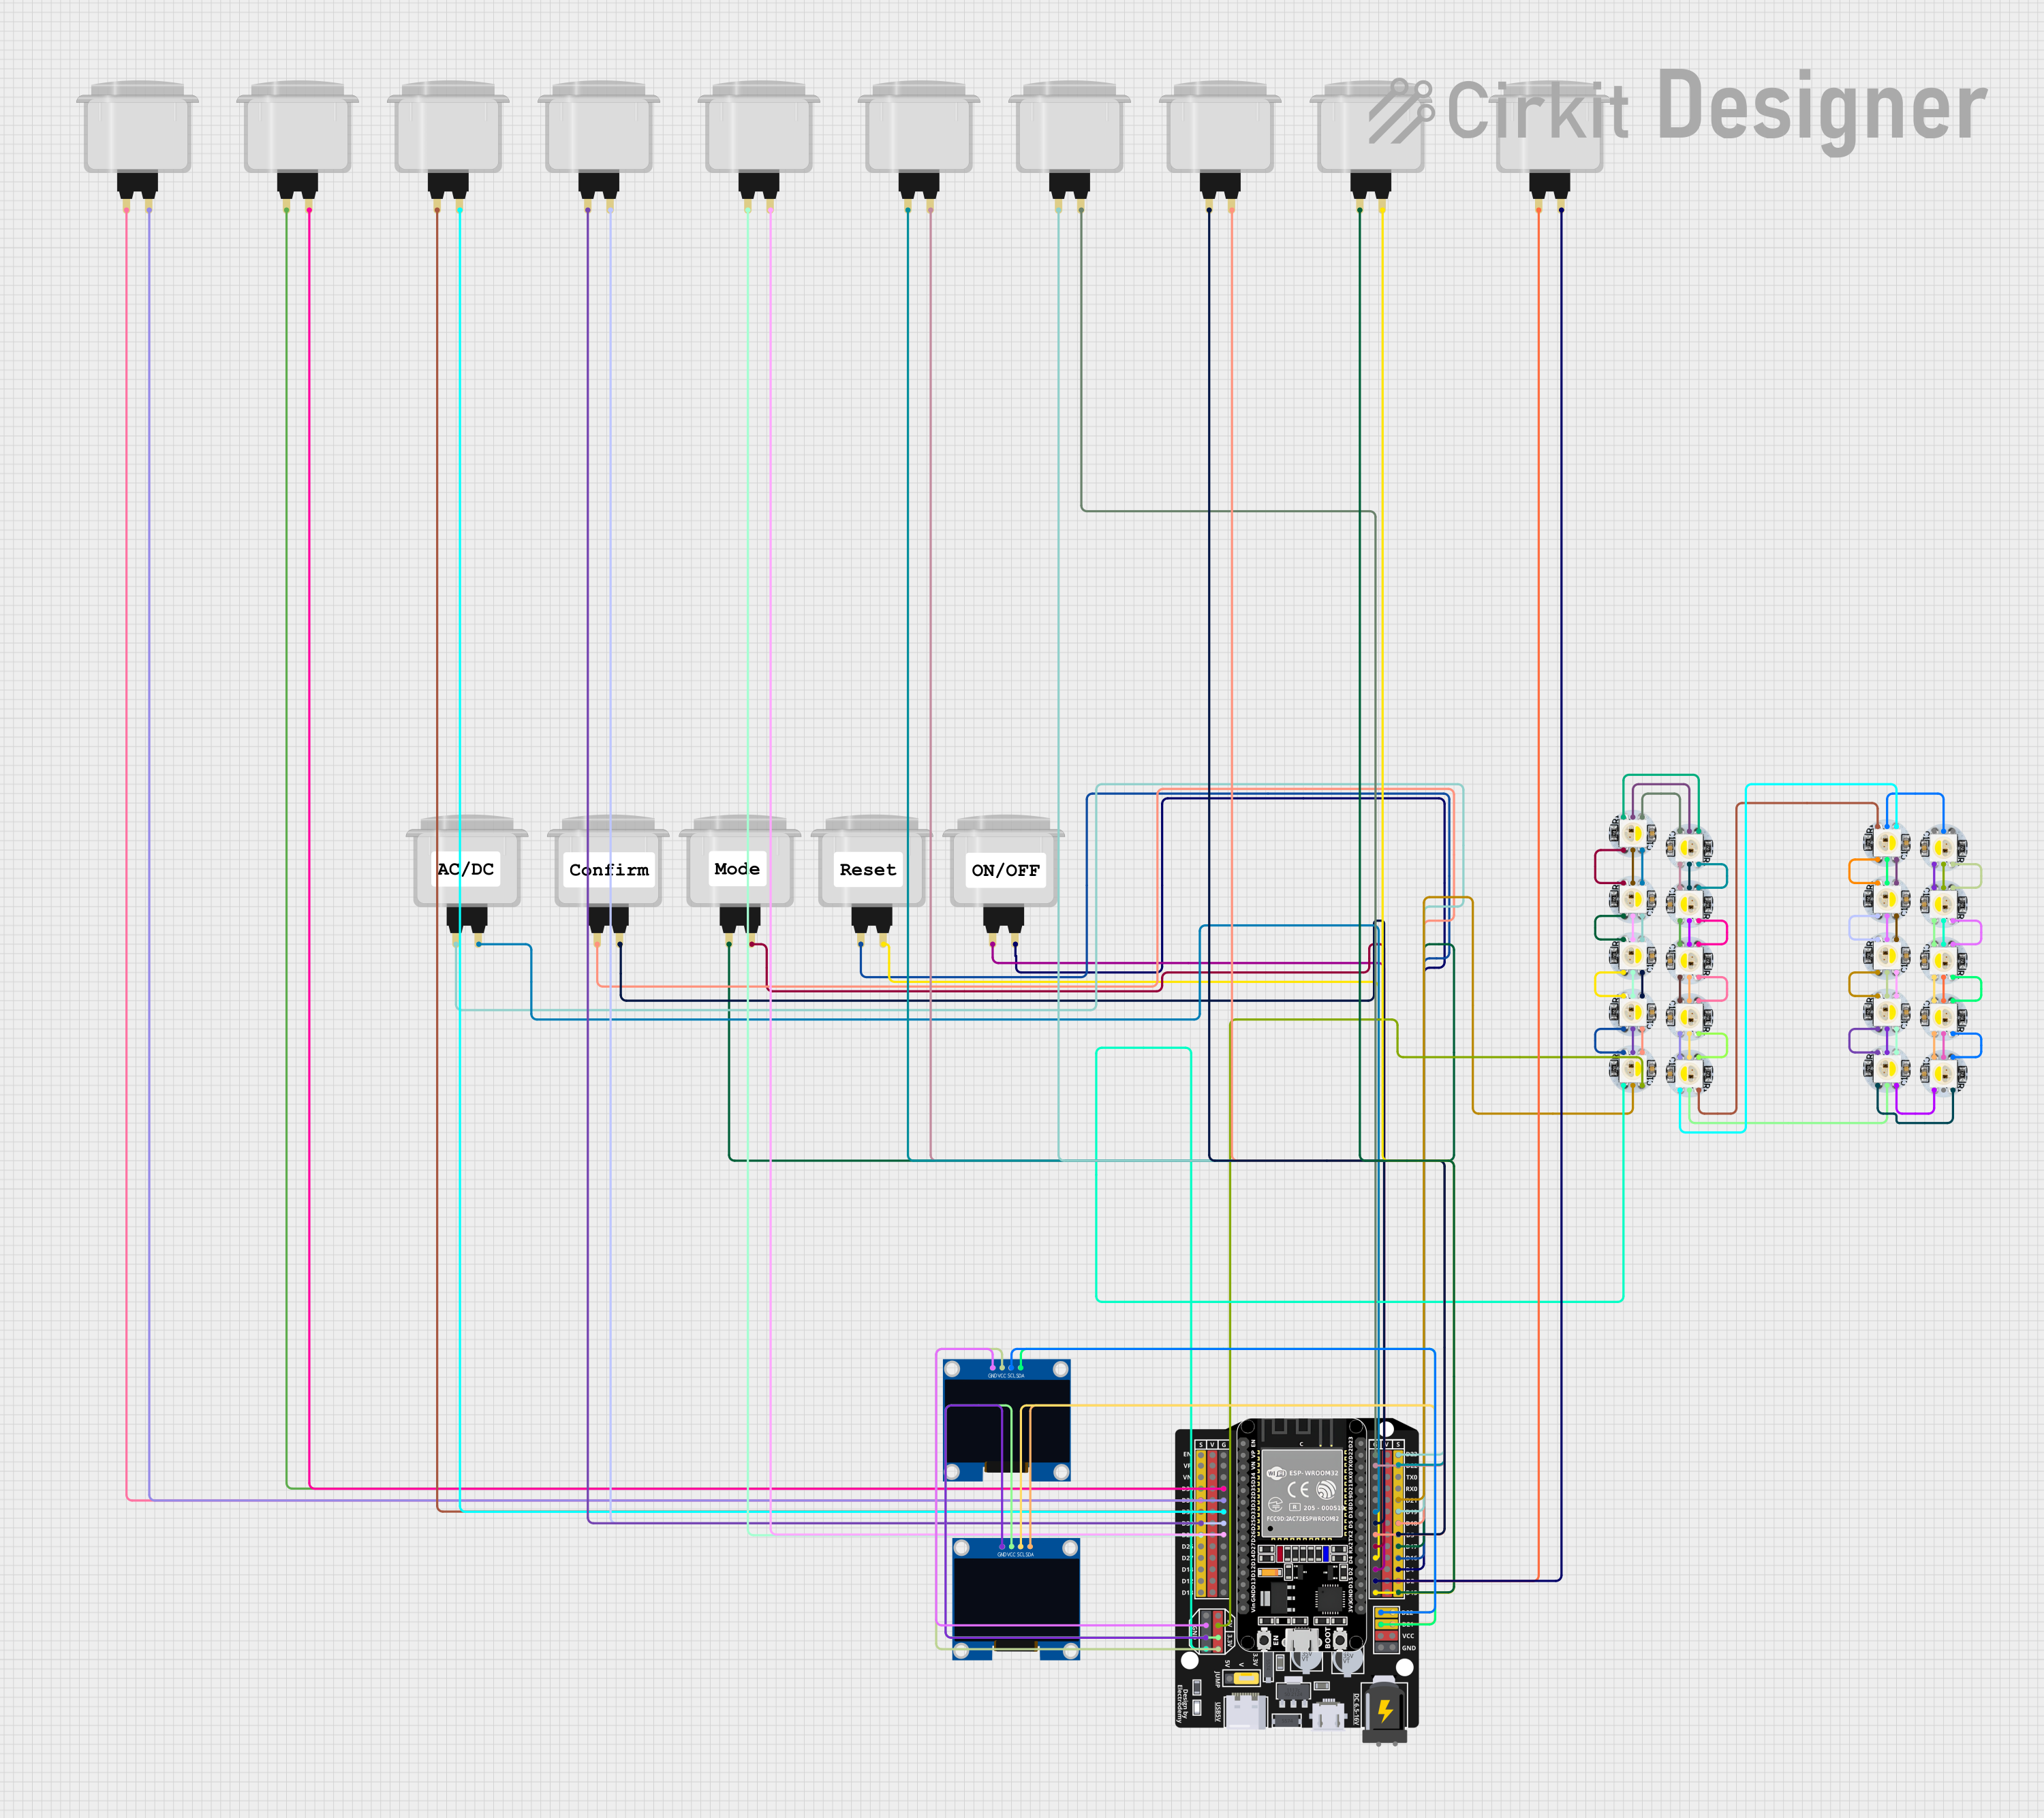 Open Project in Cirkit Designer
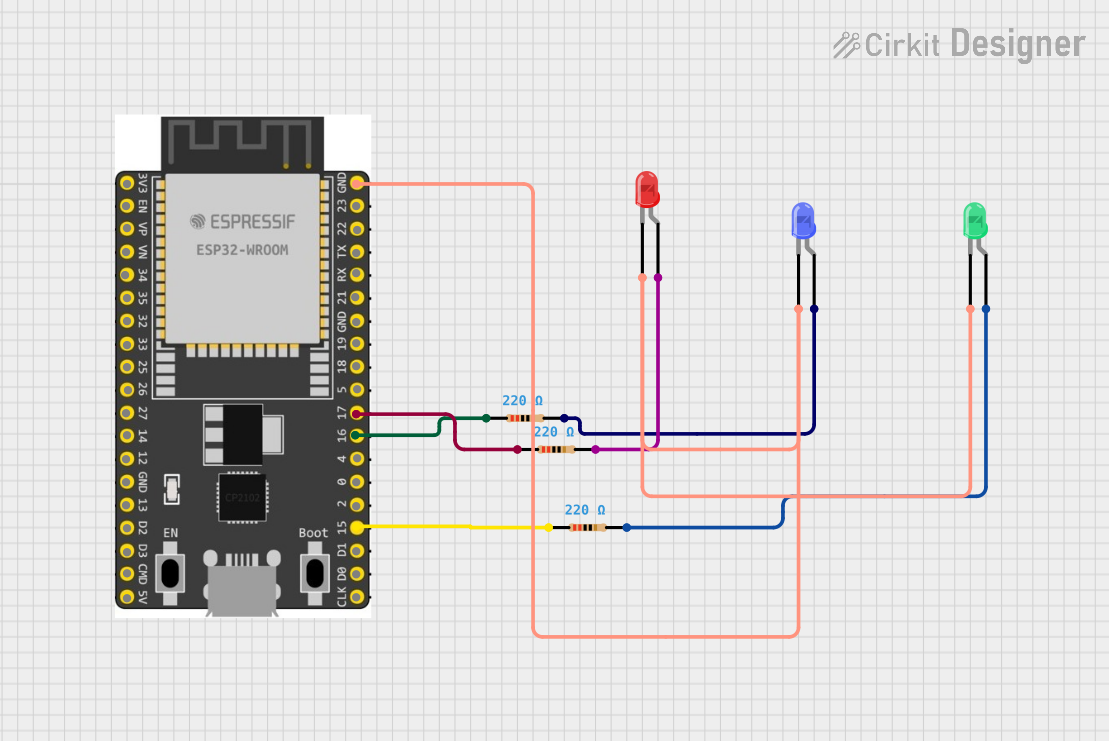 Open Project in Cirkit Designer
Explore Projects Built with ESP32 WLED Digital LED Controller
Open Project in Cirkit DesignerOpen Project in Cirkit DesignerOpen Project in Cirkit DesignerOpen Project in Cirkit DesignerCommon Applications and Use Cases
- Smart home lighting systems
- Decorative lighting for events and holidays
- Ambient lighting for gaming setups and home theaters
- Architectural lighting installations
- IoT-based lighting automation
Technical Specifications
Key Technical Details
| Parameter | Specification |
|---|---|
| Microcontroller | ESP32 |
| Wireless Connectivity | Wi-Fi 802.11 b/g/n, Bluetooth 4.2 |
| Input Voltage | 5V DC (via USB) or 3.3V (via GPIO) |
| Power Consumption | ~240 mA (idle), varies with LED load |
| Supported LED Protocols | WS2812, WS2811, SK6812, APA102, etc. |
| Maximum LEDs Supported | Up to 1000 LEDs (depending on power) |
| Firmware | Preloaded with WLED |
| Operating Temperature | -20°C to 60°C |
| Dimensions | 58mm x 25mm x 8mm |
Pin Configuration and Descriptions
| Pin Name | Pin Number | Description |
|---|---|---|
| VIN | 1 | Power input (5V DC) |
| GND | 2 | Ground |
| GPIO2 | 3 | Default data pin for LED signal output |
| GPIO0 | 4 | Used for firmware flashing (BOOT mode) |
| RX | 5 | UART Receive |
| TX | 6 | UART Transmit |
| 3V3 | 7 | 3.3V power output |
| EN | 8 | Enable pin for the ESP32 |
Usage Instructions
How to Use the Component in a Circuit
Powering the ESP32 WLED Controller:
- Connect a 5V DC power source to the VIN pin or use a USB cable.
- Ensure the GND pin is connected to the ground of your power supply.
Connecting Digital LED Strips:
- Connect the data pin of your LED strip to GPIO2 (default data pin).
- Connect the LED strip's power and ground to the same power source as the ESP32.
Accessing the WLED Interface:
- Power on the ESP32. It will create a Wi-Fi access point (default SSID:
WLED-AP). - Connect to the Wi-Fi network and navigate to
http://4.3.2.1in your browser. - Configure your home Wi-Fi credentials and LED settings via the WLED web interface.
- Power on the ESP32. It will create a Wi-Fi access point (default SSID:
Optional: Flashing New Firmware:
- Hold GPIO0 low while powering on the ESP32 to enter BOOT mode.
- Use a USB-to-serial adapter and flashing software (e.g., esptool.py) to upload new firmware.
Important Considerations and Best Practices
- Power Supply: Ensure your power supply can handle the current requirements of your LED strip. For large installations, use a separate power supply for the LEDs.
- Signal Integrity: For long LED strips, use a level shifter to boost the data signal from 3.3V to 5V.
- Heat Management: Avoid overheating by providing adequate ventilation for the ESP32 and LED strip.
- Firmware Updates: Regularly update the WLED firmware to access new features and bug fixes.
Example Code for Arduino UNO Integration
Although the ESP32 is standalone, it can communicate with an Arduino UNO for advanced projects. Below is an example of sending commands from an Arduino UNO to the ESP32 via UART:
#include <SoftwareSerial.h>

// Define RX and TX pins for communication with ESP32
SoftwareSerial esp32Serial(10, 11); // RX = pin 10, TX = pin 11

void setup() {
  Serial.begin(9600); // Initialize serial monitor
  esp32Serial.begin(115200); // Initialize ESP32 communication

  // Send a test command to the ESP32
  esp32Serial.println("Hello ESP32!");
  Serial.println("Command sent to ESP32.");
}

void loop() {
  // Check if ESP32 has sent any data
  if (esp32Serial.available()) {
    String response = esp32Serial.readString();
    Serial.println("Response from ESP32: " + response);
  }
}
Troubleshooting and FAQs
Common Issues and Solutions
ESP32 Not Powering On:
- Verify the power supply voltage and current ratings.
- Check the USB cable or VIN pin connections.
LEDs Not Lighting Up:
- Ensure the data pin is correctly connected to GPIO2.
- Verify the LED strip's power and ground connections.
- Check the WLED configuration for the correct LED protocol.
Cannot Access WLED Web Interface:
- Ensure the ESP32 is powered on and broadcasting the Wi-Fi network.
- Reset the ESP32 by holding the EN pin low for 2 seconds.
Flickering LEDs:
- Use a capacitor (e.g., 1000 µF) across the LED strip's power and ground.
- Add a resistor (e.g., 330 Ω) in series with the data line to reduce noise.
FAQs
Q: Can I control the ESP32 WLED Controller via a smartphone?
A: Yes, you can use the WLED app (available on iOS and Android) to control the lighting effects.
Q: How many LEDs can I control with this board?
A: The ESP32 can control up to 1000 LEDs, but the actual number depends on your power supply and data signal quality.
Q: Can I use this controller with non-addressable LEDs?
A: No, the ESP32 WLED Controller is designed specifically for addressable LEDs like WS2812 and APA102.
Q: How do I reset the ESP32 to factory settings?
A: Hold the EN pin low for 10 seconds, then release it. This will reset the WLED configuration.
By following this documentation, you can effectively use the ESP32 WLED Digital LED Controller for your lighting projects.