
How to Use Screen: Examples, Pinouts, and Specs
 Design with Screen in Cirkit Designer
Introduction
A screen is a display device that visually presents information, images, or video output from a computer or electronic device. Screens are essential components in modern electronics, enabling users to interact with devices through graphical interfaces. They come in various types, such as LCD, OLED, and TFT, each suited for specific applications.
Common applications and use cases include:
- Displaying user interfaces in embedded systems
- Visual output for computers, smartphones, and tablets
- Monitoring and control panels in industrial systems
- Gaming consoles and entertainment systems
- Digital signage and advertising displays
Explore Projects Built with Screen
 Open Project in Cirkit Designer
 Open Project in Cirkit Designer
 Open Project in Cirkit Designer
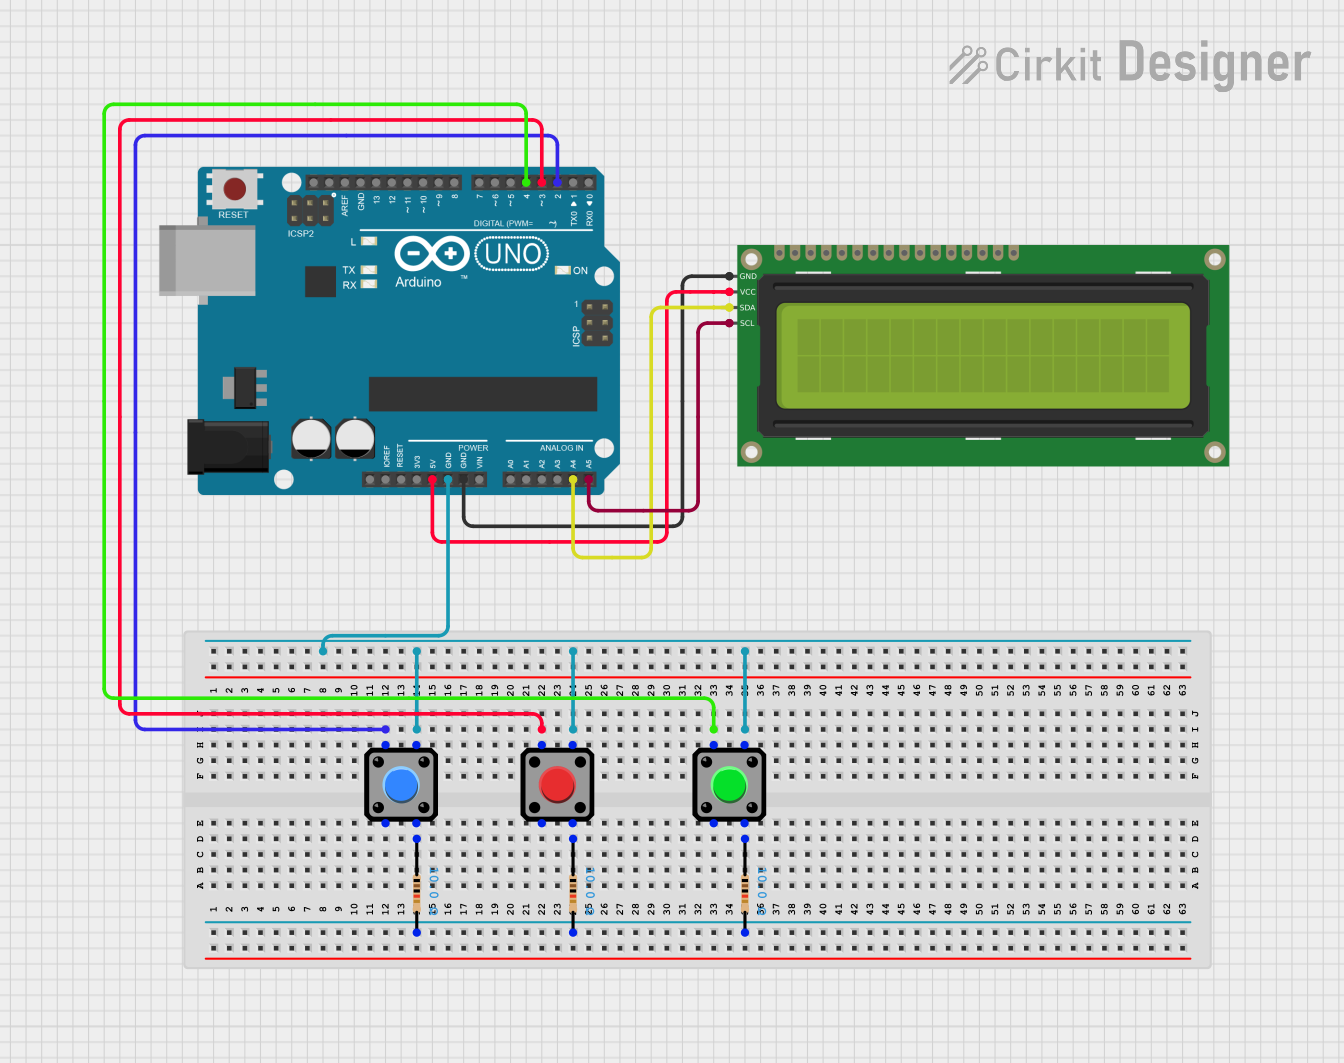 Open Project in Cirkit Designer
Explore Projects Built with Screen
Open Project in Cirkit DesignerOpen Project in Cirkit DesignerOpen Project in Cirkit DesignerOpen Project in Cirkit DesignerTechnical Specifications
The technical specifications of a screen can vary depending on its type and intended use. Below are general specifications for a typical LCD or OLED screen module used in electronics projects:
General Specifications
| Parameter | Value |
|---|---|
| Display Type | LCD, OLED, or TFT |
| Resolution | 128x64, 160x128, or higher |
| Operating Voltage | 3.3V or 5V |
| Communication Protocol | SPI, I2C, or Parallel |
| Backlight | LED (adjustable brightness) |
| Viewing Angle | 120° (typical) |
| Operating Temperature | -20°C to 70°C |
Pin Configuration (Example: 128x64 OLED Screen)
| Pin Name | Description |
|---|---|
| VCC | Power supply (3.3V or 5V) |
| GND | Ground |
| SCL | Serial Clock (I2C) or SPI Clock |
| SDA | Serial Data (I2C) or SPI Data Input |
| RES | Reset pin (resets the display module) |
| DC | Data/Command control (used in SPI mode) |
| CS | Chip Select (used in SPI mode) |
Usage Instructions
To use a screen in a circuit, follow these steps:
- Power the Screen: Connect the VCC pin to a 3.3V or 5V power source (as specified by the screen) and the GND pin to the ground of your circuit.
- Connect Communication Pins: Depending on the communication protocol (I2C or SPI), connect the appropriate pins (e.g., SCL and SDA for I2C, or SCL, SDA, DC, and CS for SPI) to your microcontroller.
- Install Required Libraries: For Arduino, install libraries such as
Adafruit_GFXandAdafruit_SSD1306for OLED screens or other libraries specific to your screen type. - Write Code: Use the library functions to initialize the screen and display text, images, or graphics.
Example Code for Arduino UNO (128x64 OLED Screen)
#include <Wire.h>
#include <Adafruit_GFX.h>
#include <Adafruit_SSD1306.h>

// Define screen dimensions
#define SCREEN_WIDTH 128
#define SCREEN_HEIGHT 64

// Create an instance of the display object
Adafruit_SSD1306 display(SCREEN_WIDTH, SCREEN_HEIGHT, &Wire, -1);

void setup() {
  // Initialize the display
  if (!display.begin(SSD1306_I2C_ADDRESS, 0x3C)) {
    // Check if the display is connected
    Serial.println(F("SSD1306 allocation failed"));
    for (;;); // Halt execution if initialization fails
  }

  // Clear the display buffer
  display.clearDisplay();

  // Display a message
  display.setTextSize(1); // Set text size
  display.setTextColor(SSD1306_WHITE); // Set text color
  display.setCursor(0, 0); // Set cursor position
  display.println(F("Hello, World!")); // Print text
  display.display(); // Update the display with the buffer
}

void loop() {
  // Add code here for dynamic updates if needed
}
Important Considerations and Best Practices
- Voltage Compatibility: Ensure the screen's operating voltage matches your microcontroller's output voltage.
- Library Compatibility: Use libraries compatible with your screen's driver (e.g., SSD1306 for OLED screens).
- Avoid Static Images: Prolonged display of static images can cause burn-in on OLED screens.
- Backlight Control: For screens with backlights, use a PWM pin to adjust brightness and save power.
Troubleshooting and FAQs
Common Issues
Screen Not Powering On:
- Check the power connections (VCC and GND).
- Verify the power supply voltage matches the screen's requirements.
No Display Output:
- Ensure the communication pins (SCL, SDA, etc.) are correctly connected.
- Verify the screen's I2C or SPI address in the code.
Distorted or Flickering Display:
- Check for loose connections or poor soldering.
- Ensure the microcontroller's clock speed is compatible with the screen.
Library Errors:
- Confirm that the correct library is installed and included in the code.
- Update the library to the latest version if issues persist.
FAQs
Q: Can I use a 5V screen with a 3.3V microcontroller?
A: Use a level shifter to safely interface a 5V screen with a 3.3V microcontroller.
Q: How do I find the I2C address of my screen?
A: Use an I2C scanner sketch to detect the screen's address.
Q: Can I connect multiple screens to one microcontroller?
A: Yes, for I2C screens, ensure each screen has a unique address. For SPI screens, use separate Chip Select (CS) pins.
By following this documentation, you can effectively integrate a screen into your electronic projects and troubleshoot common issues.