How to Use AC source: Examples, Pinouts, and Specs
Introduction
An AC source is an electronic component or device that provides alternating current (AC), a type of electrical current that periodically reverses direction. AC sources are widely used in power distribution systems, household electrical outlets, and various electronic devices. They are essential for powering appliances, industrial equipment, and other systems that require alternating current.
Explore Projects Built with AC source

Explore Projects Built with AC source
Common Applications and Use Cases
- Powering household appliances (e.g., refrigerators, televisions, and air conditioners)
- Supplying power to industrial machinery and equipment
- Testing and calibrating electronic circuits in laboratories
- Driving AC motors in HVAC systems
- Providing power to lighting systems and other electrical infrastructure
Technical Specifications
The specifications of an AC source can vary depending on its design and intended application. Below are the general technical details:
| Parameter | Specification |
|---|---|
| Voltage Range | 110V to 240V (common household range) |
| Frequency Range | 50Hz or 60Hz (depending on region) |
| Output Waveform | Sine wave (standard), square wave, or custom |
| Power Rating | Varies (e.g., 100W to several kW) |
| Phase Configuration | Single-phase or three-phase |
| Regulation Accuracy | ±1% to ±5% (for regulated AC sources) |
| Output Connections | Terminals, plugs, or sockets |
Pin Configuration and Descriptions
For an AC source with a standard three-pin output (e.g., a power outlet), the pin configuration is as follows:
| Pin | Name | Description |
|---|---|---|
| 1 | Live (L) | Carries the active current; connected to the power source. |
| 2 | Neutral (N) | Completes the circuit; returns current to the source. |
| 3 | Ground (G) | Provides safety by grounding excess current. |
For laboratory AC sources with terminal outputs, the configuration may include:
- Positive Terminal (+): Supplies the live AC voltage.
- Negative Terminal (-): Completes the circuit.
- Ground Terminal (GND): Provides a safety ground connection.
Usage Instructions
How to Use the Component in a Circuit
Connect the AC Source:
- Ensure the AC source is compatible with the voltage and frequency requirements of your circuit or device.
- For standard power outlets, use a compatible plug or adapter.
- For laboratory AC sources, connect the terminals to the circuit using appropriate wires.
Verify Connections:
- Double-check that the live, neutral, and ground connections are correctly wired.
- Use a multimeter to confirm the output voltage and frequency before powering the circuit.
Power On the AC Source:
- Turn on the AC source and monitor the output to ensure it is stable.
- If using a variable AC source, adjust the voltage and frequency as needed.
Integrate with Other Components:
- If connecting to an Arduino UNO or other microcontroller, use a step-down transformer or AC-to-DC converter to safely interface with low-voltage components.
Important Considerations and Best Practices
- Safety First: Always handle AC sources with care, as they can deliver potentially lethal voltages.
- Use Proper Insulation: Ensure all connections are insulated to prevent accidental contact.
- Avoid Overloading: Do not exceed the power rating of the AC source, as this can cause overheating or damage.
- Use Grounding: Always connect the ground terminal to a proper earth ground for safety.
- Test Before Use: Verify the output voltage and frequency with a multimeter or oscilloscope before connecting to sensitive equipment.
Example: Using an AC Source with an Arduino UNO
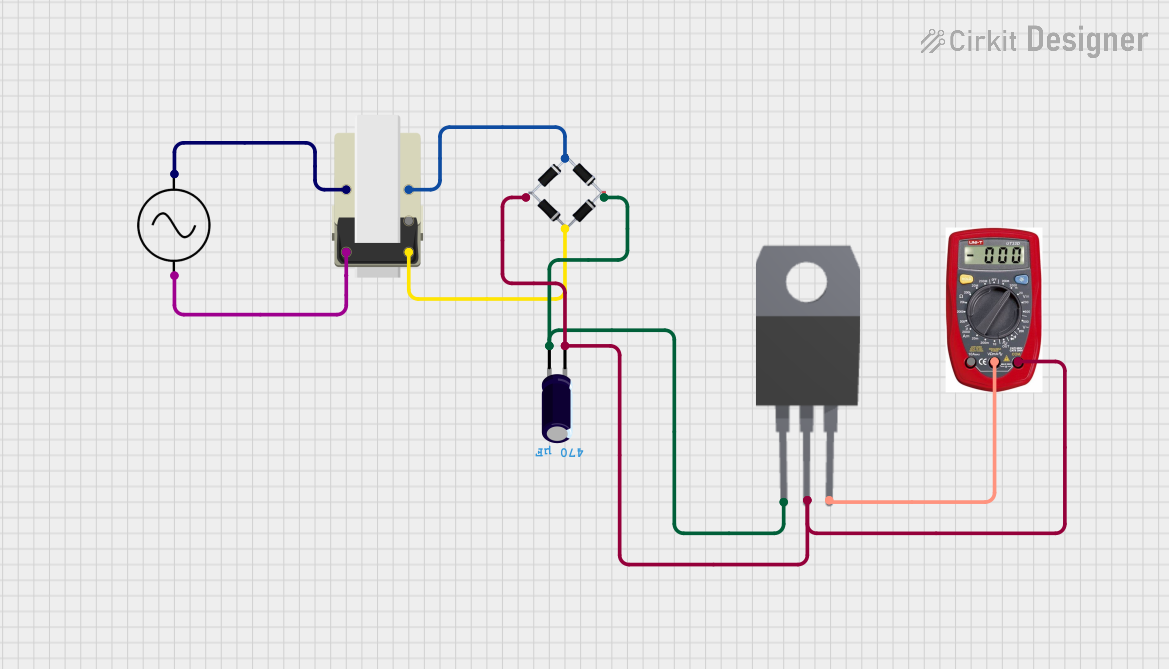
To use an AC source with an Arduino UNO, you must first convert the AC voltage to a safe DC voltage. Below is an example of interfacing an AC source with an Arduino using a step-down transformer and a rectifier circuit:
// Example Arduino code to read AC voltage after conversion to DC
// Ensure the AC voltage is stepped down and rectified before connecting to Arduino

const int sensorPin = A0; // Analog pin connected to the rectified DC voltage
float voltage = 0.0;

void setup() {
  Serial.begin(9600); // Initialize serial communication
}

void loop() {
  int sensorValue = analogRead(sensorPin); // Read the analog input
  voltage = (sensorValue * 5.0) / 1023.0; // Convert to voltage (assuming 5V reference)

  // Print the voltage to the Serial Monitor
  Serial.print("Voltage: ");
  Serial.print(voltage);
  Serial.println(" V");

  delay(1000); // Wait for 1 second before the next reading
}
Note: Ensure the rectified DC voltage does not exceed the Arduino's input voltage range (0-5V for most models).
Troubleshooting and FAQs
Common Issues Users Might Face
No Output Voltage:
- Cause: The AC source is not powered on or is malfunctioning.
- Solution: Check the power switch, fuse, and connections. Verify the input power supply.
Overheating:
- Cause: The AC source is overloaded or improperly ventilated.
- Solution: Reduce the load and ensure proper ventilation around the AC source.
Fluctuating Output:
- Cause: Unstable input power or internal component failure.
- Solution: Use a voltage stabilizer or have the AC source inspected by a technician.
Electrical Shock Risk:
- Cause: Improper insulation or grounding.
- Solution: Ensure all connections are insulated and the ground terminal is properly connected.
FAQs
Q1: Can I use an AC source to directly power a microcontroller?
A1: No, microcontrollers require DC voltage. Use a step-down transformer and rectifier circuit to convert AC to a safe DC voltage.
Q2: What is the difference between single-phase and three-phase AC sources?
A2: Single-phase AC sources have one live wire and are commonly used in households. Three-phase AC sources have three live wires and are used in industrial applications for higher power delivery.
Q3: How do I measure the output of an AC source?
A3: Use a multimeter set to AC voltage mode to measure the output voltage. For frequency, use a multimeter with frequency measurement capability or an oscilloscope.
Q4: Is it safe to use an AC source without grounding?
A4: No, grounding is essential for safety to prevent electric shock and protect equipment from surges. Always connect the ground terminal to a proper earth ground.