
How to Use Step down Buck converter: Examples, Pinouts, and Specs
 Design with Step down Buck converter in Cirkit Designer
Introduction
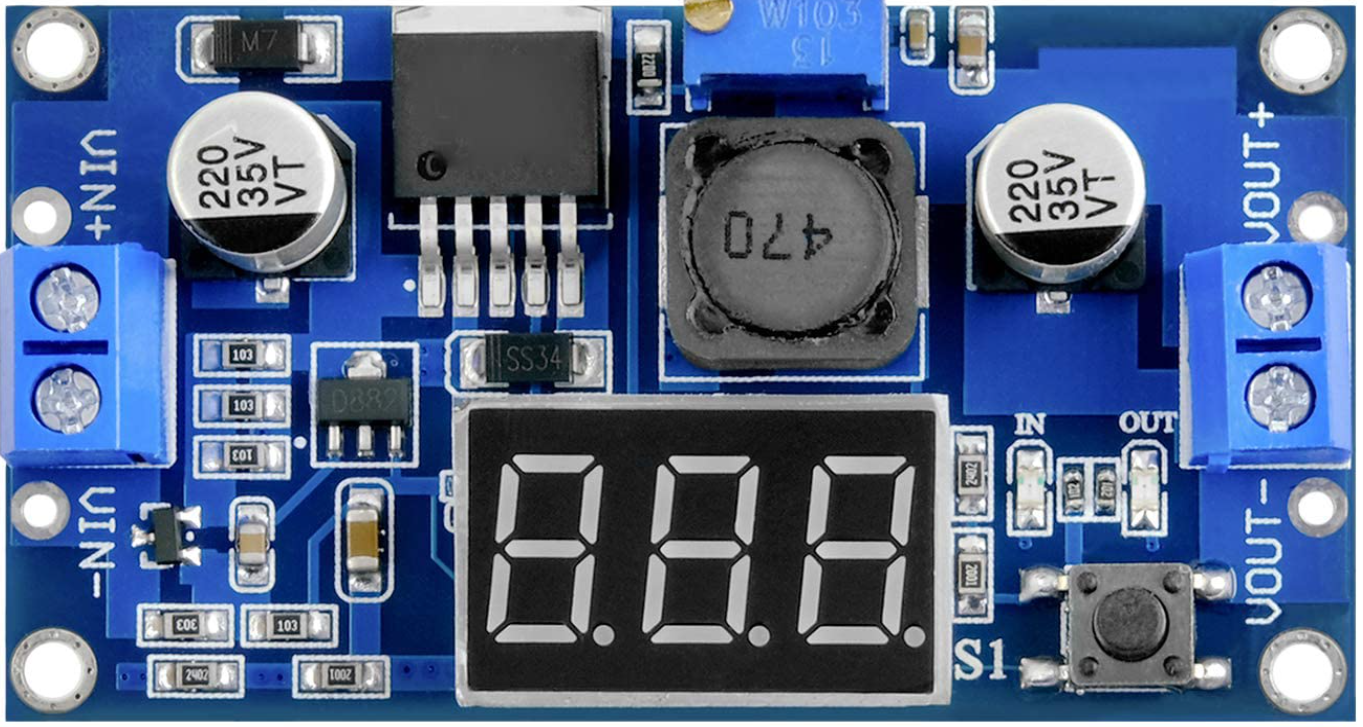
The Step Down Buck Converter by AC Delivery is a highly efficient DC-DC converter designed to step down voltage from a higher level to a lower level. This component is widely used in applications where power efficiency and precise voltage regulation are critical. By utilizing a switching element, an inductor, and a diode, the Buck converter ensures minimal energy loss during the voltage conversion process.
Explore Projects Built with Step down Buck converter
 Open Project in Cirkit Designer
 Open Project in Cirkit Designer
 Open Project in Cirkit Designer
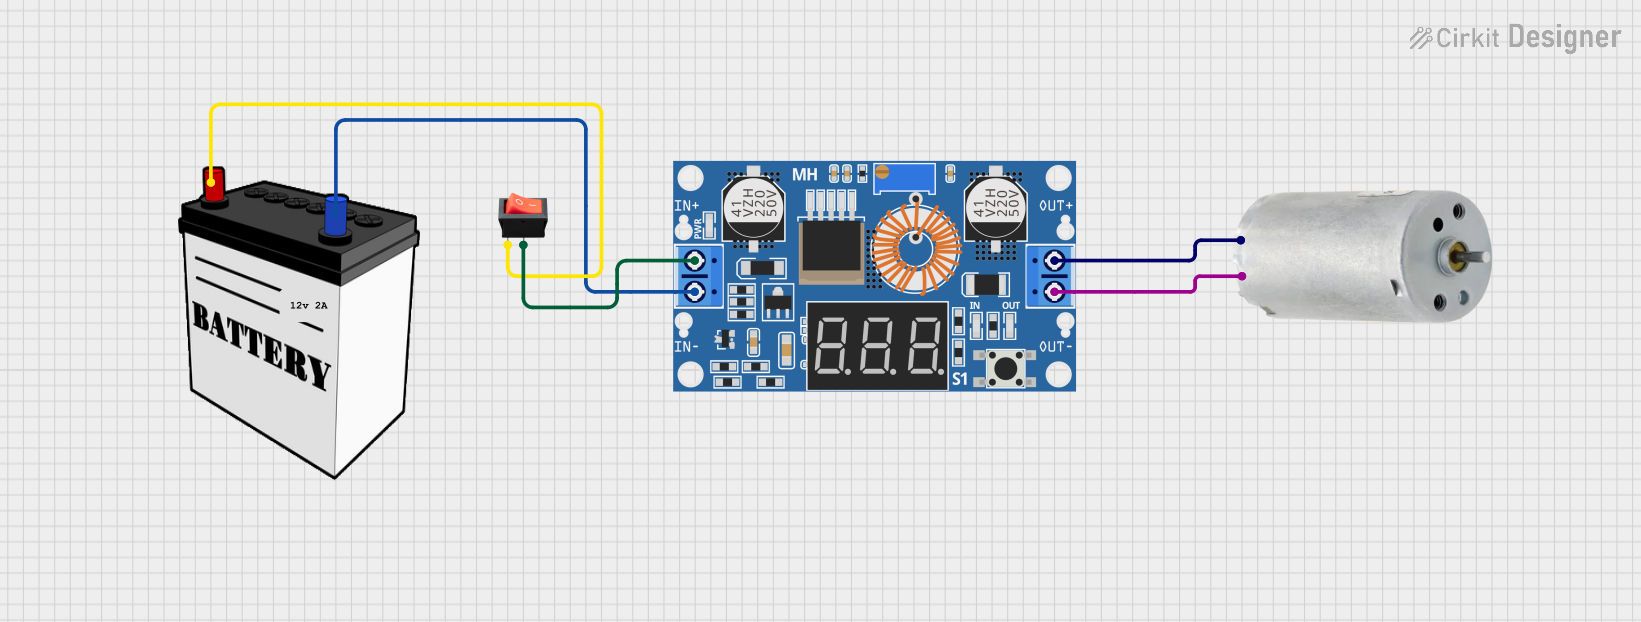 Open Project in Cirkit Designer
Explore Projects Built with Step down Buck converter
Open Project in Cirkit DesignerOpen Project in Cirkit DesignerOpen Project in Cirkit DesignerOpen Project in Cirkit DesignerCommon Applications and Use Cases
- Powering low-voltage devices from higher-voltage sources (e.g., 12V to 5V conversion)
- Battery-powered systems to regulate voltage
- Embedded systems and microcontrollers
- LED drivers
- Renewable energy systems (e.g., solar panels)
- Automotive electronics
Technical Specifications
The following table outlines the key technical specifications of the AC Delivery Step Down Buck Converter:
| Parameter | Value |
|---|---|
| Input Voltage Range | 4.5V to 40V |
| Output Voltage Range | 1.25V to 37V |
| Maximum Output Current | 3A (with proper heat dissipation) |
| Efficiency | Up to 92% |
| Switching Frequency | 150 kHz |
| Operating Temperature | -40°C to +85°C |
| Dimensions | 22mm x 17mm x 4mm |
Pin Configuration and Descriptions
The Buck converter typically has the following pin configuration:
| Pin Name | Description |
|---|---|
| VIN | Input voltage pin. Connect the higher voltage source here. |
| VOUT | Output voltage pin. Provides the stepped-down voltage. |
| GND | Ground pin. Connect to the ground of the circuit. |
| ADJ (Optional) | Adjustment pin. Used to set the output voltage (if adjustable). |
Usage Instructions
How to Use the Component in a Circuit
Connect the Input Voltage (VIN):
- Attach the higher voltage source (e.g., 12V) to the VIN pin.
- Ensure the input voltage is within the specified range (4.5V to 40V).
Connect the Output Voltage (VOUT):
- Connect the load or device requiring the stepped-down voltage to the VOUT pin.
- Use a multimeter to verify the output voltage before connecting sensitive devices.
Adjust the Output Voltage (if applicable):
- If the Buck converter has an adjustable output, use the ADJ pin or onboard potentiometer to set the desired output voltage.
- Turn the potentiometer clockwise to increase the voltage and counterclockwise to decrease it.
Connect the Ground (GND):
- Ensure all ground connections (input, output, and load) are properly connected to the GND pin.
Add External Components (if needed):
- For improved stability, you may add input and output capacitors (e.g., 10µF to 100µF) near the VIN and VOUT pins.
Important Considerations and Best Practices
- Heat Dissipation: If the output current exceeds 2A, ensure proper heat dissipation using a heatsink or active cooling.
- Input Voltage: Always ensure the input voltage is higher than the desired output voltage.
- Load Requirements: Verify that the load does not exceed the maximum output current (3A).
- Polarity: Double-check the polarity of connections to avoid damage to the converter.
Example: Using the Buck Converter with an Arduino UNO
The Buck converter can be used to power an Arduino UNO from a 12V source by stepping down the voltage to 5V.
Circuit Connections
- Connect the 12V source to the VIN pin of the Buck converter.
- Adjust the output voltage to 5V using the potentiometer.
- Connect the VOUT pin to the Arduino's 5V pin.
- Connect the GND pin of the Buck converter to the Arduino's GND pin.
Sample Arduino Code
// Example code to blink an LED using an Arduino UNO powered by a Buck converter
// Ensure the Buck converter is set to output 5V before connecting to the Arduino

const int ledPin = 13; // Pin connected to the onboard LED

void setup() {
  pinMode(ledPin, OUTPUT); // Set the LED pin as an output
}

void loop() {
  digitalWrite(ledPin, HIGH); // Turn the LED on
  delay(1000);               // Wait for 1 second
  digitalWrite(ledPin, LOW);  // Turn the LED off
  delay(1000);               // Wait for 1 second
}
Troubleshooting and FAQs
Common Issues and Solutions
No Output Voltage:
- Cause: Incorrect wiring or loose connections.
- Solution: Double-check all connections, ensuring proper polarity and secure contacts.
Output Voltage Too High or Too Low:
- Cause: Incorrect adjustment of the potentiometer.
- Solution: Use a multimeter to measure the output voltage and adjust the potentiometer accordingly.
Overheating:
- Cause: Excessive current draw or insufficient heat dissipation.
- Solution: Reduce the load current or add a heatsink to the Buck converter.
Noise or Instability in Output Voltage:
- Cause: Lack of input/output capacitors or poor grounding.
- Solution: Add capacitors (e.g., 10µF to 100µF) near the VIN and VOUT pins and ensure proper grounding.
Frequently Asked Questions
Q: Can I use the Buck converter to power a Raspberry Pi?
A: Yes, but ensure the output voltage is set to 5V and the current rating meets the Raspberry Pi's requirements (typically 2.5A or higher).
Q: What happens if the input voltage drops below the output voltage?
A: The Buck converter will stop functioning correctly, as it requires the input voltage to be higher than the output voltage.
Q: Can I use the Buck converter with an AC power source?
A: No, the Buck converter is designed for DC input only. Use a rectifier and filter circuit to convert AC to DC before using the Buck converter.
Q: Is the Buck converter suitable for audio applications?
A: While it can be used, switching converters may introduce noise in sensitive audio circuits. Consider using additional filtering if noise is an issue.