How to Use Flood Lights 12v: Examples, Pinouts, and Specs
Introduction
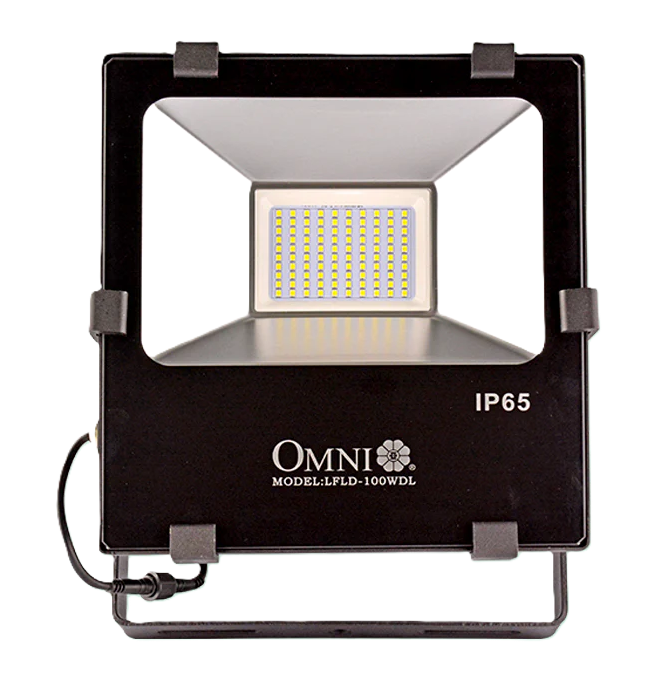
Flood lights are high-intensity, broad-beamed artificial lights often used to illuminate outdoor areas. The 12V flood lights are specifically designed to operate on a low-voltage power supply, making them suitable for various applications such as landscape lighting, outdoor feature illumination, security lighting, and for use in automotive and marine environments.
Explore Projects Built with Flood Lights 12v


Explore Projects Built with Flood Lights 12v
Common Applications and Use Cases
- Landscape Lighting: Enhancing the appearance of gardens and outdoor spaces.
- Security Lighting: Deterring intruders and improving visibility in surveillance areas.
- Automotive Lighting: Auxiliary lighting for off-road vehicles and trucks.
- Marine Lighting: Deck and navigation lighting for boats.
- Event Lighting: Illuminating outdoor events and gatherings.
Technical Specifications
Key Technical Details
- Operating Voltage: 12V DC
- Power Consumption: Varies by model (e.g., 10W, 20W, 50W)
- Luminous Flux: Dependent on wattage (e.g., 800lm for 10W)
- Color Temperature: Typically 3000K (Warm White) to 6500K (Cool White)
- Beam Angle: Wide range, often between 90° to 120°
- Lifespan: Approximately 30,000 to 50,000 hours
- Ingress Protection: Commonly IP65 or higher for outdoor use
Pin Configuration and Descriptions
| Pin Number | Description | Notes |
|---|---|---|
| 1 | Positive (V+) | Connect to positive terminal of power supply |
| 2 | Negative (V-) | Connect to negative terminal of power supply |
Usage Instructions
How to Use the Component in a Circuit
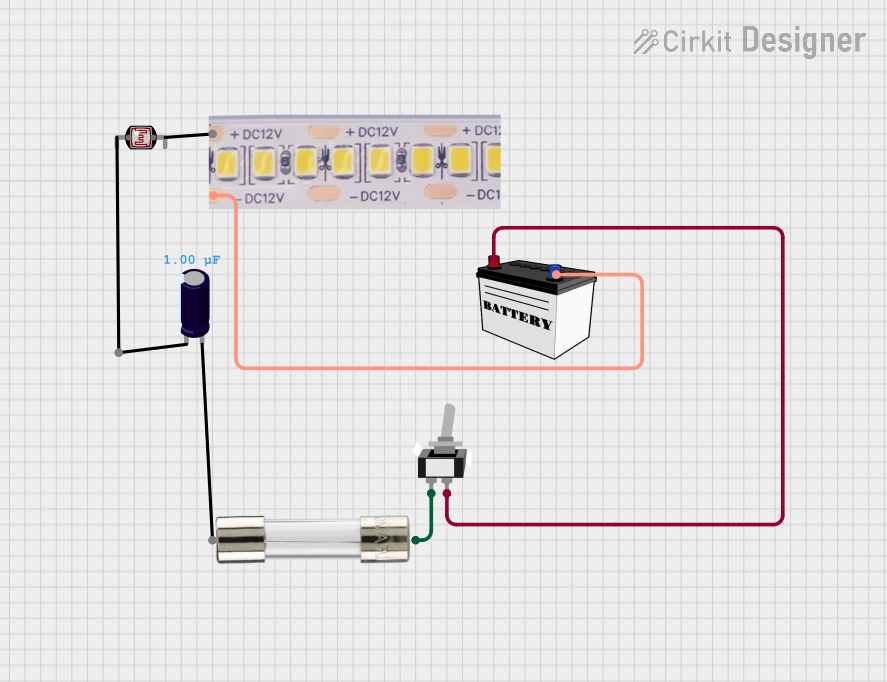
- Power Supply Selection: Ensure that the power supply is rated for 12V DC and can handle the current draw of the flood light.
- Wiring: Connect the positive terminal of the flood light to the positive output of the power supply. Similarly, connect the negative terminal to the negative output.
- Mounting: Secure the flood light in the desired location, ensuring it is aimed in the correct direction for optimal illumination.
- Switching: Incorporate a switch into the positive line to control the on/off state of the flood light.
Important Considerations and Best Practices
- Heat Dissipation: Ensure adequate space around the flood light for heat dissipation.
- Waterproofing: If the flood light is not waterproof, additional housing may be required for outdoor use.
- Voltage Regulation: Avoid voltage fluctuations by using a regulated power supply.
- Overcurrent Protection: Include a fuse or circuit breaker to protect against overcurrent conditions.
Troubleshooting and FAQs
Common Issues
- Flood Light Not Turning On: Check power supply and connections. Ensure the switch is in the ON position.
- Dim Light Output: Verify that the power supply is providing the correct voltage and that the wiring is capable of handling the current without significant voltage drop.
- Flickering Light: This could be due to loose connections or an unstable power supply. Check all connections and ensure the power supply is functioning correctly.
Solutions and Tips for Troubleshooting
- Check Connections: Loose or corroded connections can cause issues. Clean and secure all connections.
- Power Supply: Test the power supply with a multimeter to ensure it is providing a stable 12V output.
- Replace the Light: If the flood light is damaged or has reached the end of its lifespan, it may need to be replaced.
FAQs
Q: Can I connect the 12V flood light directly to a car battery? A: Yes, a car battery typically provides 12V and can power the flood light. However, ensure the battery can handle the additional load.
Q: Is it necessary to use a relay when installing the flood light in a vehicle? A: For higher wattage flood lights, it is advisable to use a relay to prevent overloading the vehicle's existing wiring.
Q: How can I adjust the brightness of the flood light? A: The brightness is fixed based on the power rating of the flood light. To adjust brightness, you may need to use multiple lights or install a dimmer compatible with the light's technology.
Q: Can I use the flood light indoors? A: Yes, as long as the area is well-ventilated and the light's heat output does not pose a risk.
Q: How do I protect the flood light from the elements? A: Ensure the flood light has an appropriate IP rating for outdoor use. Additional waterproof housing may be used if necessary.
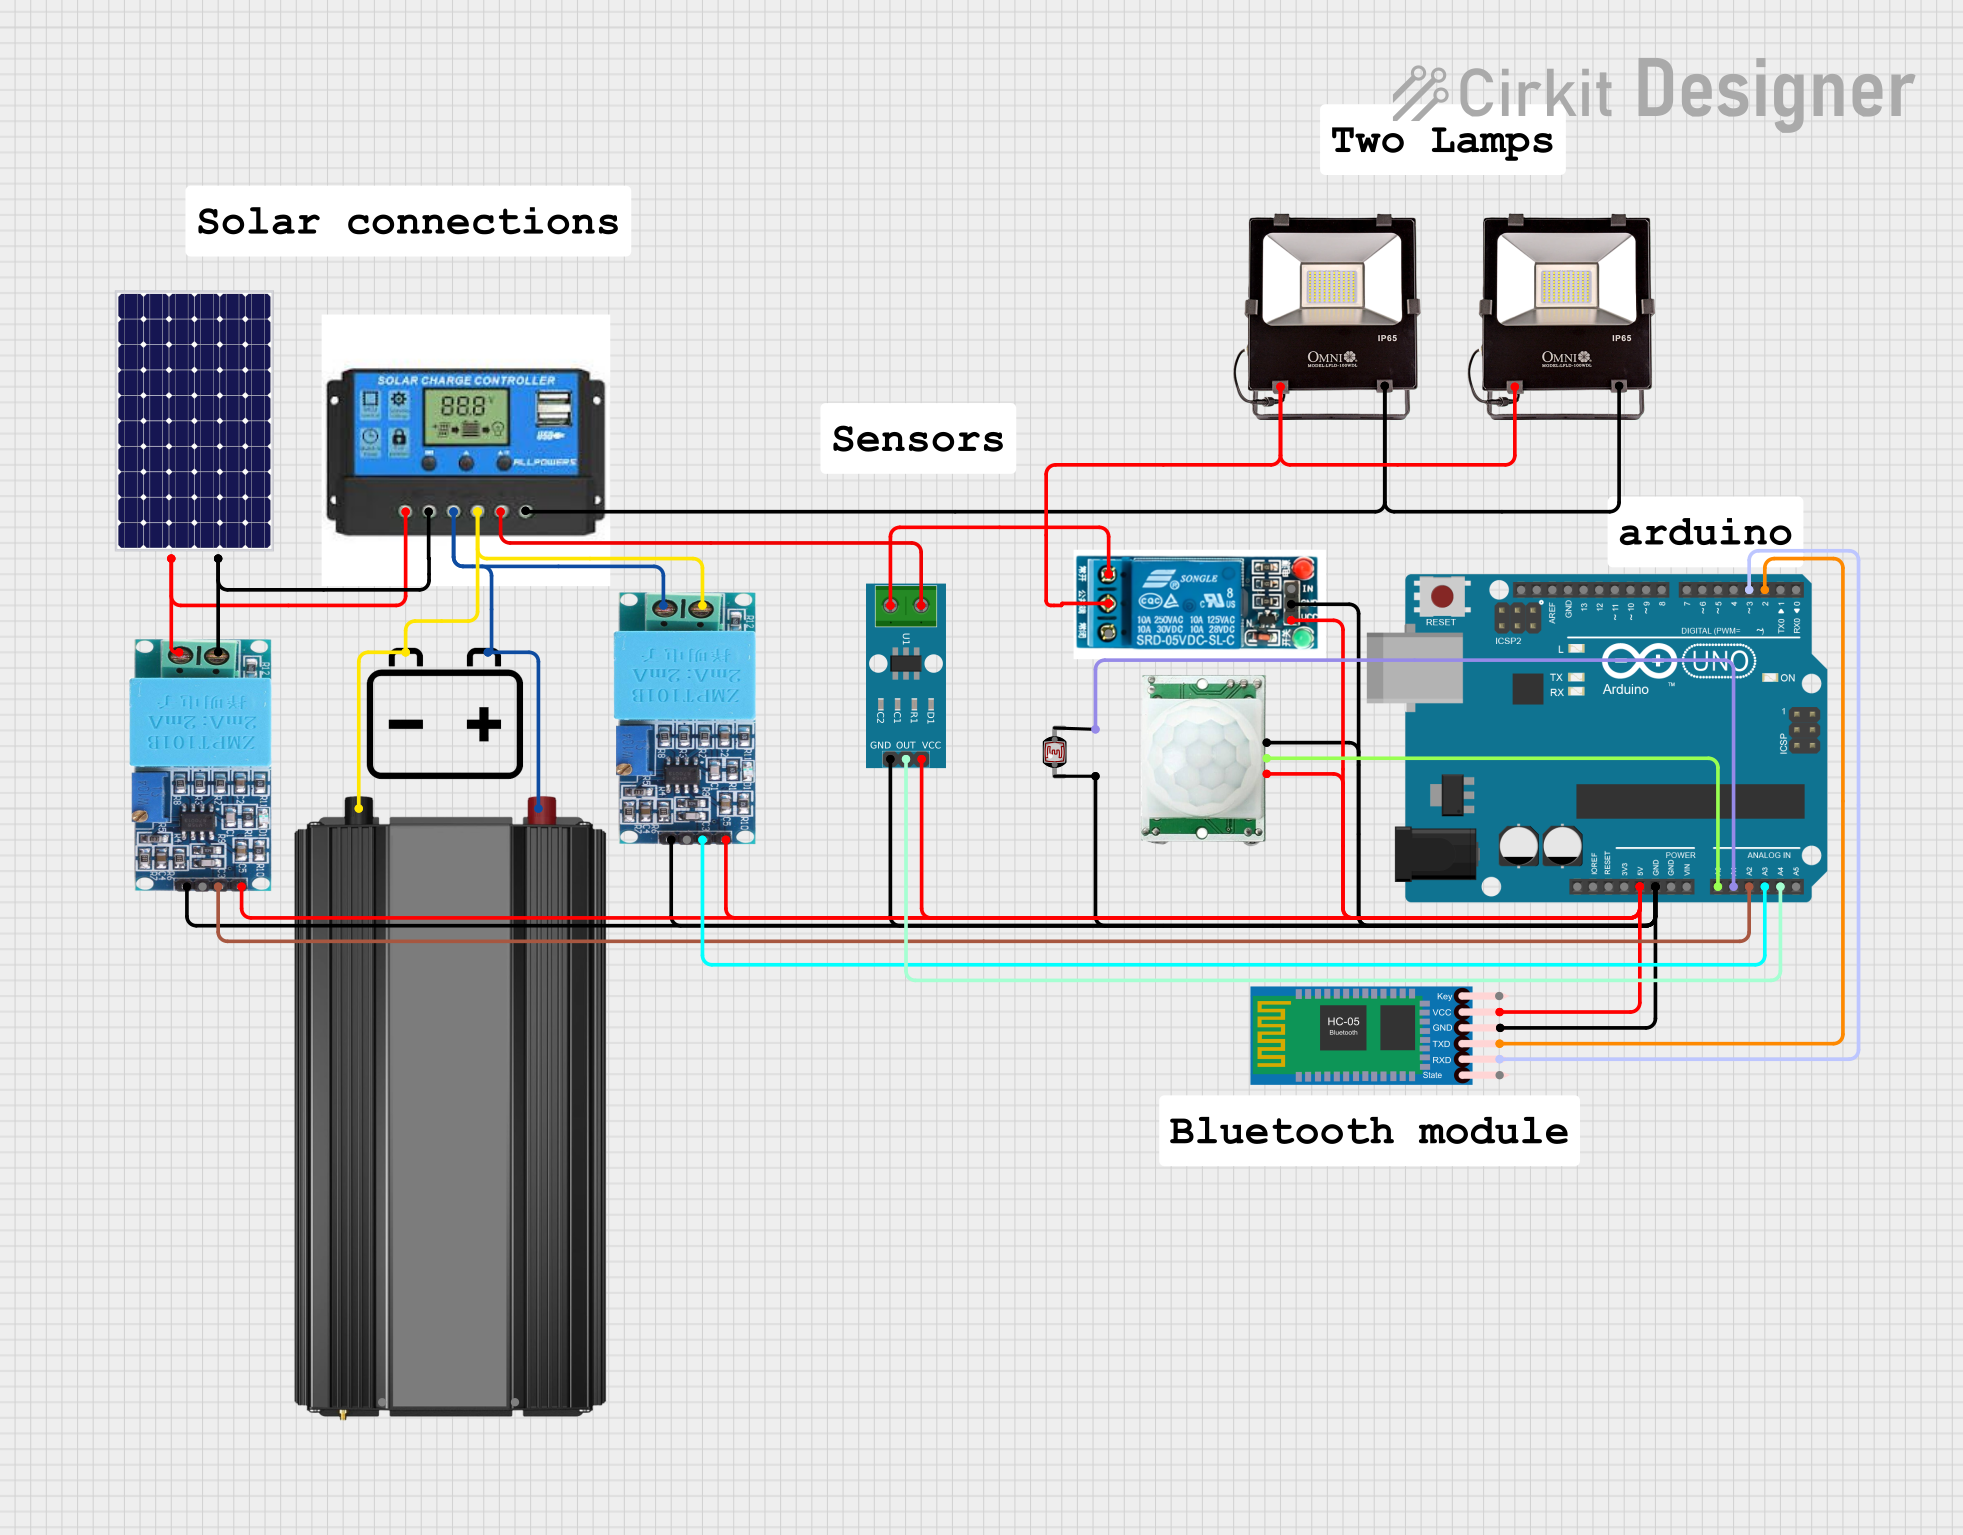
Example Arduino UNO Connection
// Example code to control a 12V flood light using an Arduino UNO and a relay module

const int relayPin = 2; // Relay module connected to digital pin 2

void setup() {
  pinMode(relayPin, OUTPUT); // Set the relay pin as an output
  digitalWrite(relayPin, LOW); // Start with the flood light off
}

void loop() {
  digitalWrite(relayPin, HIGH); // Turn on the flood light
  delay(5000); // Keep the light on for 5 seconds
  digitalWrite(relayPin, LOW); // Turn off the flood light
  delay(5000); // Keep the light off for 5 seconds
}
Note: The above code assumes the use of a relay module that is triggered by a HIGH signal from the Arduino. Some relay modules may be active LOW, in which case the digitalWrite calls should be reversed. Always check the specifications of your relay module. Additionally, ensure that the relay module is rated for the current required by the flood light.