
How to Use ESP 32: Examples, Pinouts, and Specs
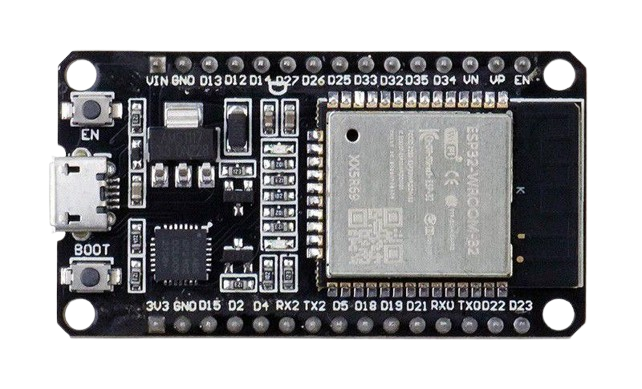
 Design with ESP 32 in Cirkit Designer
Introduction
The ESP32, manufactured by NodeMCU (Part ID: ESP32), is a low-cost, low-power system on a chip (SoC) designed for IoT applications and embedded systems. It features integrated Wi-Fi and Bluetooth capabilities, making it a versatile choice for wireless communication and smart device projects. The ESP32 is widely used in applications such as home automation, wearable devices, industrial IoT, and robotics.
Explore Projects Built with ESP 32
 Open Project in Cirkit Designer
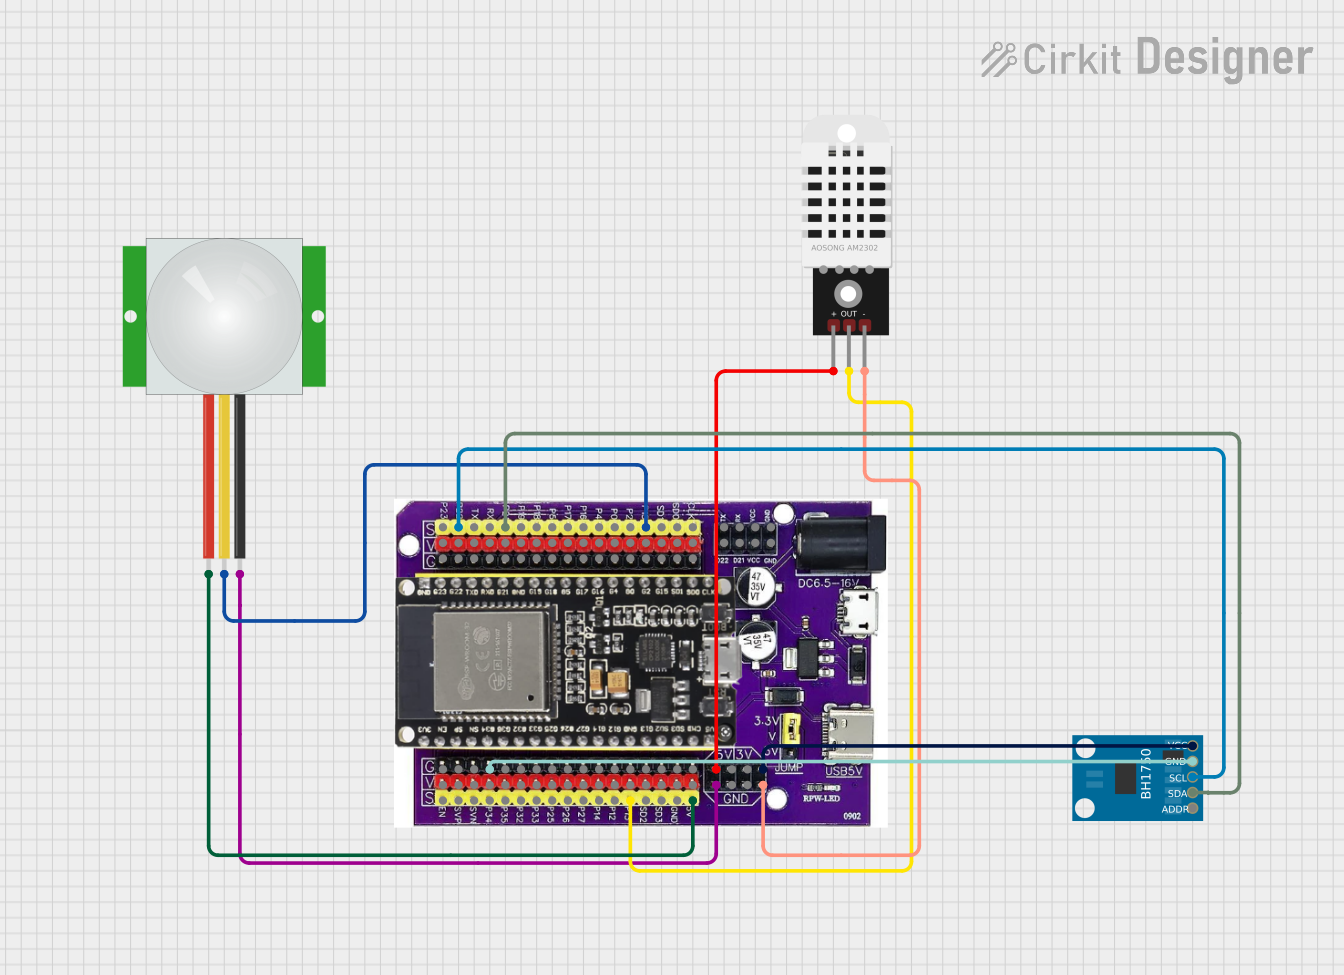 Open Project in Cirkit Designer
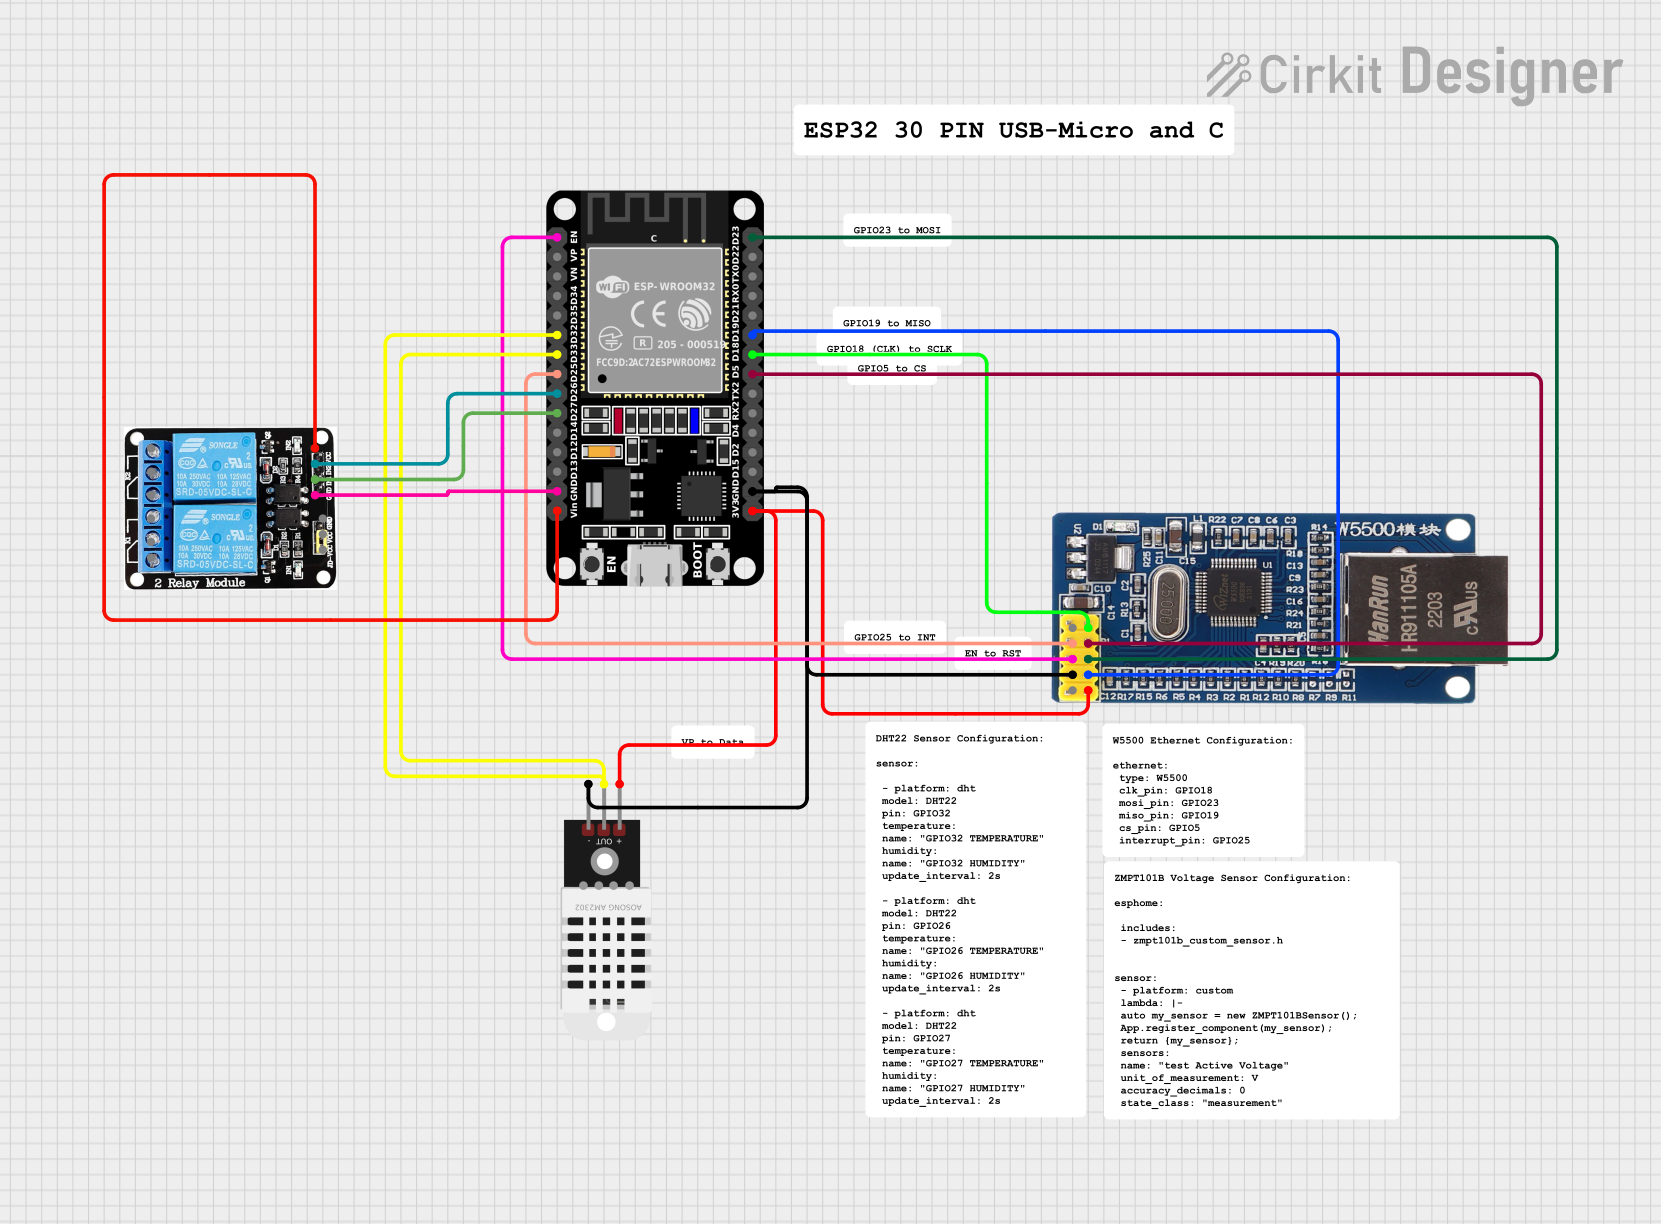 Open Project in Cirkit Designer
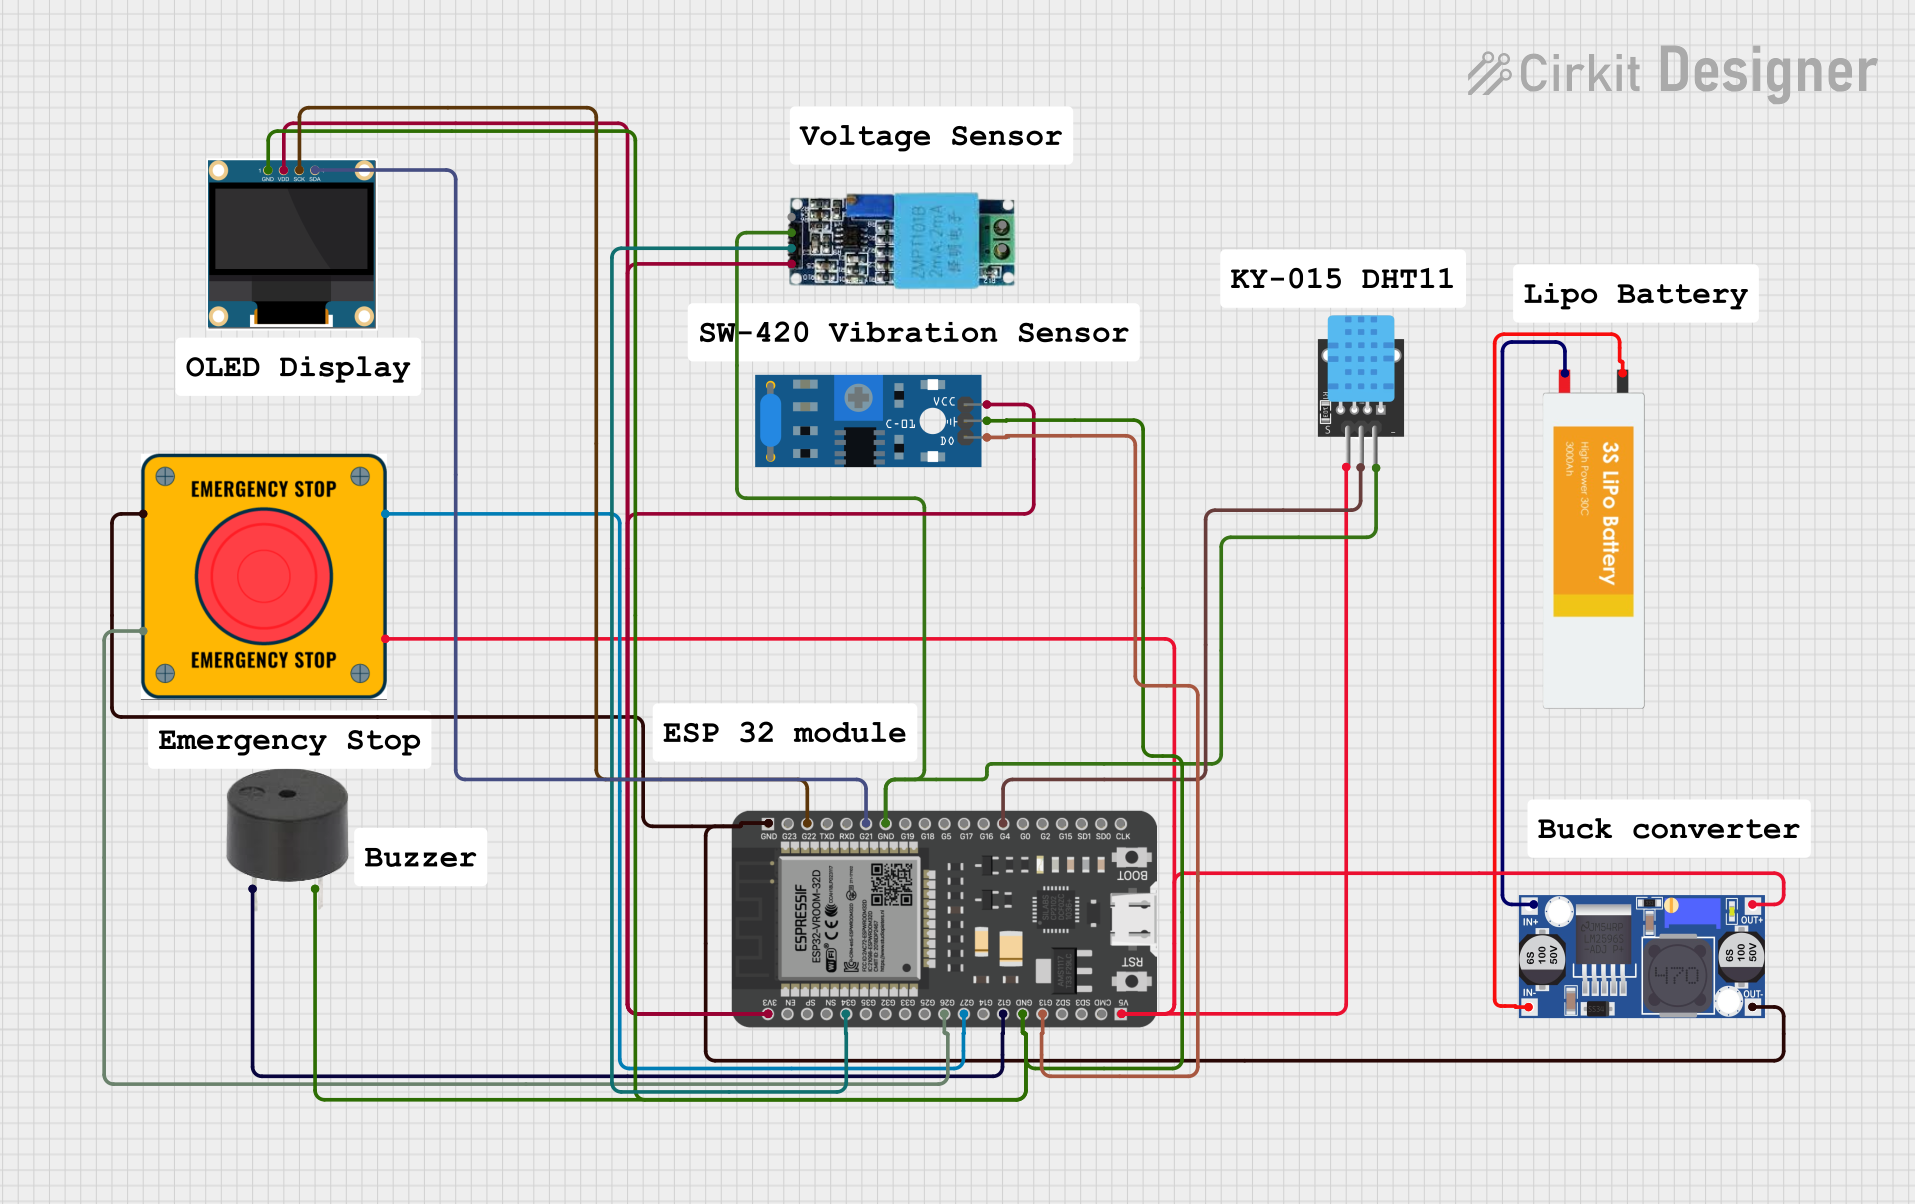 Open Project in Cirkit Designer
Explore Projects Built with ESP 32
Open Project in Cirkit DesignerOpen Project in Cirkit DesignerOpen Project in Cirkit DesignerOpen Project in Cirkit DesignerCommon Applications:
- Smart home devices (e.g., smart lights, thermostats)
- IoT sensors and data loggers
- Wireless communication hubs
- Robotics and automation systems
- Wearable technology
Technical Specifications
The ESP32 is a powerful microcontroller with a rich set of features. Below are its key technical specifications:
General Specifications:
| Feature | Description |
|---|---|
| Manufacturer | NodeMCU |
| Part ID | ESP32 |
| Processor | Dual-core Xtensa LX6, up to 240 MHz |
| Flash Memory | 4 MB (varies by model) |
| SRAM | 520 KB |
| Wireless Connectivity | Wi-Fi 802.11 b/g/n, Bluetooth 4.2 (Classic + BLE) |
| Operating Voltage | 3.3V |
| GPIO Pins | 34 |
| ADC Channels | 18 |
| DAC Channels | 2 |
| Communication Interfaces | UART, SPI, I2C, I2S, CAN, PWM |
| Power Consumption | Ultra-low power (varies by mode) |
Pin Configuration:
The ESP32 has a flexible pinout. Below is a table of commonly used pins and their functions:
| Pin Name | Function(s) | Description |
|---|---|---|
| GPIO0 | Boot Mode Selection, General GPIO | Used for boot mode during startup |
| GPIO2 | General GPIO, ADC, DAC | Can be used as an ADC or DAC pin |
| GPIO4 | General GPIO, ADC, PWM | Supports PWM and ADC functions |
| GPIO5 | General GPIO, SPI | Often used for SPI communication |
| GPIO12 | General GPIO, ADC, Touch Sensor | Supports touch sensing |
| GPIO13 | General GPIO, ADC, PWM, Touch Sensor | Multi-purpose pin |
| GPIO14 | General GPIO, ADC, PWM | Supports PWM and ADC functions |
| GPIO15 | General GPIO, ADC, Touch Sensor | Multi-purpose pin |
| GPIO16 | General GPIO | Standard GPIO pin |
| GPIO17 | General GPIO | Standard GPIO pin |
| EN | Enable Pin | Used to enable or reset the chip |
| VIN | Power Input | Accepts 5V input for powering the board |
| GND | Ground | Ground connection |
Note: Not all GPIO pins support all functions simultaneously. Refer to the ESP32 datasheet for detailed pin multiplexing information.
Usage Instructions
The ESP32 can be programmed using the Arduino IDE, MicroPython, or other development environments. Below are the steps to use the ESP32 in a circuit and program it using the Arduino IDE.
Steps to Use the ESP32:
- Power the ESP32: Connect the VIN pin to a 5V power source and GND to ground.
- Connect to a Computer: Use a micro-USB cable to connect the ESP32 to your computer.
- Install Drivers: Ensure the appropriate USB-to-serial drivers (e.g., CP210x or CH340) are installed.
- Set Up Arduino IDE:
- Install the ESP32 board package via the Arduino IDE Board Manager.
- Select the correct ESP32 board model and COM port in the Arduino IDE.
- Write and Upload Code: Write your program in the Arduino IDE and upload it to the ESP32.
Example Code: Blink an LED
The following example demonstrates how to blink an LED connected to GPIO2.
// This example blinks an LED connected to GPIO2 on the ESP32.
// Ensure the LED's anode is connected to GPIO2 and the cathode to GND.

#define LED_PIN 2  // Define the GPIO pin where the LED is connected

void setup() {
  pinMode(LED_PIN, OUTPUT);  // Set GPIO2 as an output pin
}

void loop() {
  digitalWrite(LED_PIN, HIGH);  // Turn the LED on
  delay(1000);                  // Wait for 1 second
  digitalWrite(LED_PIN, LOW);   // Turn the LED off
  delay(1000);                  // Wait for 1 second
}
Important Considerations:
- Voltage Levels: The ESP32 operates at 3.3V logic levels. Avoid applying 5V directly to GPIO pins.
- Boot Mode: Ensure GPIO0 is not pulled low during normal operation, as this will put the ESP32 into bootloader mode.
- Power Supply: Use a stable power source to avoid unexpected resets or instability.
Troubleshooting and FAQs
Common Issues:
- ESP32 Not Detected by Computer:
- Solution: Ensure the correct USB-to-serial driver is installed. Try a different USB cable or port.
- Upload Fails with "Failed to Connect" Error:
- Solution: Press and hold the "BOOT" button on the ESP32 while uploading the code.
- Wi-Fi Connection Issues:
- Solution: Double-check the SSID and password in your code. Ensure the router is within range.
- Random Resets or Instability:
- Solution: Verify the power supply is sufficient and stable. Use capacitors to filter noise if necessary.
FAQs:
Q: Can the ESP32 be powered with 5V?
A: Yes, the VIN pin accepts 5V input, but the GPIO pins operate at 3.3V logic levels.Q: How do I reset the ESP32?
A: Press the "EN" button on the board to reset the ESP32.Q: Can I use the ESP32 with MicroPython?
A: Yes, the ESP32 supports MicroPython. You can flash the MicroPython firmware to the board and use it for development.
By following this documentation, you can effectively use the ESP32 in your projects and troubleshoot common issues. For advanced features, refer to the official ESP32 datasheet and programming guides.