How to Use Carbon Dioxide Transmitter: Examples, Pinouts, and Specs
Introduction
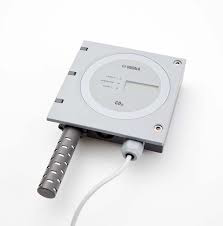
The Vaisala GMT220 Carbon Dioxide Transmitter is a high-precision device designed to measure and transmit the concentration of carbon dioxide (CO₂) in the air. This transmitter is commonly used in HVAC systems, environmental monitoring, and industrial applications where accurate CO₂ measurement is critical. The GMT220 series offers reliable performance, ease of integration, and robust construction, making it suitable for a wide range of applications.
Explore Projects Built with Carbon Dioxide Transmitter
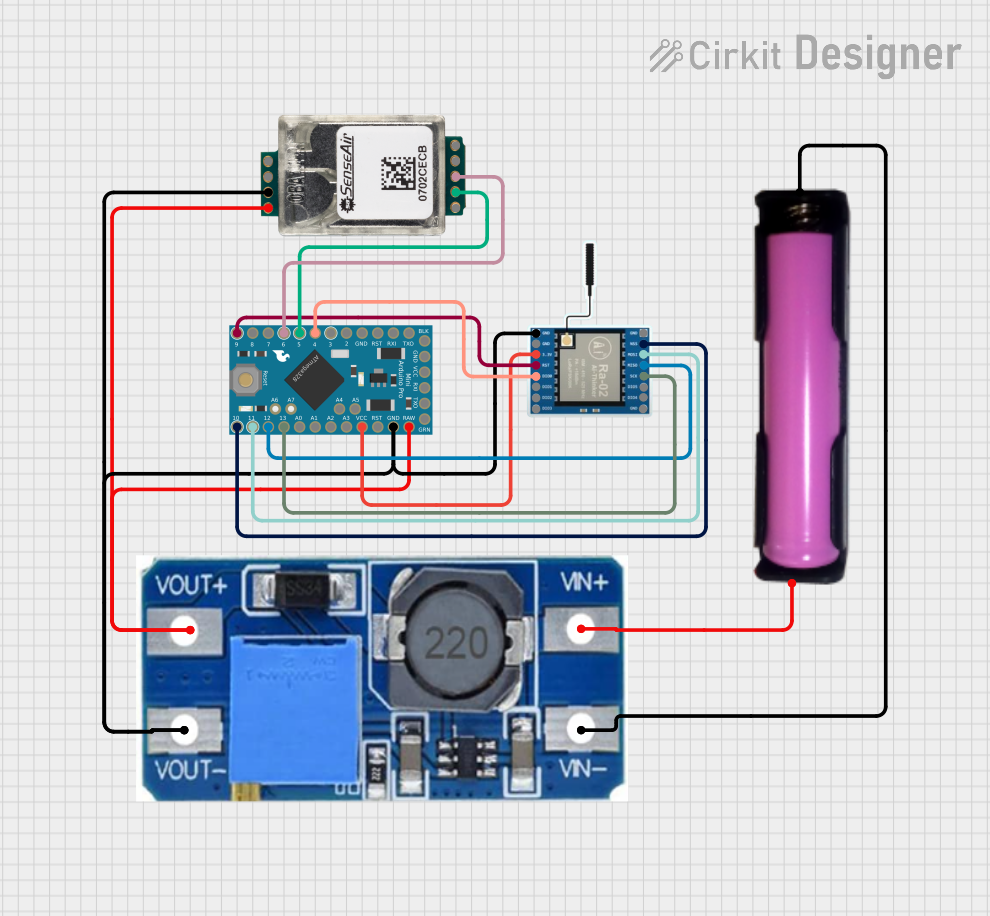
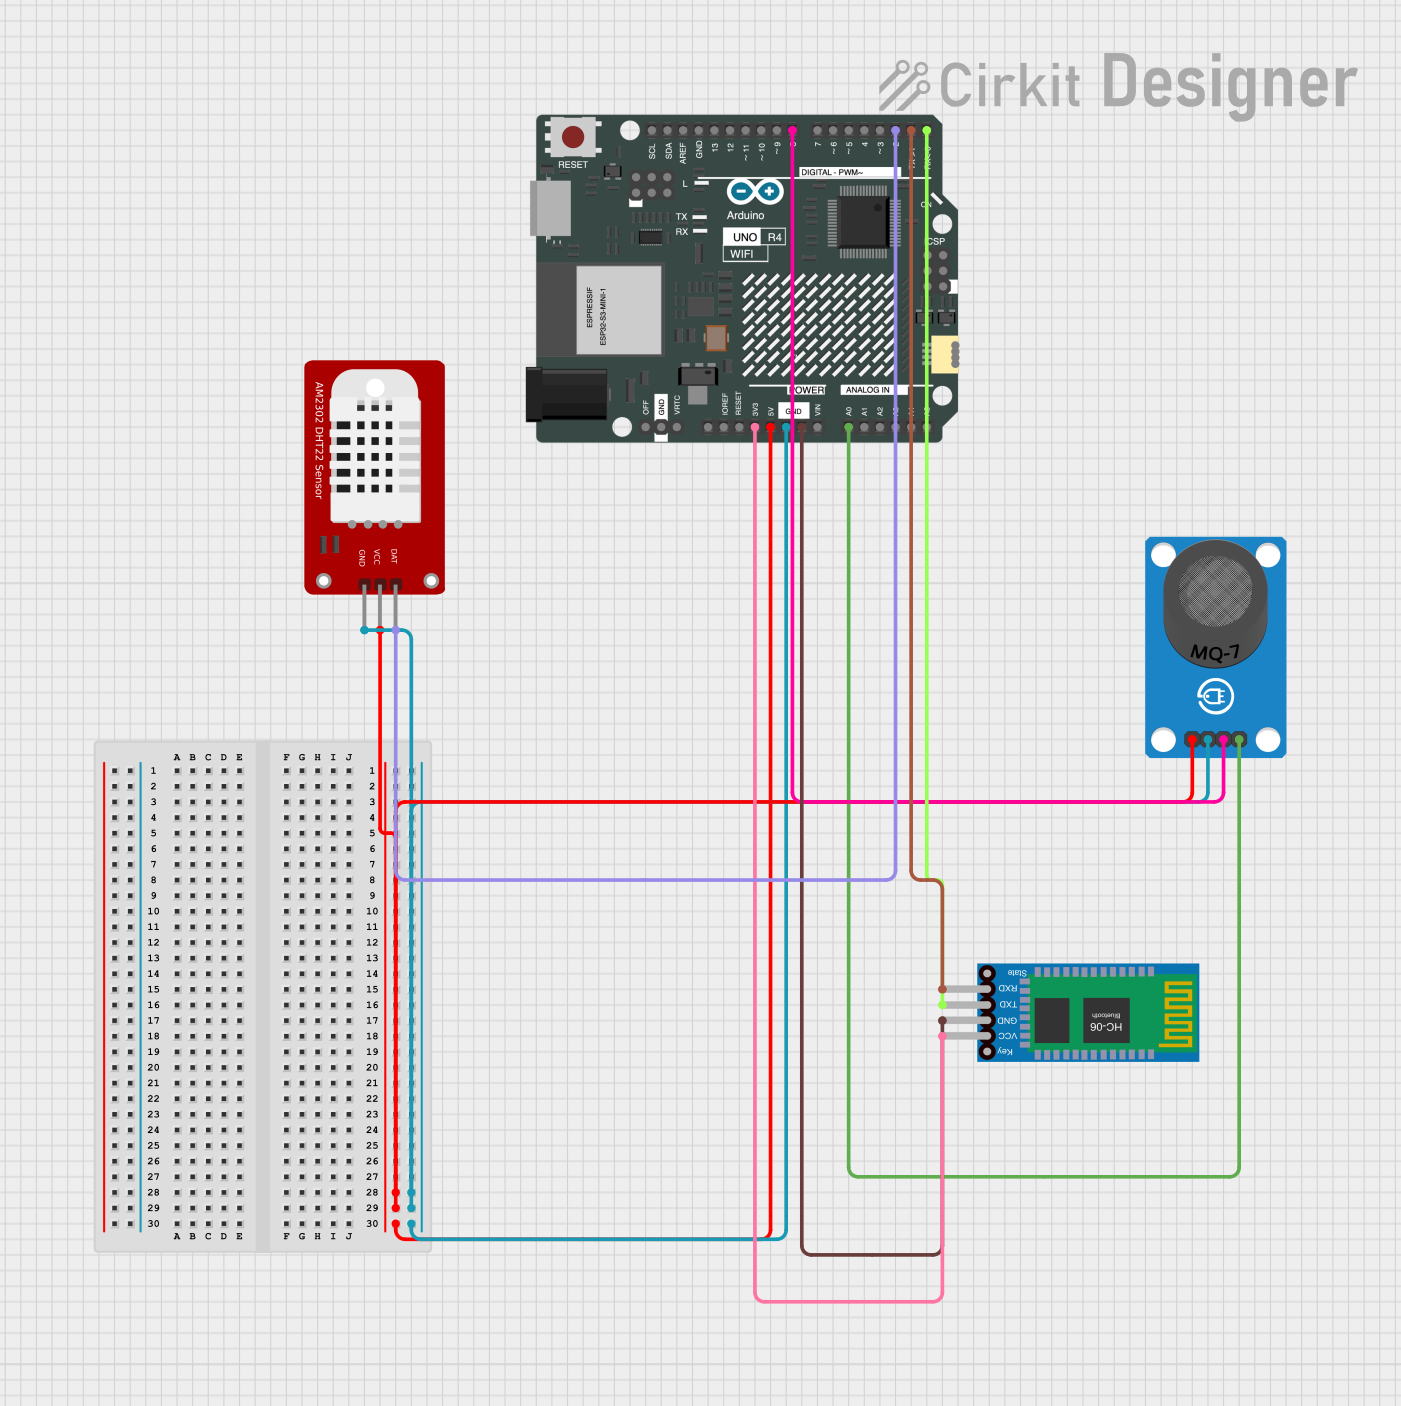
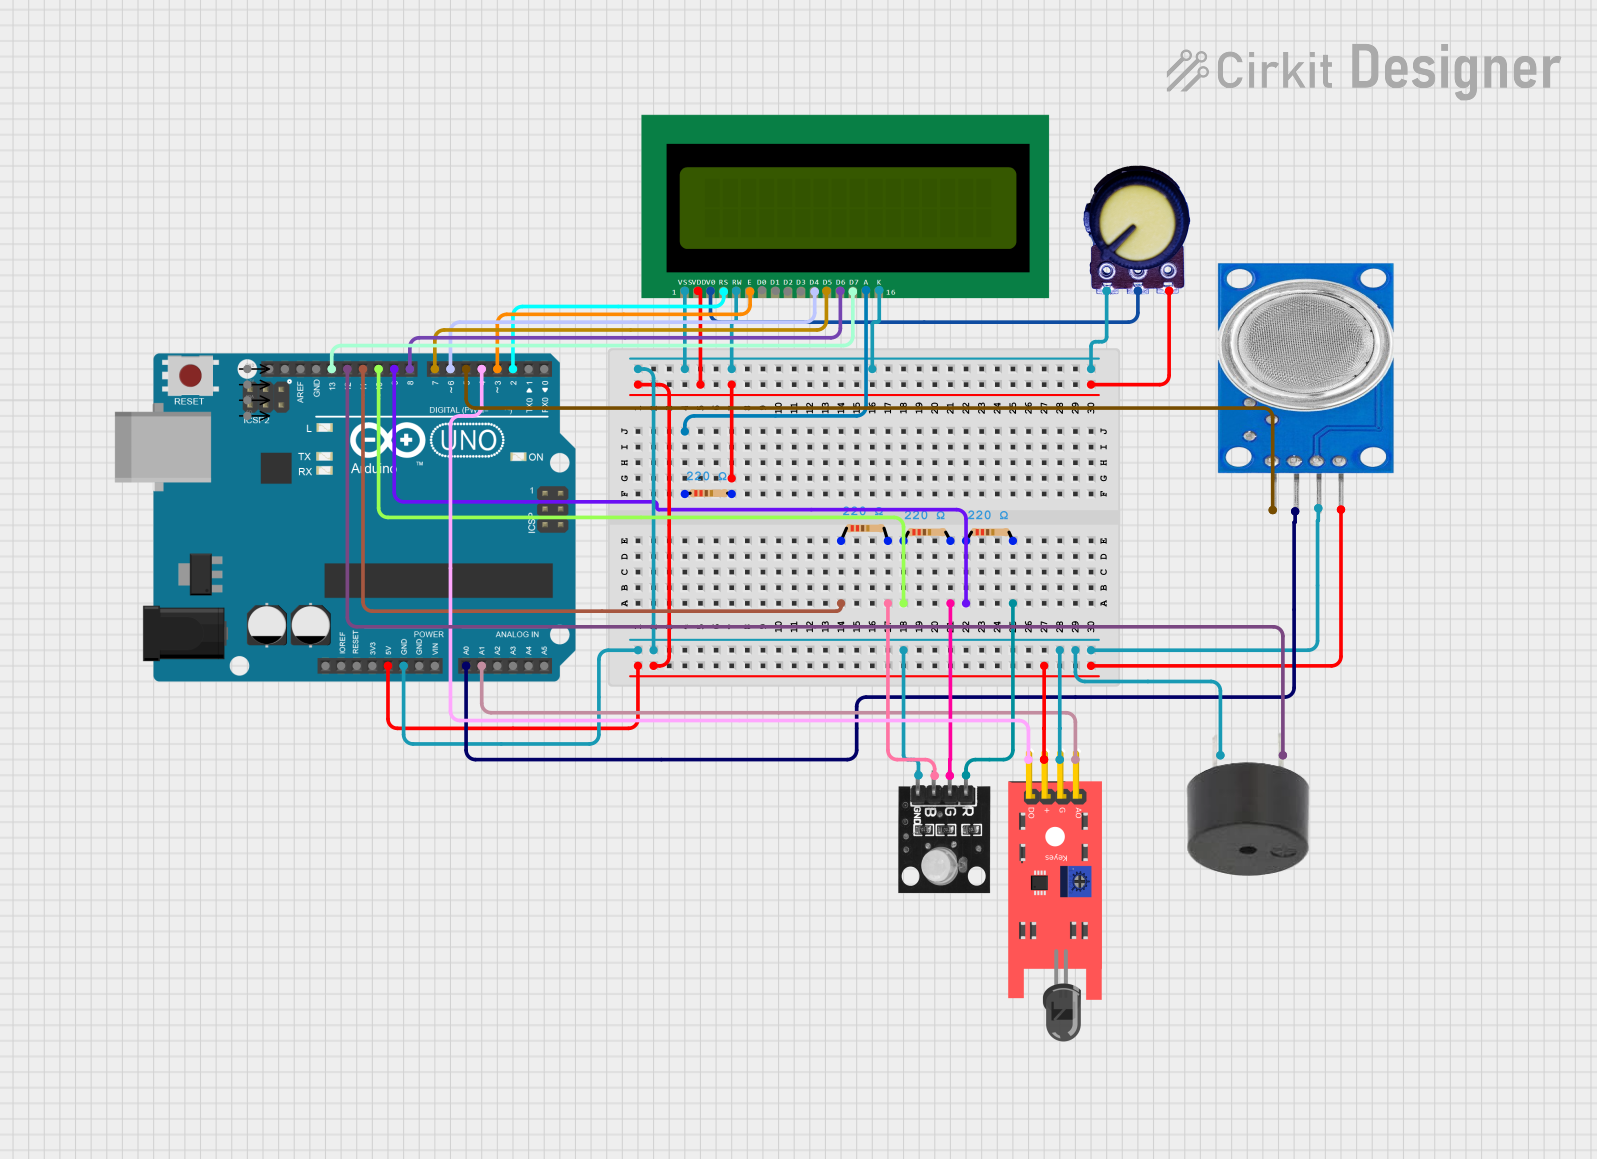
Explore Projects Built with Carbon Dioxide Transmitter
Technical Specifications
Key Technical Details
| Parameter | Value |
|---|---|
| Measurement Range | 0 to 2000 ppm (standard) |
| Accuracy | ±(1.5% of reading + 2 ppm) |
| Response Time | < 20 seconds |
| Operating Temperature | -20 to +60 °C |
| Power Supply | 24 VDC |
| Output Signal | 4-20 mA or 0-10 V |
| Warm-up Time | < 1 minute |
| Dimensions | 120 x 80 x 40 mm |
| Weight | 150 grams |
Pin Configuration and Descriptions
| Pin Number | Pin Name | Description |
|---|---|---|
| 1 | V+ | Power Supply Positive (24 VDC) |
| 2 | GND | Ground |
| 3 | OUT | Analog Output (4-20 mA or 0-10 V) |
| 4 | RS485 A | RS485 Communication Line A (optional) |
| 5 | RS485 B | RS485 Communication Line B (optional) |
Usage Instructions
How to Use the Component in a Circuit
- Power Supply Connection: Connect the V+ pin to a 24 VDC power supply and the GND pin to the ground.
- Analog Output Connection: Connect the OUT pin to an analog input of your data acquisition system or microcontroller.
- RS485 Communication (Optional): If using RS485 communication, connect the RS485 A and B pins to the corresponding lines of your RS485 network.
Important Considerations and Best Practices
- Calibration: Ensure the transmitter is calibrated according to the manufacturer's instructions for accurate measurements.
- Placement: Install the transmitter in a location with good air circulation and away from direct sunlight or heat sources.
- Warm-up Time: Allow the transmitter to warm up for at least 1 minute before taking measurements.
- Maintenance: Regularly check and clean the sensor to prevent dust and debris from affecting the readings.
Example: Connecting to an Arduino UNO
To interface the GMT220 with an Arduino UNO, you can use the analog output (0-10 V) and an analog input pin on the Arduino. Below is an example code to read the CO₂ concentration:
// Define the analog input pin
const int analogPin = A0;

// Define the voltage reference (5V for Arduino UNO)
const float Vref = 5.0;

// Define the maximum CO2 concentration (2000 ppm)
const float maxCO2 = 2000.0;

void setup() {
  // Initialize serial communication at 9600 baud rate
  Serial.begin(9600);
}

void loop() {
  // Read the analog value from the sensor
  int analogValue = analogRead(analogPin);

  // Convert the analog value to voltage
  float voltage = (analogValue / 1023.0) * Vref;

  // Convert the voltage to CO2 concentration
  float co2Concentration = (voltage / Vref) * maxCO2;

  // Print the CO2 concentration to the serial monitor
  Serial.print("CO2 Concentration: ");
  Serial.print(co2Concentration);
  Serial.println(" ppm");

  // Wait for 1 second before the next reading
  delay(1000);
}
Troubleshooting and FAQs
Common Issues Users Might Face
No Output Signal:
- Solution: Check the power supply connections and ensure the transmitter is receiving 24 VDC.
Inaccurate Readings:
- Solution: Verify the calibration of the transmitter and ensure it is placed in an appropriate location.
Slow Response Time:
- Solution: Ensure the sensor is clean and free from obstructions that may affect air flow.
Solutions and Tips for Troubleshooting
- Check Connections: Ensure all connections are secure and correctly wired according to the pin configuration.
- Verify Power Supply: Confirm that the power supply is providing the correct voltage (24 VDC).
- Calibration: Regularly calibrate the transmitter to maintain accuracy.
- Environmental Factors: Consider environmental factors such as temperature and humidity that may affect sensor performance.
By following this documentation, users can effectively integrate and utilize the Vaisala GMT220 Carbon Dioxide Transmitter in their applications, ensuring accurate and reliable CO₂ measurements.