How to Use 18650 Li-ion Battery x 2: Examples, Pinouts, and Specs
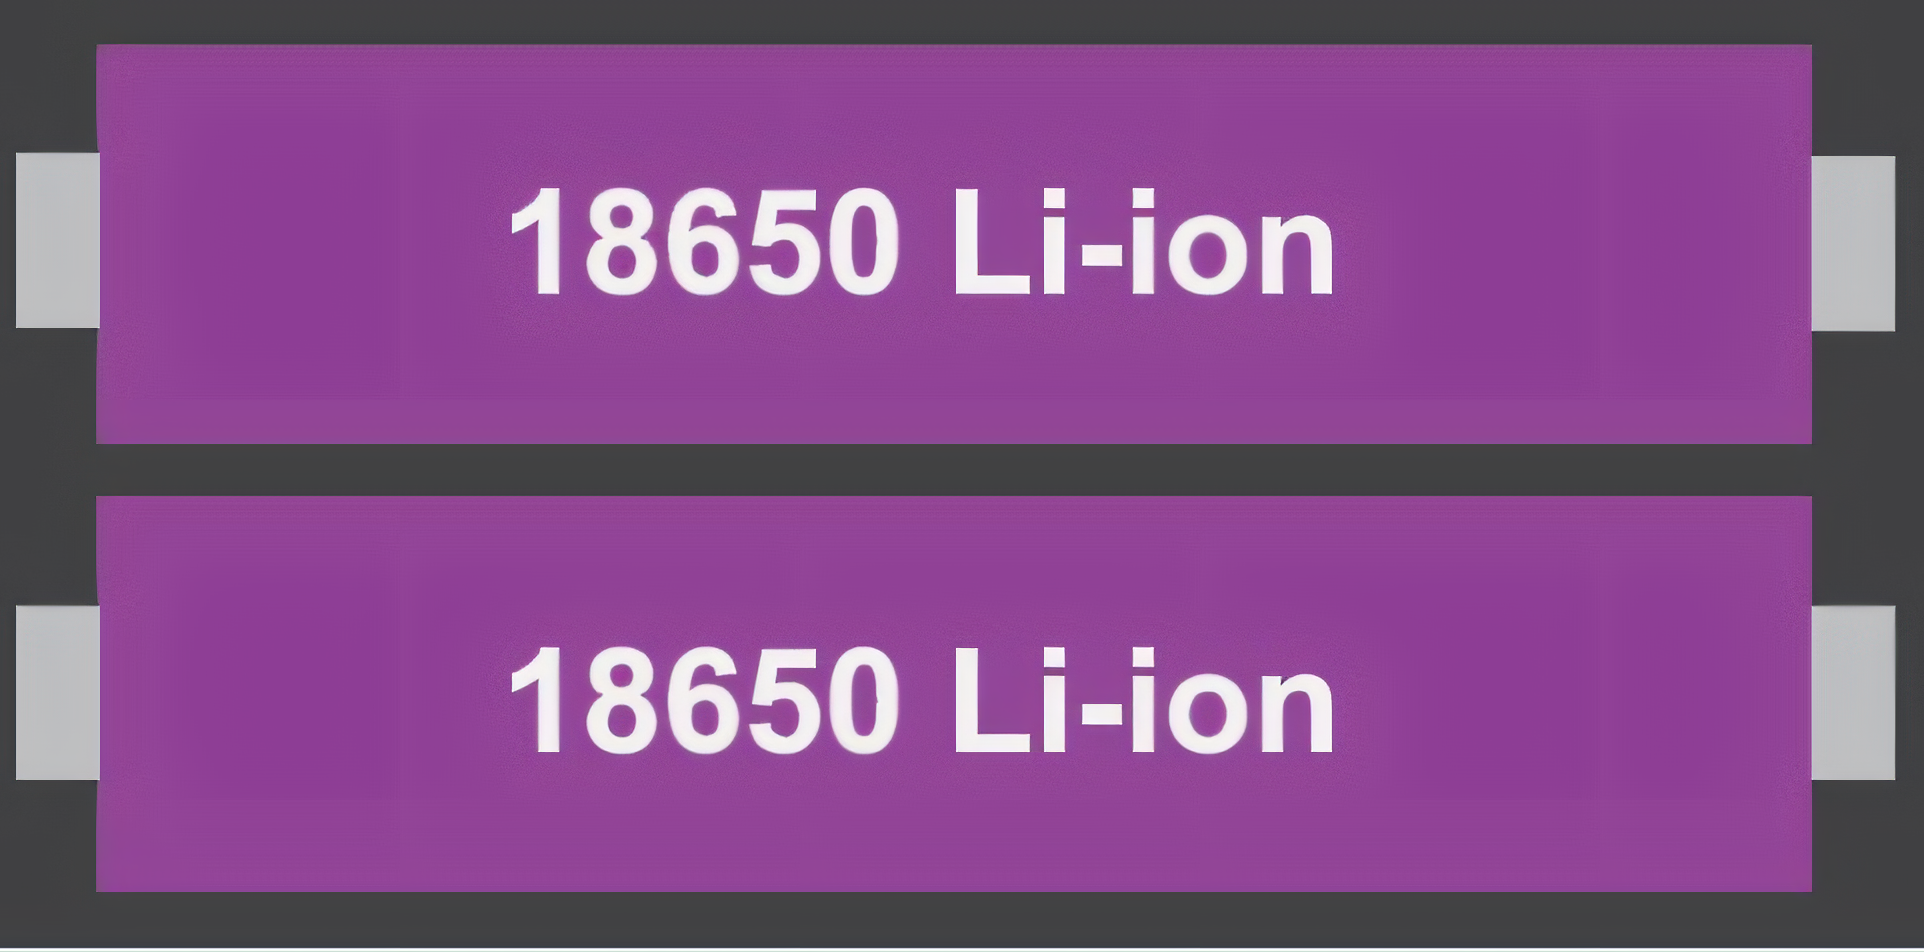
Documentation for Samsung 18650 Li-ion Battery x 2
1. Introduction
The Samsung 18650 Li-ion Battery is a high-performance rechargeable lithium-ion battery widely used in various applications due to its high energy density, long cycle life, and reliable performance. The "18650" designation refers to the battery's cylindrical shape, with a diameter of 18mm and a length of 65mm. This documentation covers the use of two 18650 batteries in series or parallel configurations.
Common Applications
- Portable Electronics: Laptops, flashlights, power banks, and wireless devices.
- Electric Vehicles (EVs): Battery packs for e-bikes, scooters, and cars.
- DIY Projects: Robotics, IoT devices, and Arduino-based systems.
- Energy Storage: Solar power systems and uninterruptible power supplies (UPS).
2. Technical Specifications
The following table outlines the key technical specifications of the Samsung 18650 Li-ion Battery:
| Parameter | Specification |
|---|---|
| Manufacturer | Samsung |
| Part ID | 18650 |
| Battery Type | Lithium-Ion (Li-ion) |
| Nominal Voltage | 3.7V per cell |
| Capacity | 2600mAh to 3500mAh (varies by model) |
| Maximum Discharge Current | 10A to 20A (varies by model) |
| Charging Voltage | 4.2V per cell |
| Charging Current | Standard: 0.5C, Max: 1C |
| Dimensions | 18mm (diameter) x 65mm (length) |
| Weight | ~45g per cell |
| Operating Temperature | Charge: 0°C to 45°C, Discharge: -20°C to 60°C |
Pin Configuration and Descriptions
The 18650 battery has two terminals:
| Pin | Description |
|---|---|
| Positive (+) | Positive terminal of the battery. Connect to the positive side of the circuit. |
| Negative (-) | Negative terminal of the battery. Connect to the ground or negative side of the circuit. |
3. Usage Instructions
Connecting Two 18650 Batteries
You can connect two 18650 batteries in series or parallel, depending on your voltage and capacity requirements:
Series Configuration:
- Increases the voltage while maintaining the same capacity.
- Example: Two 18650 batteries in series provide a total voltage of 7.4V (3.7V + 3.7V).
- Use this configuration for devices requiring higher voltage.
Parallel Configuration:
- Increases the capacity while maintaining the same voltage.
- Example: Two 18650 batteries in parallel provide a total capacity of 5200mAh (2600mAh + 2600mAh).
- Use this configuration for devices requiring longer runtime.
Steps for Safe Usage
- Check Polarity: Always connect the positive terminal to the positive side of the circuit and the negative terminal to the ground.
- Use a Battery Holder: Secure the batteries in a holder to ensure proper connections and avoid short circuits.
- Add Protection Circuitry: Use a Battery Management System (BMS) to prevent overcharging, over-discharging, and short circuits.
- Charge Safely: Use a dedicated Li-ion battery charger with a constant current/constant voltage (CC/CV) charging profile.
- Avoid Overheating: Ensure proper ventilation and avoid exposing the batteries to high temperatures.
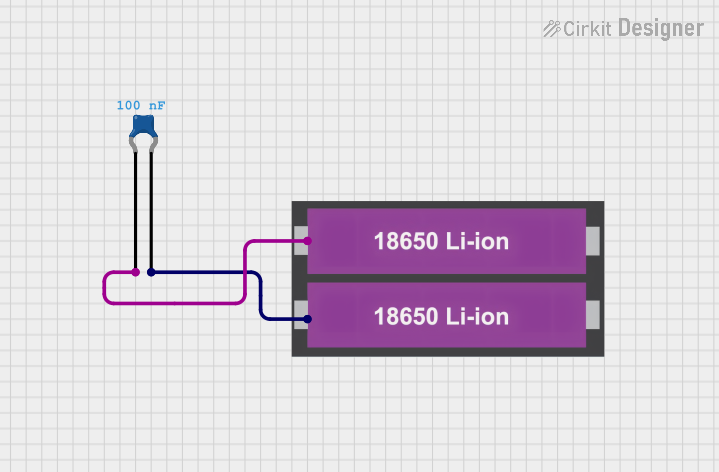
4. Example Circuit with Arduino UNO
The following example demonstrates how to power an Arduino UNO using two 18650 batteries in series (7.4V) with a voltage regulator.
Components Required
- 2 x Samsung 18650 Li-ion Batteries
- Battery holder (for 2 batteries in series)
- LM7805 Voltage Regulator (to step down 7.4V to 5V)
- Arduino UNO
- Connecting wires
Circuit Diagram
+-------------------+       +-------------------+
| 18650 Battery 1   |       | 18650 Battery 2   |
|   (+)     (-)     |-------|   (+)     (-)     |
+-------------------+       +-------------------+
         |                           |
         +---------------------------+
                     |
                     V
            +----------------+
            | LM7805 Regulator|
            |   IN   OUT   GND|
            +----------------+
               |      |
               V      V
           Arduino   GND
Arduino Code Example
This code reads the battery voltage using an analog pin and displays it on the Serial Monitor.
// Define the analog pin connected to the voltage divider
const int voltagePin = A0;

// Define the voltage divider ratio (e.g., 10k and 10k resistors)
const float voltageDividerRatio = 2.0;

// Define the reference voltage of the Arduino (5V for UNO)
const float referenceVoltage = 5.0;

void setup() {
  Serial.begin(9600); // Initialize serial communication at 9600 baud
}

void loop() {
  int analogValue = analogRead(voltagePin); // Read the analog pin value
  float batteryVoltage = (analogValue / 1023.0) * referenceVoltage * voltageDividerRatio;

  // Print the battery voltage to the Serial Monitor
  Serial.print("Battery Voltage: ");
  Serial.print(batteryVoltage);
  Serial.println(" V");

  delay(1000); // Wait for 1 second before the next reading
}
Note: Use a voltage divider to step down the battery voltage to a safe range (0-5V) for the Arduino's analog input.
5. Troubleshooting and FAQs
Common Issues and Solutions
| Issue | Possible Cause | Solution |
|---|---|---|
| Battery not charging | Faulty charger or incorrect polarity | Check the charger and ensure correct polarity. |
| Battery overheating during use | Overcurrent or short circuit | Use a BMS and ensure proper ventilation. |
| Low runtime | Battery not fully charged or degraded | Fully charge the battery or replace it if it has degraded. |
| Arduino not powering on | Insufficient voltage or loose connections | Check the battery voltage and ensure secure connections. |
FAQs
Can I use 18650 batteries without a BMS?
- It is not recommended. A BMS ensures safe operation by preventing overcharging, over-discharging, and short circuits.
How do I safely dispose of 18650 batteries?
- Take the batteries to a certified e-waste recycling center. Do not dispose of them in regular trash.
Can I charge two 18650 batteries in series?
- Yes, but you must use a charger designed for series charging or a BMS with balancing functionality.
What is the lifespan of a Samsung 18650 battery?
- Typically, 300-500 charge cycles, depending on usage and charging conditions.
This documentation provides a comprehensive guide to using the Samsung 18650 Li-ion Battery x 2. By following the instructions and best practices outlined here, you can safely and effectively integrate these batteries into your projects.
Explore Projects Built with 18650 Li-ion Battery x 2


Explore Projects Built with 18650 Li-ion Battery x 2