How to Use Solar Cell: Examples, Pinouts, and Specs
Introduction
A solar cell is a device that converts light energy directly into electrical energy through the photovoltaic effect. It is a fundamental building block of solar panels and is widely used to harness renewable energy from the sun. Solar cells are commonly found in applications such as residential and commercial solar power systems, portable solar chargers, solar-powered calculators, and even spacecraft.
By utilizing sunlight, solar cells provide a clean, sustainable, and environmentally friendly energy source, making them a key component in the transition to renewable energy solutions.
Explore Projects Built with Solar Cell

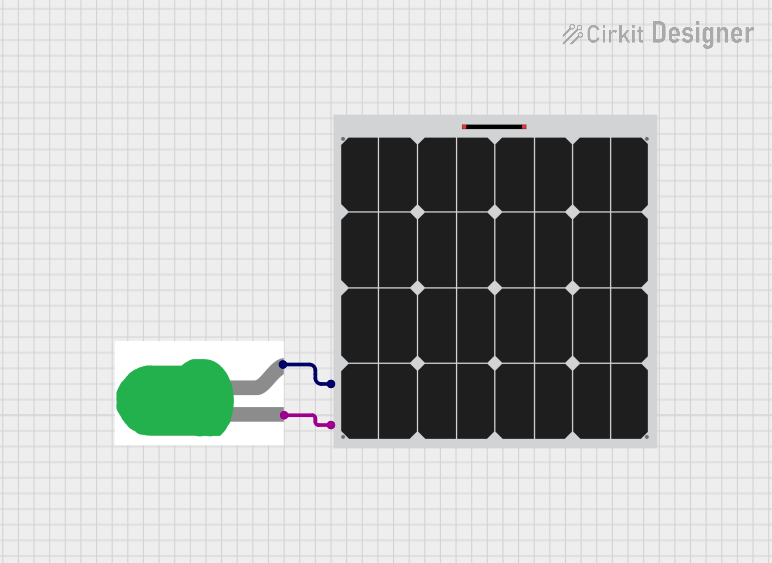

Explore Projects Built with Solar Cell
Technical Specifications
Below are the general technical specifications of a typical silicon-based solar cell. Note that actual specifications may vary depending on the manufacturer and model.
Key Specifications
- Material: Monocrystalline or polycrystalline silicon (common types)
- Open-Circuit Voltage (Voc): ~0.5V to 0.6V per cell
- Short-Circuit Current (Isc): ~2A to 9A (depending on size and efficiency)
- Maximum Power Output (Pmax): ~1W to 5W per cell
- Efficiency: ~15% to 22% (typical for commercial cells)
- Operating Temperature Range: -40°C to +85°C
- Dimensions: ~156mm x 156mm (standard size for individual cells)
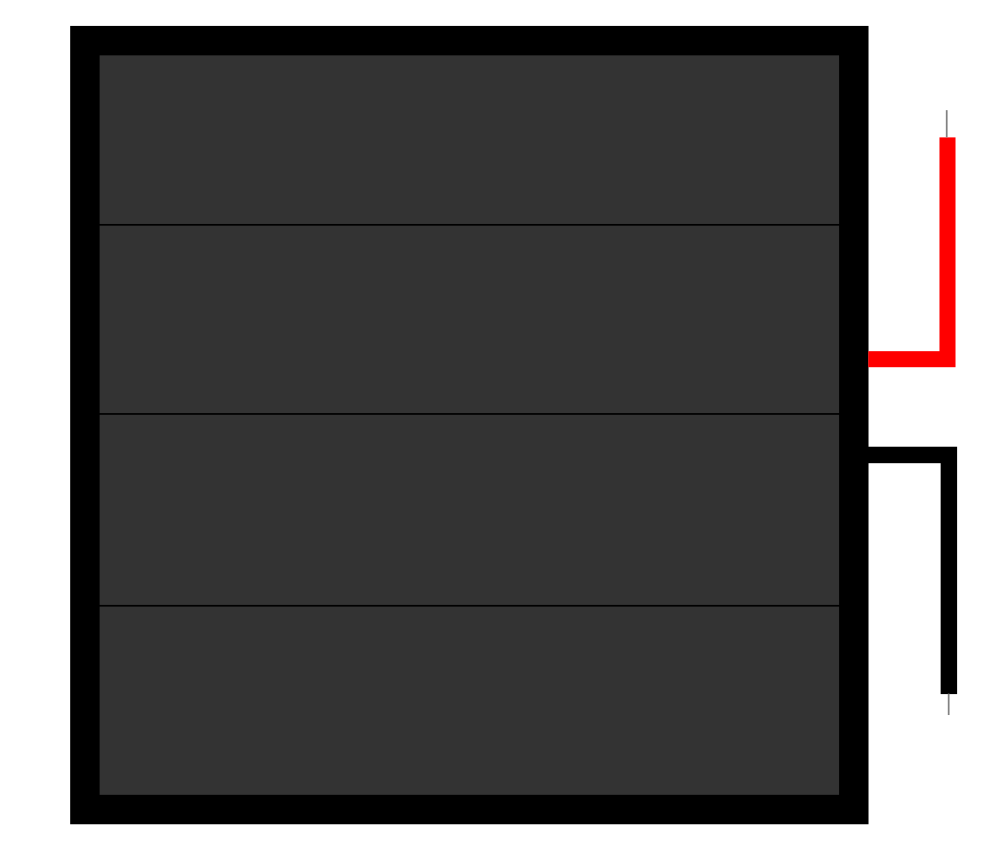
Pin Configuration and Descriptions
Solar cells do not have traditional pins but instead feature terminals for electrical connections. Below is a description of the terminals:
| Terminal | Description |
|---|---|
| Positive (+) | The positive terminal of the solar cell, typically connected to the load or battery's positive terminal. |
| Negative (-) | The negative terminal of the solar cell, typically connected to the load or battery's negative terminal. |
Usage Instructions
How to Use a Solar Cell in a Circuit
Connect the Terminals:
- Identify the positive (+) and negative (-) terminals of the solar cell.
- Connect the positive terminal to the positive input of your load or charge controller.
- Connect the negative terminal to the negative input of your load or charge controller.
Use a Charge Controller:
- When charging a battery, always use a charge controller to regulate the voltage and current from the solar cell. This prevents overcharging and protects the battery.
Series and Parallel Connections:
- To increase voltage, connect multiple solar cells in series (positive terminal of one cell to the negative terminal of the next).
- To increase current, connect multiple solar cells in parallel (positive terminals together and negative terminals together).
Mounting and Orientation:
- Position the solar cell to face direct sunlight for maximum efficiency.
- Ensure the surface is clean and free from obstructions like dirt or debris.
Load Matching:
- Match the load's voltage and current requirements to the solar cell's output for optimal performance.
Important Considerations and Best Practices
- Avoid Shading: Even partial shading can significantly reduce the output of a solar cell.
- Temperature Effects: High temperatures can reduce efficiency. Ensure proper ventilation or cooling if necessary.
- Use Blocking Diodes: When connecting solar cells in parallel, use blocking diodes to prevent reverse current flow.
- Protect Against Overvoltage: Use a voltage regulator or charge controller to protect sensitive devices from overvoltage.
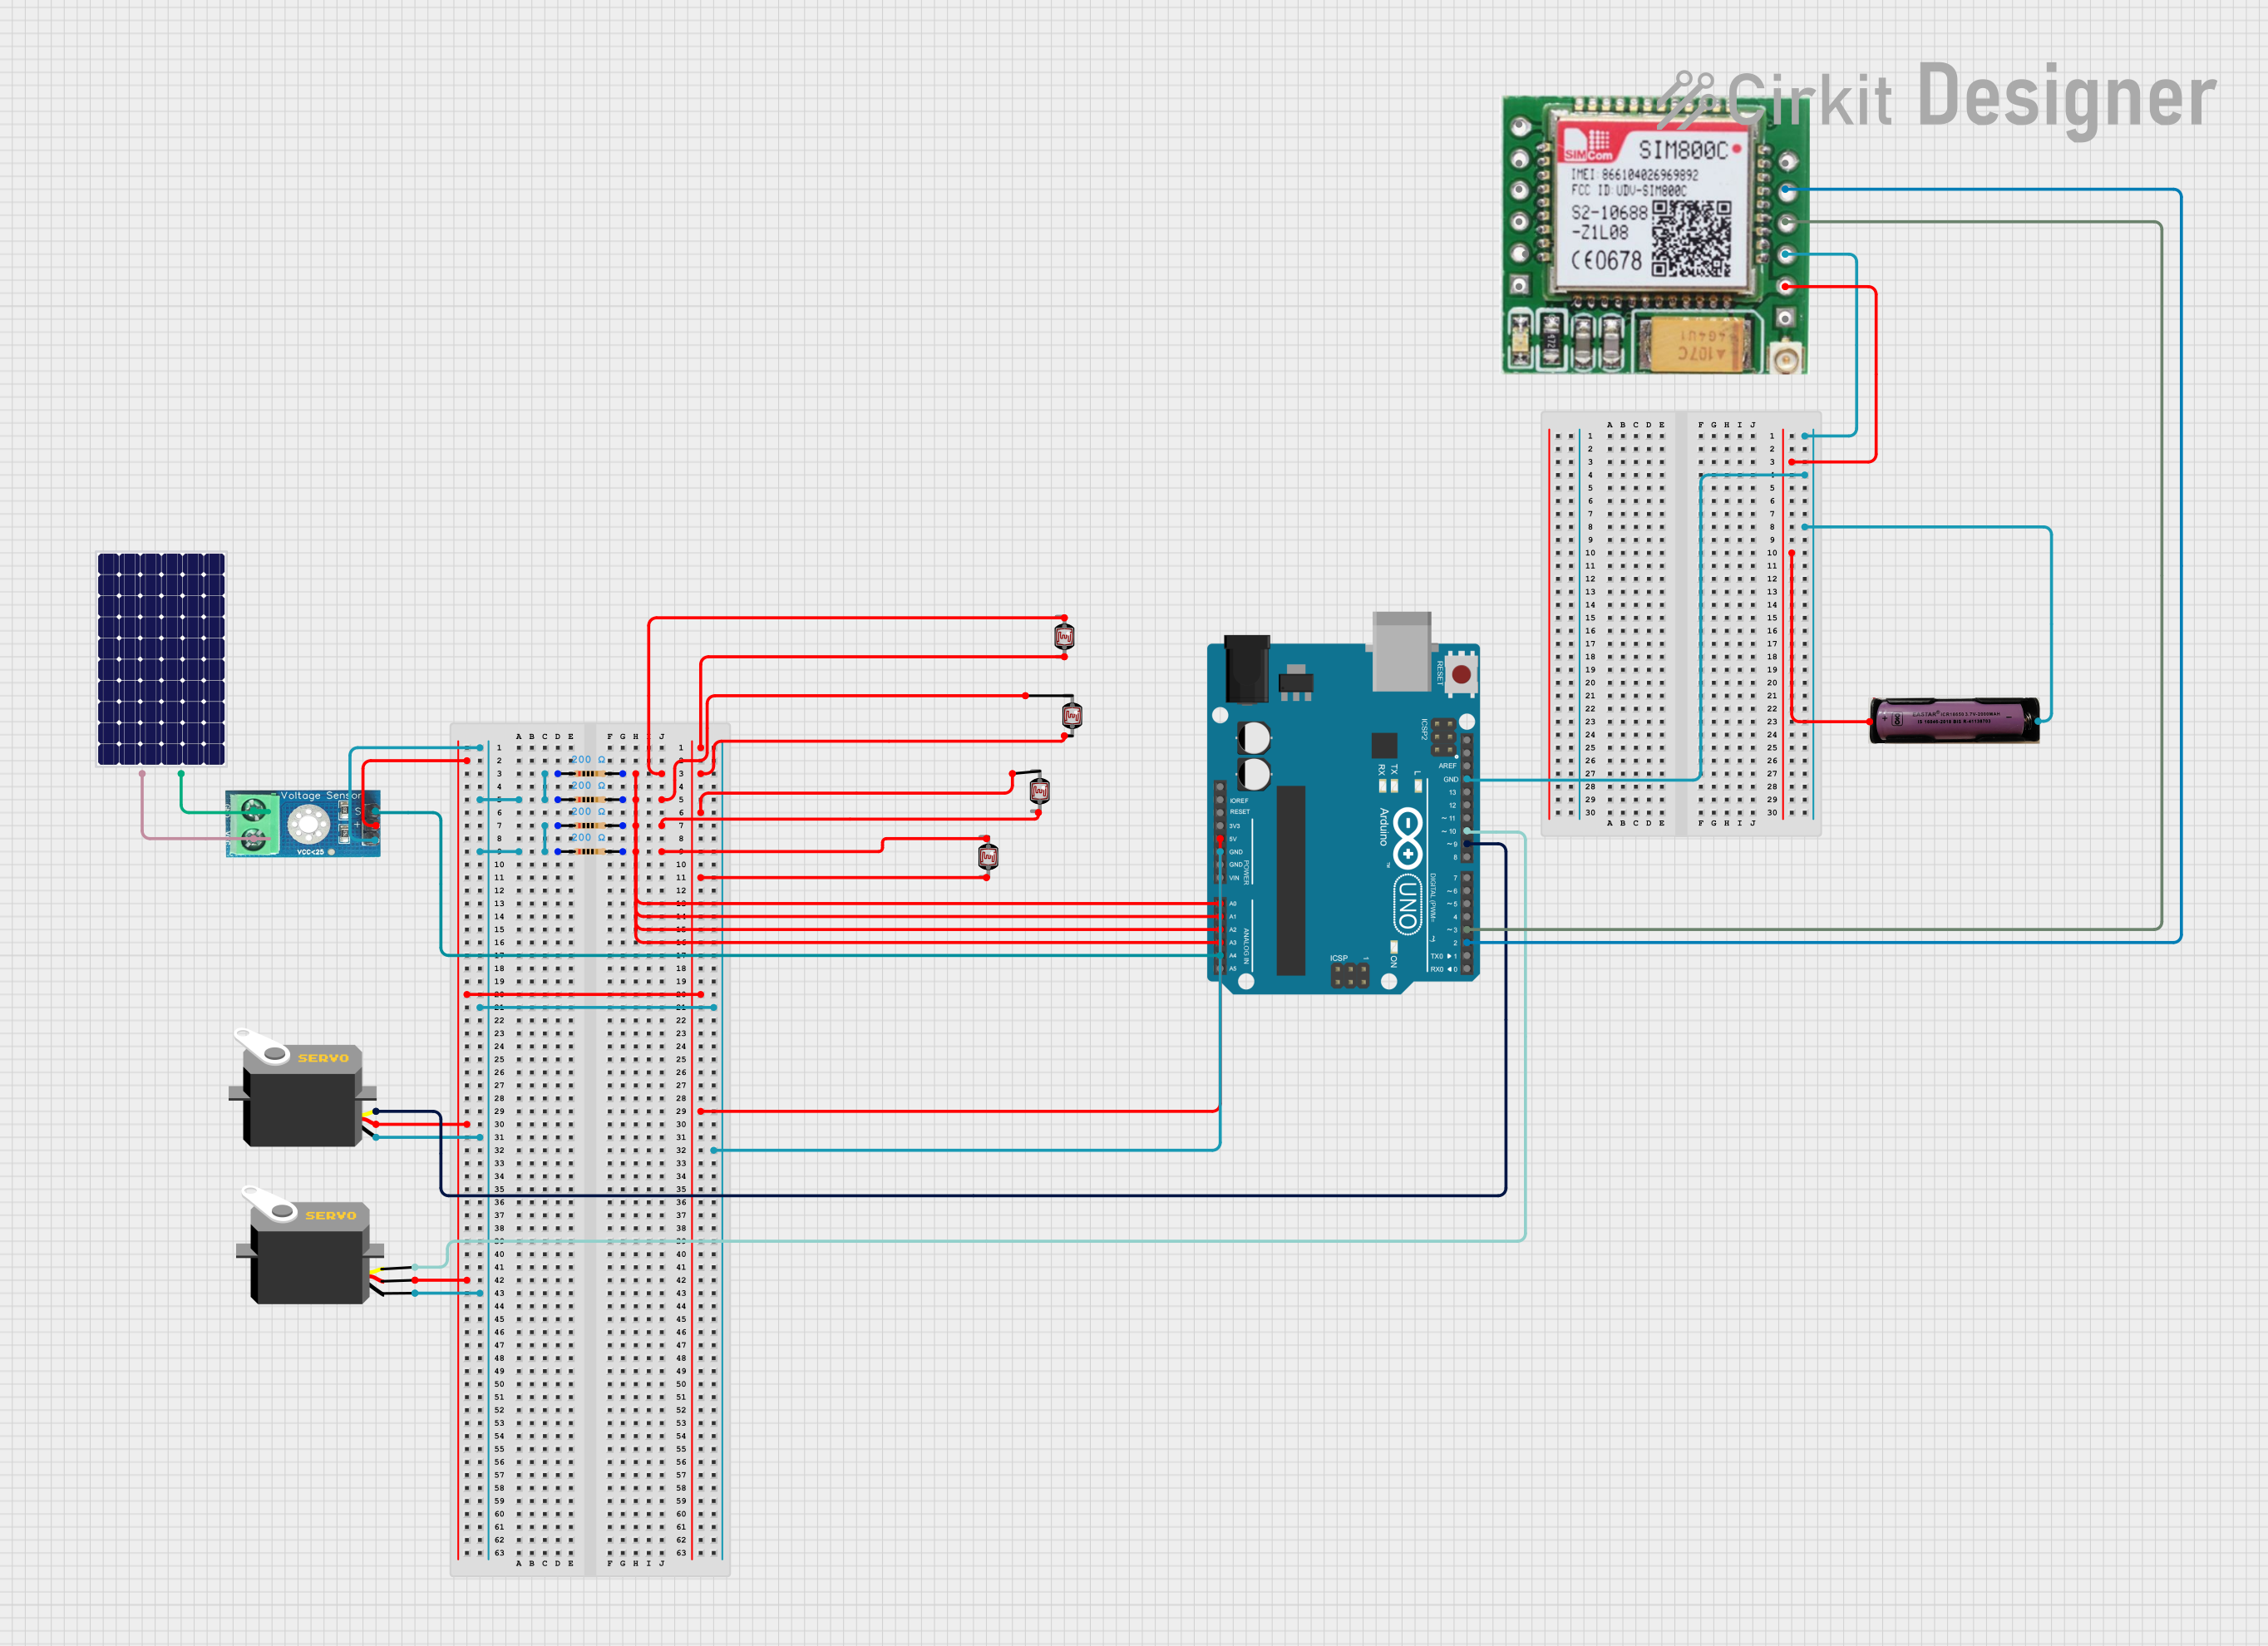
Example: Connecting a Solar Cell to an Arduino UNO
Below is an example of how to use a solar cell to power an Arduino UNO with a battery and charge controller.
Circuit Components
- 1 Solar Cell (5V, 1W)
- 1 Charge Controller
- 1 Rechargeable Battery (e.g., 3.7V Li-ion)
- Arduino UNO
- Connecting Wires
Code Example
// Example code to read voltage from a solar cell using Arduino UNO
// Ensure the solar cell is connected to a battery and charge controller
// before connecting to the Arduino for stable voltage readings.

const int solarPin = A0; // Analog pin to read solar cell voltage
float voltage = 0.0;

void setup() {
  Serial.begin(9600); // Initialize serial communication
}

void loop() {
  int sensorValue = analogRead(solarPin); // Read analog value from solar cell
  voltage = sensorValue * (5.0 / 1023.0); // Convert to voltage (5V reference)

  // Print the voltage to the Serial Monitor
  Serial.print("Solar Cell Voltage: ");
  Serial.print(voltage);
  Serial.println(" V");

  delay(1000); // Wait for 1 second before next reading
}
Troubleshooting and FAQs
Common Issues and Solutions
Low or No Output Voltage:
- Cause: Insufficient sunlight or shading.
- Solution: Ensure the solar cell is exposed to direct sunlight and free from obstructions.
Overheating:
- Cause: High ambient temperature or poor ventilation.
- Solution: Provide adequate airflow or cooling to maintain efficiency.
Reverse Current Flow:
- Cause: Lack of blocking diodes in parallel connections.
- Solution: Install blocking diodes to prevent reverse current.
Battery Not Charging:
- Cause: Incorrect wiring or faulty charge controller.
- Solution: Verify connections and ensure the charge controller is functioning properly.
FAQs
Q: Can I connect a solar cell directly to a battery?
- A: It is not recommended. Always use a charge controller to regulate the voltage and current to prevent overcharging or damaging the battery.
Q: How do I clean a solar cell?
- A: Use a soft cloth and water to gently clean the surface. Avoid abrasive materials that could scratch the cell.
Q: Can solar cells work indoors?
- A: Solar cells can generate a small amount of power from artificial light, but their efficiency is significantly reduced compared to direct sunlight.
Q: What happens if a solar cell is partially shaded?
- A: Partial shading can cause a significant drop in output power. Use bypass diodes in solar panel arrays to mitigate this issue.
By following this documentation, you can effectively use and troubleshoot solar cells in various applications.