A 5A fuse is an essential safety component in electrical and electronic systems. It is designed to protect circuits by interrupting the flow of current if it exceeds a specified level, in this case, 5 amperes. When the current flowing through the fuse exceeds 5A, the internal metal wire heats up and melts, opening the circuit and preventing the flow of excess current which could otherwise cause damage to components or even lead to fire hazards. Common applications include household electronics, automotive systems, and various industrial equipment.
Explore Projects Built with 5A Fuse
Use Cirkit Designer to design, explore, and prototype these projects online. Some projects support real-time simulation. Click "Open Project" to start designing instantly!
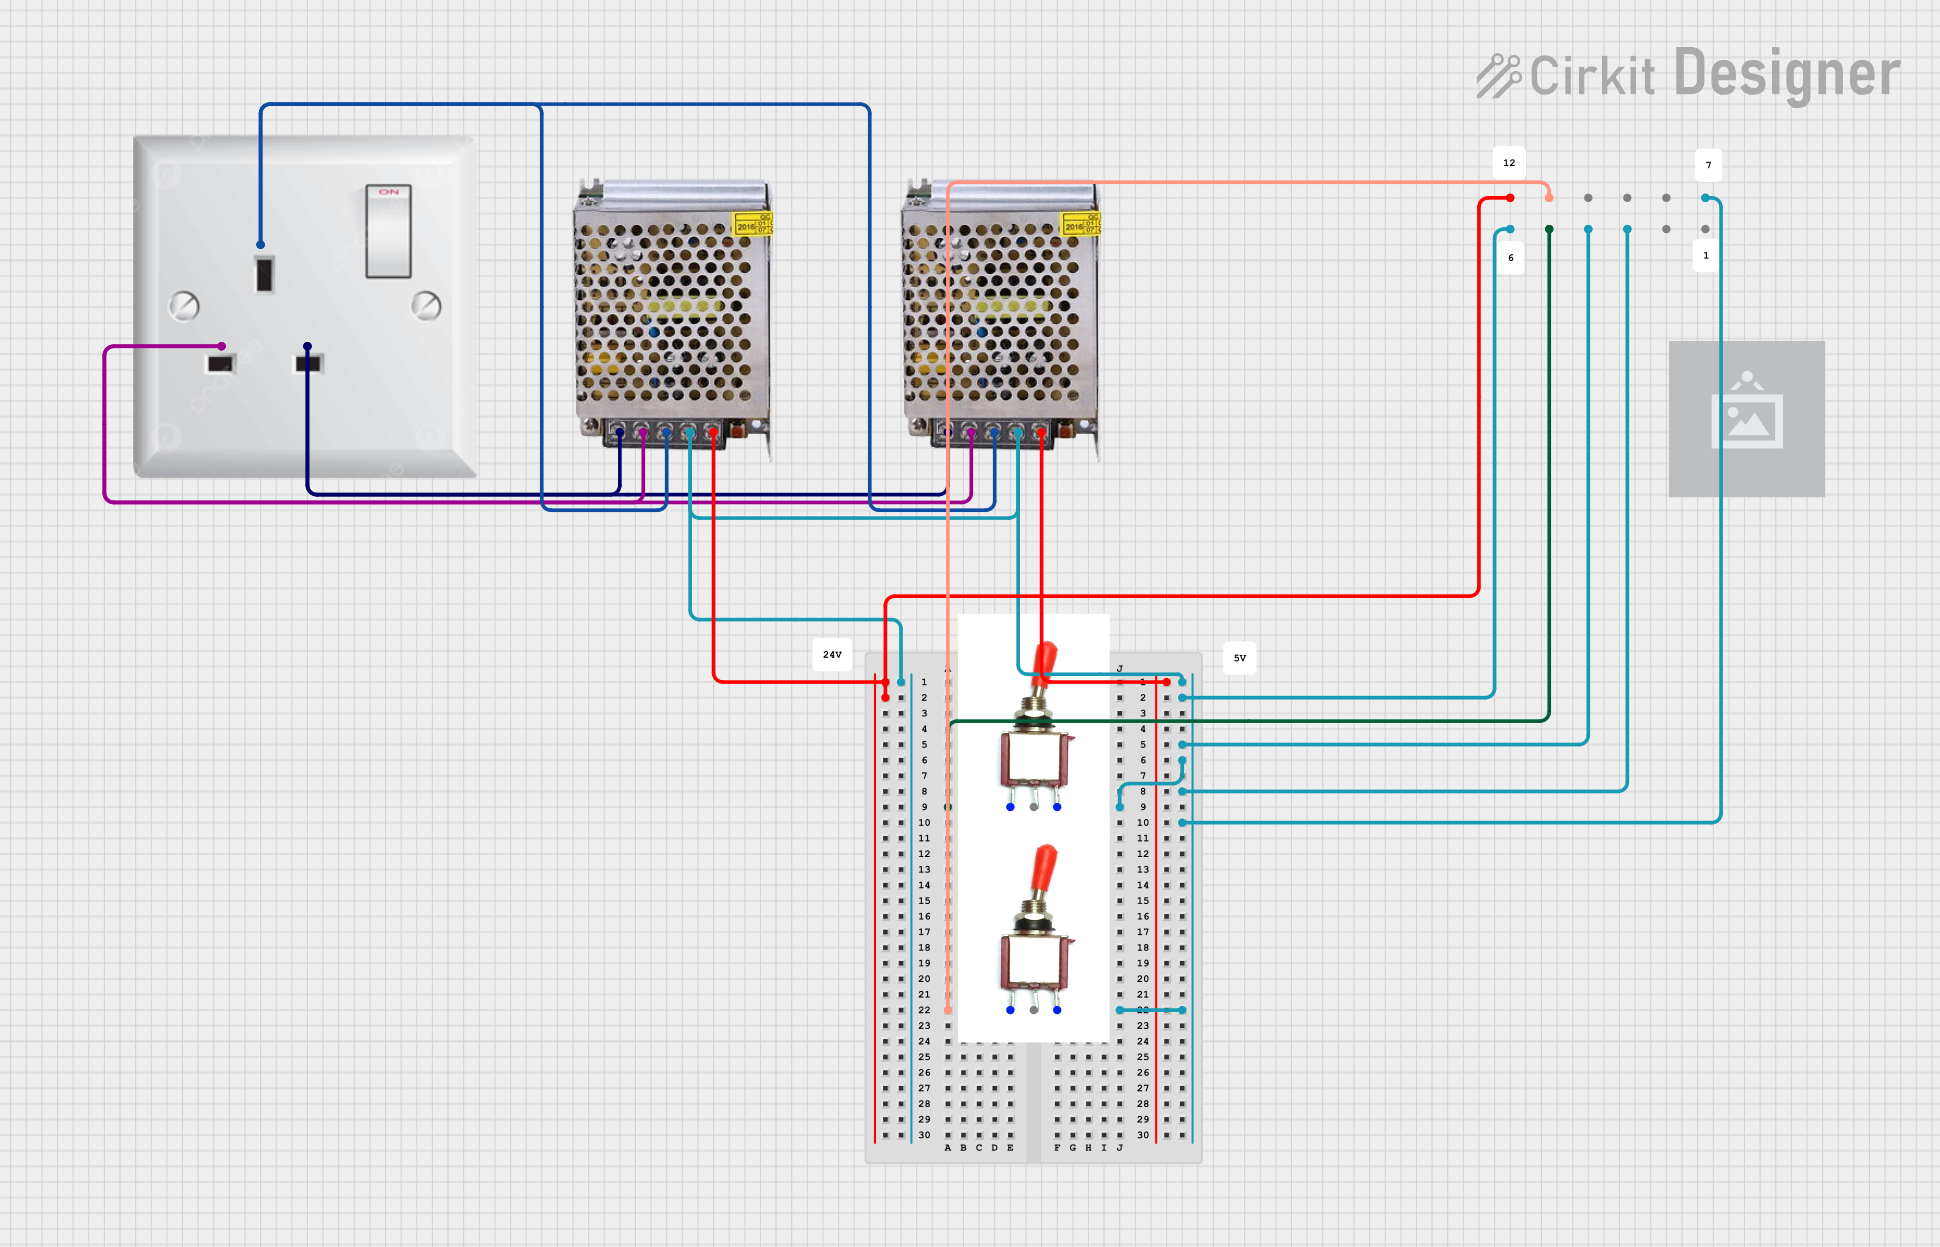
This circuit consists of two 5V 5A power supplies connected to an AC wall plug point, providing DC output through a 12-way connector. The ground connections from both power supplies are interconnected and also connected to the ground pins of two toggle switches. The DC outputs from the power supplies are separately connected to different pins on the 12-way connector, with each power supply output being switchable via one of the toggle switches.
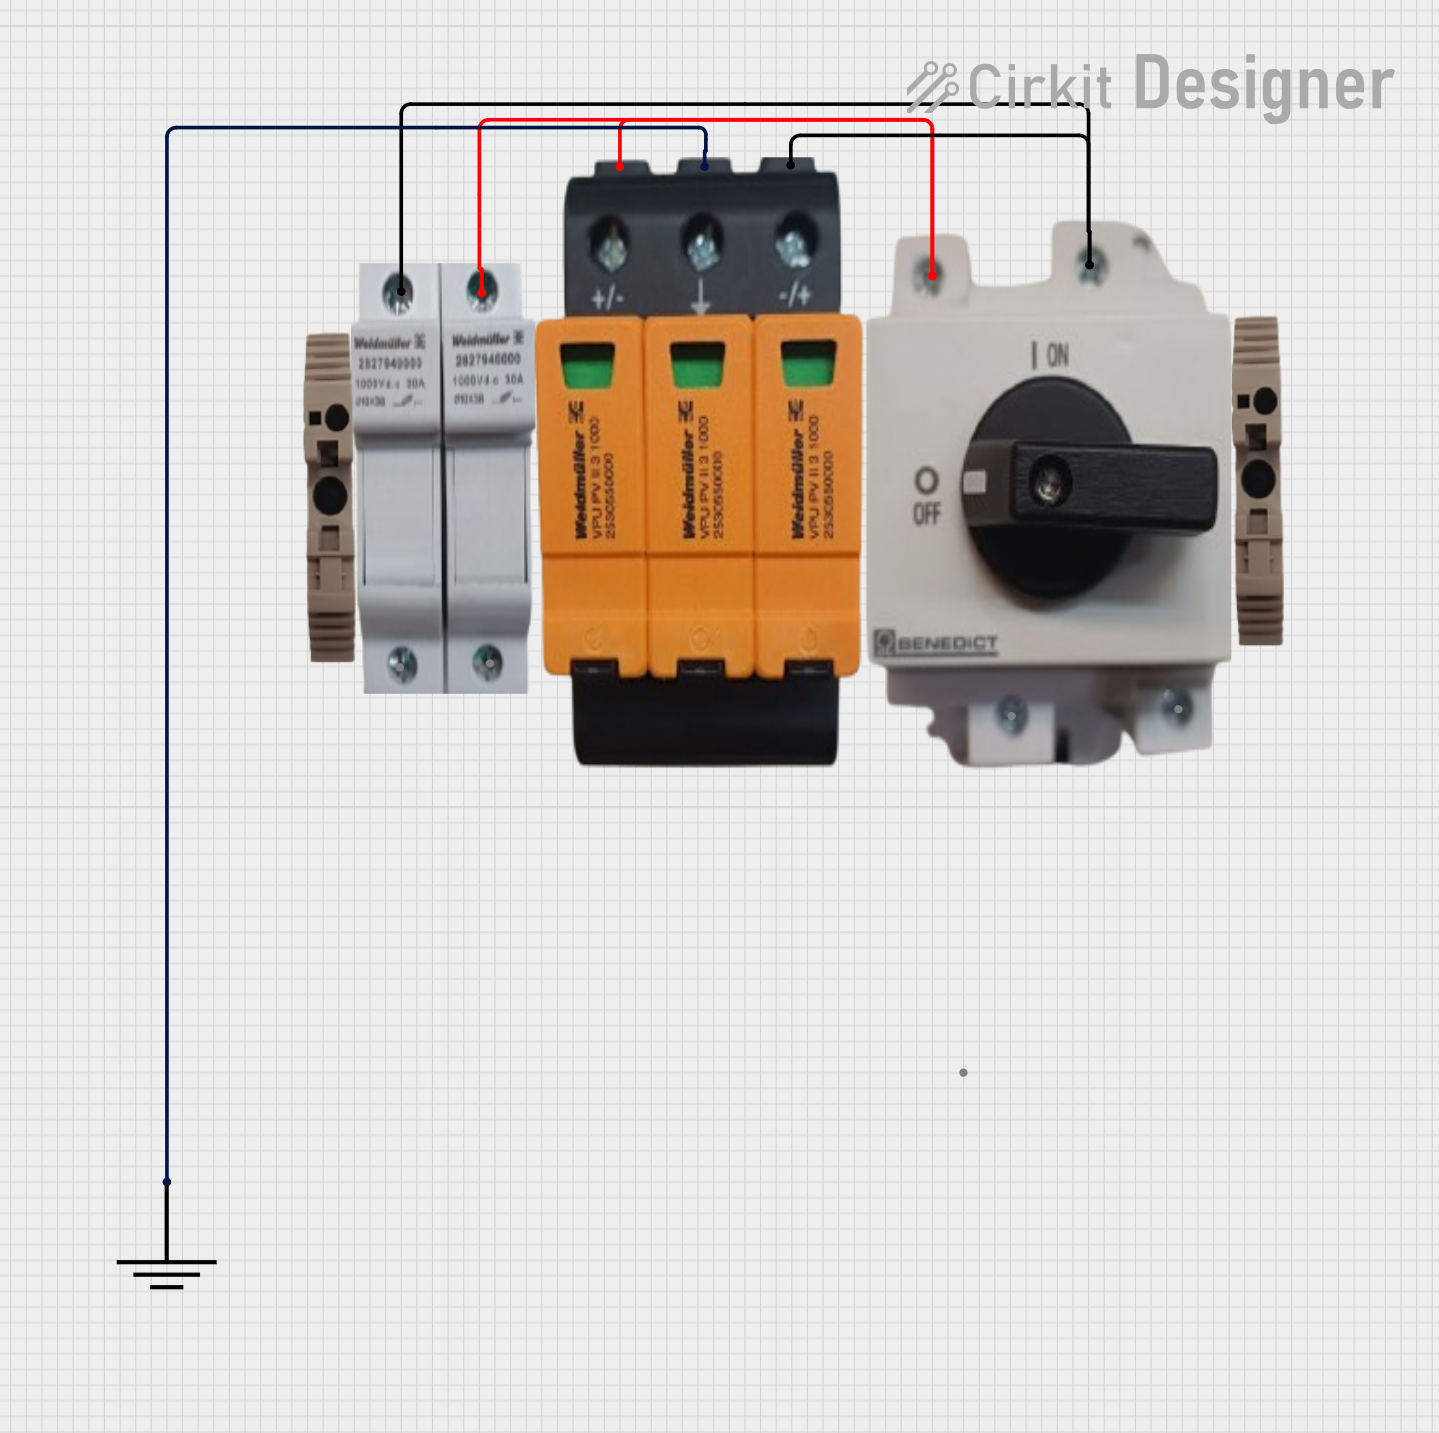
The circuit includes a Benedict Switch connected in series with a Fuse Holder and an SPD (Surge Protection Device). The SPD is also connected to a Ground reference. This configuration suggests that the circuit is designed to control power flow, protect against overcurrent with the fuse, and guard against voltage surges with the SPD, with a safe path to ground for surge dissipation.
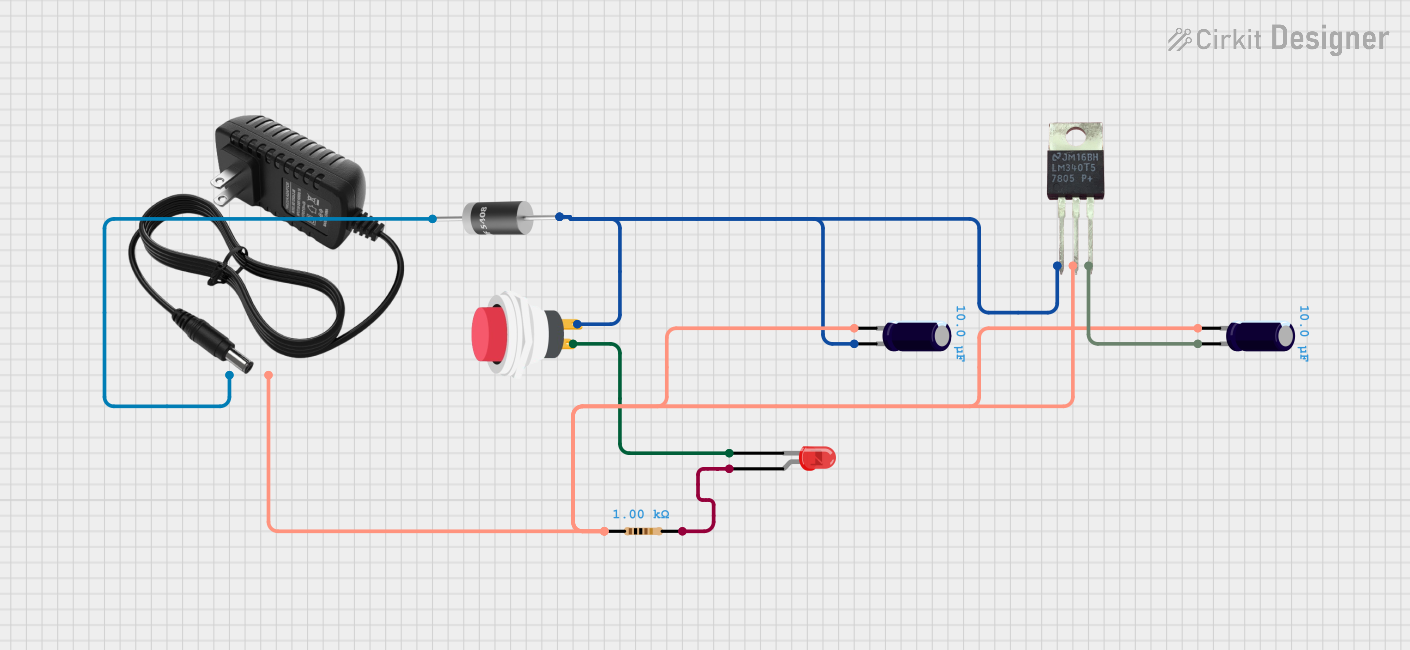
This circuit is a 12V to 5V regulated power supply with an LED indicator. It uses a 5408 diode for reverse polarity protection, an LM340T5 7805 voltage regulator to step down the voltage to 5V, and a push switch to control the LED indicator. The circuit also includes capacitors for filtering and a resistor to limit the current through the LED.
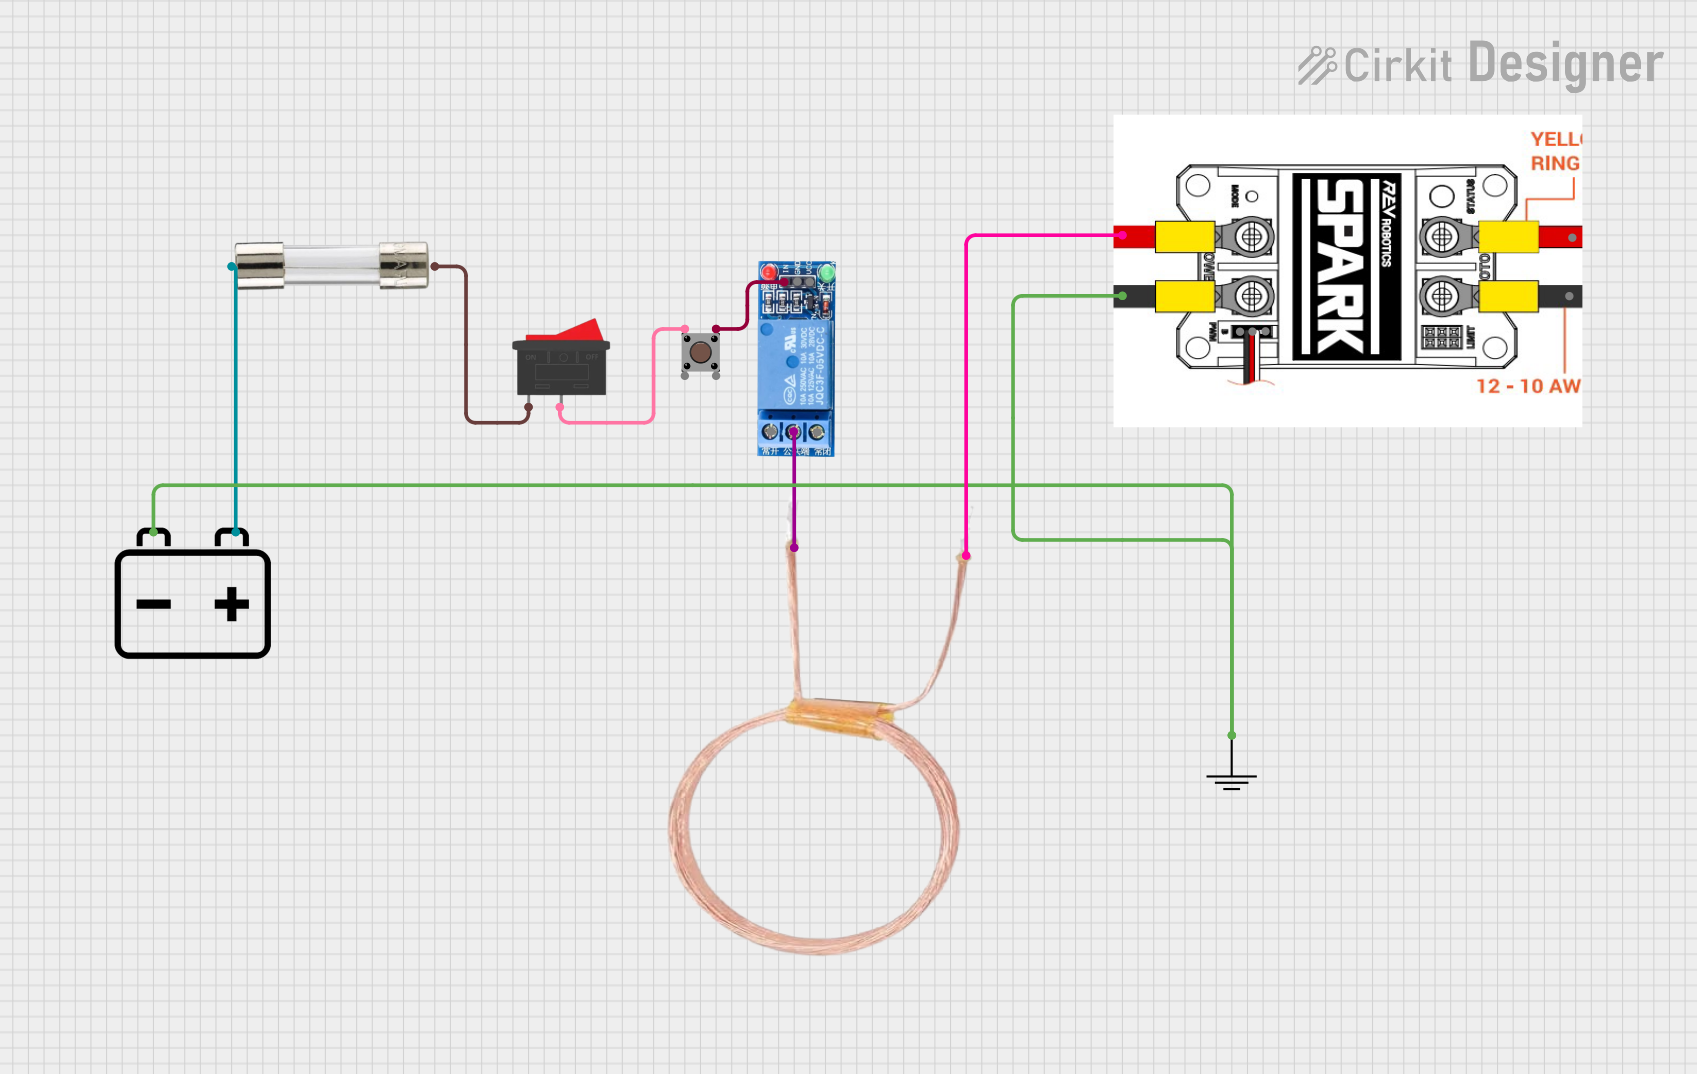
This circuit is designed to control a high-power device using a relay, which is activated by a pushbutton. The circuit includes a 12V battery for power, a fuse for protection, and a rocker switch to enable or disable the pushbutton control. When the pushbutton is pressed, it triggers the relay to connect the high-power device, which is protected by a copper coil.
Maximum Voltage Rating: Typically 250V AC or 125V DC (varies by fuse type)
Breaking Capacity: Varies by design and manufacturer (e.g., 50A at 250V AC)
Body Material: Glass or Ceramic
Operating Temperature: -55°C to +125°C (varies by fuse type)
Pin Configuration and Descriptions
Fuses do not have pins but are instead available in various form factors such as cartridge or automotive blade fuses. Below is a description of the typical form factors for a 5A fuse:
Form Factor
Description
Glass Cartridge
A cylindrical glass body with metal end caps for contact points.
Ceramic Cartridge
Similar to glass but with a ceramic body for higher interrupting rating and voltage capabilities.
Blade Type (Automotive)
A plastic housing with two metal prongs that plug into a fuse block or holder.
Usage Instructions
How to Use the Component in a Circuit
Select the Appropriate Fuse: Ensure the fuse's voltage rating is suitable for the circuit and the current rating is slightly above the normal operating current.
Install the Fuse: Insert the fuse into a fuse holder or fuse block that matches the form factor of the fuse.
Positioning: Place the fuse as close to the power source as possible to protect the entire circuit.
Circuit Completion: Complete the circuit by connecting the load and power source. The fuse should be in series with the load.
Important Considerations and Best Practices
Correct Rating: Always use a fuse with the correct current and voltage rating for your circuit.
Orientation: Fuses are not polarized, so they can be installed in any orientation.
Inspection: Regularly inspect fuses for signs of damage or discoloration.
Replacement: Replace fuses with an identical type and rating. Never bypass or replace with a higher-rated fuse.
Safety: Always disconnect power before replacing a fuse.
Troubleshooting and FAQs
Common Issues
Fuse Blows Frequently: This may indicate an issue with the circuit, such as a short circuit or an overcurrent condition.
No Power to Circuit: Ensure the fuse is properly seated and not blown. Check for continuity with a multimeter.
Solutions and Tips for Troubleshooting
Continuity Check: Use a multimeter to check for continuity across the fuse. A blown fuse will show no continuity.
Inspect Circuit: Look for signs of damage, such as burnt components or wires, which could cause overcurrent.
Replace Fuse: If the fuse is blown, replace it with a new one of the same rating and type.
FAQs
Q: Can I replace a 5A fuse with one of a higher rating to prevent it from blowing?
A: No, replacing a fuse with a higher rating can be dangerous and may cause damage to your circuit or create a fire hazard.
Q: How do I know if a fuse is blown without a multimeter?
A: For glass fuses, you can often see if the internal wire is intact. For opaque fuses, you will need a multimeter to check for continuity.
Q: Are all 5A fuses the same size?
A: No, 5A fuses come in different sizes and form factors. Always use the correct size for your fuse holder.
Q: Can I use a 5A fuse in a 12V DC circuit?
A: Yes, as long as the fuse's voltage rating is equal to or greater than the circuit voltage.
Q: Is it safe to handle fuses with bare hands?
A: Yes, but ensure power to the circuit is off before touching the fuse to avoid electric shock.
Example Code for Arduino UNO
If you are using a 5A fuse in a project with an Arduino UNO, the fuse would be part of the power supply circuit protecting the Arduino and other components. There is no direct interaction with the Arduino's code, but here is an example of how you might set up a simple LED circuit that the fuse would protect:
// Define the LED pin
const int ledPin = 13;

void setup() {
  // Set the LED pin as an output
  pinMode(ledPin, OUTPUT);
}

void loop() {
  // Turn the LED on
  digitalWrite(ledPin, HIGH);
  // Wait for one second
  delay(1000);
  // Turn the LED off
  digitalWrite(ledPin, LOW);
  // Wait for one second
  delay(1000);
}
In this example, the 5A fuse would be placed in series with the positive line of the power supply to the Arduino UNO. If for any reason the current exceeds 5A, the fuse will blow and protect the Arduino and the LED from damage.

 Open Project in Cirkit Designer