How to Use SparkFun USB-C Host Shield: Examples, Pinouts, and Specs
Introduction
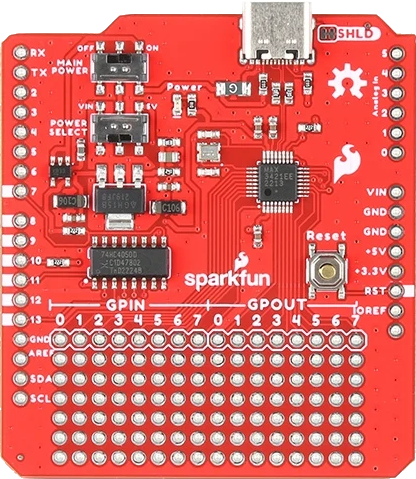
The SparkFun USB-C Host Shield (DEV-21247) is a versatile add-on board designed to enable microcontrollers to interface with USB-C devices. This shield provides support for USB-C data transfer and power delivery, making it an excellent choice for projects requiring USB-C connectivity. It is built around the MAX3421E USB peripheral/host controller, which allows microcontrollers to act as a USB host.
Explore Projects Built with SparkFun USB-C Host Shield
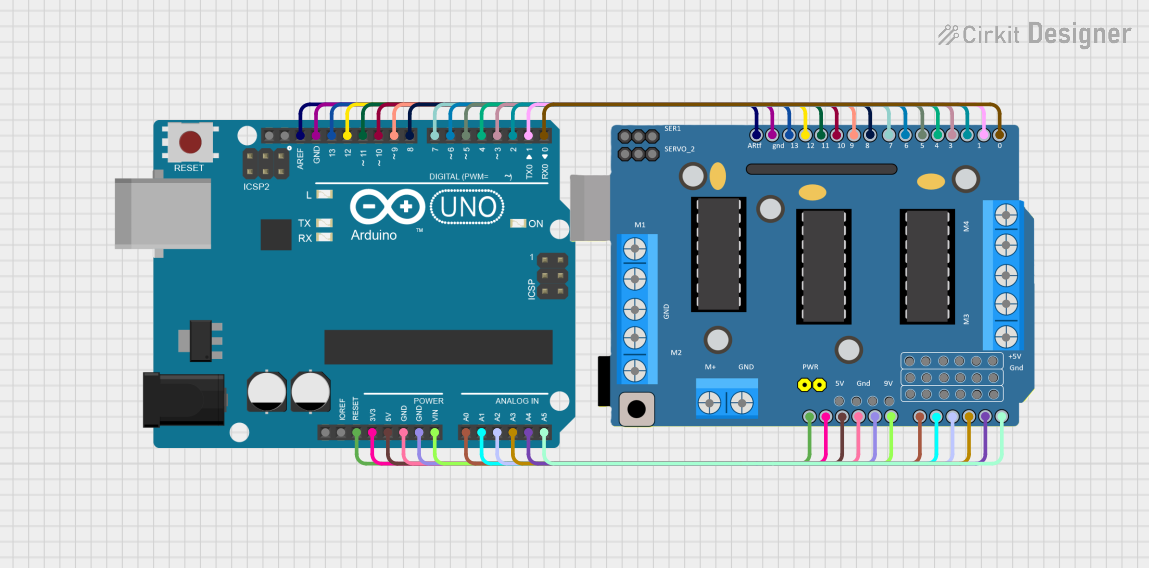


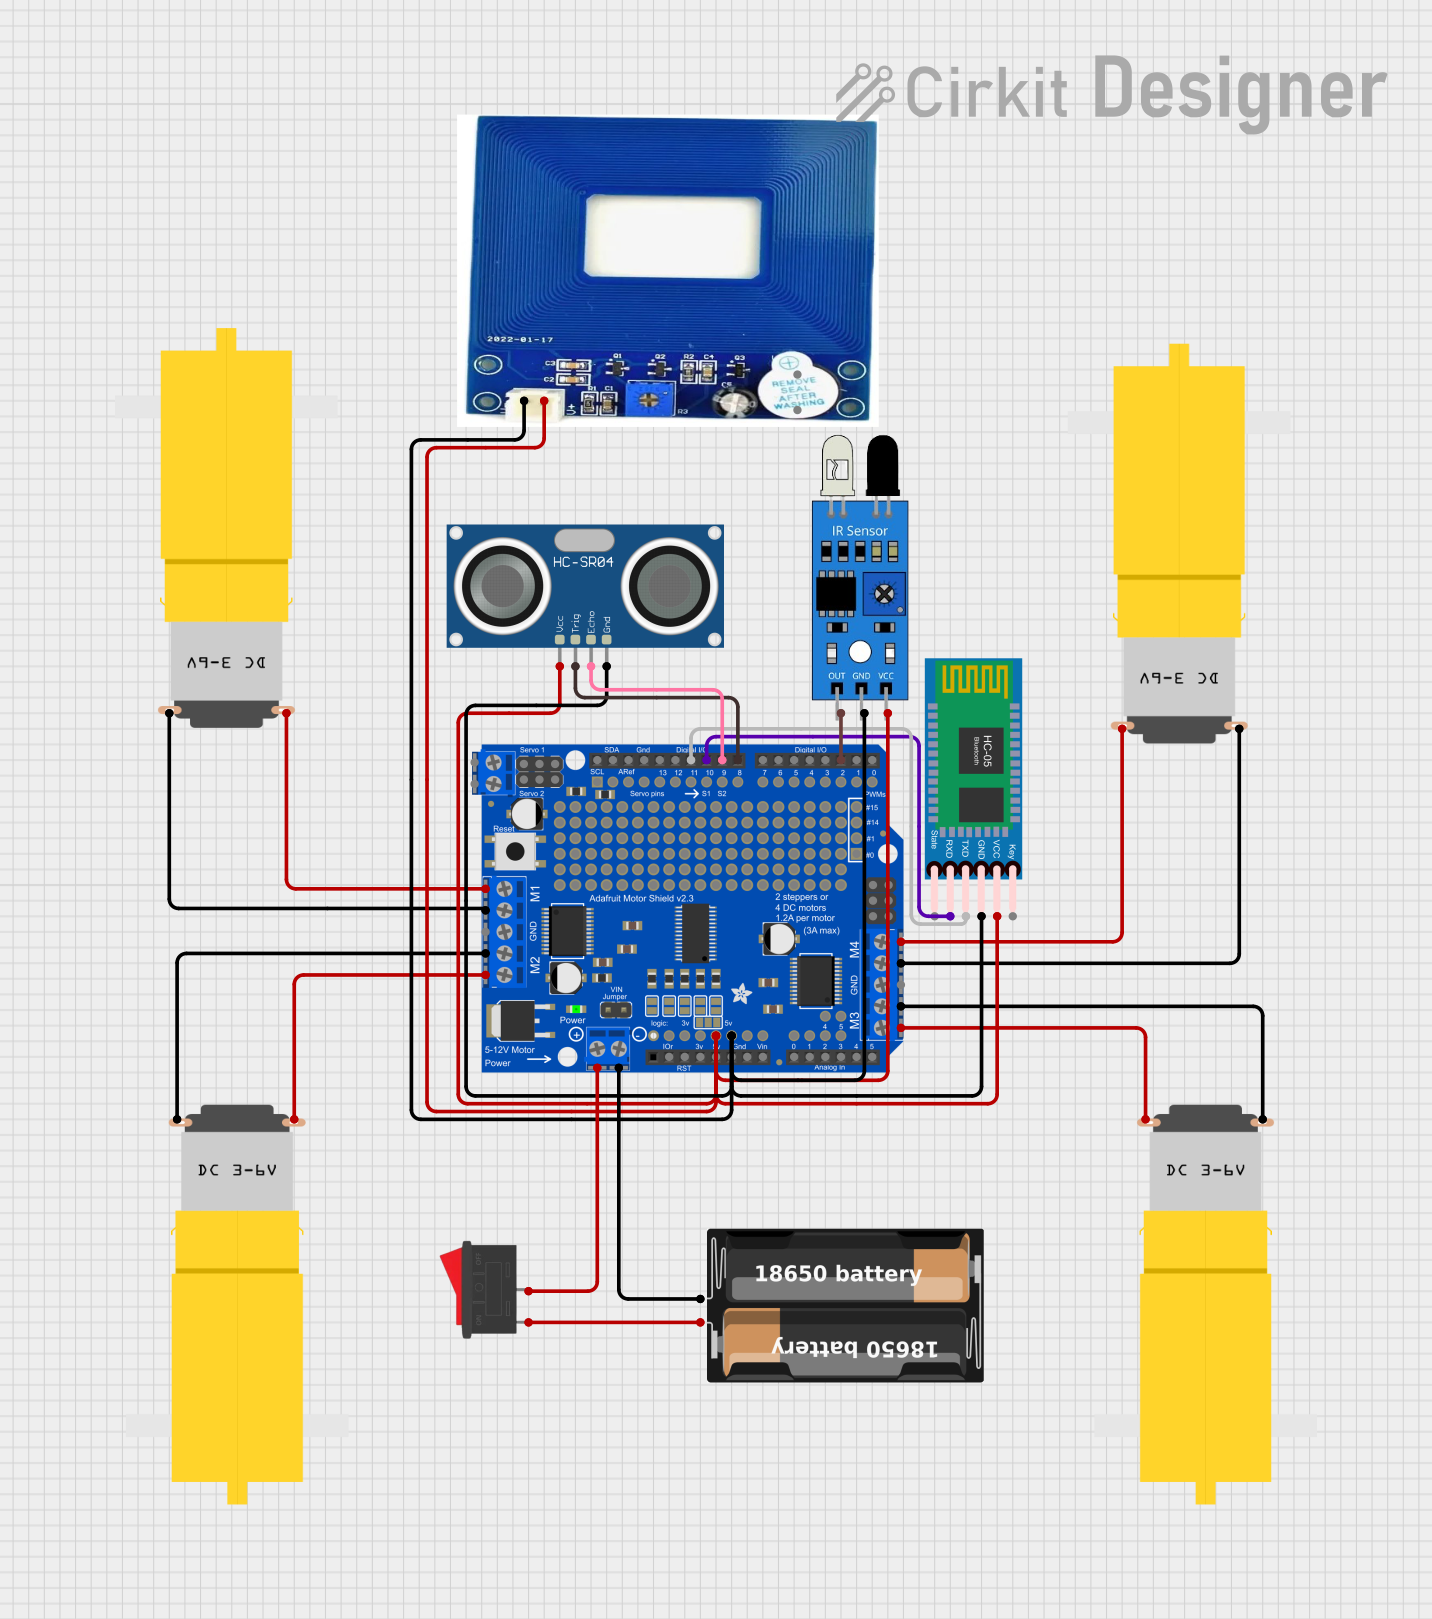
Explore Projects Built with SparkFun USB-C Host Shield
Common Applications and Use Cases
- Connecting USB-C peripherals (e.g., keyboards, mice, flash drives) to microcontrollers.
- Enabling USB-C power delivery for powering external devices.
- Developing USB host applications, such as data logging or device communication.
- Prototyping USB-C-based IoT devices.
Technical Specifications
The following are the key technical details of the SparkFun USB-C Host Shield:
| Specification | Details |
|---|---|
| Manufacturer | SparkFun |
| Part Number | DEV-21247 |
| USB Controller | MAX3421E USB peripheral/host controller |
| USB Port Type | USB-C |
| Operating Voltage | 3.3V or 5V (selectable via jumper) |
| Communication Interface | SPI (Serial Peripheral Interface) |
| Power Delivery Support | Yes (up to 5V, 3A) |
| Dimensions | 68.6mm x 53.3mm (compatible with Arduino Uno form factor) |
| Operating Temperature | -40°C to +85°C |
Pin Configuration and Descriptions
The SparkFun USB-C Host Shield uses the following pin configuration for interfacing with a microcontroller:
| Pin Name | Pin Type | Description |
|---|---|---|
MISO |
Output | SPI Master-In-Slave-Out (data from shield to microcontroller). |
MOSI |
Input | SPI Master-Out-Slave-In (data from microcontroller to shield). |
SCK |
Input | SPI clock signal. |
SS |
Input | SPI slave select (active low). |
INT |
Output | Interrupt pin for signaling events from the USB controller. |
GND |
Power | Ground connection. |
3.3V |
Power | 3.3V power supply input/output. |
5V |
Power | 5V power supply input/output. |
Usage Instructions
How to Use the Component in a Circuit
Hardware Setup:
- Attach the SparkFun USB-C Host Shield to an Arduino Uno or compatible microcontroller.
- Ensure the SPI pins (
MISO,MOSI,SCK, andSS) are properly connected. - If using 3.3V logic, set the voltage jumper on the shield to 3.3V. For 5V logic, set it to 5V.
- Connect a USB-C device to the shield's USB-C port.
Software Setup:
- Install the required USB Host Shield library for Arduino. You can find it in the Arduino Library Manager by searching for "USB Host Shield Library 2.0."
- Include the library in your Arduino sketch.
Example Code: Below is an example Arduino sketch to detect a USB device connected to the shield:
#include <Usb.h> // Include the USB Host Shield library #include <usbhub.h> // Include the USB hub support library USBHost usb; // Create a USBHost object void setup() { Serial.begin(9600); // Initialize serial communication if (usb.Init() == -1) { Serial.println("USB Host Shield initialization failed!"); while (1); // Halt execution if initialization fails } Serial.println("USB Host Shield initialized successfully."); } void loop() { usb.Task(); // Process USB tasks // Add your USB device handling code here }- Upload the code to your Arduino Uno.
- Open the Serial Monitor to view messages about the USB device connection.
Important Considerations and Best Practices
- Power Delivery: Ensure the connected USB-C device does not exceed the shield's power delivery limit (5V, 3A).
- Voltage Selection: Match the shield's voltage jumper setting to your microcontroller's logic level (3.3V or 5V).
- Library Compatibility: Use the latest version of the USB Host Shield Library 2.0 for optimal performance.
- Device Compatibility: Not all USB-C devices are supported. Check the USB Host Shield Library documentation for a list of compatible devices.
Troubleshooting and FAQs
Common Issues and Solutions
USB Host Shield Initialization Fails:
- Cause: Incorrect wiring or voltage mismatch.
- Solution: Verify the SPI connections and ensure the voltage jumper is set correctly.
USB Device Not Detected:
- Cause: Incompatible USB device or insufficient power.
- Solution: Check the device compatibility list and ensure the device's power requirements are within the shield's limits.
Intermittent Communication Errors:
- Cause: Noise or poor connections.
- Solution: Use shorter, high-quality cables and ensure all connections are secure.
FAQs
Q1: Can the shield be used with microcontrollers other than Arduino Uno?
A1: Yes, the shield can be used with other microcontrollers that support SPI communication, but you may need to adjust the pin connections and software configuration.
Q2: Does the shield support USB 3.0 or USB-C alternate modes (e.g., DisplayPort)?
A2: No, the shield only supports USB 2.0 data transfer and power delivery. USB 3.0 and alternate modes are not supported.
Q3: How can I debug issues with connected USB devices?
A3: Use the Serial Monitor to view debug messages from the USB Host Shield Library. Enable verbose debugging in the library settings if needed.
By following this documentation, you can effectively integrate the SparkFun USB-C Host Shield into your projects and troubleshoot common issues.