
How to Use Holybro Kakute H7 Mini Flight Controller: Examples, Pinouts, and Specs
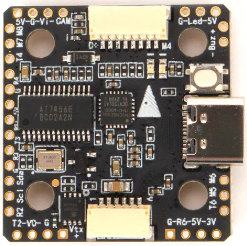
 Design with Holybro Kakute H7 Mini Flight Controller in Cirkit Designer
Introduction
The Holybro Kakute H7 Mini Flight Controller is a compact and powerful flight controller designed specifically for drones. It features advanced processing capabilities, an integrated On-Screen Display (OSD), and support for various flight modes. This makes it an excellent choice for both racing and freestyle drone applications. Its small form factor and robust design allow it to fit into tight builds while delivering reliable performance.
Explore Projects Built with Holybro Kakute H7 Mini Flight Controller
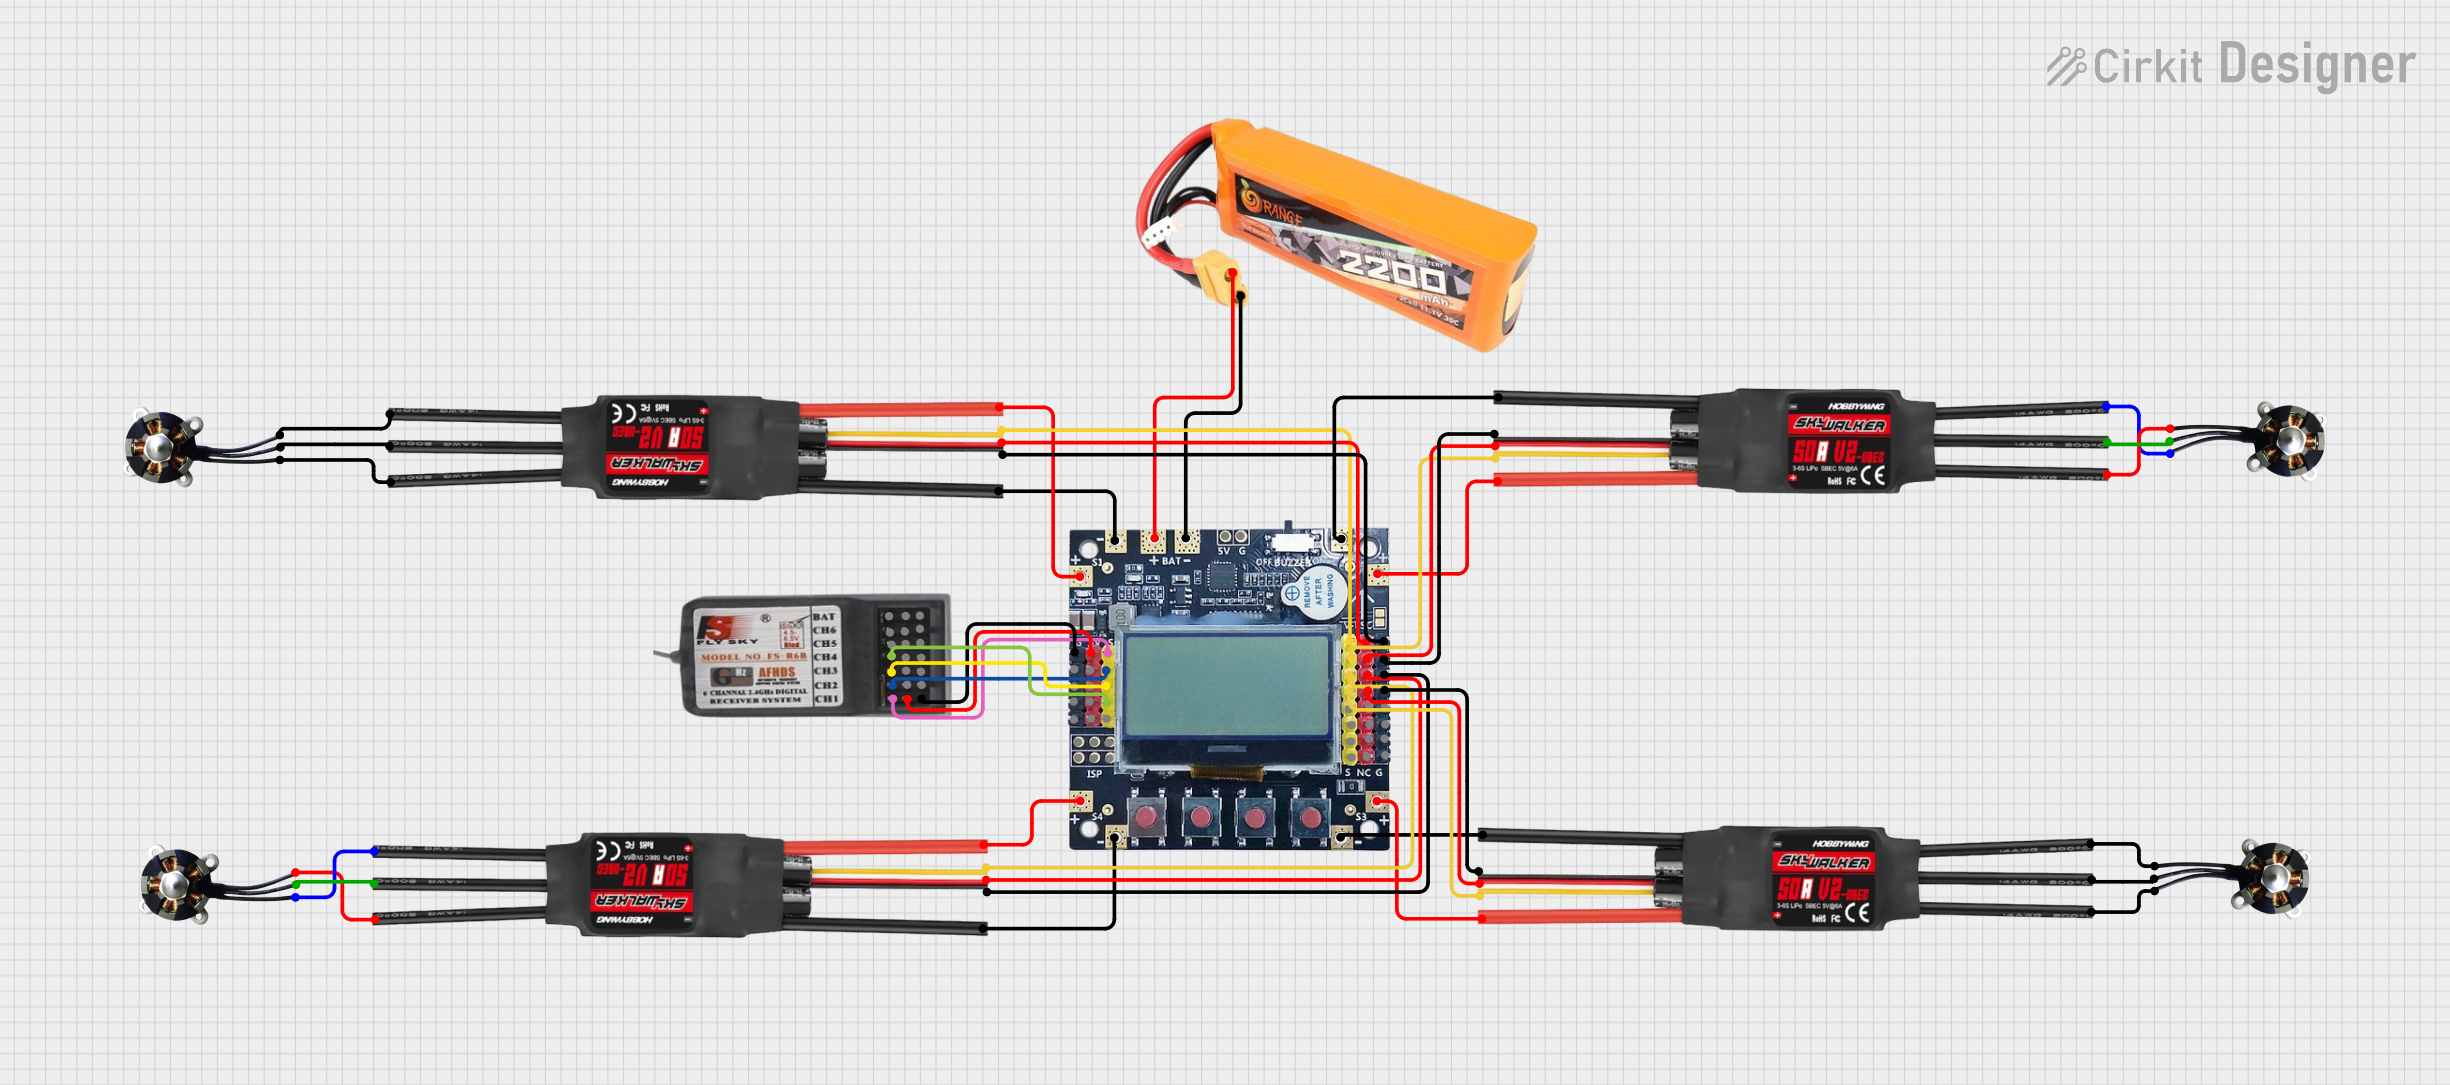 Open Project in Cirkit Designer
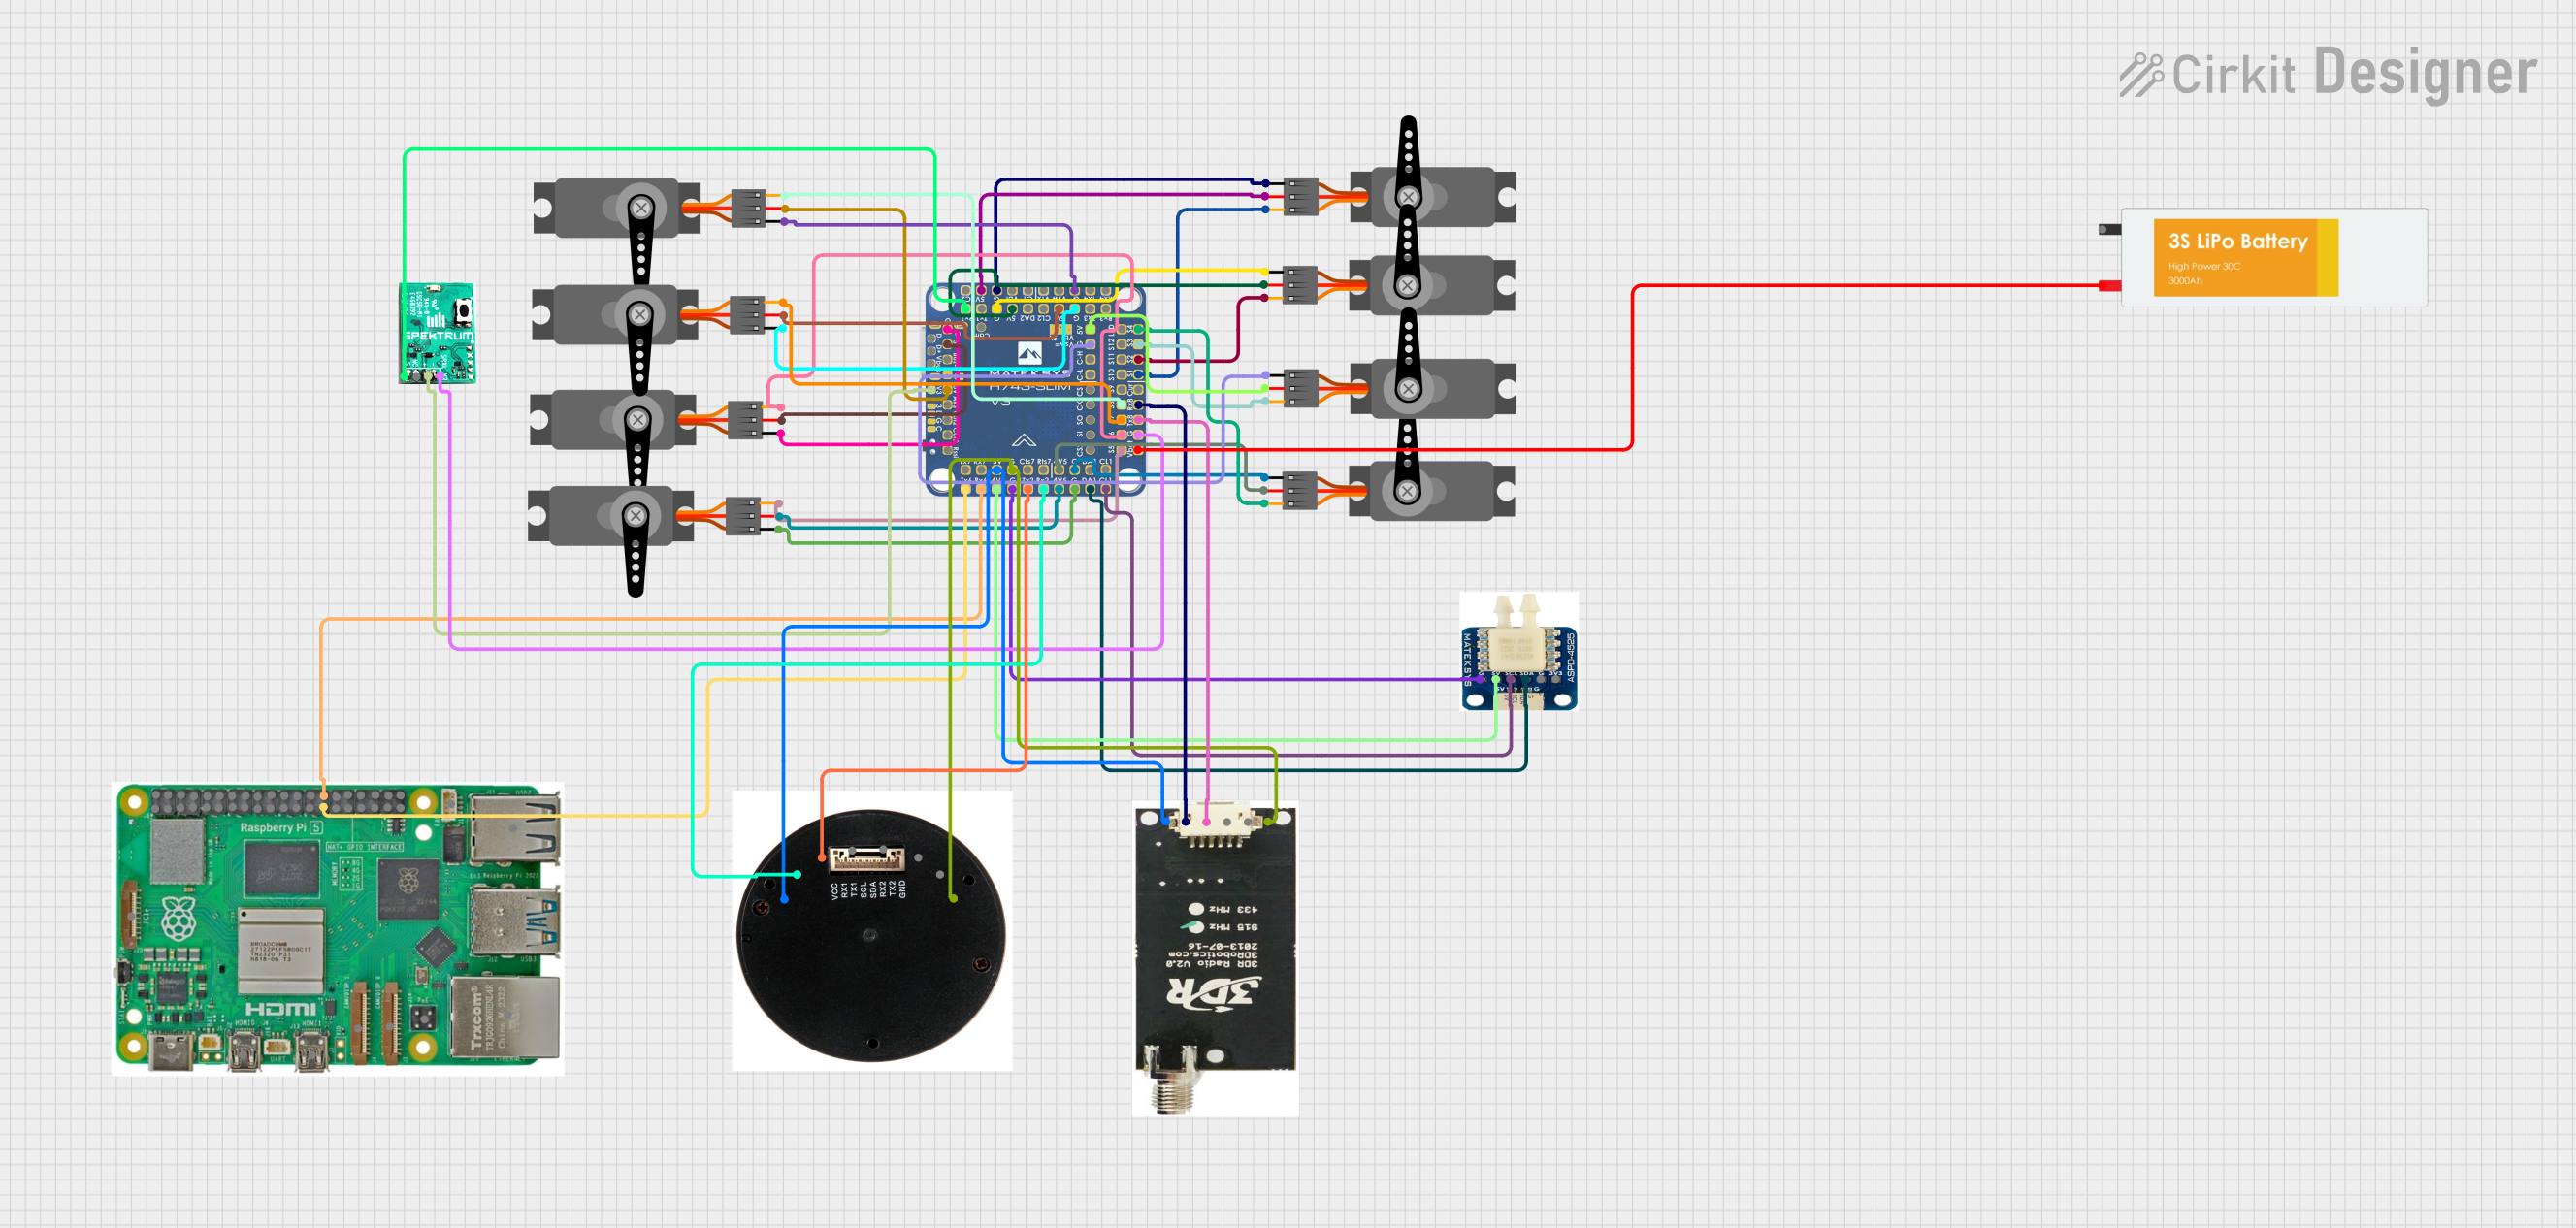 Open Project in Cirkit Designer
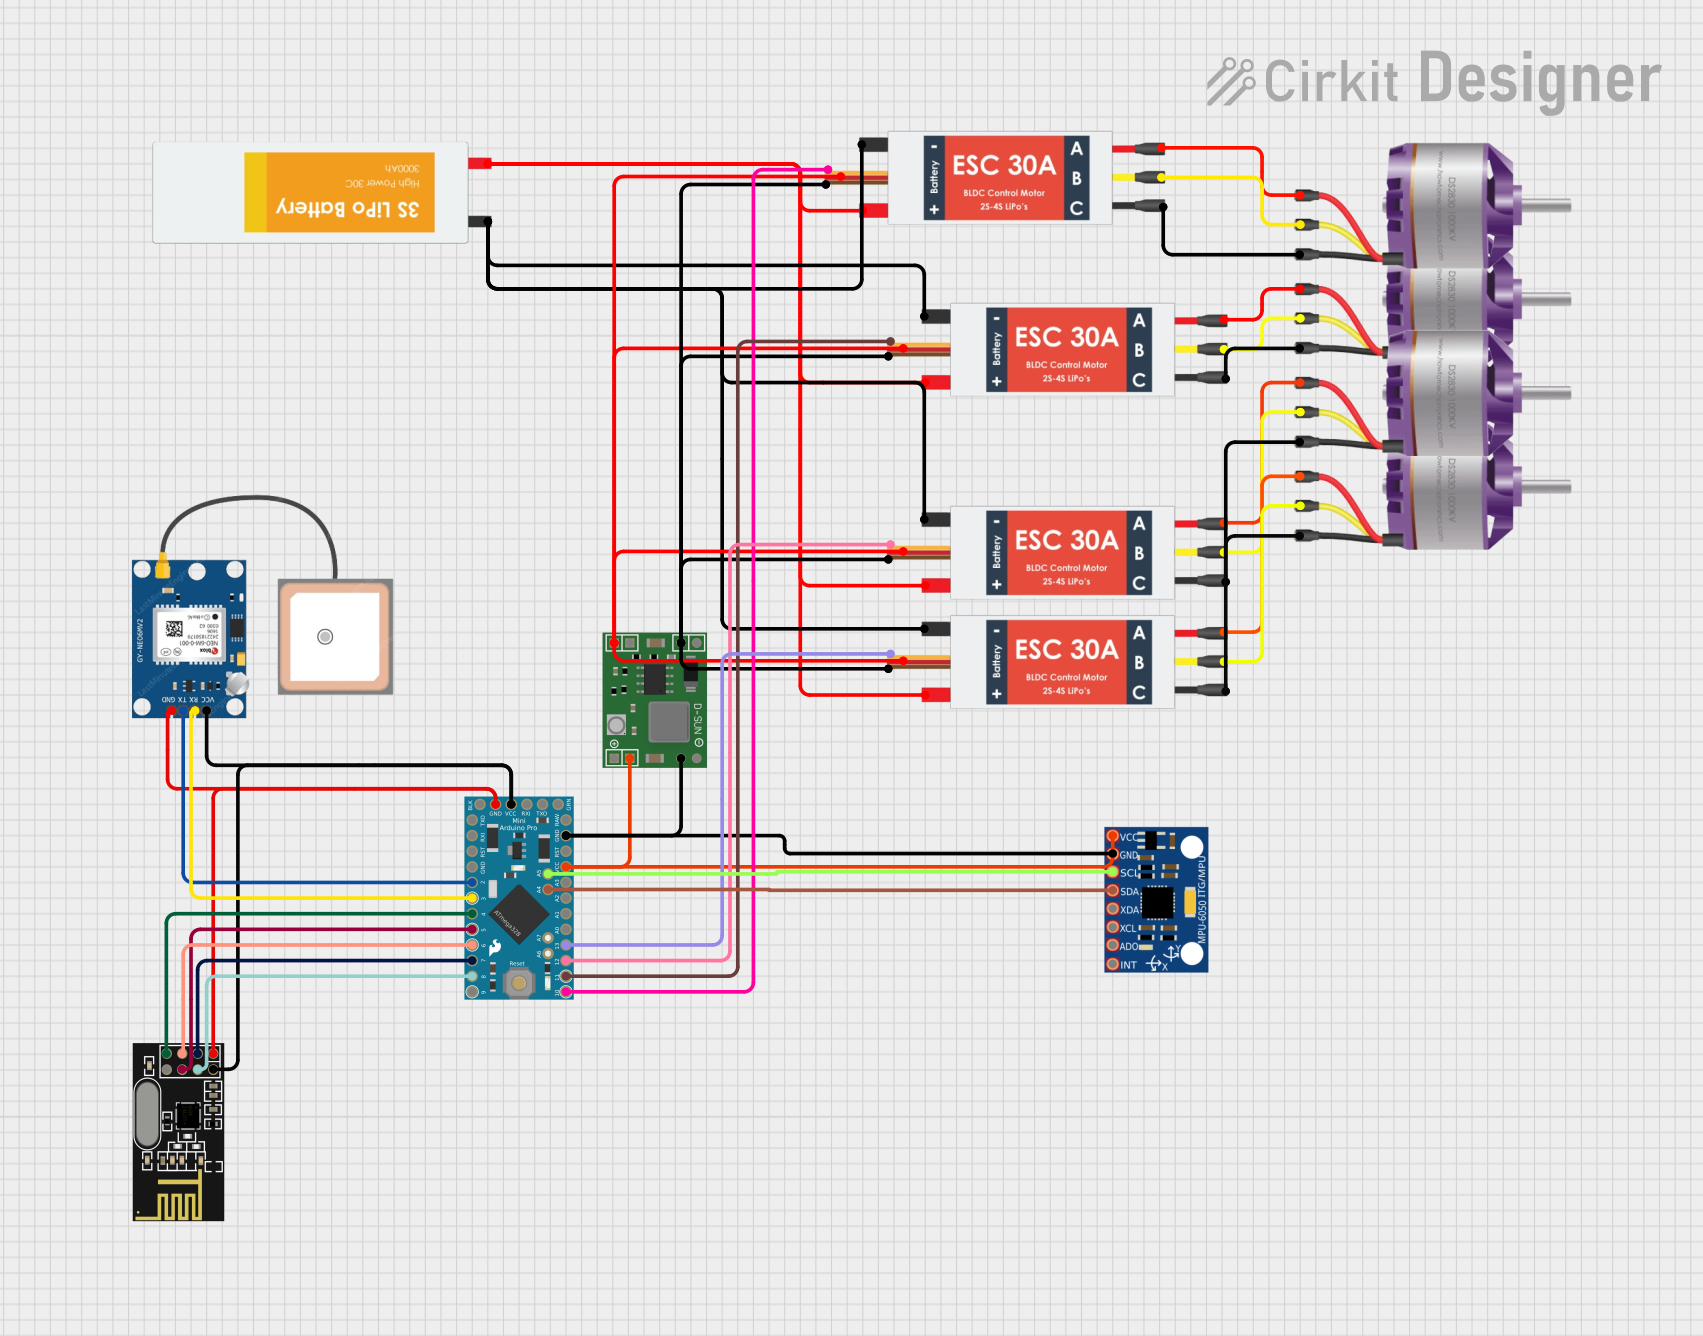 Open Project in Cirkit Designer
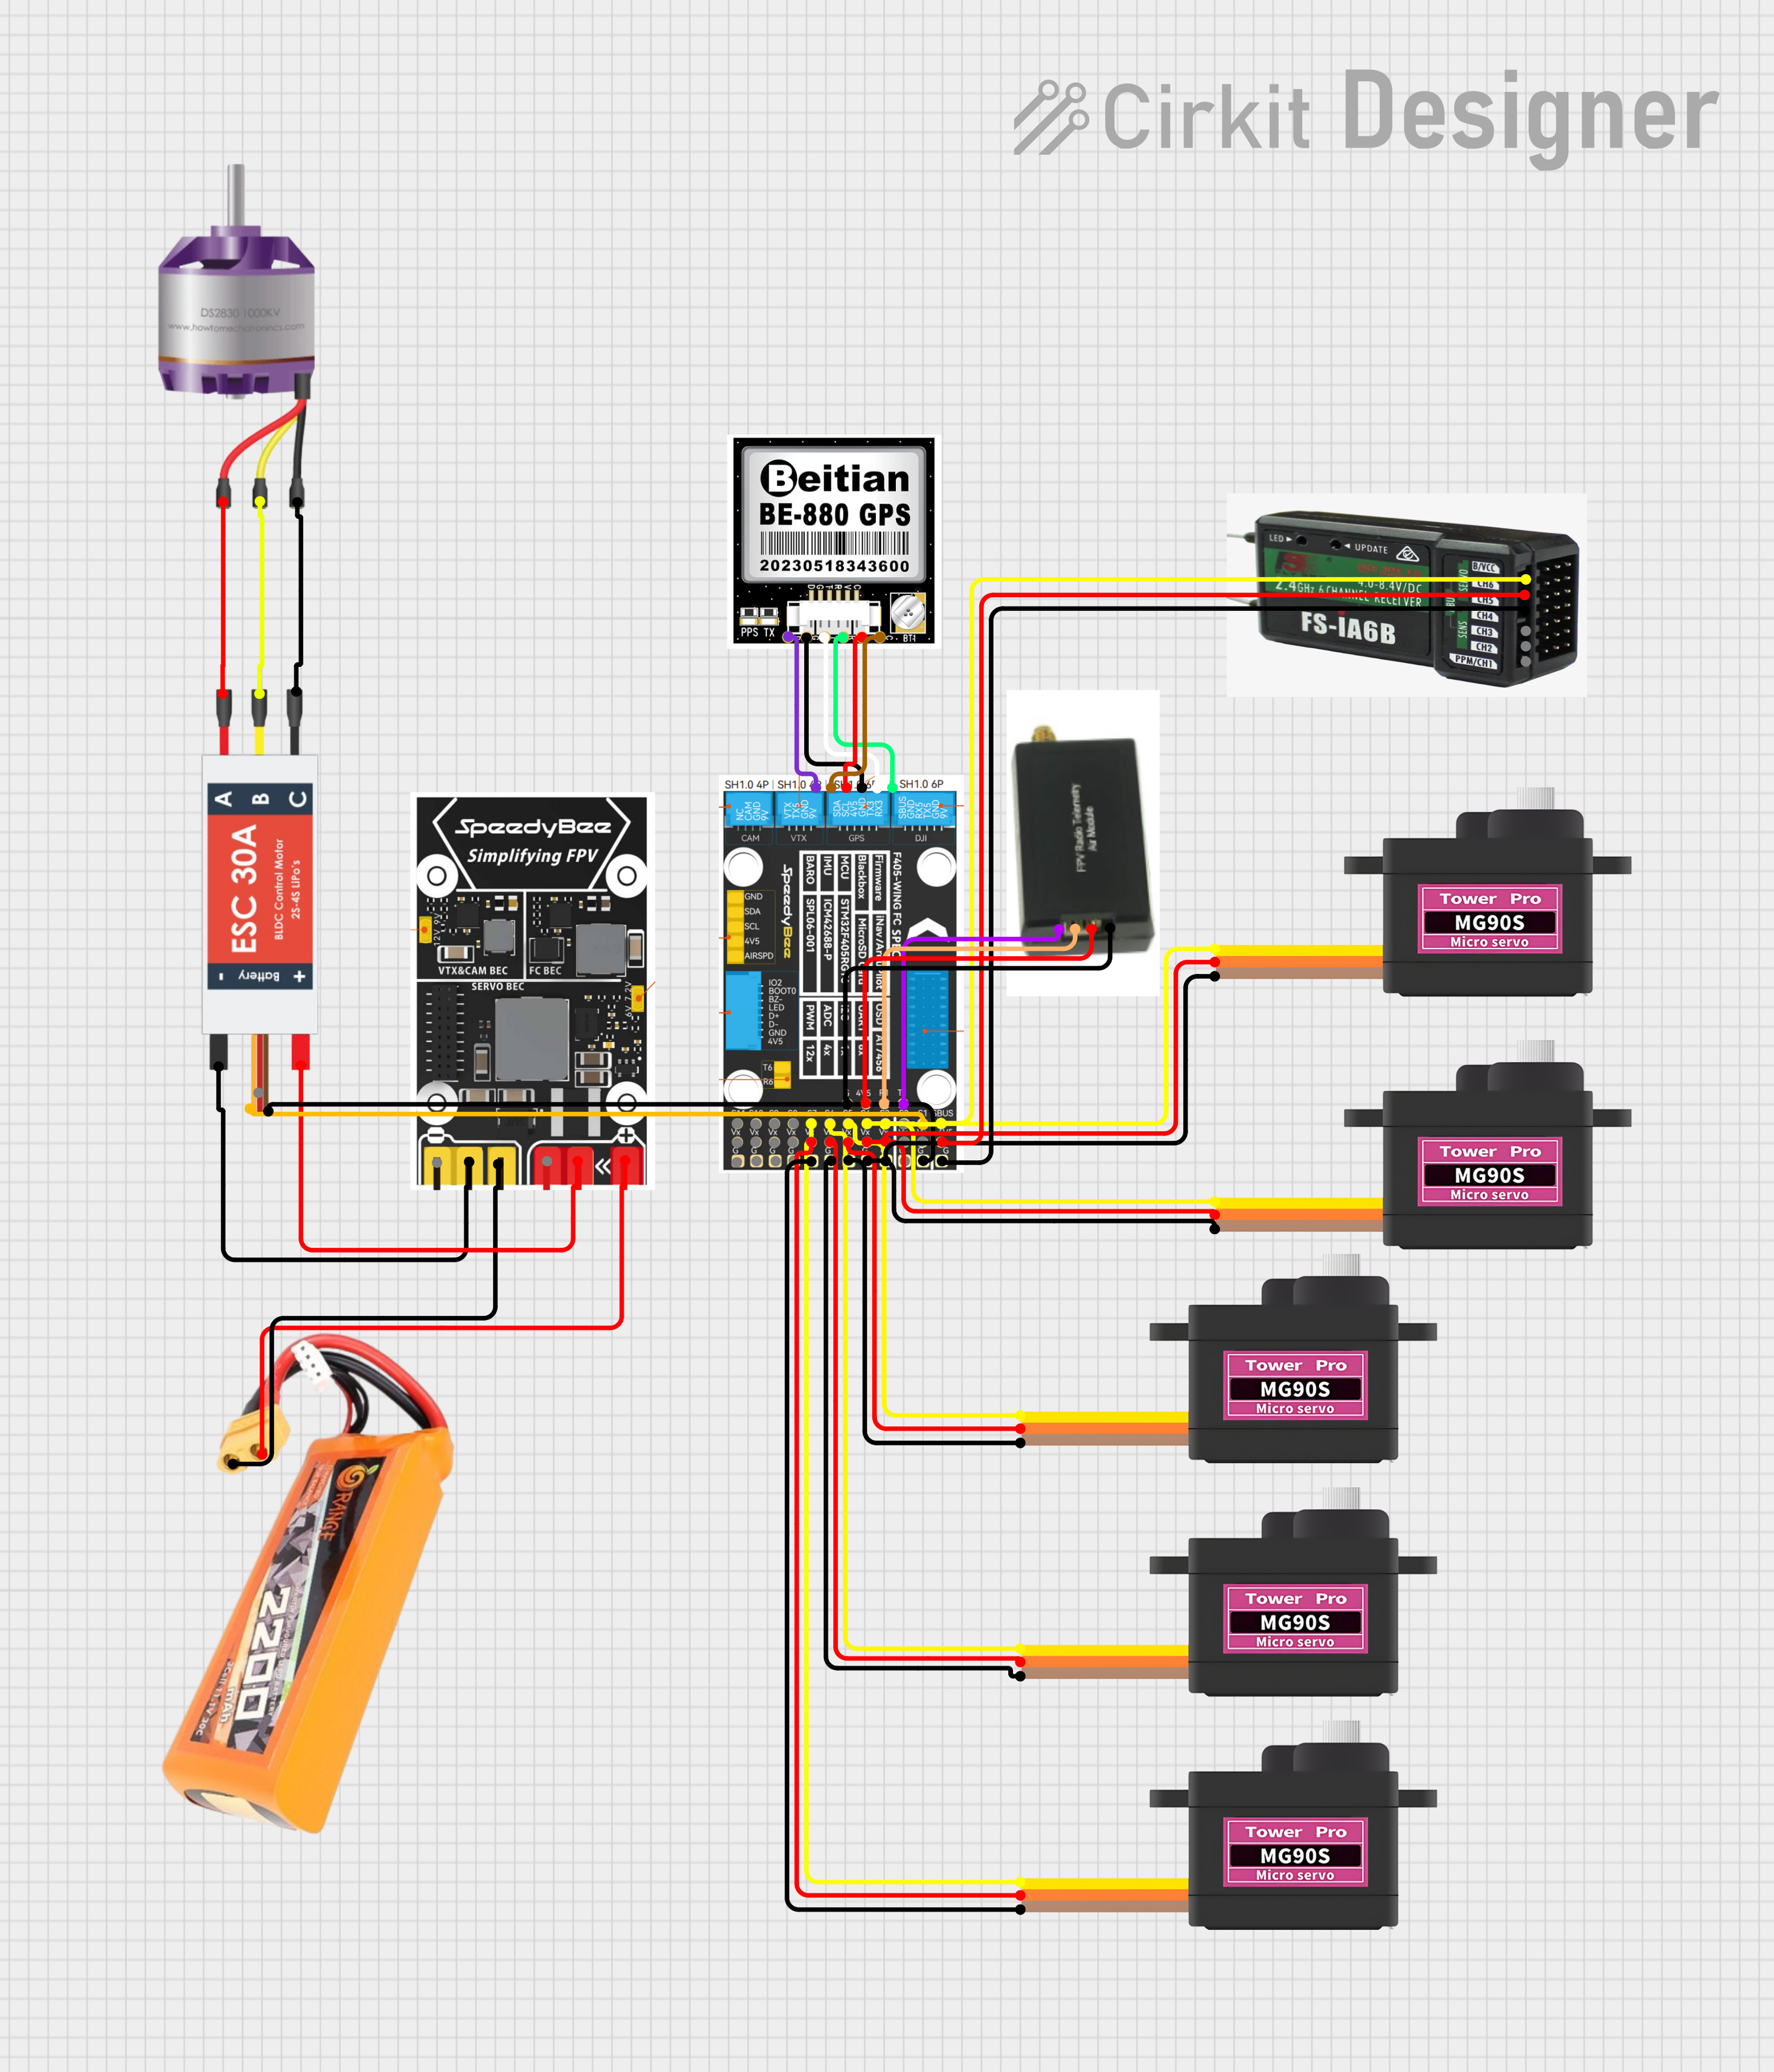 Open Project in Cirkit Designer
Explore Projects Built with Holybro Kakute H7 Mini Flight Controller
Open Project in Cirkit DesignerOpen Project in Cirkit DesignerOpen Project in Cirkit DesignerOpen Project in Cirkit DesignerCommon Applications and Use Cases
- Racing drones requiring high-speed processing and low latency
- Freestyle drones for smooth and precise control
- FPV (First-Person View) drones with integrated OSD for real-time telemetry
- Custom drone builds where space and performance are critical
Technical Specifications
The Holybro Kakute H7 Mini is packed with features to meet the demands of modern drone enthusiasts. Below are its key technical details:
Key Technical Details
- Processor: STM32H743 32-bit ARM Cortex-M7, running at 480 MHz
- IMU (Inertial Measurement Unit): MPU6000 (6-axis gyro and accelerometer)
- OSD: Integrated Betaflight OSD (On-Screen Display)
- Input Voltage: 7V to 42V (2S to 10S LiPo)
- BEC Output: 5V @ 2A
- UART Ports: 6 UARTs for peripherals (e.g., GPS, telemetry, receivers)
- Flash Memory: 32MB for Blackbox logging
- Dimensions: 30.5mm x 30.5mm (standard mounting pattern)
- Weight: 6.4g
Pin Configuration and Descriptions
The Holybro Kakute H7 Mini features a well-labeled pinout for easy connection to peripherals. Below is the pin configuration:
| Pin Name | Description |
|---|---|
| GND | Ground connection |
| VBAT | Battery voltage input (7V to 42V) |
| 5V | 5V output for powering peripherals (up to 2A) |
| M1-M4 | Motor outputs for ESCs (Electronic Speed Controllers) |
| RX1-TX6 | UART ports for connecting peripherals like GPS, telemetry, or receivers |
| SCL-SDA | I2C interface for external sensors |
| LED | Addressable LED signal output |
| Buzzer | Buzzer signal output for audio alerts |
| RSSI | Analog RSSI input for signal strength monitoring |
| Current | Current sensor input for monitoring power consumption |
Usage Instructions
How to Use the Holybro Kakute H7 Mini in a Drone
Mounting the Flight Controller:
- Use the standard 30.5mm x 30.5mm mounting holes to secure the flight controller to your drone frame.
- Ensure the orientation of the flight controller matches the arrow marking for forward direction.
Connecting Peripherals:
- Connect the ESCs to the motor output pins (M1-M4).
- Attach the receiver to one of the UART ports (e.g., RX1/TX1).
- If using GPS or telemetry, connect them to available UART ports.
- For FPV setups, connect the camera and video transmitter to the OSD pins.
Powering the Flight Controller:
- Connect the battery to the VBAT pin. Ensure the voltage is within the 7V to 42V range.
- The flight controller will regulate power to peripherals via the 5V output pin.
Configuring the Flight Controller:
- Use Betaflight Configurator to flash firmware and configure settings.
- Set up flight modes, PID tuning, and OSD elements as needed.
Testing:
- Perform a pre-flight check to ensure all connections are secure.
- Calibrate the accelerometer and test motor outputs before flying.
Important Considerations and Best Practices
- Always double-check the polarity of power connections to avoid damaging the flight controller.
- Use soft mounting techniques to reduce vibrations affecting the IMU.
- Ensure proper heat dissipation, especially in high-power builds.
- Regularly update the firmware via Betaflight Configurator for optimal performance and new features.
Example Code for Arduino UNO Integration
While the Holybro Kakute H7 Mini is not typically used with an Arduino UNO, you can use an Arduino to simulate sensor data or control LEDs via the I2C or UART interface. Below is an example of controlling an addressable LED connected to the flight controller:
#include <Adafruit_NeoPixel.h>

// Define the LED pin and number of LEDs
#define LED_PIN 6
#define NUM_LEDS 8

// Create a NeoPixel object
Adafruit_NeoPixel strip = Adafruit_NeoPixel(NUM_LEDS, LED_PIN, NEO_GRB + NEO_KHZ800);

void setup() {
  strip.begin();  // Initialize the LED strip
  strip.show();   // Turn off all LEDs initially
}

void loop() {
  // Cycle through colors on the LED strip
  for (int i = 0; i < NUM_LEDS; i++) {
    strip.setPixelColor(i, strip.Color(255, 0, 0)); // Set LED to red
    strip.show();                                   // Update the LED strip
    delay(100);                                     // Wait 100ms
    strip.setPixelColor(i, 0);                      // Turn off the LED
  }
}
Troubleshooting and FAQs
Common Issues and Solutions
Flight Controller Not Powering On:
- Cause: Incorrect power connection or insufficient voltage.
- Solution: Verify the VBAT connection and ensure the input voltage is within the 7V to 42V range.
No Motor Response:
- Cause: Incorrect ESC wiring or configuration.
- Solution: Check motor connections and ensure ESCs are calibrated in Betaflight.
OSD Not Displaying:
- Cause: Incorrect camera or video transmitter wiring.
- Solution: Verify the camera and VTX connections to the OSD pins.
High Vibration Levels:
- Cause: Poor mounting or unbalanced propellers.
- Solution: Use soft mounting for the flight controller and balance the propellers.
FAQs
Q: Can I use the Kakute H7 Mini with a 4-in-1 ESC?
- A: Yes, the Kakute H7 Mini supports 4-in-1 ESCs. Connect the ESC signal wires to the motor output pins (M1-M4) and the telemetry wire to a UART port.
Q: Does the flight controller support GPS?
- A: Yes, GPS modules can be connected to one of the UART ports for navigation and telemetry.
Q: How do I update the firmware?
- A: Use Betaflight Configurator to flash the latest firmware. Connect the flight controller via USB, select the correct COM port, and follow the on-screen instructions.
Q: What is the maximum LiPo battery cell count supported?
- A: The Kakute H7 Mini supports up to 10S LiPo batteries (42V maximum input).
By following this documentation, you can effectively integrate and operate the Holybro Kakute H7 Mini Flight Controller in your drone projects.