
How to Use ST DB3 DIAC (DO-35): Examples, Pinouts, and Specs

 Design with ST DB3 DIAC (DO-35) in Cirkit Designer
Introduction
The ST DB3 is a DIAC (Diode for Alternating Current) designed for triggering and controlling AC loads. It is a bidirectional semiconductor device that switches on when a specific breakdown voltage is reached, allowing current to flow in both directions. This characteristic makes it an essential component in circuits requiring precise AC control.
Explore Projects Built with ST DB3 DIAC (DO-35)
 Open Project in Cirkit Designer
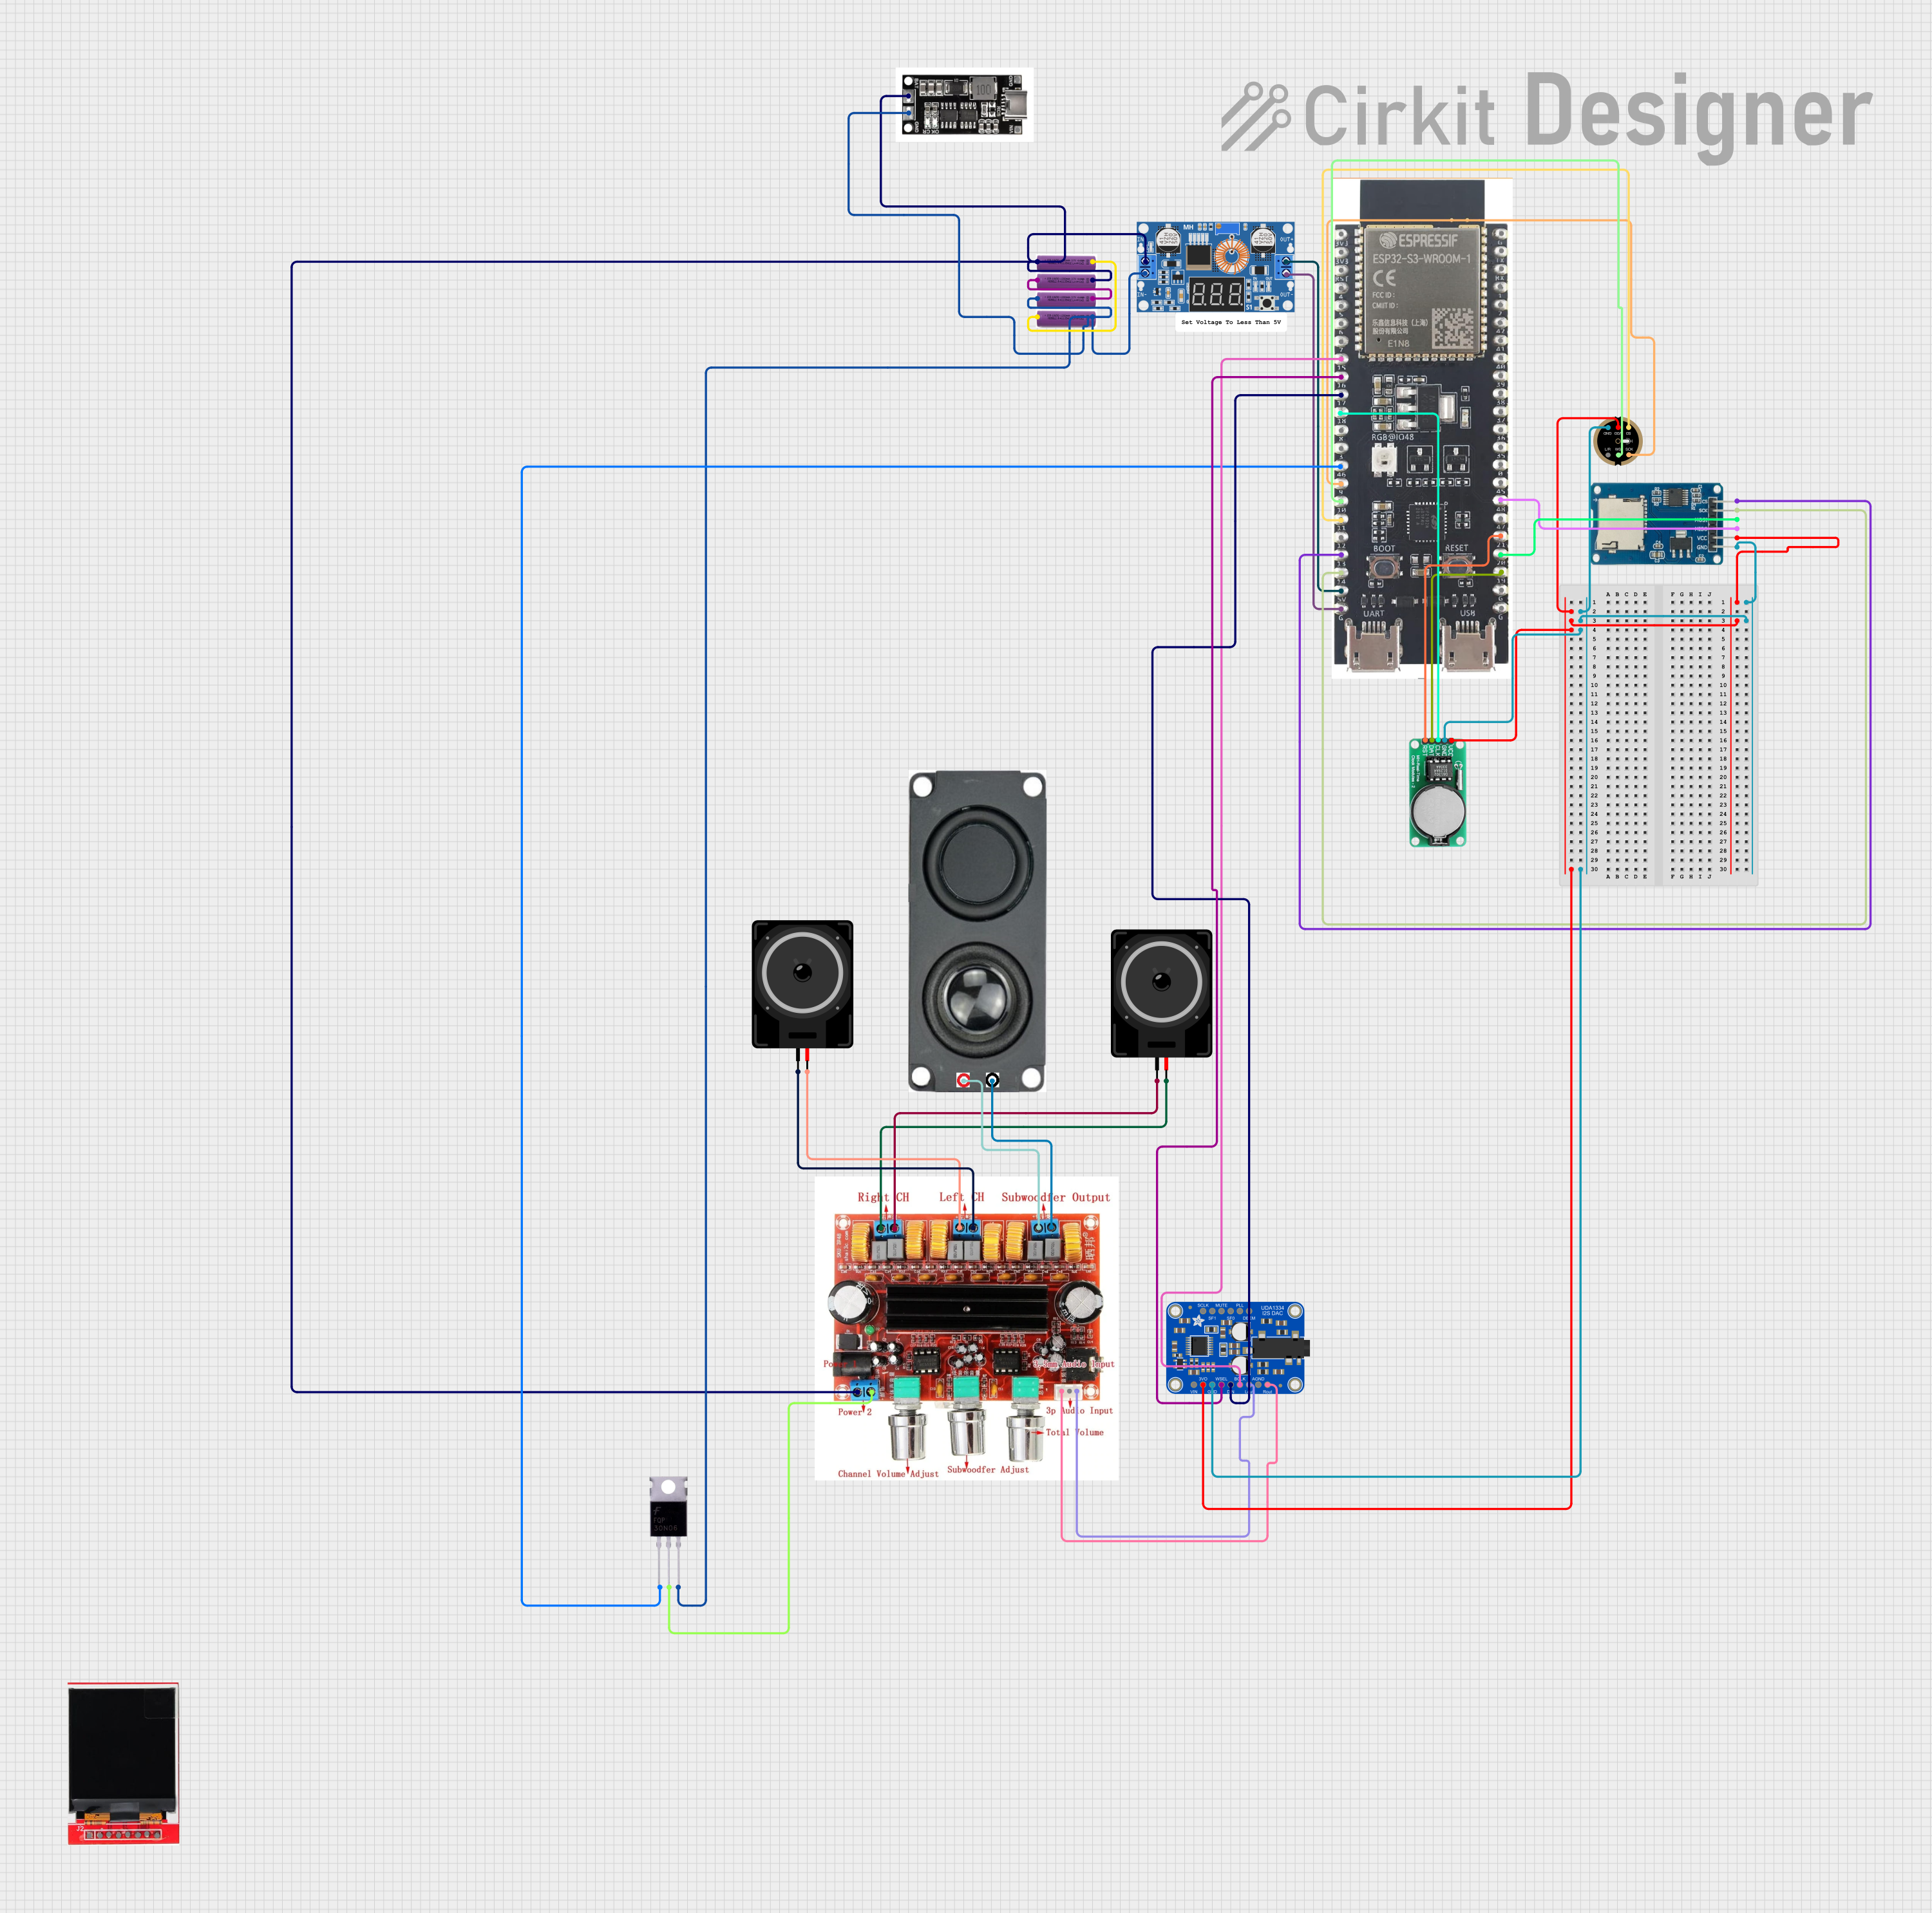 Open Project in Cirkit Designer
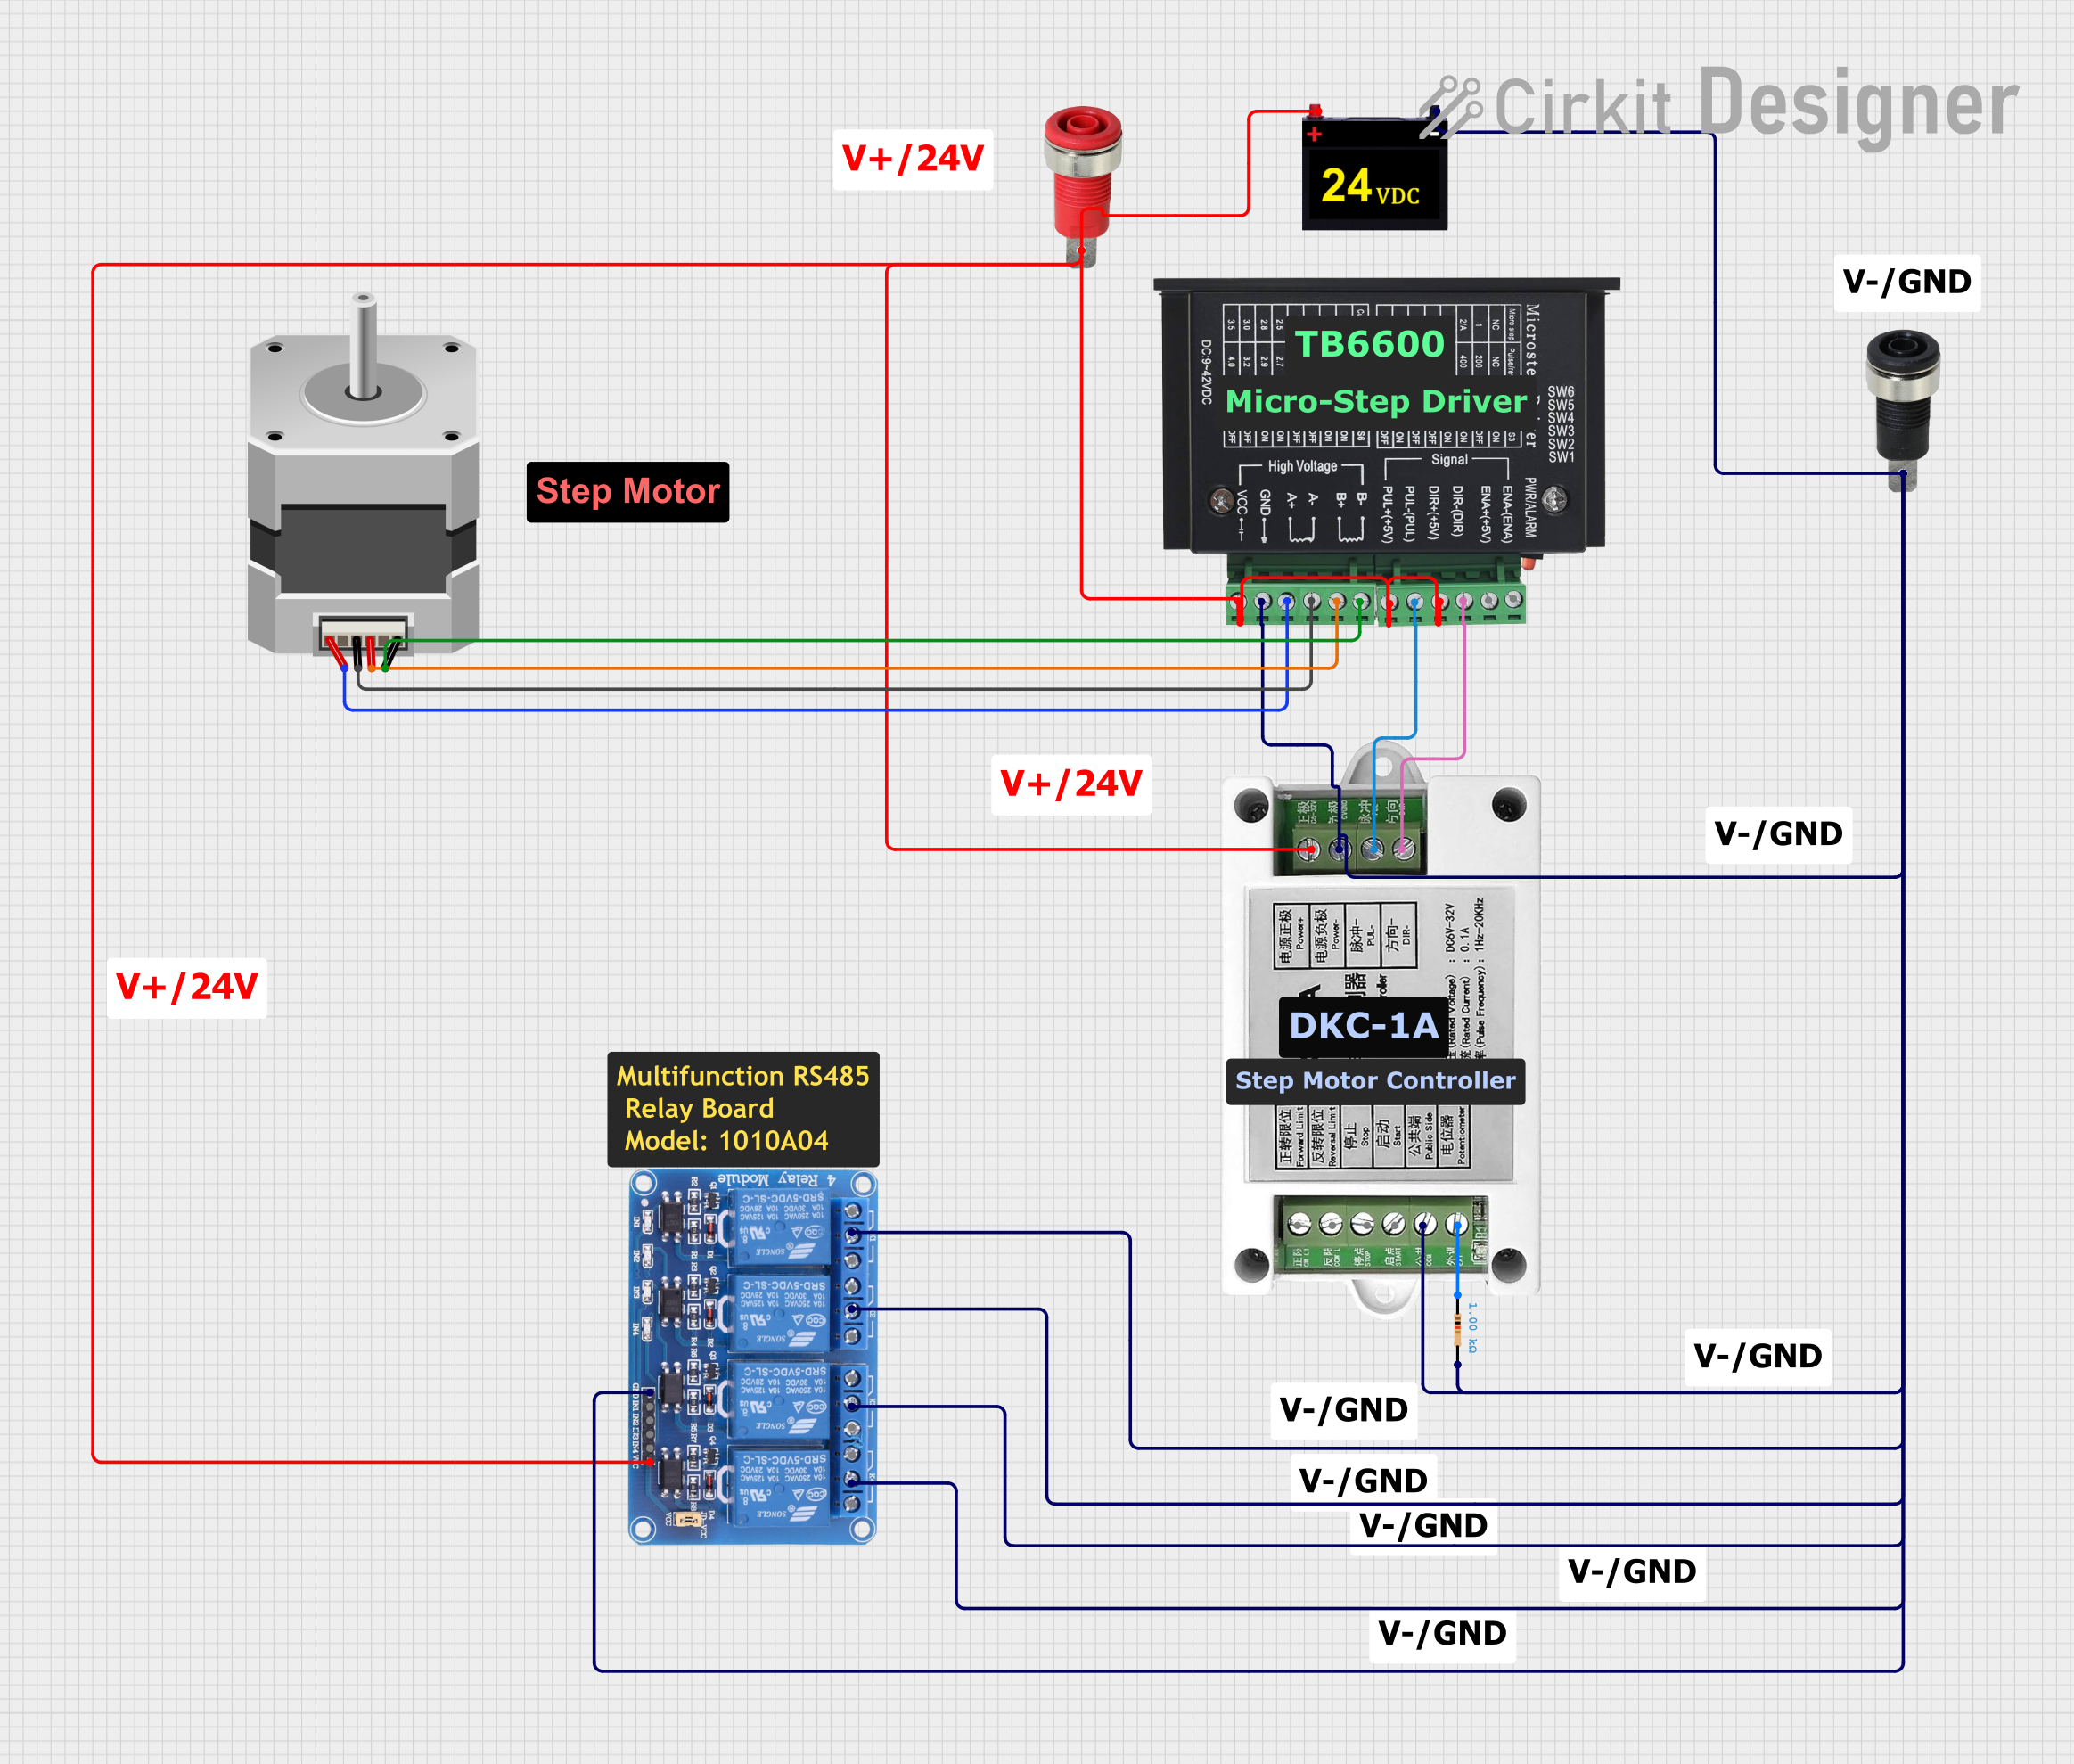 Open Project in Cirkit Designer
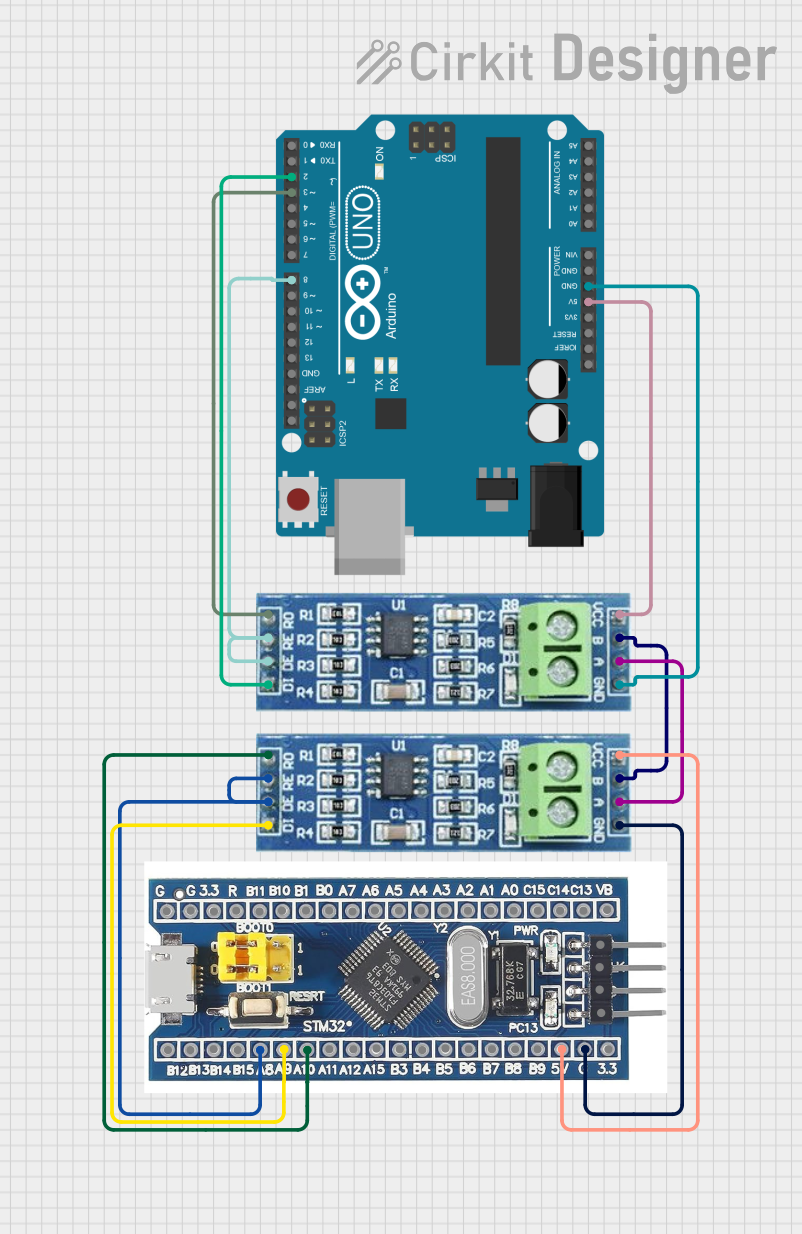 Open Project in Cirkit Designer
Explore Projects Built with ST DB3 DIAC (DO-35)
Open Project in Cirkit DesignerOpen Project in Cirkit DesignerOpen Project in Cirkit DesignerOpen Project in Cirkit DesignerCommon Applications and Use Cases
- Light dimmers
- Motor speed controllers
- AC phase control circuits
- Triggering devices for TRIACs
- Overvoltage protection circuits
Technical Specifications
The ST DB3 DIAC is housed in a DO-35 package and offers reliable performance for AC control applications. Below are its key technical specifications:
| Parameter | Value |
|---|---|
| Breakdown Voltage (VBO) | 28V to 36V |
| Maximum Peak Current (ITM) | 2A (non-repetitive, 20 µs) |
| Holding Current (IH) | 50 µA |
| Maximum Power Dissipation (PD) | 300 mW |
| Operating Temperature Range | -40°C to +125°C |
| Package Type | DO-35 |
Pin Configuration and Descriptions
The ST DB3 DIAC has a simple two-terminal configuration:
| Pin | Description |
|---|---|
| A1 | Anode 1 (bidirectional terminal) |
| A2 | Anode 2 (bidirectional terminal) |
Both terminals are interchangeable due to the bidirectional nature of the DIAC.
Usage Instructions
The ST DB3 DIAC is commonly used in AC circuits to trigger TRIACs or control AC loads. Below are the steps and considerations for using the component effectively:
How to Use the Component in a Circuit
Connect the DIAC in Series with the Gate of a TRIAC:
- The DIAC is typically placed between the gate of a TRIAC and a resistor-capacitor (RC) network.
- When the voltage across the RC network exceeds the DIAC's breakdown voltage, the DIAC conducts and triggers the TRIAC.
Design the RC Network:
- Choose appropriate resistor and capacitor values to control the phase angle of the AC waveform.
- This determines the point at which the DIAC triggers the TRIAC, allowing for dimming or speed control.
Ensure Proper Voltage Ratings:
- Verify that the applied voltage does not exceed the DIAC's maximum breakdown voltage (36V).
- Use a snubber circuit if necessary to protect against voltage spikes.
Important Considerations and Best Practices
- Thermal Management: Ensure the DIAC operates within its specified temperature range (-40°C to +125°C). Excessive heat can damage the component.
- Current Limiting: Use a resistor in series with the DIAC to limit the current and prevent damage during conduction.
- Polarity: The DIAC is bidirectional, so there is no need to worry about polarity during installation.
- Testing: Use an oscilloscope to verify the triggering point and waveform in your circuit.
Example: Using the ST DB3 DIAC with an Arduino UNO
While the DIAC is not directly interfaced with microcontrollers like the Arduino UNO, it can be used in conjunction with an AC load control circuit. Below is an example of how an Arduino can control an AC load using a TRIAC triggered by the ST DB3 DIAC.
/*
  Example: Controlling an AC Load with Arduino, TRIAC, and ST DB3 DIAC
  This code demonstrates how to use an Arduino to control the phase angle
  of an AC load by triggering a TRIAC through an optocoupler and DIAC.
*/

const int zeroCrossPin = 2;  // Pin connected to zero-cross detection circuit
const int triacGatePin = 3;  // Pin connected to TRIAC gate via optocoupler

volatile boolean zeroCrossDetected = false;

void setup() {
  pinMode(zeroCrossPin, INPUT);  // Zero-cross detection input
  pinMode(triacGatePin, OUTPUT); // TRIAC gate control output
  attachInterrupt(digitalPinToInterrupt(zeroCrossPin), zeroCrossISR, RISING);
}

void loop() {
  if (zeroCrossDetected) {
    zeroCrossDetected = false;

    // Delay to control phase angle (adjust for dimming/speed control)
    delayMicroseconds(5000); // Example: 5ms delay for phase control

    // Trigger the TRIAC gate
    digitalWrite(triacGatePin, HIGH);
    delayMicroseconds(10);  // Short pulse to trigger TRIAC
    digitalWrite(triacGatePin, LOW);
  }
}

void zeroCrossISR() {
  zeroCrossDetected = true;  // Set flag when zero-cross is detected
}
Notes:
- The zero-cross detection circuit is required to synchronize the TRIAC triggering with the AC waveform.
- Adjust the
delayMicroseconds()value to control the phase angle and, consequently, the power delivered to the load.
Troubleshooting and FAQs
Common Issues Users Might Face
DIAC Not Triggering:
- Cause: Insufficient voltage across the DIAC.
- Solution: Check the RC network and ensure the voltage exceeds the DIAC's breakdown voltage.
Overheating:
- Cause: Excessive current or inadequate heat dissipation.
- Solution: Use a current-limiting resistor and ensure proper ventilation.
Unstable Operation:
- Cause: Noise or voltage spikes in the circuit.
- Solution: Add a snubber circuit or filter to suppress noise.
No Output from TRIAC:
- Cause: DIAC not triggering the TRIAC.
- Solution: Verify the DIAC's orientation and ensure the TRIAC gate is properly connected.
Solutions and Tips for Troubleshooting
- Use an oscilloscope to monitor the voltage across the DIAC and ensure it reaches the breakdown voltage.
- Double-check all connections and component values in the circuit.
- Replace the DIAC if it shows signs of damage or fails to conduct at the specified breakdown voltage.
By following this documentation, users can effectively integrate the ST DB3 DIAC into their AC control circuits for reliable and efficient operation.