
How to Use connector 1 in 2 out: Examples, Pinouts, and Specs

 Design with connector 1 in 2 out in Cirkit Designer
Introduction
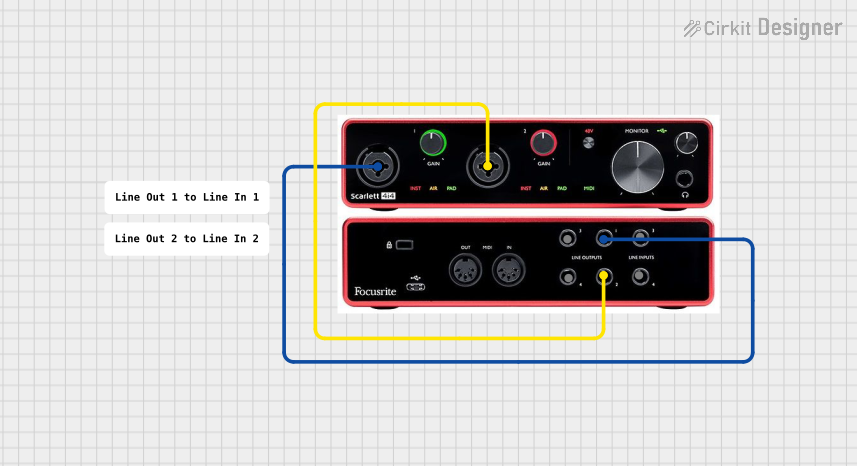
The Connector 1 In 2 Out is a versatile electronic component designed to split a single input signal into two separate output paths. This component is commonly used in audio systems, data transmission, and signal distribution applications. It ensures that the input signal is evenly distributed to both outputs without significant loss or interference, making it ideal for scenarios where a single signal needs to be shared across multiple devices or circuits.
Explore Projects Built with connector 1 in 2 out
 Open Project in Cirkit Designer
 Open Project in Cirkit Designer
 Open Project in Cirkit Designer
 Open Project in Cirkit Designer
Explore Projects Built with connector 1 in 2 out
Open Project in Cirkit DesignerOpen Project in Cirkit DesignerOpen Project in Cirkit DesignerOpen Project in Cirkit DesignerCommon Applications
- Audio Systems: Splitting audio signals to feed two amplifiers or speakers.
- Data Transmission: Distributing data signals to multiple devices.
- Signal Processing: Sending a single signal to two different processing units.
- Testing and Prototyping: Duplicating signals for simultaneous testing on multiple devices.
Technical Specifications
The Connector 1 In 2 Out is a passive component, meaning it does not require an external power source to operate. Below are its key technical details:
General Specifications
| Parameter | Value |
|---|---|
| Input Signal Type | Analog or Digital |
| Maximum Voltage Rating | 12V DC |
| Maximum Current Rating | 1A |
| Signal Loss | < 0.5 dB |
| Connector Type | Varies (e.g., RCA, 3.5mm, JST) |
| Operating Temperature | -20°C to 70°C |
Pin Configuration and Descriptions
The pin configuration depends on the type of connector used. Below is a general description for a 3-pin connector (e.g., JST or similar):
| Pin Number | Name | Description |
|---|---|---|
| 1 | Input Signal | Connects to the input signal source. |
| 2 | Output 1 | First output path for the split signal. |
| 3 | Output 2 | Second output path for the split signal. |
For connectors like RCA or 3.5mm jacks, the pinout typically includes a signal pin and a ground pin for each connection.
Usage Instructions
How to Use the Connector in a Circuit
- Identify the Input and Outputs: Locate the input pin or port and the two output pins or ports on the connector.
- Connect the Input Signal: Attach the input signal source (e.g., audio player, data transmitter) to the input pin or port.
- Connect the Outputs: Attach the two devices or circuits that will receive the split signal to the output pins or ports.
- Verify Connections: Ensure all connections are secure and that the input and output devices are compatible with the connector's specifications.
Important Considerations
- Signal Integrity: While the connector minimizes signal loss, ensure that the connected devices have appropriate input impedance to avoid signal degradation.
- Voltage and Current Limits: Do not exceed the maximum voltage (12V DC) or current (1A) ratings to prevent damage to the connector or connected devices.
- Cable Quality: Use high-quality cables to maintain signal integrity, especially for high-frequency or high-fidelity applications.
- Grounding: Ensure proper grounding to avoid noise or interference in the signal.
Example: Using with an Arduino UNO
The Connector 1 In 2 Out can be used to split a signal from an Arduino UNO to two separate devices. For example, you can split a PWM signal to control two LEDs simultaneously.
Arduino Code Example
// Example: Splitting a PWM signal to control two LEDs using Connector 1 In 2 Out

const int pwmPin = 9; // PWM output pin on Arduino UNO

void setup() {
  pinMode(pwmPin, OUTPUT); // Set the PWM pin as an output
}

void loop() {
  // Gradually increase brightness
  for (int brightness = 0; brightness <= 255; brightness++) {
    analogWrite(pwmPin, brightness); // Write PWM signal to the pin
    delay(10); // Short delay for smooth transition
  }

  // Gradually decrease brightness
  for (int brightness = 255; brightness >= 0; brightness--) {
    analogWrite(pwmPin, brightness); // Write PWM signal to the pin
    delay(10); // Short delay for smooth transition
  }
}
Note: Connect the Arduino's PWM pin to the input of the connector. Then, connect two LEDs (with appropriate resistors) to the two output paths.
Troubleshooting and FAQs
Common Issues
- Signal Degradation: The output signal is weaker or distorted.
- Solution: Check the quality of the cables and ensure the connected devices have compatible input impedance.
- No Signal at Outputs: The output devices are not receiving any signal.
- Solution: Verify all connections and ensure the input signal source is active.
- Interference or Noise: The output signal has noticeable noise or interference.
- Solution: Ensure proper grounding and use shielded cables if necessary.
FAQs
Q: Can this connector be used for both analog and digital signals?
A: Yes, the connector is compatible with both analog and digital signals, provided the voltage and current ratings are not exceeded.
Q: Does the connector require external power?
A: No, the Connector 1 In 2 Out is a passive component and does not require external power.
Q: Can I use this connector to split a high-frequency signal?
A: Yes, but ensure that the cables and connected devices are suitable for high-frequency applications to minimize signal loss or distortion.
Q: Is there a limit to the length of cables I can use with this connector?
A: Longer cables may introduce signal loss or interference. Use high-quality, shielded cables for longer distances.
By following this documentation, you can effectively use the Connector 1 In 2 Out in your projects and ensure optimal performance.