Cirkit Designer LogoCirkit DesignerYour all-in-one circuit design IDE Launch Cirkit Designer App

How to Use body Dehydration sensor: Examples, Pinouts, and Specs

Image of body Dehydration sensorDesign with body Dehydration sensor in Cirkit Designer

Introduction

The Body Dehydration Sensor (BDS) by Cloudberry Inc. is an innovative electronic component designed to monitor hydration levels in the human body. It measures key physiological parameters including body temperature, heart rate, and skin conductance to determine the level of dehydration. This sensor is crucial for athletes, patients in healthcare settings, and individuals in extreme environments where maintaining proper hydration is essential for health and performance.

Explore Projects Built with body Dehydration sensor

Use Cirkit Designer to design, explore, and prototype these projects online. Some projects support real-time simulation. Click "Open Project" to start designing instantly!
Image of ESP8266 NodeMCU-Based Environmental Monitoring System with Wi-Fi Connectivity: A project utilizing body Dehydration sensor in a practical application

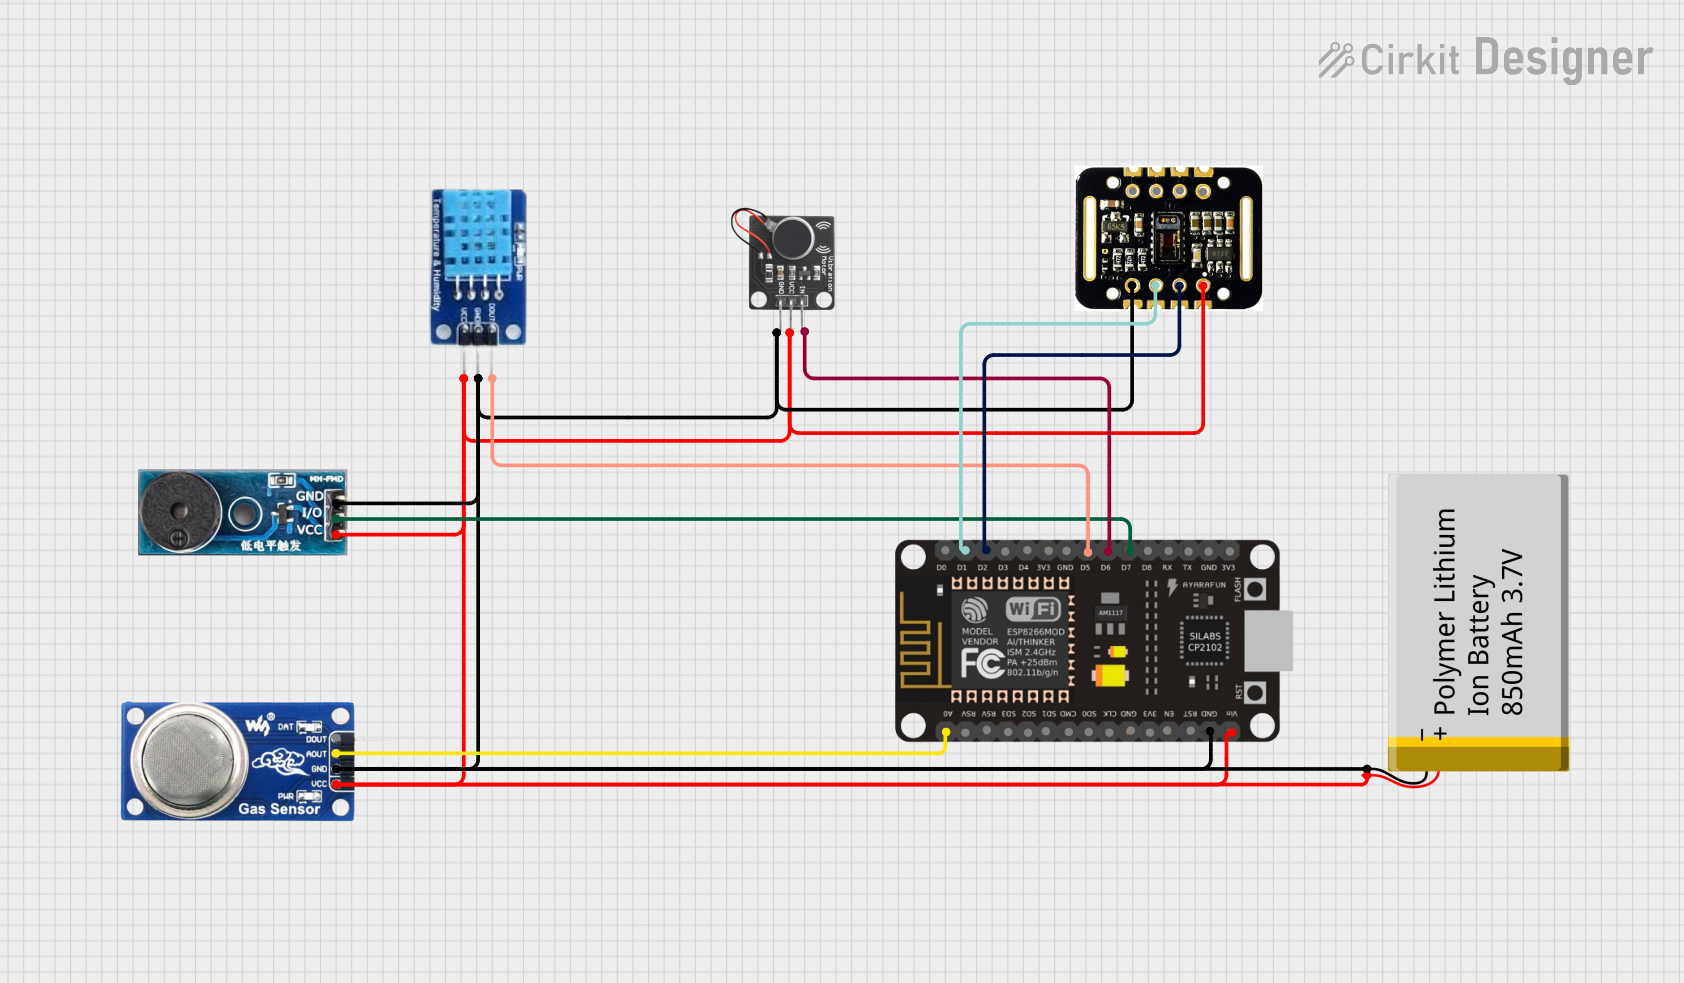
ESP8266 NodeMCU-Based Environmental Monitoring System with Wi-Fi Connectivity

This circuit is designed for environmental monitoring and personal health tracking. It uses an ESP8266 NodeMCU to connect various sensors, including a DHT11 for temperature and humidity, an MQ6 gas sensor for detecting LPG and smoke, a MAX30102 for heart rate and blood oxygen saturation (SpO2) monitoring, and a buzzer and vibration motor for alerts. The system interfaces with the Blynk platform for remote data visualization and can trigger alerts based on sensor readings, such as excessive temperature or gas levels.

Open Project in Cirkit Designer
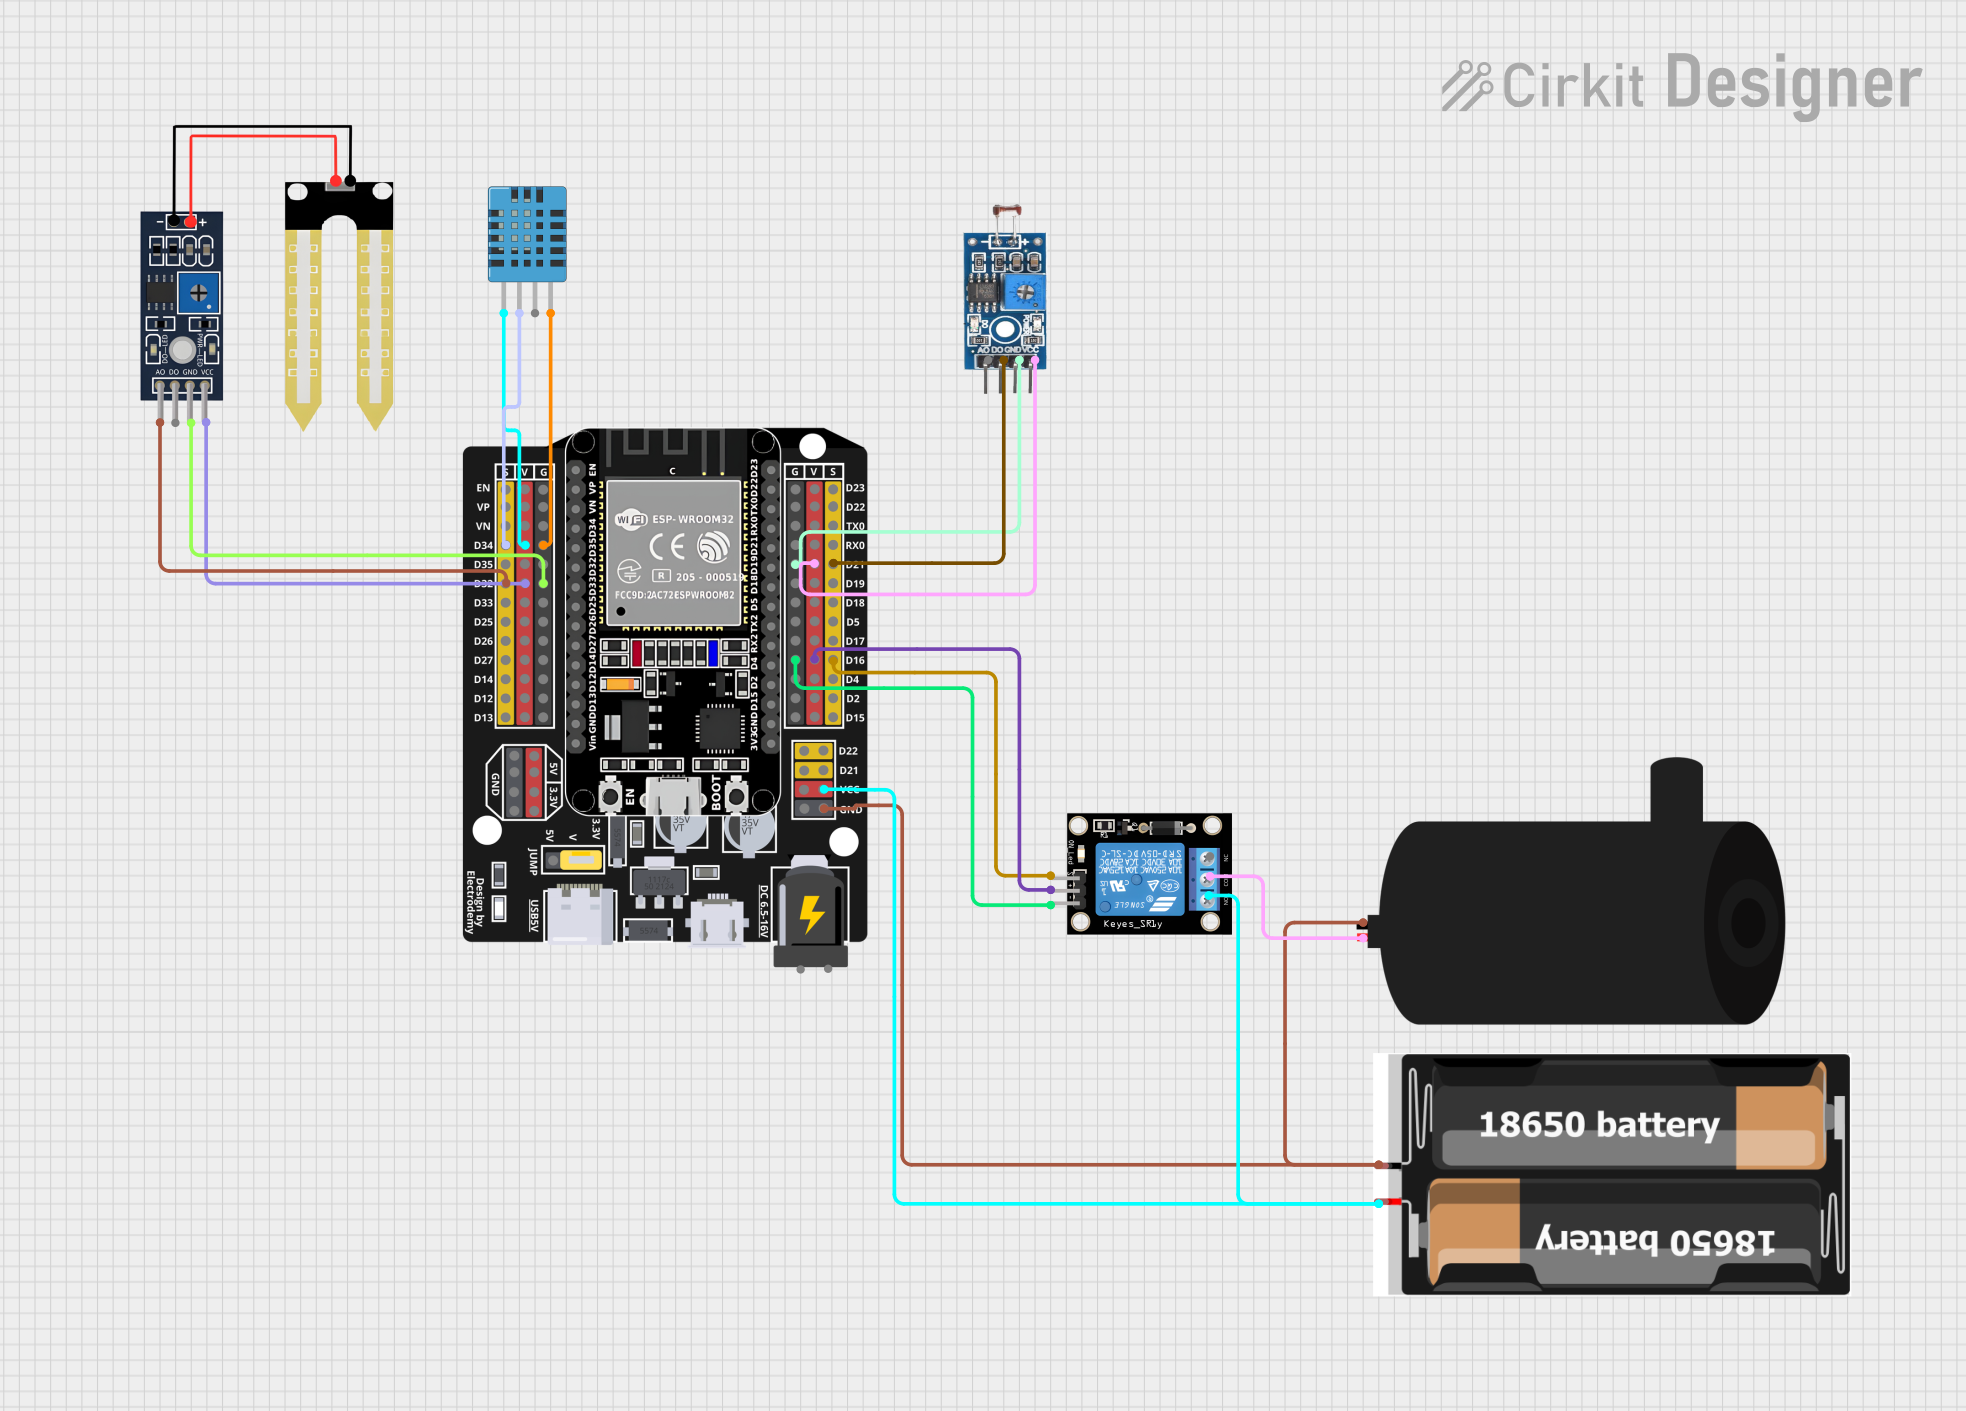
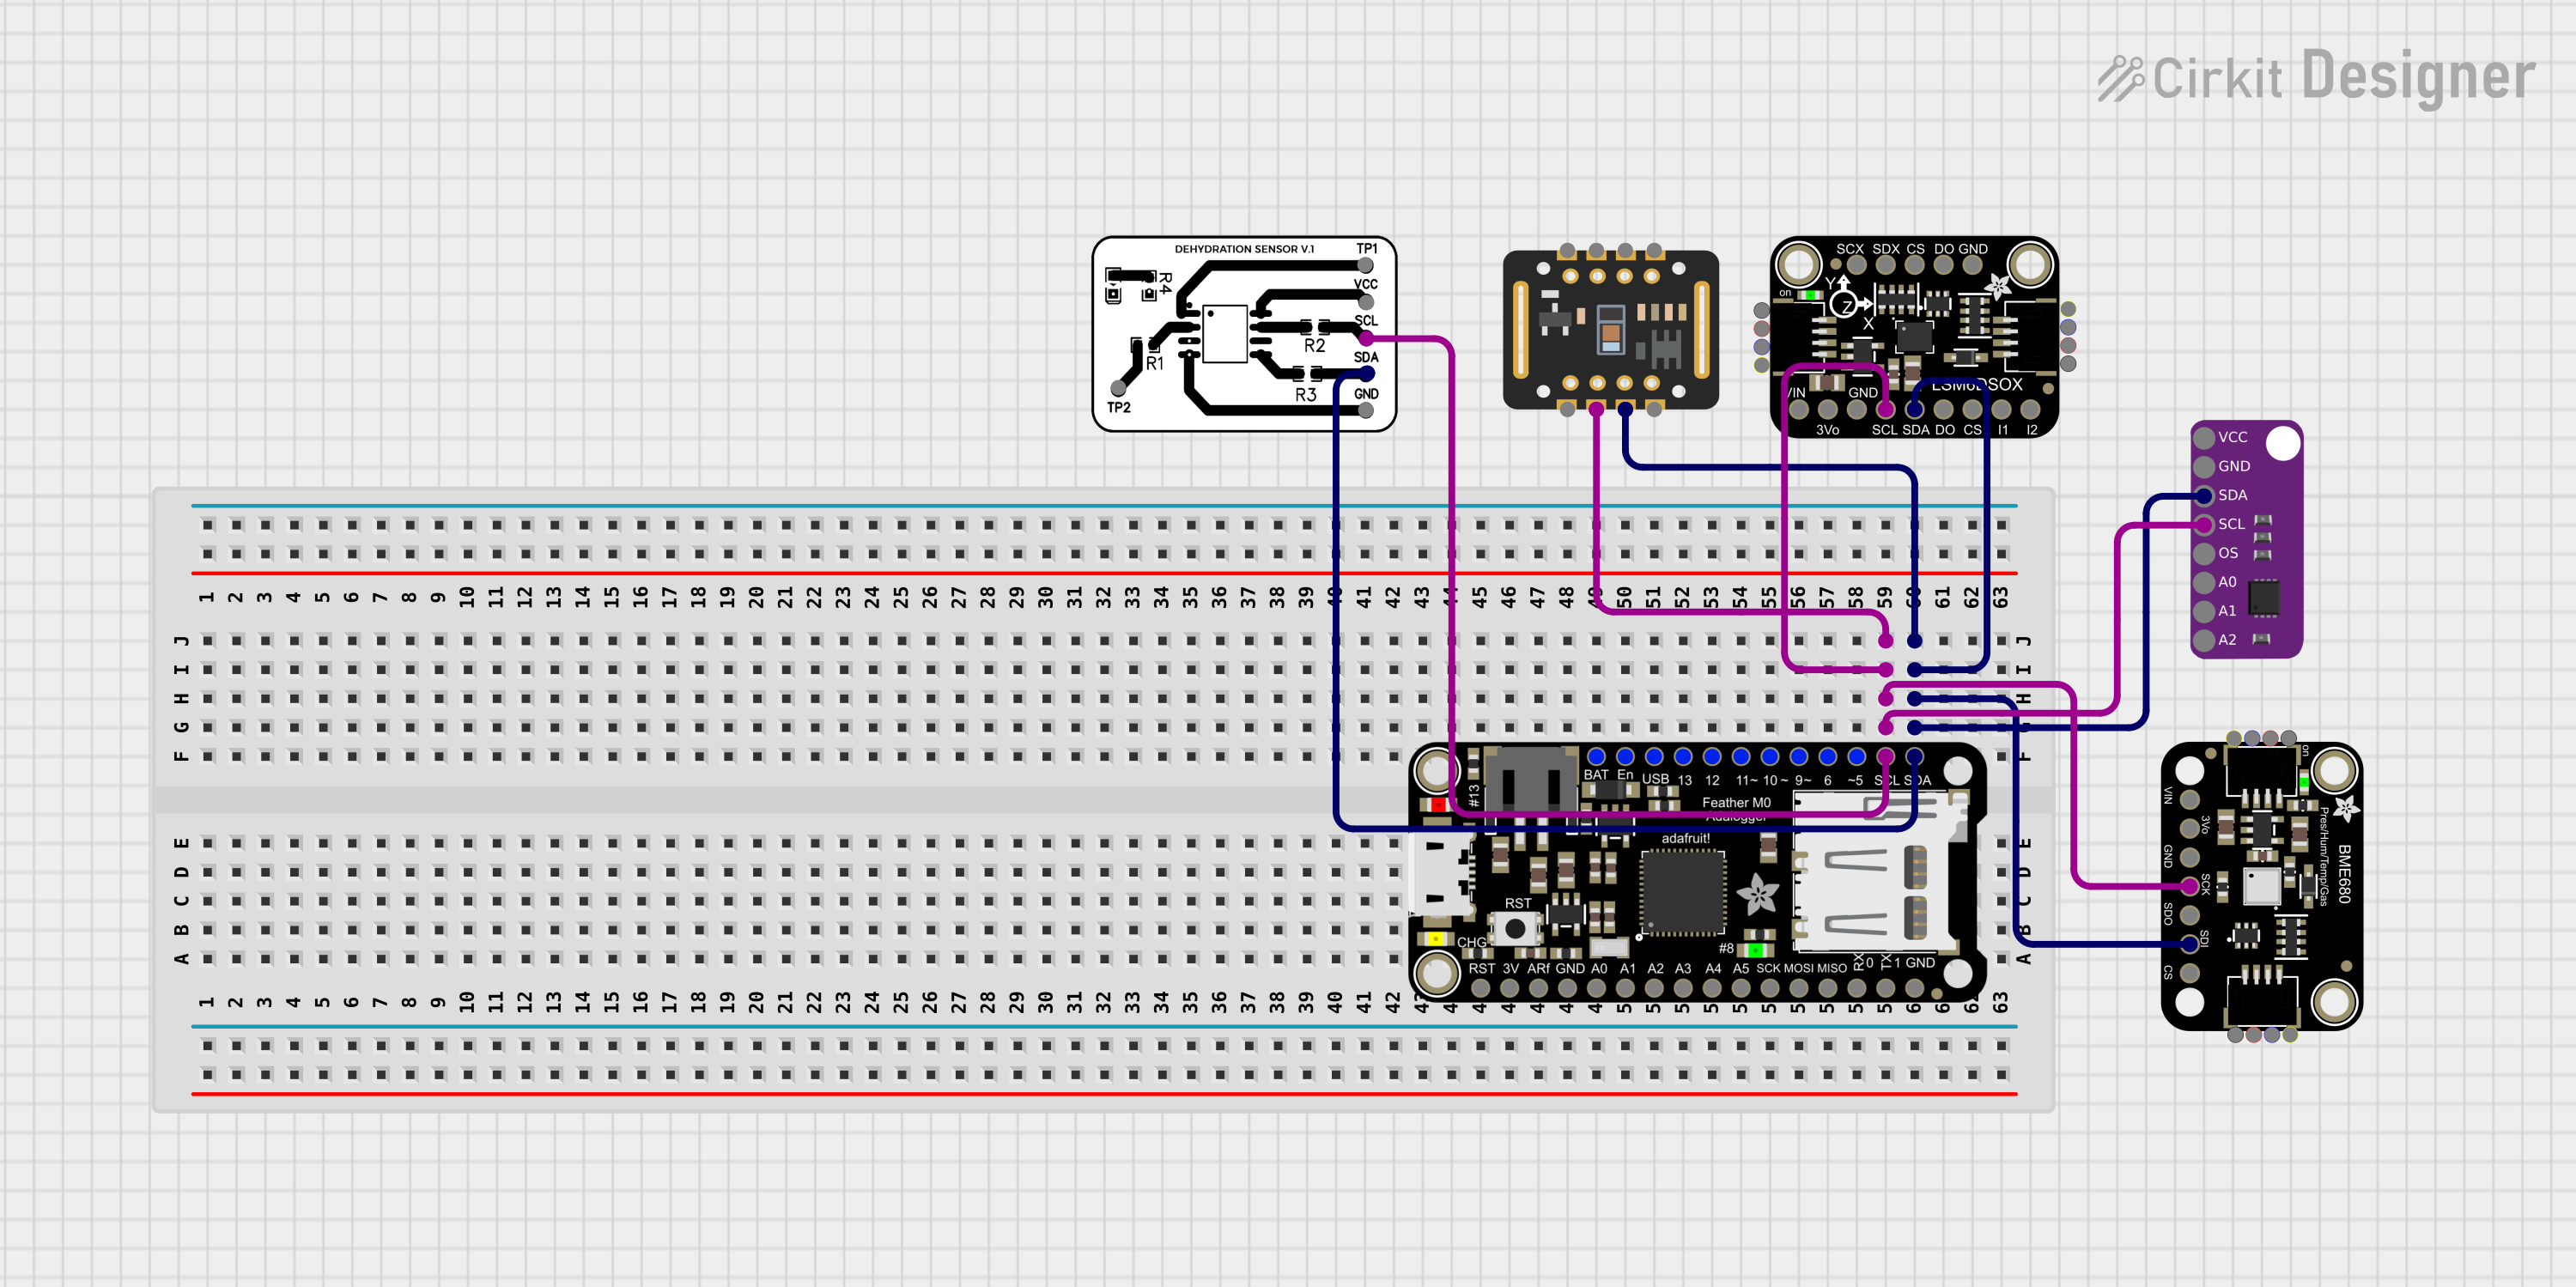
Image of ESP32-Based Plant Monitoring System with Wi-Fi Control and Relay Switching: A project utilizing body Dehydration sensor in a practical application
ESP32-Based Plant Monitoring System with Wi-Fi Control and Relay Switching

This circuit is designed for a plant monitoring system that measures soil moisture, ambient light, and temperature/humidity conditions. It uses an ESP32 microcontroller to read data from a DHT11 temperature and humidity sensor, a YL-69 soil moisture sensor, and a photosensitive sensor module. The ESP32 controls a relay module to power a water pump based on sensor inputs, and it interfaces with a Blynk application for remote monitoring and manual override via a physical button.

Open Project in Cirkit Designer
Image of Multi-Sensor Health Monitoring System with Adafruit Feather M0 Adalogger: A project utilizing body Dehydration sensor in a practical application
Multi-Sensor Health Monitoring System with Adafruit Feather M0 Adalogger

This circuit is designed to interface multiple sensors with an Adafruit Feather M0 Adalogger microcontroller for data logging purposes. The sensors include a MAX30205 temperature sensor, a body dehydration sensor, a MAX30102 pulse oximeter, an Adafruit LSM6DSOX 6-axis accelerometer and gyroscope, and an Adafruit BME680 environmental sensor. All sensors are connected to the microcontroller via an I2C bus, sharing the SDA and SCL lines for communication.

Open Project in Cirkit Designer

Common Applications and Use Cases

Technical Specifications

Key Technical Details

Pin Configuration and Descriptions

Pin Number Name Description
1 VCC Power supply (3.3V - 5V)
2 GND Ground connection
3 TEMP Analog output for temperature
4 HR Digital pulse output for heart rate
5 SC Analog output for skin conductance

Usage Instructions

How to Use the Component in a Circuit

  1. Connect the VCC pin to a 3.3V or 5V power supply.
  2. Connect the GND pin to the ground of the power supply.
  3. Connect the TEMP pin to an analog input on your microcontroller to read temperature.
  4. Connect the HR pin to a digital input on your microcontroller to read heart rate.
  5. Connect the SC pin to another analog input on your microcontroller to read skin conductance.

Important Considerations and Best Practices

Example Code for Arduino UNO

// Define sensor pins
const int tempPin = A0; // TEMP pin connected to A0
const int heartRatePin = 2; // HR pin connected to digital pin 2
const int skinConductancePin = A1; // SC pin connected to A1

void setup() {
  Serial.begin(9600);
  pinMode(heartRatePin, INPUT);
}

void loop() {
  // Read temperature
  int tempValue = analogRead(tempPin);
  float temperature = (tempValue * 5.0 / 1024.0) * 100; // Convert to temperature

  // Read heart rate
  int heartRateValue = pulseIn(heartRatePin, HIGH);
  int heartRate = 60000 / heartRateValue; // Calculate BPM

  // Read skin conductance
  int skinConductanceValue = analogRead(skinConductancePin);
  float skinConductance = (skinConductanceValue * 5.0 / 1024.0) * 100; // Convert to µS

  // Print the values
  Serial.print("Temperature: ");
  Serial.print(temperature);
  Serial.println(" C");
  Serial.print("Heart Rate: ");
  Serial.print(heartRate);
  Serial.println(" BPM");
  Serial.print("Skin Conductance: ");
  Serial.print(skinConductance);
  Serial.println(" µS");

  // Delay before next reading
  delay(1000);
}

Troubleshooting and FAQs

Common Issues Users Might Face

Solutions and Tips for Troubleshooting

FAQs

Q: Can the sensor be used in water-based activities? A: The BDS is not waterproof and should not be submerged in water.

Q: How often should the sensor be calibrated? A: Calibration should be performed whenever there is a significant change in the operating environment or at regular intervals as part of maintenance.

Q: Is the sensor suitable for continuous monitoring? A: Yes, the BDS is designed for continuous monitoring, but ensure that the sensor maintains good skin contact for accurate readings.