How to Use Capacitive V1.2: Examples, Pinouts, and Specs
Introduction
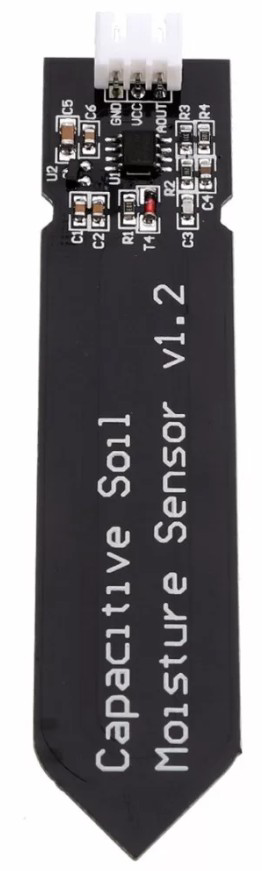
The Capacitive V1.2 is a touch sensor module designed to detect touch input by measuring changes in capacitance. This module is widely used in user interfaces, control systems, and interactive projects where touch-based input is required. Its compact design and ease of integration make it a popular choice for hobbyists and professionals alike.
Explore Projects Built with Capacitive V1.2


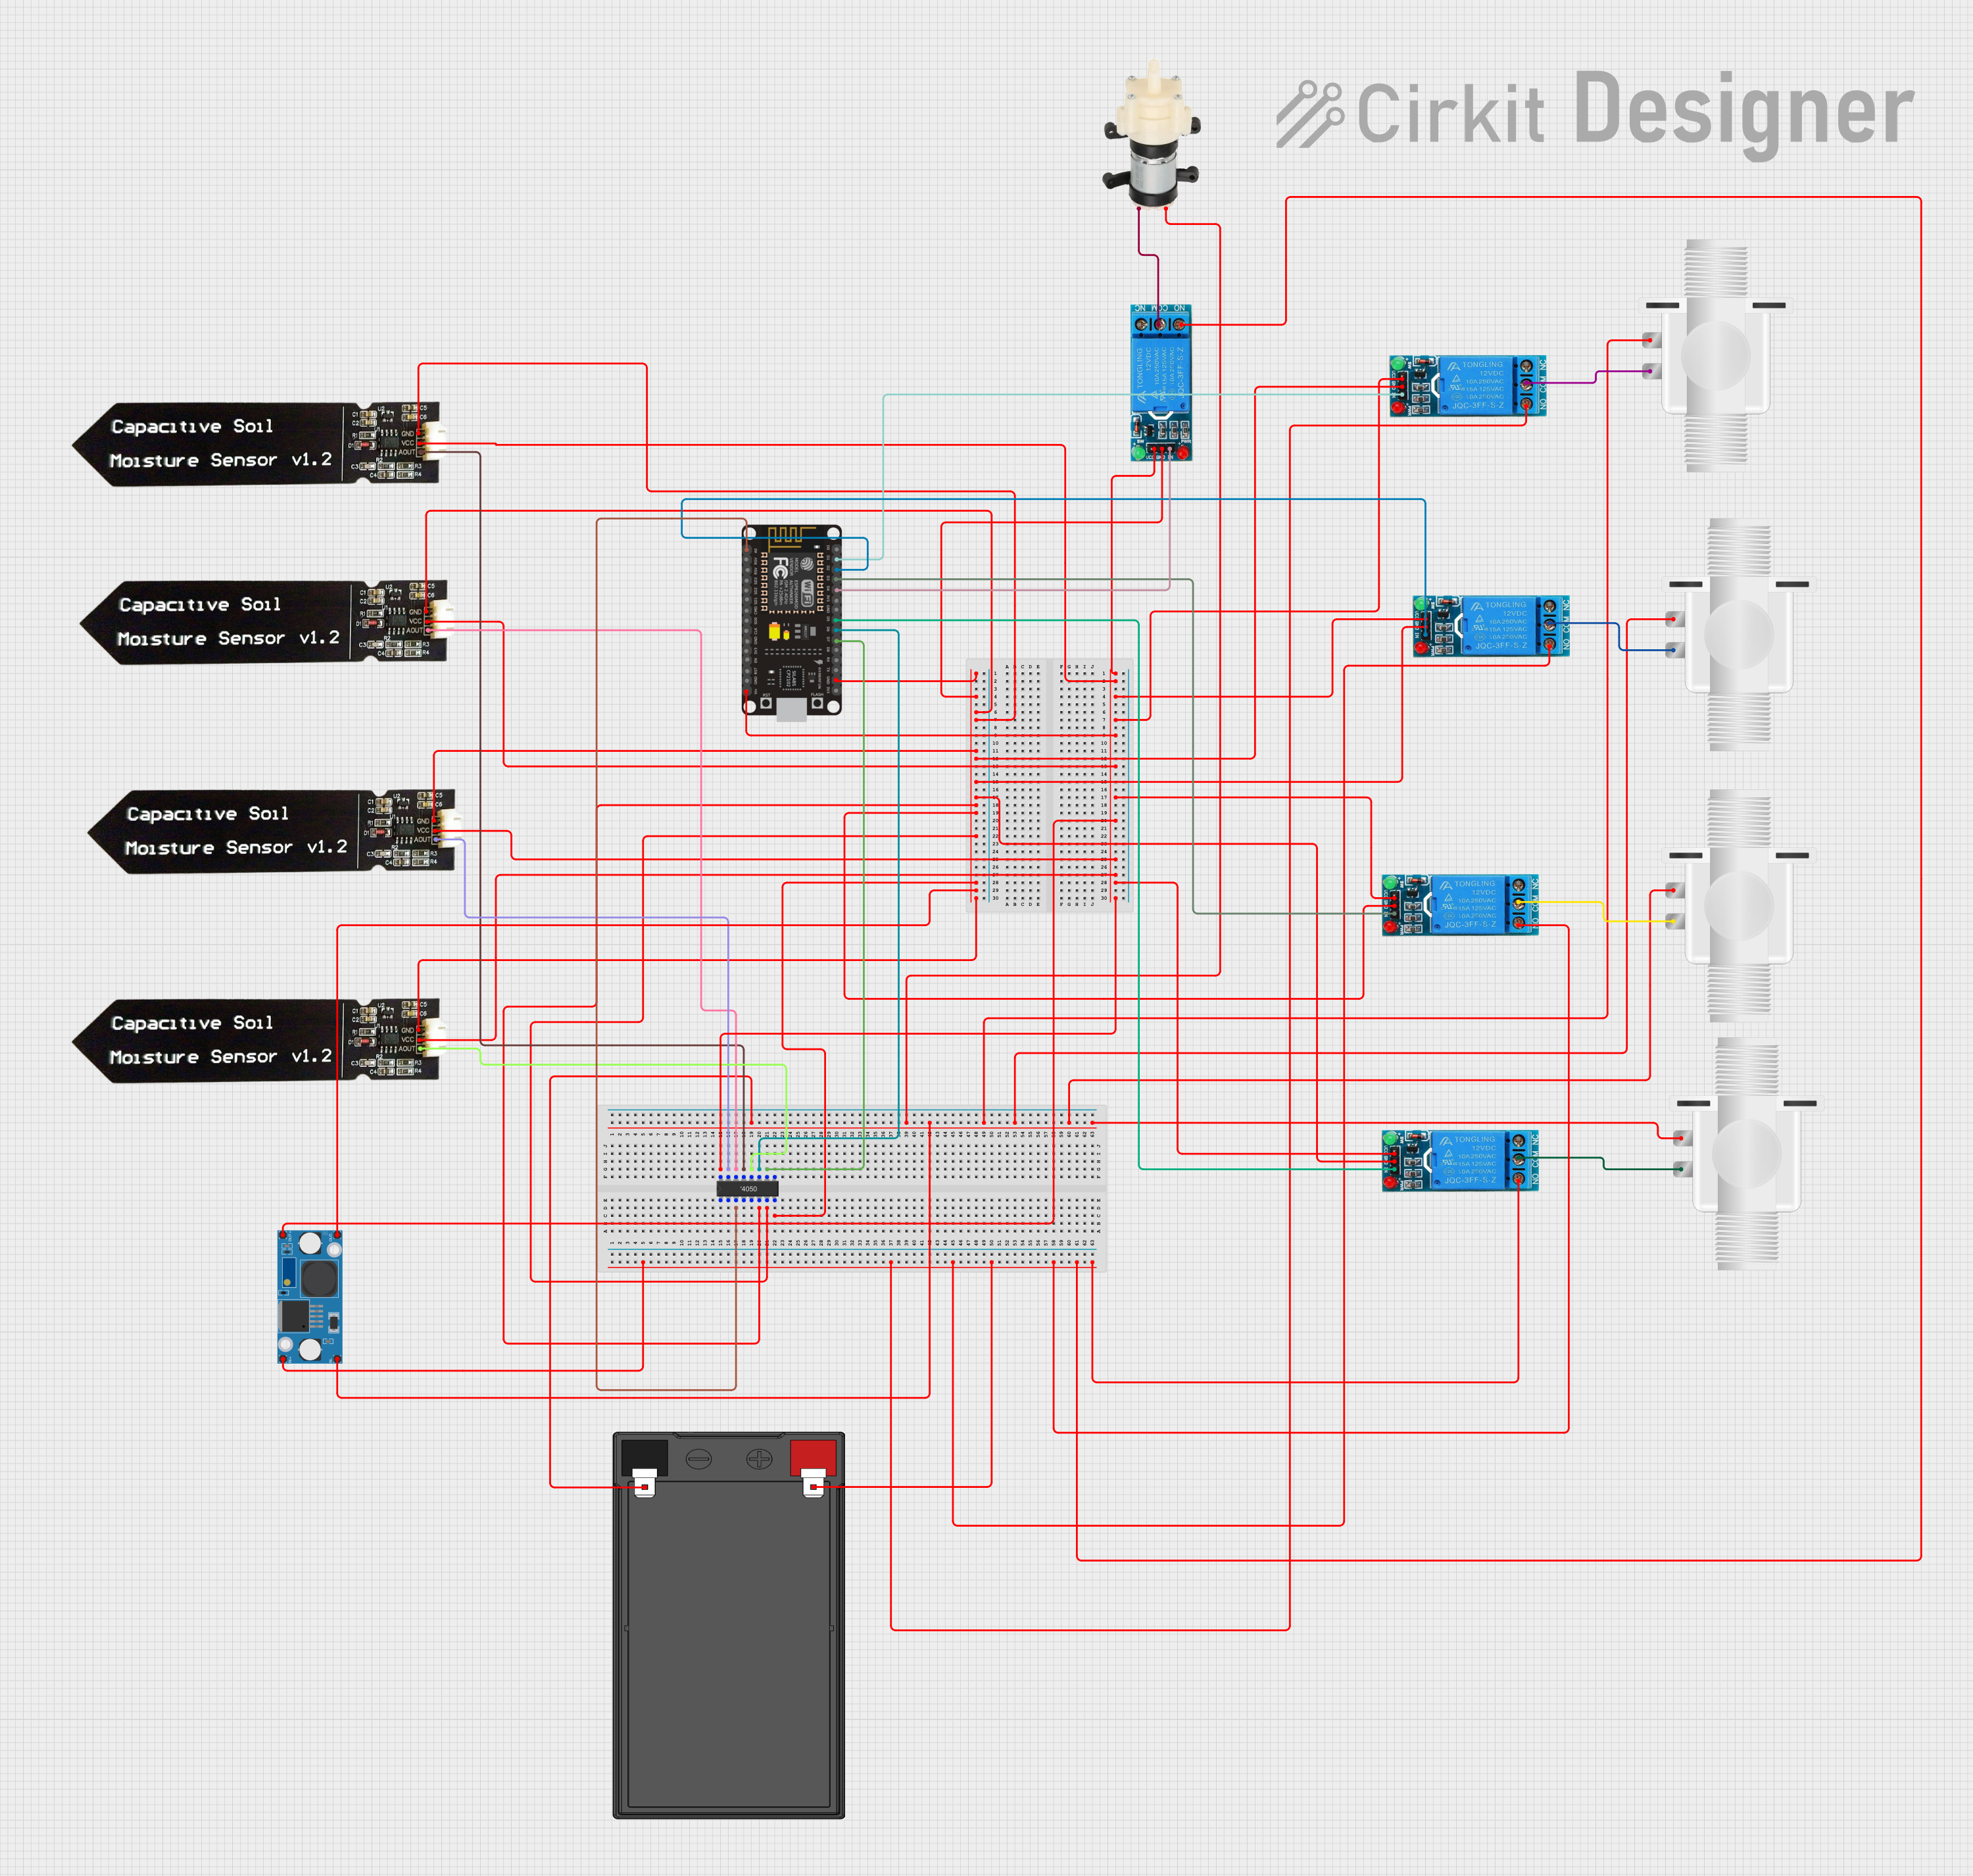
Explore Projects Built with Capacitive V1.2
Common Applications
- Touch-based user interfaces for home automation systems
- Interactive displays and kiosks
- Wearable devices and smart gadgets
- Arduino and microcontroller-based projects
- Capacitive touch buttons for appliances and electronics
Technical Specifications
The Capacitive V1.2 module is designed for low-power, high-sensitivity touch detection. Below are its key technical details:
| Parameter | Value |
|---|---|
| Operating Voltage | 2.0V to 5.5V |
| Operating Current | < 10 µA (low power consumption) |
| Response Time | ~60 ms |
| Touch Sensitivity | Adjustable via onboard components |
| Output Signal | Digital (High/Low) |
| Interface Type | Single digital output pin |
| Dimensions | 24mm x 24mm x 7mm |
Pin Configuration
The Capacitive V1.2 module has a simple 3-pin interface:
| Pin | Name | Description |
|---|---|---|
| 1 | VCC | Power supply input (2.0V to 5.5V) |
| 2 | GND | Ground connection |
| 3 | OUT | Digital output pin (HIGH when touched, LOW otherwise) |
Usage Instructions
How to Use the Capacitive V1.2 in a Circuit
- Power the Module: Connect the
VCCpin to a 3.3V or 5V power source and theGNDpin to ground. - Connect the Output: Attach the
OUTpin to a digital input pin on your microcontroller or directly to an LED (with a current-limiting resistor) for testing. - Touch Detection: When the sensor detects a touch, the
OUTpin will output a HIGH signal. When no touch is detected, the output will remain LOW.
Important Considerations
- Power Supply: Ensure a stable power supply to avoid false triggers or inconsistent behavior.
- Sensitivity Adjustment: Some versions of the Capacitive V1.2 module allow sensitivity adjustment via onboard components (e.g., a potentiometer). Refer to the specific module's datasheet for details.
- Avoid Interference: Keep the module away from high-frequency noise sources or conductive materials that may affect its performance.
- Debouncing: Implement software debouncing in your code to filter out rapid fluctuations in the output signal.
Example: Using the Capacitive V1.2 with Arduino UNO
Below is an example of how to connect and program the Capacitive V1.2 module with an Arduino UNO:
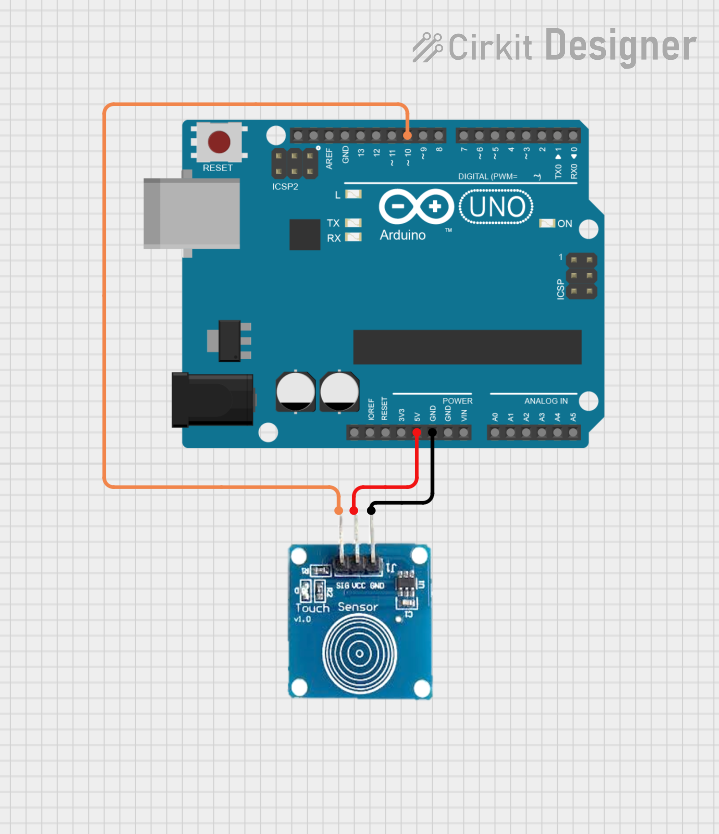
Circuit Diagram
- Connect
VCCto the Arduino's5Vpin. - Connect
GNDto the Arduino'sGNDpin. - Connect
OUTto digital pin2on the Arduino.
Arduino Code
// Capacitive V1.2 Touch Sensor Example
// This code reads the touch sensor's output and turns on an LED when touched.

const int touchPin = 2;  // Pin connected to the OUT pin of the sensor
const int ledPin = 13;   // Pin connected to the onboard LED

void setup() {
  pinMode(touchPin, INPUT);  // Set the touch sensor pin as input
  pinMode(ledPin, OUTPUT);   // Set the LED pin as output
  Serial.begin(9600);        // Initialize serial communication for debugging
}

void loop() {
  int touchState = digitalRead(touchPin);  // Read the sensor's output

  if (touchState == HIGH) {
    // If the sensor is touched, turn on the LED
    digitalWrite(ledPin, HIGH);
    Serial.println("Touch detected!");
  } else {
    // If no touch is detected, turn off the LED
    digitalWrite(ledPin, LOW);
  }

  delay(50);  // Small delay to stabilize readings
}
Troubleshooting and FAQs
Common Issues and Solutions
The sensor is not responding to touch.
- Ensure the
VCCandGNDconnections are secure. - Verify that the operating voltage is within the specified range (2.0V to 5.5V).
- Check for any physical damage to the module.
- Ensure the
False triggers or inconsistent behavior.
- Use a stable power supply to minimize noise.
- Adjust the sensitivity if your module supports it.
- Avoid placing the module near conductive or metallic surfaces.
Output signal is always HIGH or LOW.
- Confirm that the
OUTpin is properly connected to the microcontroller or test circuit. - Test the module with a simple LED circuit to verify its functionality.
- Confirm that the
FAQs
Q: Can I use the Capacitive V1.2 with a 3.3V microcontroller?
A: Yes, the module operates within a voltage range of 2.0V to 5.5V, making it compatible with both 3.3V and 5V systems.
Q: How do I increase the sensitivity of the sensor?
A: Some versions of the Capacitive V1.2 module include a potentiometer for sensitivity adjustment. Turn the potentiometer clockwise to increase sensitivity.
Q: Can the module detect multiple touches simultaneously?
A: No, the Capacitive V1.2 is designed to detect a single touch at a time.
Q: Is the module waterproof?
A: No, the Capacitive V1.2 is not waterproof. Avoid exposing it to moisture or liquids.
By following this documentation, you can effectively integrate the Capacitive V1.2 module into your projects and troubleshoot any issues that arise.