
How to Use SG90 servo motor: Examples, Pinouts, and Specs
 Design with SG90 servo motor in Cirkit Designer
Introduction
The SG90 servo motor is a compact and efficient actuator capable of precise position control. It is widely used in various applications such as radio-controlled devices, robotics, and small-scale automation projects. Its popularity stems from its affordability, reliability, and ease of use, making it an ideal choice for hobbyists and educators alike.
Explore Projects Built with SG90 servo motor
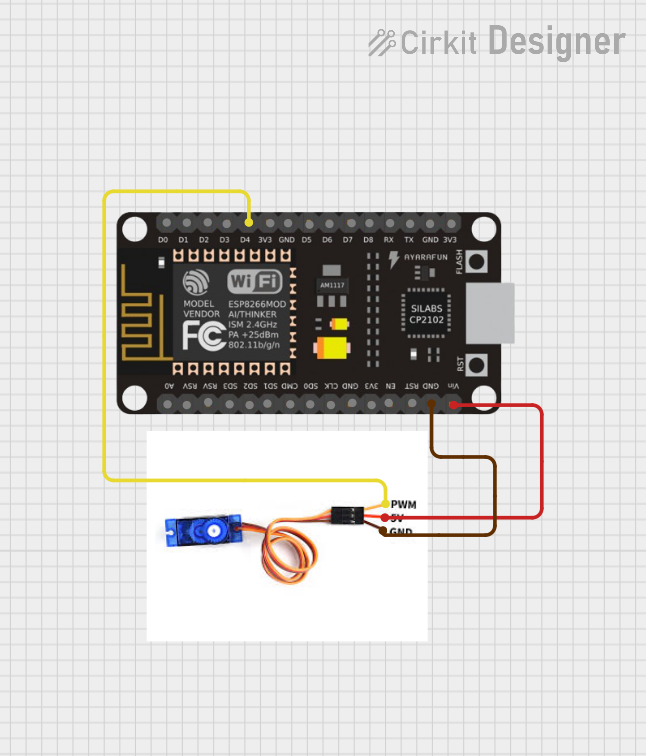
 Open Project in Cirkit Designer
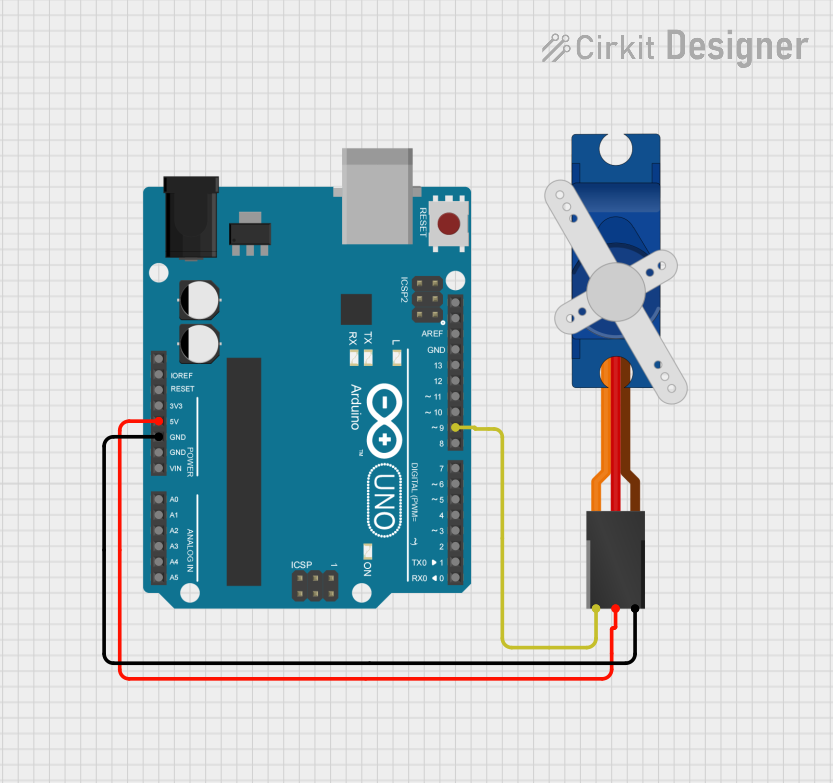
 Open Project in Cirkit Designer
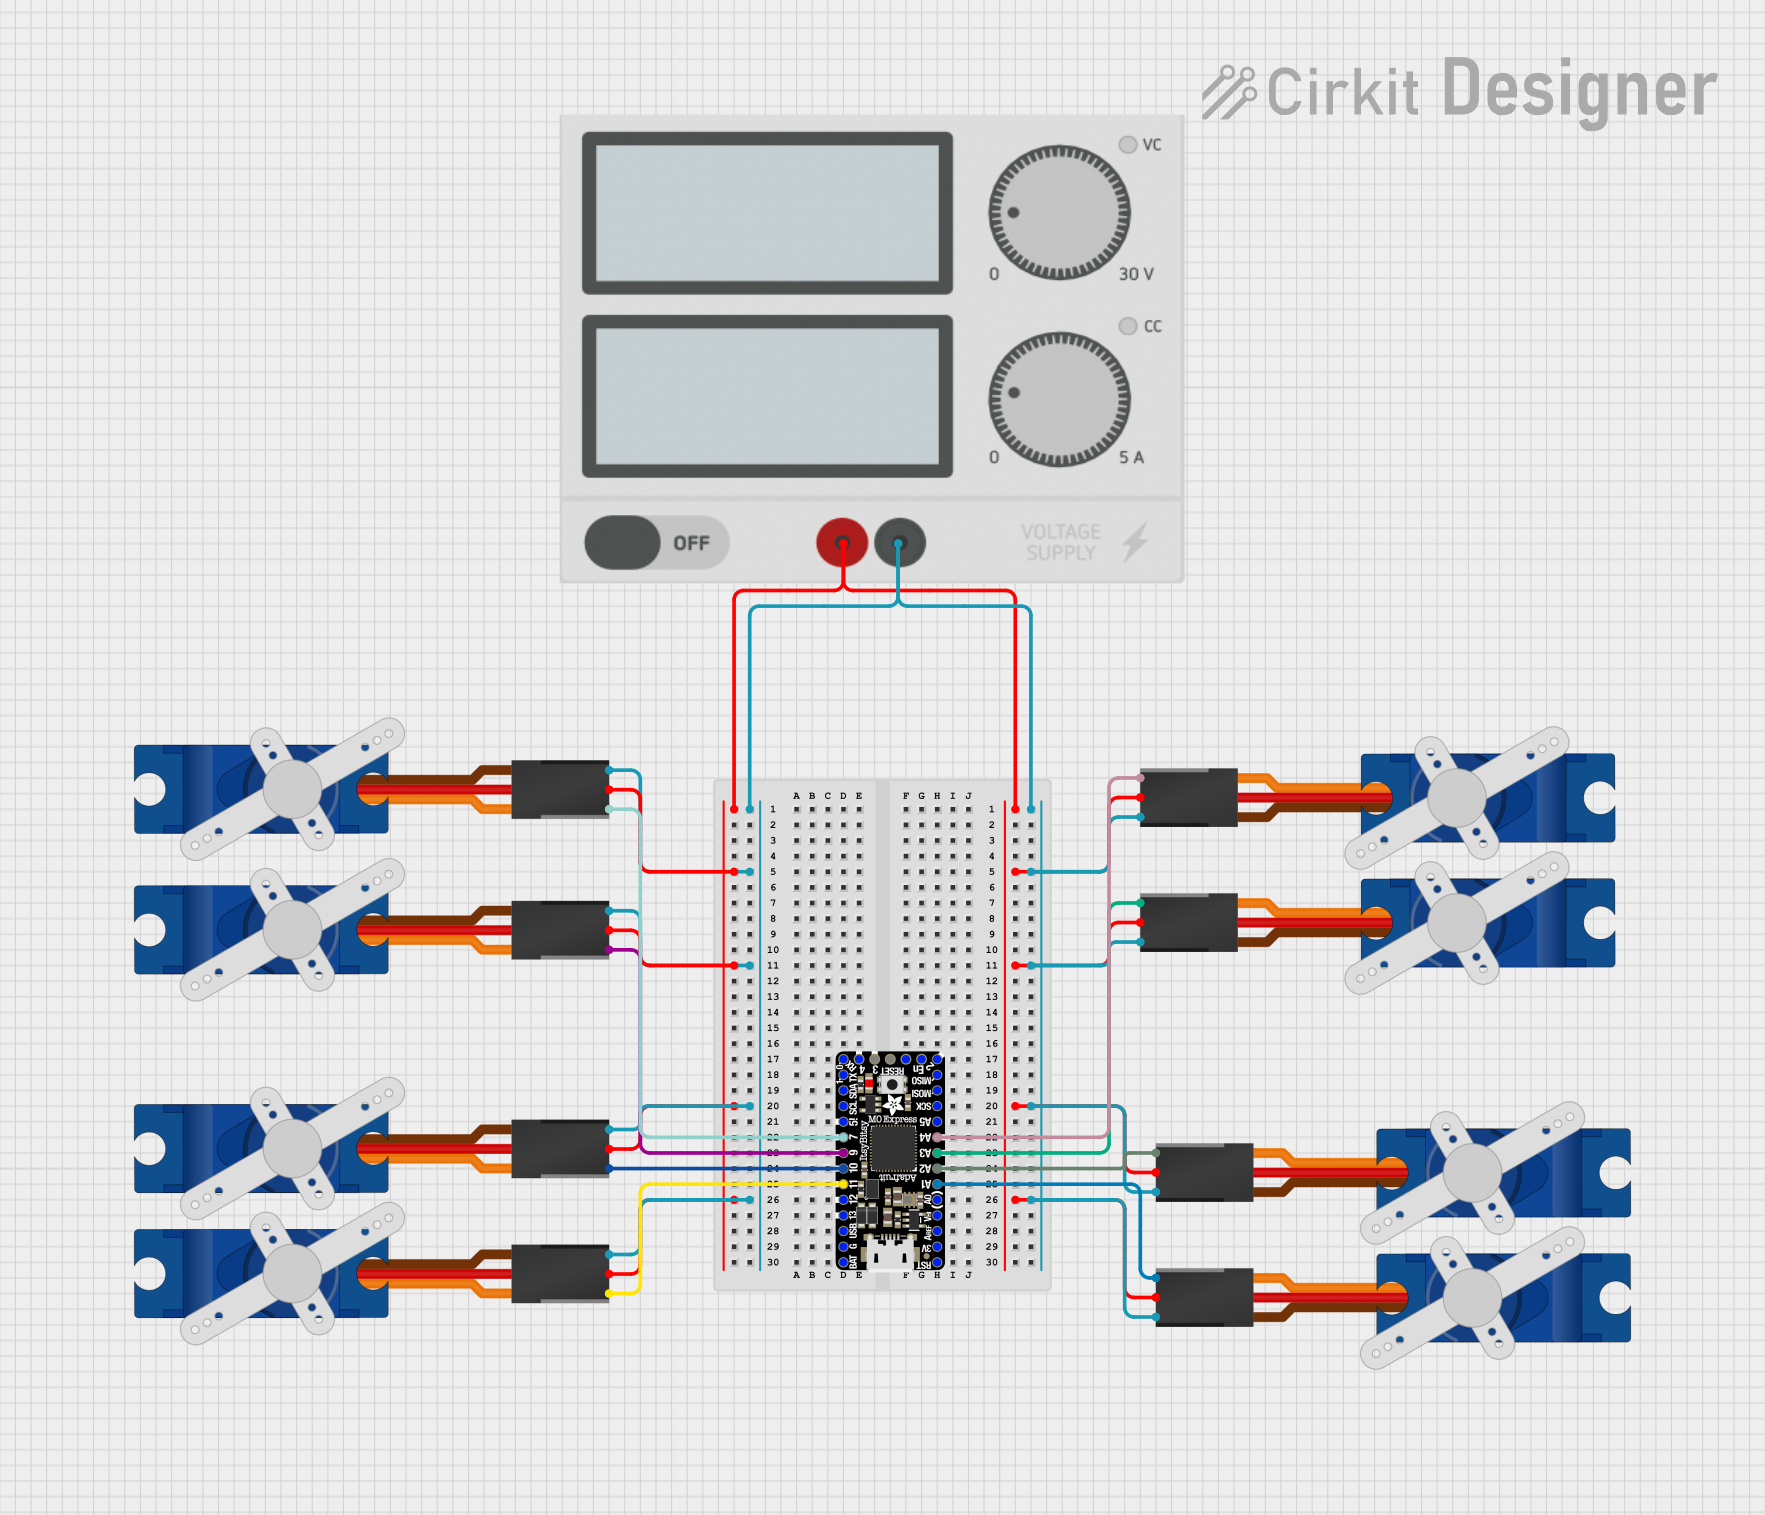
 Open Project in Cirkit Designer
 Open Project in Cirkit Designer
Explore Projects Built with SG90 servo motor

 Open Project in Cirkit Designer
 Open Project in Cirkit Designer
 Open Project in Cirkit Designer
 Open Project in Cirkit Designer
Common Applications and Use Cases
- Radio-controlled vehicles (cars, airplanes, boats)
- Robotic arms and manipulators
- Automated doors and windows
- Camera pan/tilt systems
- Animatronics
Technical Specifications
Key Technical Details
- Voltage: 3.0V to 7.2V
- Stall Torque: 1.8 kg-cm (4.8V), 2.2 kg-cm (6.0V)
- Operating Speed: 0.12 sec/60° (4.8V), 0.10 sec/60° (6.0V)
- Temperature Range: -30°C to +60°C
- Dead Band Width: 7 µs
- Weight: 9 g
- Dimensions: 22.2 x 11.8 x 31 mm
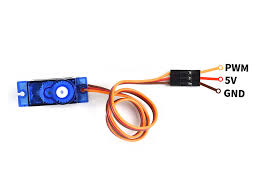
Pin Configuration and Descriptions
| Pin Number | Color | Description |
|---|---|---|
| 1 | Brown | Ground (GND) |
| 2 | Red | Power Supply (VCC) |
| 3 | Orange | Control Signal (PWM) |
Usage Instructions
How to Use the SG90 Servo Motor in a Circuit
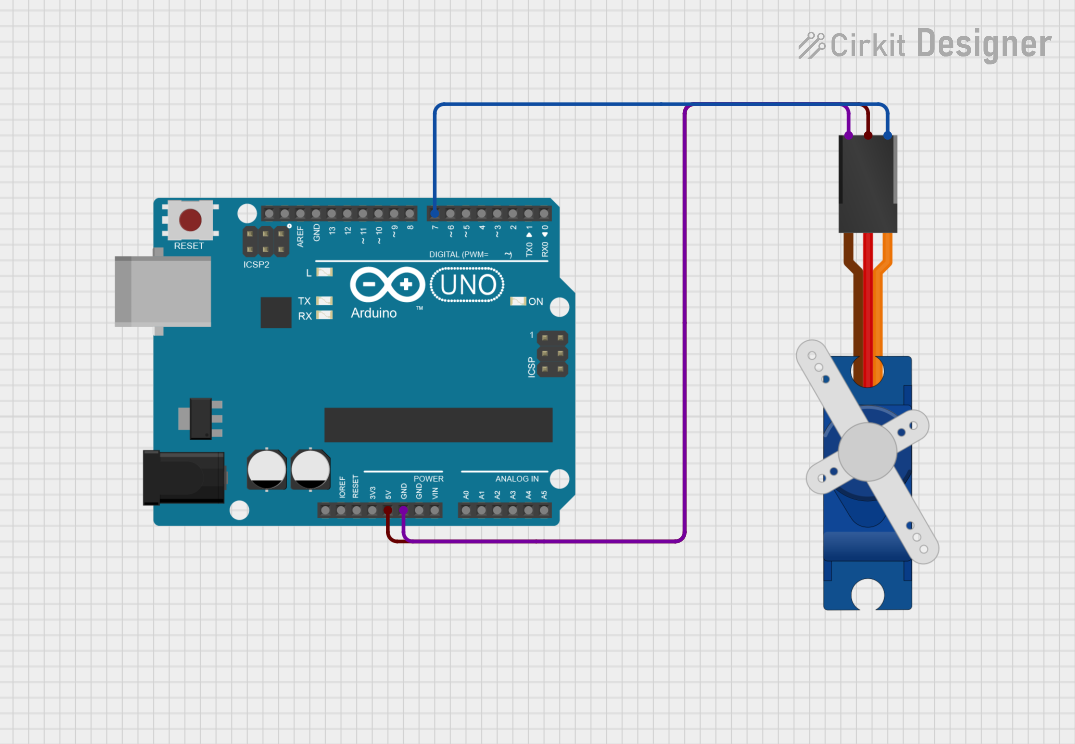
- Power Supply: Connect the red wire to a power source between 3.0V and 7.2V.
- Ground: Connect the brown wire to the ground of the power source and your control board.
- Control Signal: Connect the orange wire to a PWM-capable pin on your control board (e.g., an Arduino UNO).
Important Considerations and Best Practices
- Ensure that the power supply is within the specified voltage range to prevent damage.
- Do not exceed the servo's torque capabilities, as this may strip the gears.
- Use a separate power supply if the servo's current draw is too high for your control board.
- Avoid physical obstructions that may hinder the servo's movement.
Example Code for Arduino UNO
#include <Servo.h>

Servo myservo;  // create servo object to control the SG90

void setup() {
  myservo.attach(9);  // attaches the servo on pin 9 to the servo object
}

void loop() {
  myservo.write(90);  // sets the servo position to 90°
  delay(1000);        // waits for the servo to reach the position
  myservo.write(0);   // sets the servo position to 0°
  delay(1000);        // waits for the servo to reach the position
}
Troubleshooting and FAQs
Common Issues Users Might Face
- Servo not responding: Check connections and ensure the control signal is a proper PWM signal.
- Erratic movements: Verify that the power supply is stable and within the specified voltage range.
- Noise during operation: This can be normal, but if excessive, it may indicate a mechanical issue.
Solutions and Tips for Troubleshooting
- If the servo is not moving, ensure that the PWM signal frequency is 50Hz, which is the standard for most servos.
- Use a multimeter to check for continuity and proper voltage levels in the circuit.
- In case of stripped gears, replacement gear sets for the SG90 are available and can be installed.
FAQs
Q: Can I control the SG90 servo motor with a microcontroller other than Arduino?
A: Yes, any microcontroller with PWM output capability can be used to control the SG90.
Q: What is the maximum angle the SG90 servo motor can rotate?
A: The SG90 typically has a rotation range of 180 degrees, but the actual range may vary slightly.
Q: How can I increase the torque of the SG90 servo motor?
A: Torque cannot be increased beyond the motor's specifications; however, using the servo within its optimal voltage range can ensure maximum torque performance.