How to Use Adafruit BMP183: Examples, Pinouts, and Specs
Introduction
The Adafruit BMP183 is a precision sensor designed for measuring atmospheric pressure. This high-accuracy sensor can be used in various applications such as weather monitoring, altitude estimation for drones and mobile devices, and indoor navigation. The BMP183 is known for its reliability and ease of use, making it a popular choice for hobbyists and professionals alike.
Explore Projects Built with Adafruit BMP183
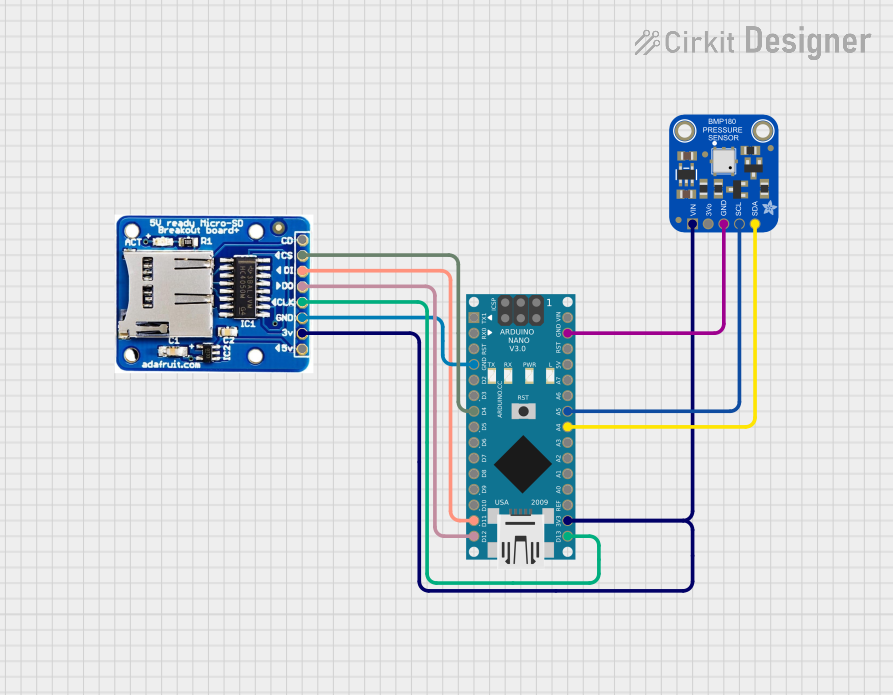
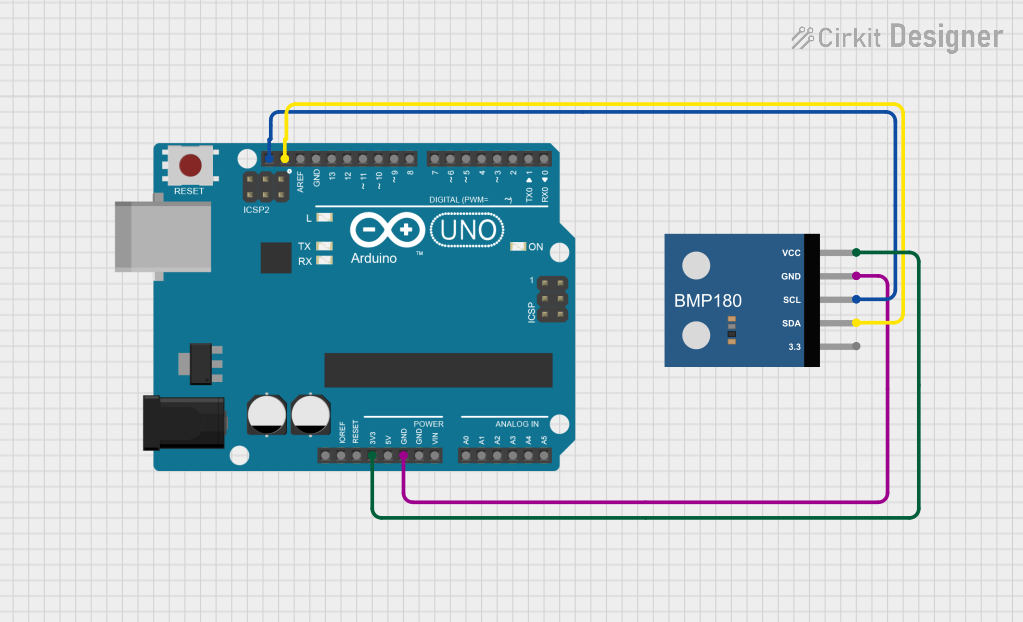
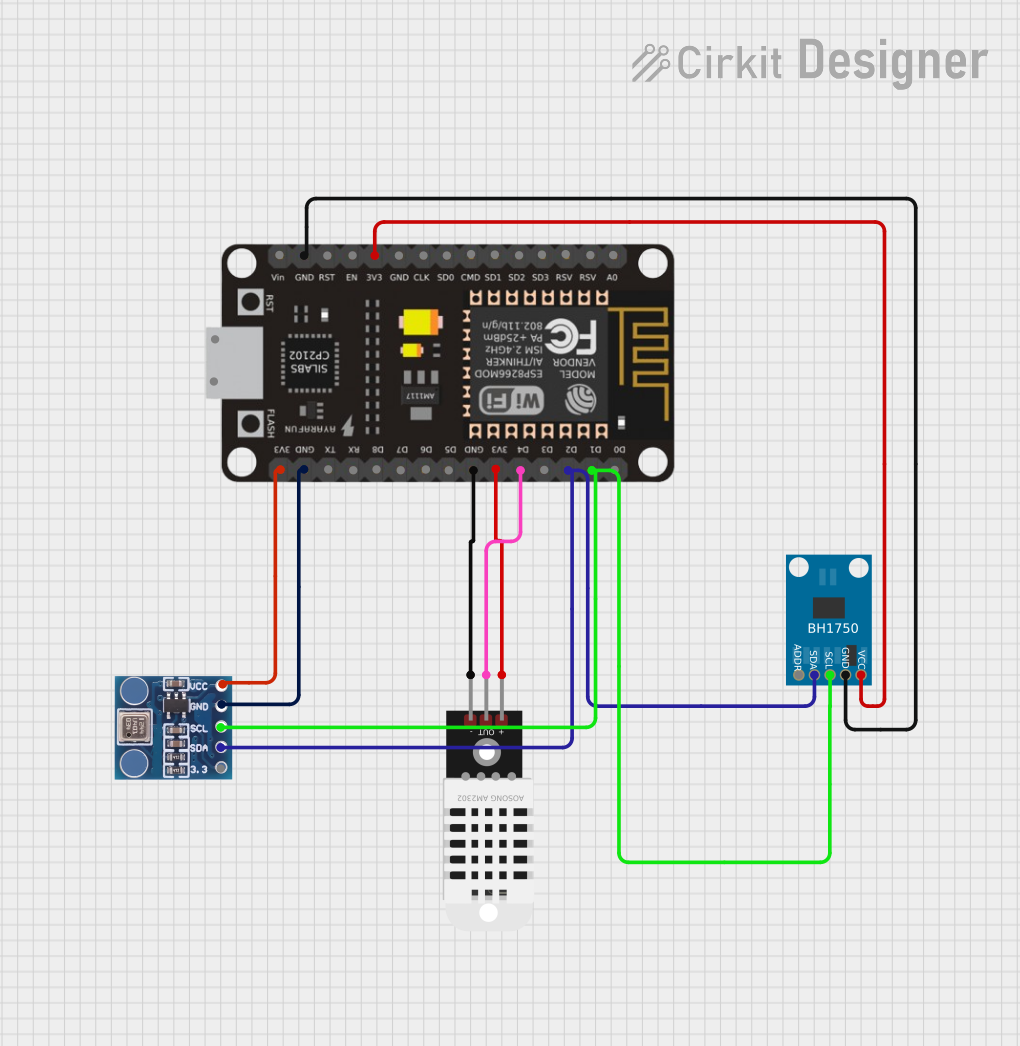

Explore Projects Built with Adafruit BMP183
Technical Specifications
Key Technical Details
- Pressure Range: 300 to 1100 hPa (equivalent to +9000m to -500m above/below sea level)
- Supply Voltage: 1.8V to 3.6V
- Maximum Current: 5 µA during measurement, 0.1 µA during standby
- Interface: SPI (Serial Peripheral Interface)
- Accuracy: ±1 hPa (or ±0.03 inHg)
- Resolution: Down to 0.03 hPa (0.25 meters)
- Operating Temperature Range: -40°C to +85°C
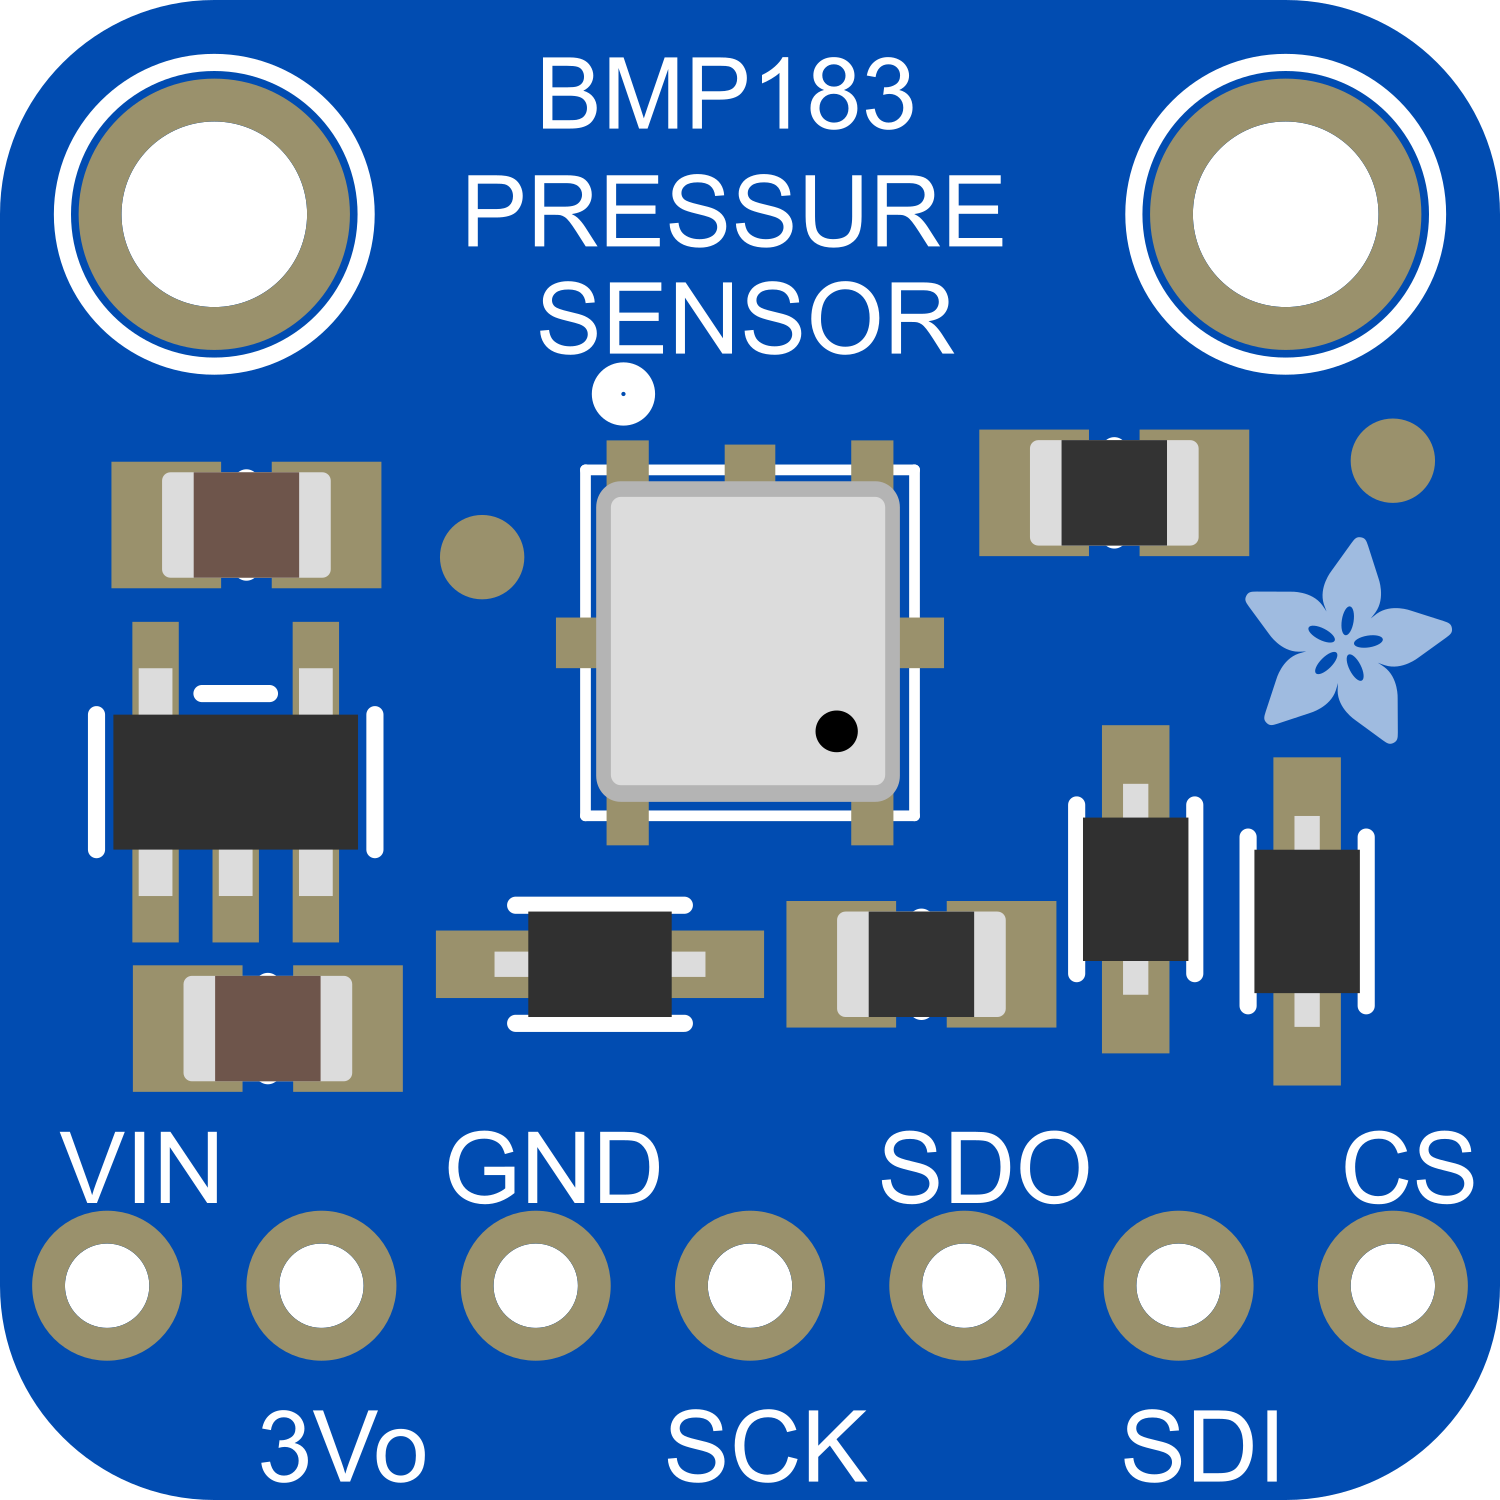
Pin Configuration and Descriptions
| Pin Number | Name | Description |
|---|---|---|
| 1 | VCC | Power supply (1.8V to 3.6V) |
| 2 | GND | Ground connection |
| 3 | SCK | Serial Clock for SPI communication |
| 4 | SDI | Serial Data In (Master Out Slave In - MOSI) |
| 5 | SDO | Serial Data Out (Master In Slave Out - MISO) |
| 6 | CSB | Chip Select (active low) |
Usage Instructions
Integration into a Circuit
To use the BMP183 in a circuit:
- Connect the VCC pin to a power supply within the specified range (1.8V to 3.6V).
- Connect the GND pin to the ground of the power supply.
- Interface the sensor with a microcontroller using the SPI pins (SCK, SDI, SDO, and CSB).
Best Practices
- Ensure that the power supply is stable and within the specified voltage range.
- Use pull-up resistors on the SPI lines if required by the microcontroller.
- Keep the sensor away from heat sources to avoid affecting the readings.
- For accurate pressure measurements, calibrate the sensor at a known altitude/pressure.
Example Code for Arduino UNO
#include <SPI.h>

// BMP183 SPI settings
SPISettings bmp183SPI(1000000, MSBFIRST, SPI_MODE0);

// BMP183 CS pin
const int bmp183_cs = 10;

void setup() {
  Serial.begin(9600);
  SPI.begin();
  pinMode(bmp183_cs, OUTPUT);
  digitalWrite(bmp183_cs, HIGH);
  // Add additional setup code here
}

void loop() {
  // Select the BMP183 sensor
  digitalWrite(bmp183_cs, LOW);

  // Add code to read sensor data

  // Deselect the BMP183 sensor
  digitalWrite(bmp183_cs, HIGH);

  // Add code to process and output the data
  // Remember to keep the line length of comments under 80 characters
  // Example: Serial.println("Pressure: " + String(pressure) + " hPa");

  delay(1000); // Delay between readings
}
Troubleshooting and FAQs
Common Issues
- Inaccurate Readings: Ensure the sensor is calibrated correctly. Avoid physical stress and ensure the sensor is not exposed to sudden temperature changes.
- No Data on SPI: Check the wiring, ensure correct pin connections, and verify that the SPI settings match the sensor's requirements.
- Sensor Not Responding: Make sure the power supply is within the specified range and the sensor is not damaged.
Solutions and Tips
- Calibration: Perform calibration at a known altitude or pressure to improve accuracy.
- SPI Communication: Use logic level converters if interfacing with a 5V microcontroller to protect the sensor.
- Code Debugging: Use serial print statements to debug and verify that data is being read correctly from the sensor.
FAQs
Q: Can the BMP183 be used with a 5V microcontroller? A: Yes, but ensure that the sensor's VCC is connected to a 3.3V supply and use logic level converters for SPI lines.
Q: How can I improve the accuracy of the sensor? A: Calibrate the sensor at a known altitude/pressure and avoid placing it near heat sources or in direct sunlight.
Q: Is it possible to use multiple BMP183 sensors on the same microcontroller? A: Yes, you can use multiple sensors by connecting them to different CS pins and selecting the appropriate one during SPI communication.
For further assistance, consult the Adafruit BMP183 datasheet and the community forums for additional support and resources.