
How to Use DHT20: Examples, Pinouts, and Specs
 Design with DHT20 in Cirkit Designer
Introduction
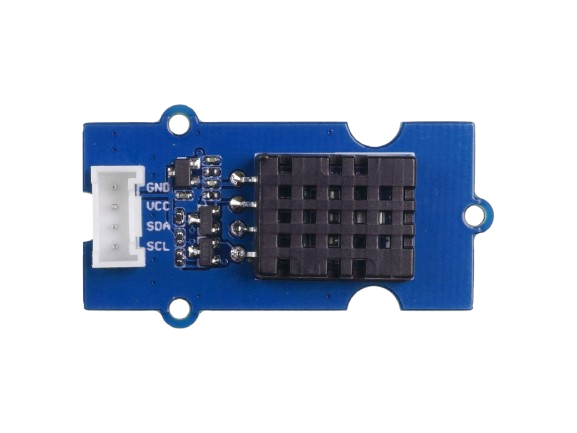
The DHT20 is a digital temperature and humidity sensor that provides accurate readings of environmental conditions. It integrates a capacitive humidity sensor and a thermistor to measure relative humidity and temperature, respectively. The DHT20 communicates via an I²C digital signal, making it easy to interface with microcontrollers and other digital systems. Its compact size and low power consumption make it ideal for a wide range of applications.
Explore Projects Built with DHT20
 Open Project in Cirkit Designer
 Open Project in Cirkit Designer
 Open Project in Cirkit Designer
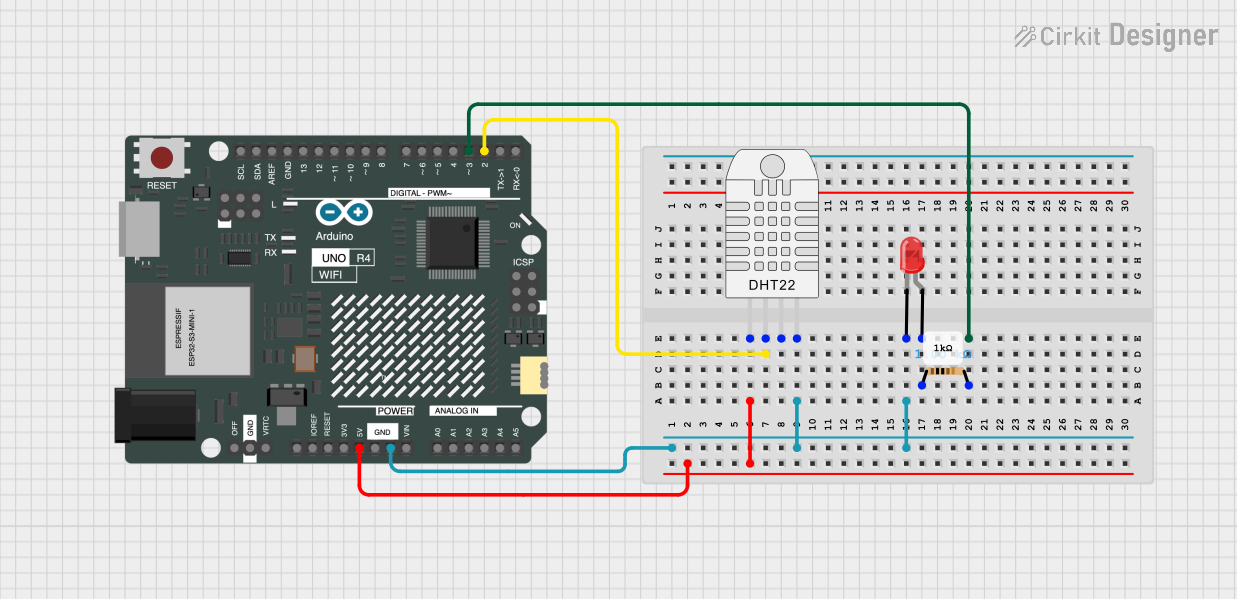 Open Project in Cirkit Designer
Explore Projects Built with DHT20
Open Project in Cirkit DesignerOpen Project in Cirkit DesignerOpen Project in Cirkit DesignerOpen Project in Cirkit DesignerCommon Applications
- Weather monitoring stations
- HVAC (Heating, Ventilation, and Air Conditioning) systems
- IoT (Internet of Things) devices
- Greenhouse monitoring
- Home automation systems
Technical Specifications
The DHT20 sensor is designed for precision and reliability. Below are its key technical details:
| Parameter | Value |
|---|---|
| Operating Voltage | 2.2V to 5.5V |
| Operating Current | 0.5mA (average) |
| Temperature Range | -40°C to 80°C |
| Temperature Accuracy | ±0.5°C |
| Humidity Range | 0% to 100% RH |
| Humidity Accuracy | ±3% RH (typical) |
| Communication Protocol | I²C |
| I²C Address | 0x38 |
| Sampling Period | Minimum 1 second |
| Dimensions | 10mm x 10mm x 3.2mm |
Pin Configuration
The DHT20 has four pins, as described in the table below:
| Pin | Name | Description |
|---|---|---|
| 1 | VCC | Power supply pin (2.2V to 5.5V) |
| 2 | SDA | I²C data line for communication |
| 3 | GND | Ground connection |
| 4 | SCL | I²C clock line for communication |
Usage Instructions
The DHT20 is straightforward to use in a circuit, especially with microcontrollers like the Arduino UNO. Below are the steps to integrate and use the DHT20:
Circuit Connection
- Connect the VCC pin of the DHT20 to the 5V pin of the Arduino UNO.
- Connect the GND pin of the DHT20 to the GND pin of the Arduino UNO.
- Connect the SDA pin of the DHT20 to the A4 pin (I²C data line) of the Arduino UNO.
- Connect the SCL pin of the DHT20 to the A5 pin (I²C clock line) of the Arduino UNO.
- Use pull-up resistors (typically 4.7kΩ) on the SDA and SCL lines for stable communication.
Arduino Code Example
Below is an example Arduino sketch to read temperature and humidity data from the DHT20:
#include <Wire.h> // Include the Wire library for I²C communication
#include "DHT20.h" // Include the DHT20 library (install via Arduino Library Manager)

DHT20 dht20; // Create a DHT20 object

void setup() {
  Serial.begin(9600); // Initialize serial communication at 9600 baud
  Wire.begin(); // Initialize I²C communication
  dht20.begin(); // Initialize the DHT20 sensor

  Serial.println("DHT20 Sensor Initialized");
}

void loop() {
  // Read temperature and humidity from the DHT20
  float temperature = dht20.readTemperature(); // Get temperature in Celsius
  float humidity = dht20.readHumidity(); // Get relative humidity in %

  // Check if the readings are valid
  if (dht20.getStatus() == 0) {
    Serial.print("Temperature: ");
    Serial.print(temperature);
    Serial.println(" °C");

    Serial.print("Humidity: ");
    Serial.print(humidity);
    Serial.println(" %");
  } else {
    Serial.println("Error reading from DHT20 sensor");
  }

  delay(2000); // Wait for 2 seconds before the next reading
}
Important Considerations
- Ensure the I²C address (0x38) matches the default address of the DHT20. If using multiple I²C devices, ensure no address conflicts.
- Avoid placing the sensor in direct sunlight or near heat sources, as this may affect accuracy.
- Allow the sensor to stabilize for a few seconds after powering it on before taking readings.
- Use pull-up resistors on the SDA and SCL lines for reliable I²C communication.
Troubleshooting and FAQs
Common Issues
No data or incorrect readings from the sensor:
- Ensure the wiring is correct and matches the pin configuration.
- Verify that pull-up resistors are connected to the SDA and SCL lines.
- Check the power supply voltage (2.2V to 5.5V) to ensure it is within the operating range.
Error messages in the Arduino serial monitor:
- Confirm that the DHT20 library is installed and included in the sketch.
- Ensure the I²C address (0x38) is correct and not conflicting with other devices.
Slow or inconsistent readings:
- Ensure the sampling period is at least 1 second between consecutive readings.
- Check for loose connections or damaged wires.
FAQs
Q: Can the DHT20 measure negative temperatures?
A: Yes, the DHT20 can measure temperatures as low as -40°C.
Q: Is the DHT20 waterproof?
A: No, the DHT20 is not waterproof. For outdoor or high-humidity environments, use a protective enclosure.
Q: Can I use the DHT20 with a 3.3V microcontroller?
A: Yes, the DHT20 operates within a voltage range of 2.2V to 5.5V, making it compatible with 3.3V systems.
Q: How accurate is the DHT20 compared to other sensors?
A: The DHT20 offers a typical humidity accuracy of ±3% RH and temperature accuracy of ±0.5°C, which is suitable for most applications requiring moderate precision.
By following this documentation, you can effectively integrate and use the DHT20 sensor in your projects.