How to Use ADXL345: Examples, Pinouts, and Specs
Introduction
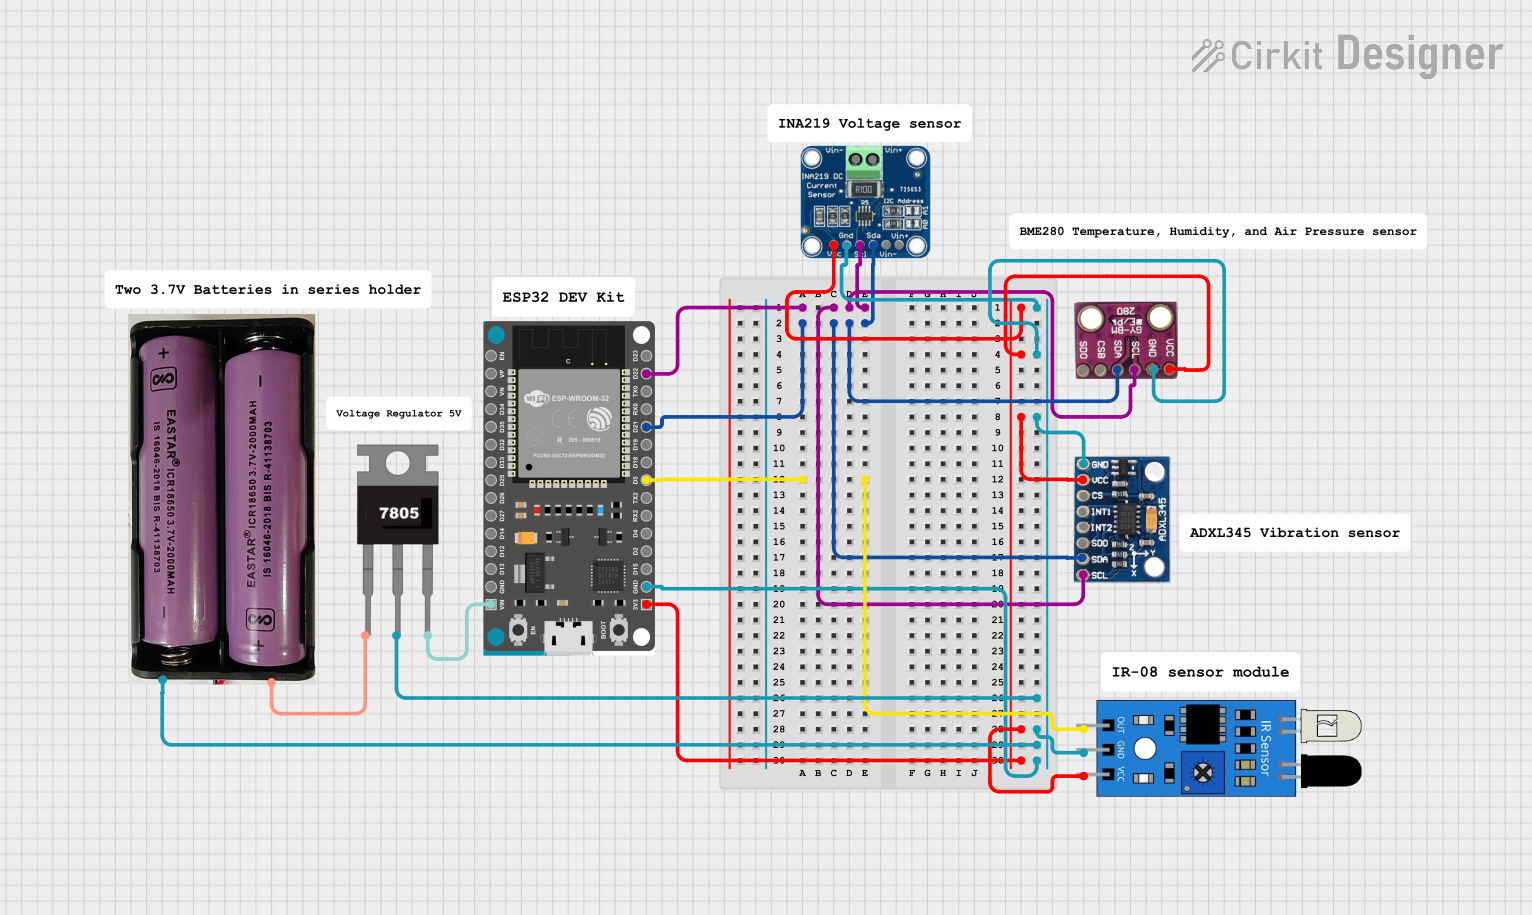
The ADXL345 is a compact, low-power, 3-axis accelerometer that offers high-resolution (13-bit) measurement across a range of up to ±16 g. Manufactured by Adafruit, this versatile sensor is capable of providing real-time acceleration data, which makes it ideal for applications in motion detection, free-fall detection, and dynamic orientation detection. Common use cases include mobile devices, gaming systems, and activity monitoring.
Explore Projects Built with ADXL345
Explore Projects Built with ADXL345
Technical Specifications
Key Features
- 3-axis sensing
- High resolution: 13-bit, up to ±16 g
- Low power consumption
- Output data rate (ODR) from 0.1 Hz to 3200 Hz
- I2C and SPI digital interfaces
- Free-fall detection
- Single-tap/double-tap detection
- Activity/inactivity monitoring
Electrical Characteristics
| Parameter | Condition | Min | Typ | Max | Unit |
|---|---|---|---|---|---|
| Supply Voltage | VDD | 2.0 | 3.3 | 3.6 | V |
| I/O Voltage | VDDIO | 1.7 | 3.3 | 3.6 | V |
| Output Current | per pin | 10 | mA | ||
| Operating Temp. | Range | -40 | +85 | °C |
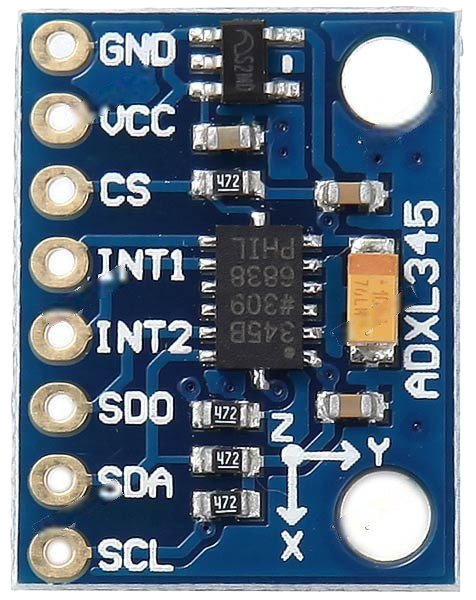
Pin Configuration
| Pin Number | Name | Description |
|---|---|---|
| 1 | GND | Ground |
| 2 | VCC | Power supply (2.0V to 3.6V) |
| 3 | CS | Chip select for SPI (active low) |
| 4 | INT1 | Interrupt 1 output |
| 5 | INT2 | Interrupt 2 output |
| 6 | SDO | Serial data out for SPI / alt address for I2C |
| 7 | SDA | Serial data for I2C / MOSI for SPI |
| 8 | SCL | Serial clock for I2C / SCLK for SPI |
Usage Instructions
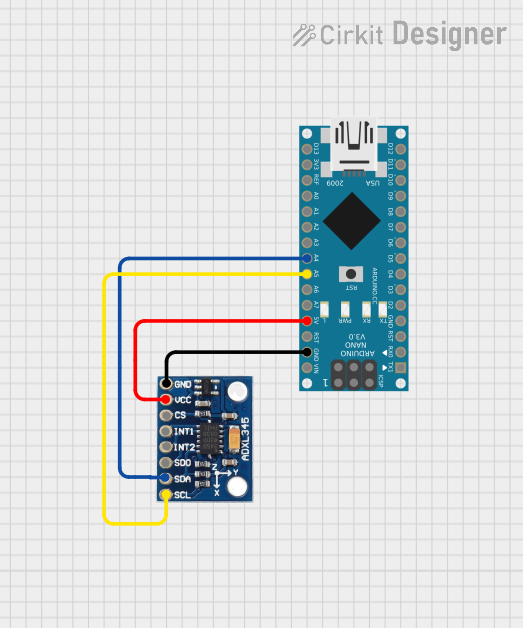
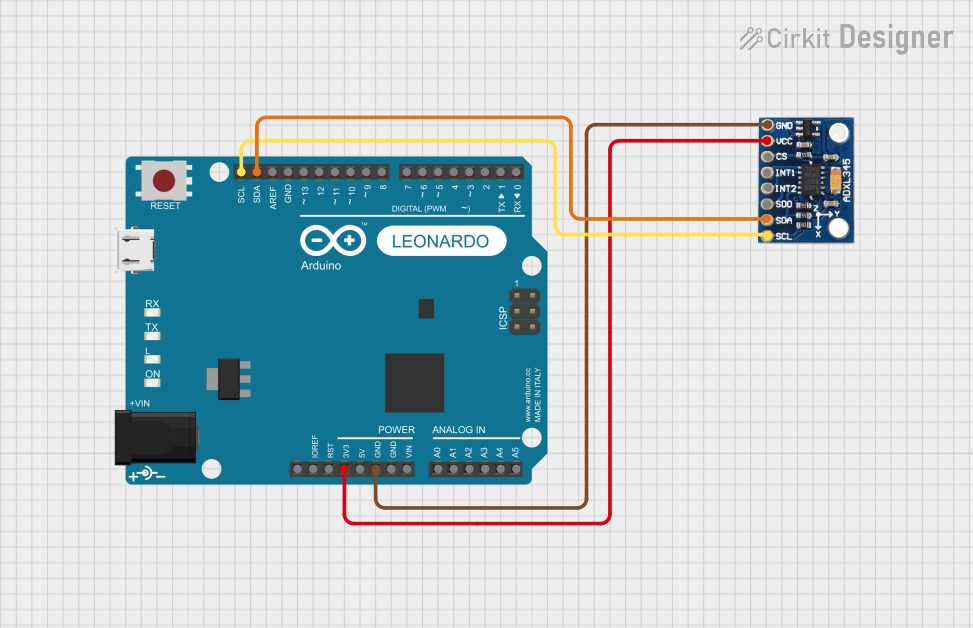
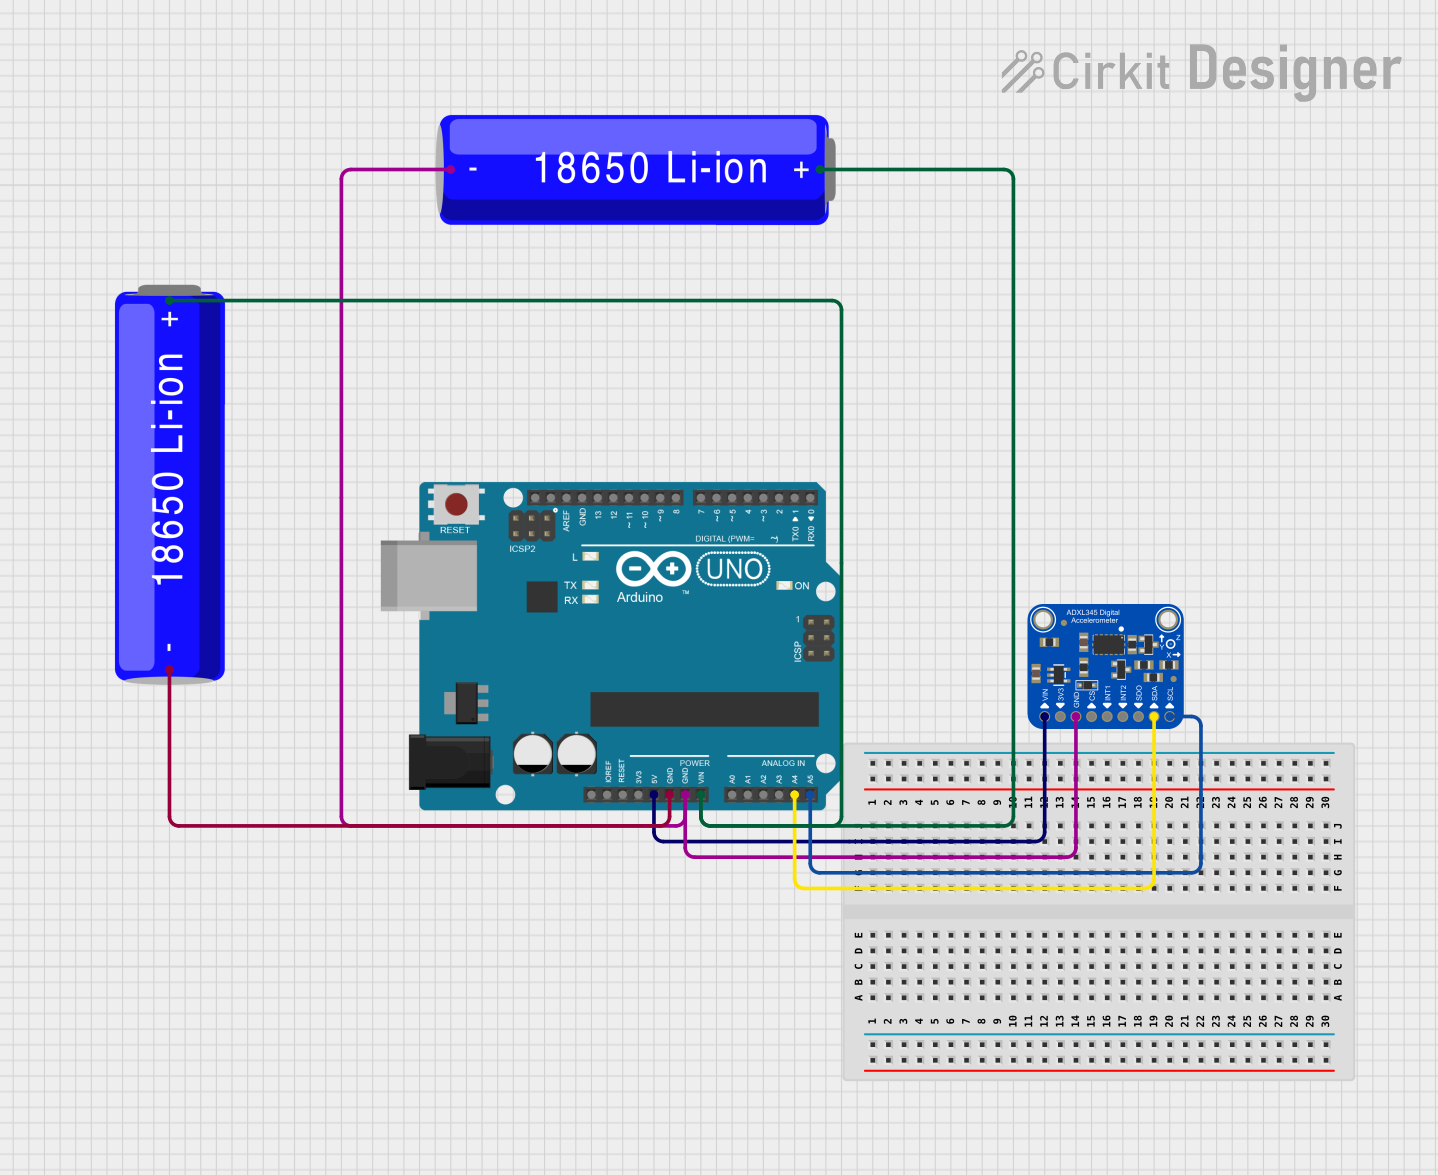
Integration with a Circuit
To use the ADXL345 in a circuit:
- Connect VCC to a 2.0V to 3.6V power supply.
- Connect GND to the ground of your system.
- For I2C communication, connect SDA and SCL to your microcontroller's I2C bus. If using SPI, connect SDA (MOSI), SCL (SCLK), and SDO (MISO) to the corresponding SPI pins on your microcontroller.
- The CS pin can be connected to a digital I/O pin on your microcontroller for SPI mode. Leave it unconnected or tie it to VCC for I2C mode.
- INT1 and INT2 can be connected to interrupt-capable pins on your microcontroller if you wish to use the interrupt features.
Best Practices
- Use pull-up resistors on the I2C data lines if they are not built into your microcontroller.
- Decouple the power supply with a 0.1 µF capacitor close to the VCC pin to filter out noise.
- Ensure that the SPI or I2C bus is properly configured for the ADXL345's requirements.
- Avoid placing the sensor near magnetic fields or in environments with high vibration to prevent erroneous readings.
Example Code for Arduino UNO
#include <Wire.h>
#include <Adafruit_ADXL345_U.h>

Adafruit_ADXL345_Unified accel = Adafruit_ADXL345_Unified(12345);

void setup() {
  Serial.begin(9600);
  if (!accel.begin()) {
    Serial.println("No ADXL345 detected");
    while (1);
  }
  accel.setRange(ADXL345_RANGE_16_G);
}

void loop() {
  sensors_event_t event;
  accel.getEvent(&event);

  Serial.print("X: "); Serial.print(event.acceleration.x); Serial.print(" ");
  Serial.print("Y: "); Serial.print(event.acceleration.y); Serial.print(" ");
  Serial.print("Z: "); Serial.print(event.acceleration.z); Serial.print(" m/s^2 ");
  Serial.println();

  delay(500);
}
This example initializes the ADXL345 and continuously reads the acceleration data along the X, Y, and Z axes, outputting the results to the serial monitor.
Troubleshooting and FAQs
Common Issues
- Sensor not detected: Ensure that the wiring is correct and that the power supply is within the specified range. Check the I2C/SPI configuration.
- Inaccurate readings: Verify that the sensor is not exposed to strong magnetic fields or vibrations. Calibrate the sensor if necessary.
- Interrupts not working: Check the INT1 and INT2 connections and ensure that the interrupt settings in the code match your hardware setup.
FAQs
Q: Can the ADXL345 be used with a 5V microcontroller? A: Yes, but ensure that the I/O voltage does not exceed 3.6V. Use level shifters if necessary.
Q: How can I change the data rate of the sensor?
A: Use the setDataRate() function provided by the Adafruit ADXL345 library to configure the output data rate.
Q: What is the purpose of the CS pin? A: The CS pin is used to select the ADXL345 when multiple devices are connected to the same SPI bus. It is not used in I2C mode.
For further assistance, consult the Adafruit ADXL345 datasheet and the library documentation.