How to Use Raspberry Pi 3B: Examples, Pinouts, and Specs
Introduction
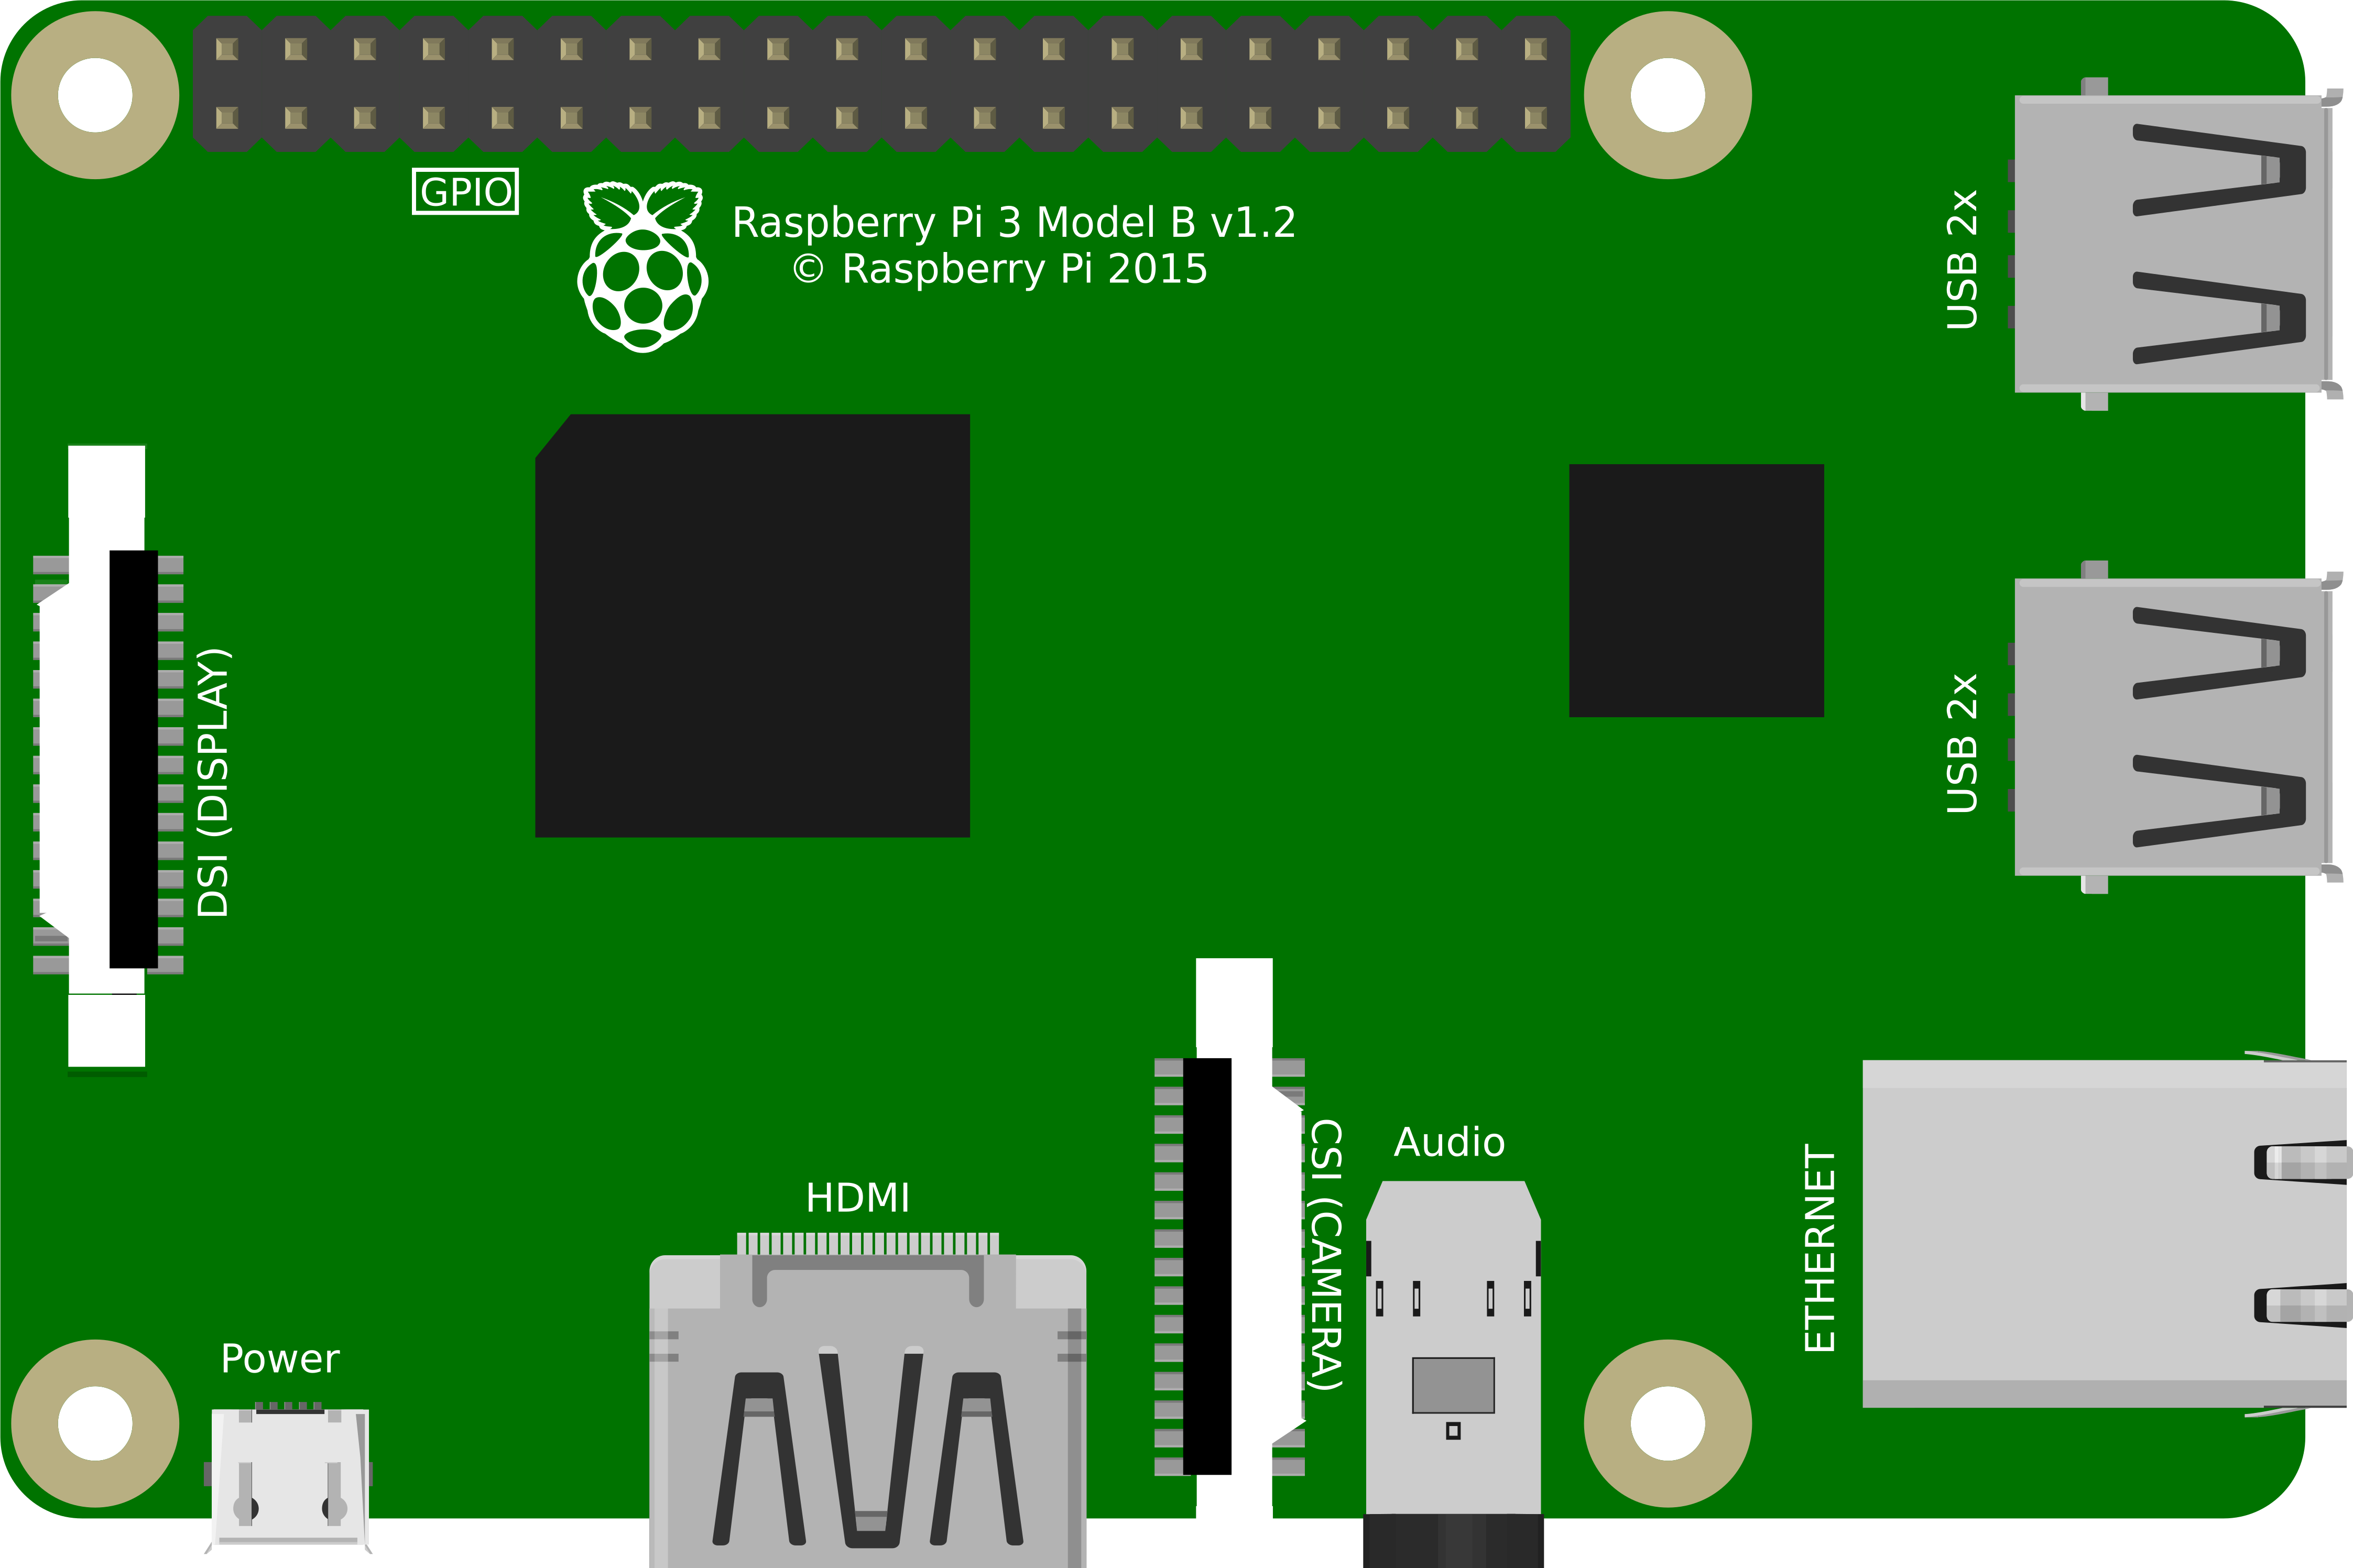
The Raspberry Pi 3 Model B is a powerful single-board computer developed by the Raspberry Pi Foundation. It is widely used for educational purposes, hobbyist projects, and even in commercial applications. The Raspberry Pi 3B is equipped with a quad-core ARM Cortex-A53 processor and includes onboard wireless LAN, Bluetooth Low Energy, and USB ports. It is capable of running a variety of Linux-based operating systems and supports a range of programming languages, making it a versatile tool for learning about computing and for developing electronic projects.
Explore Projects Built with Raspberry Pi 3B
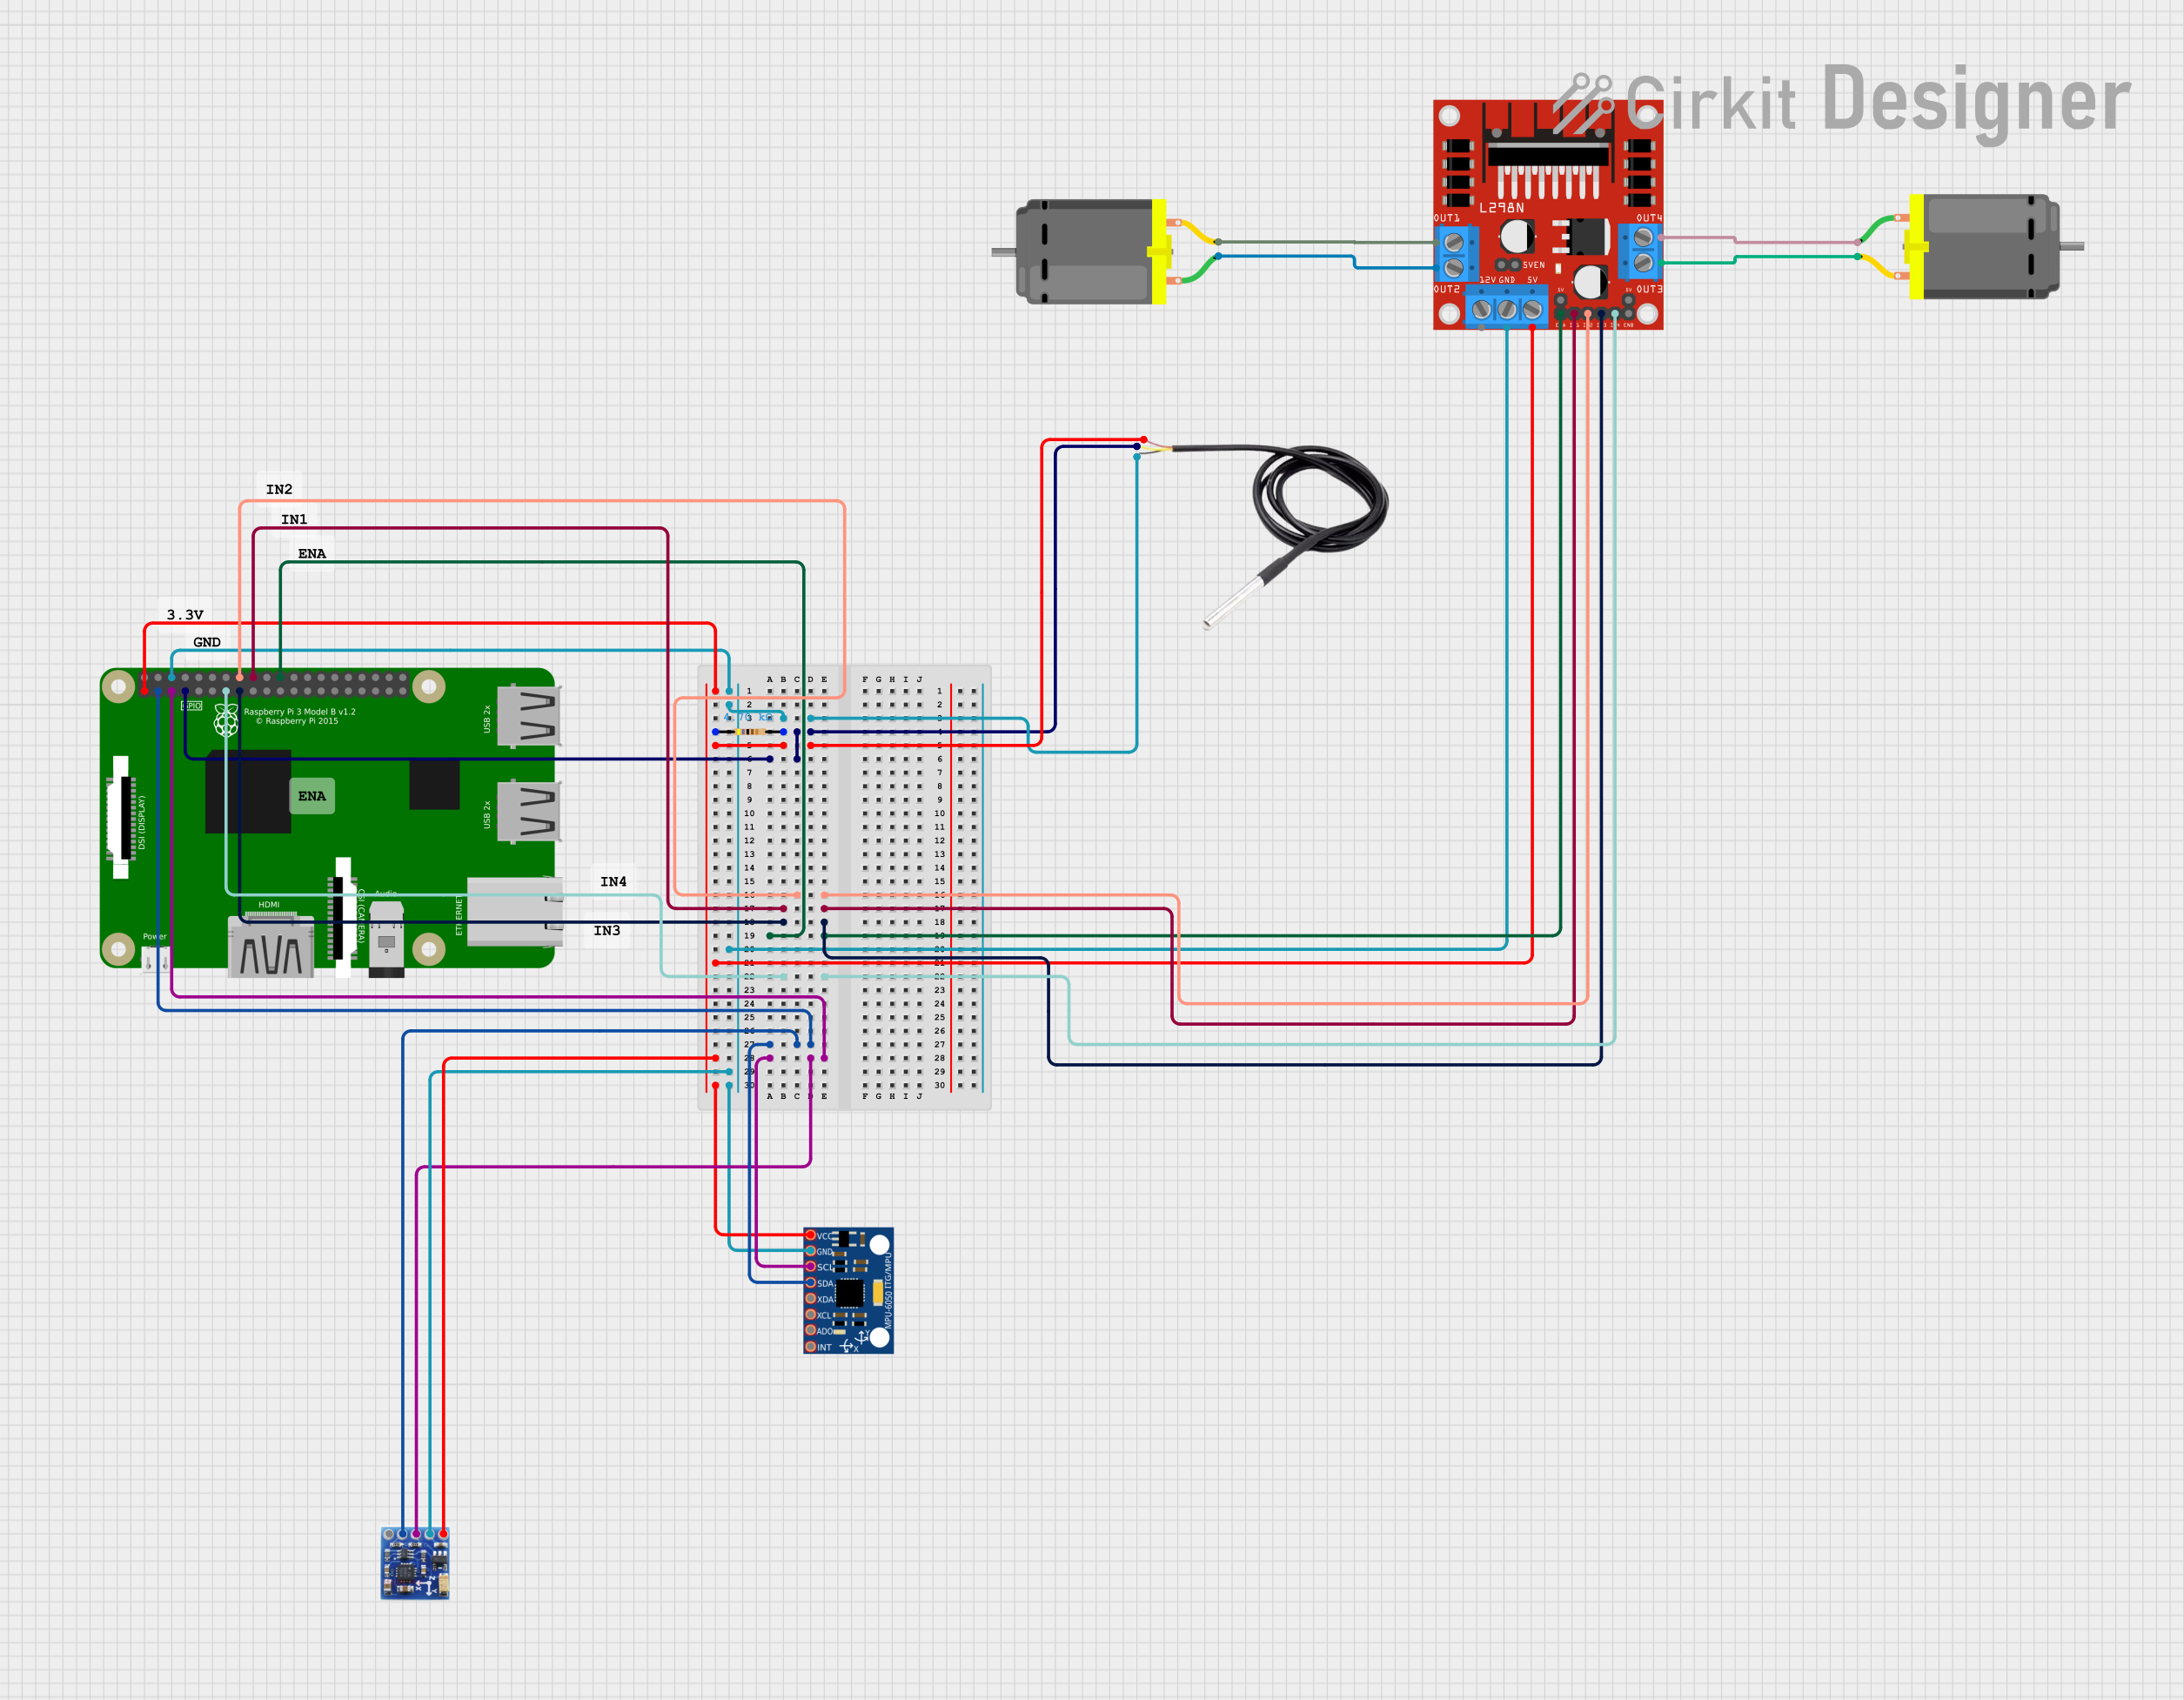
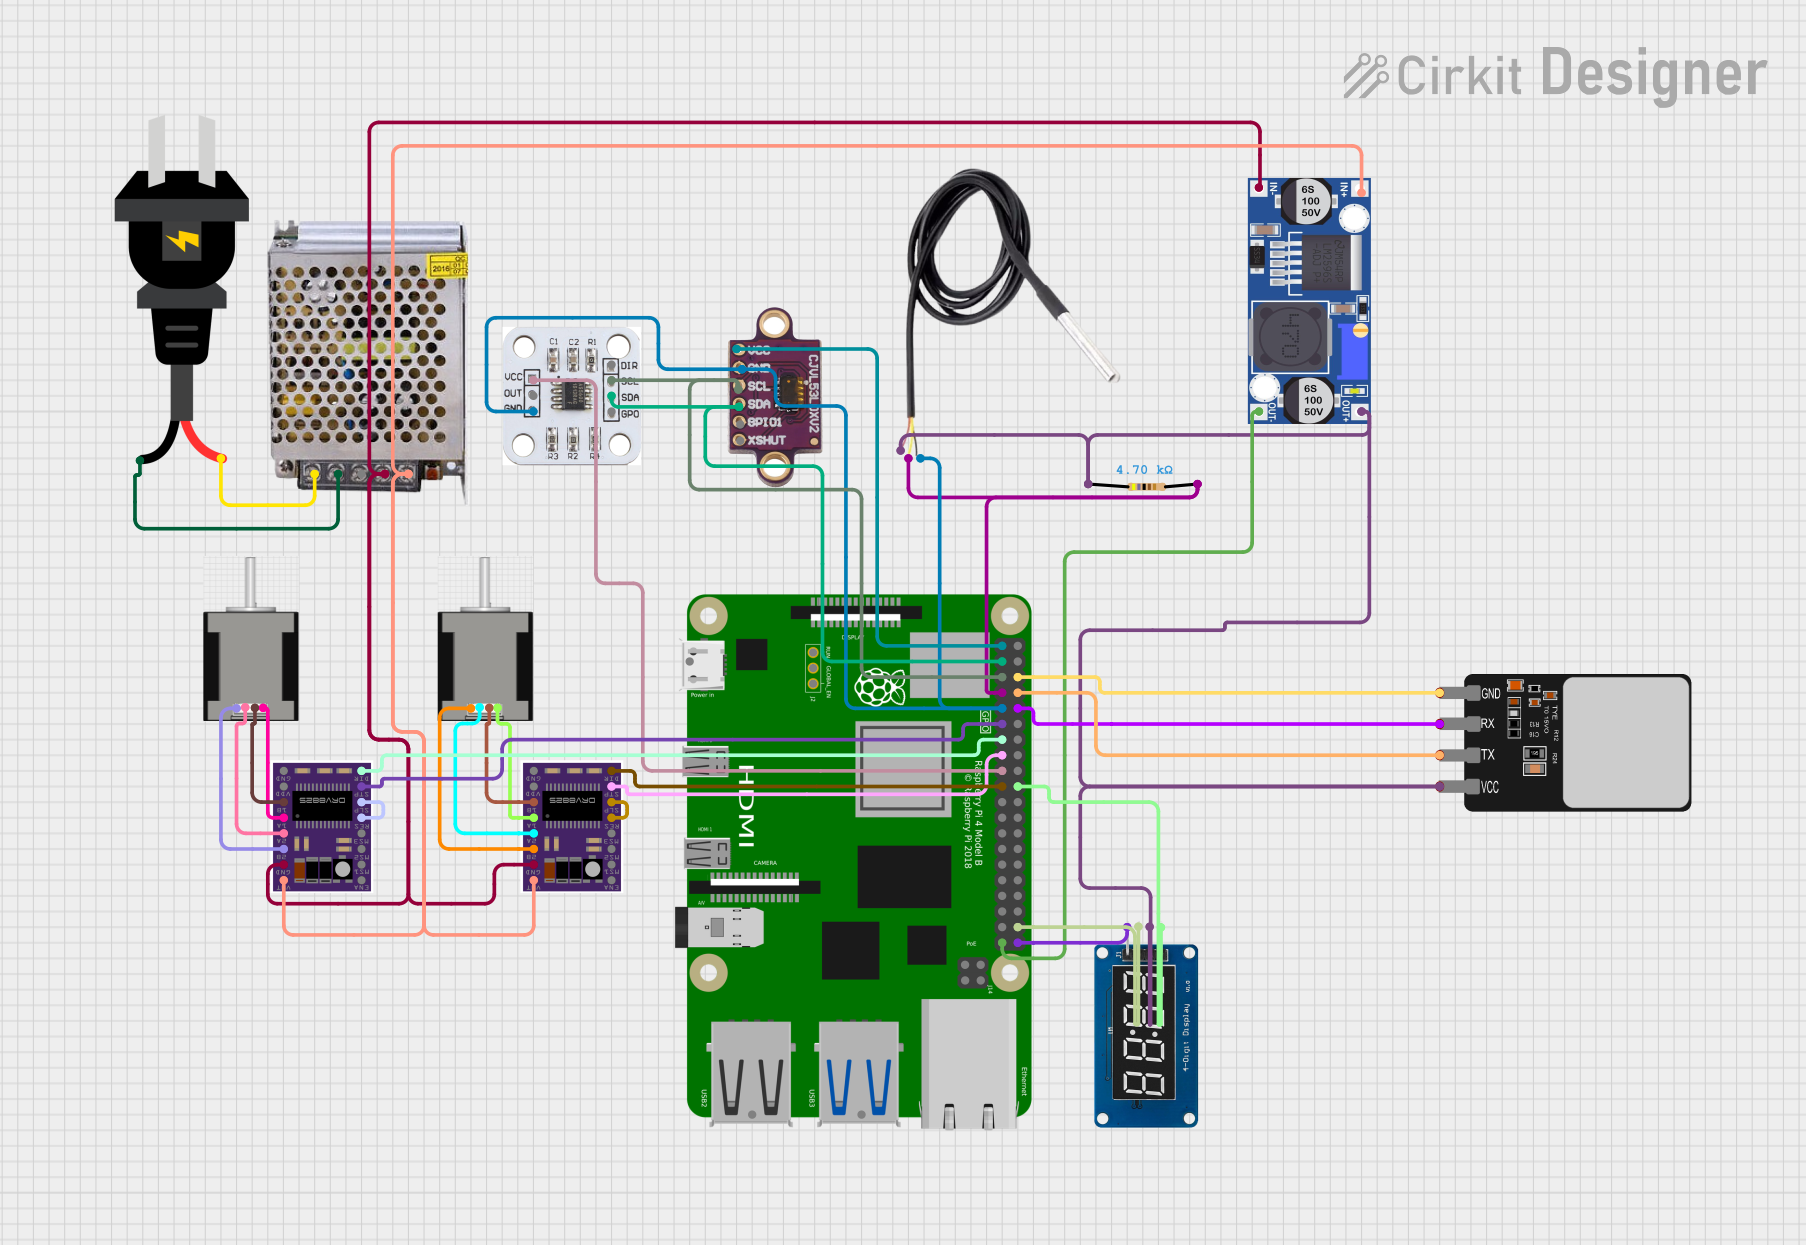
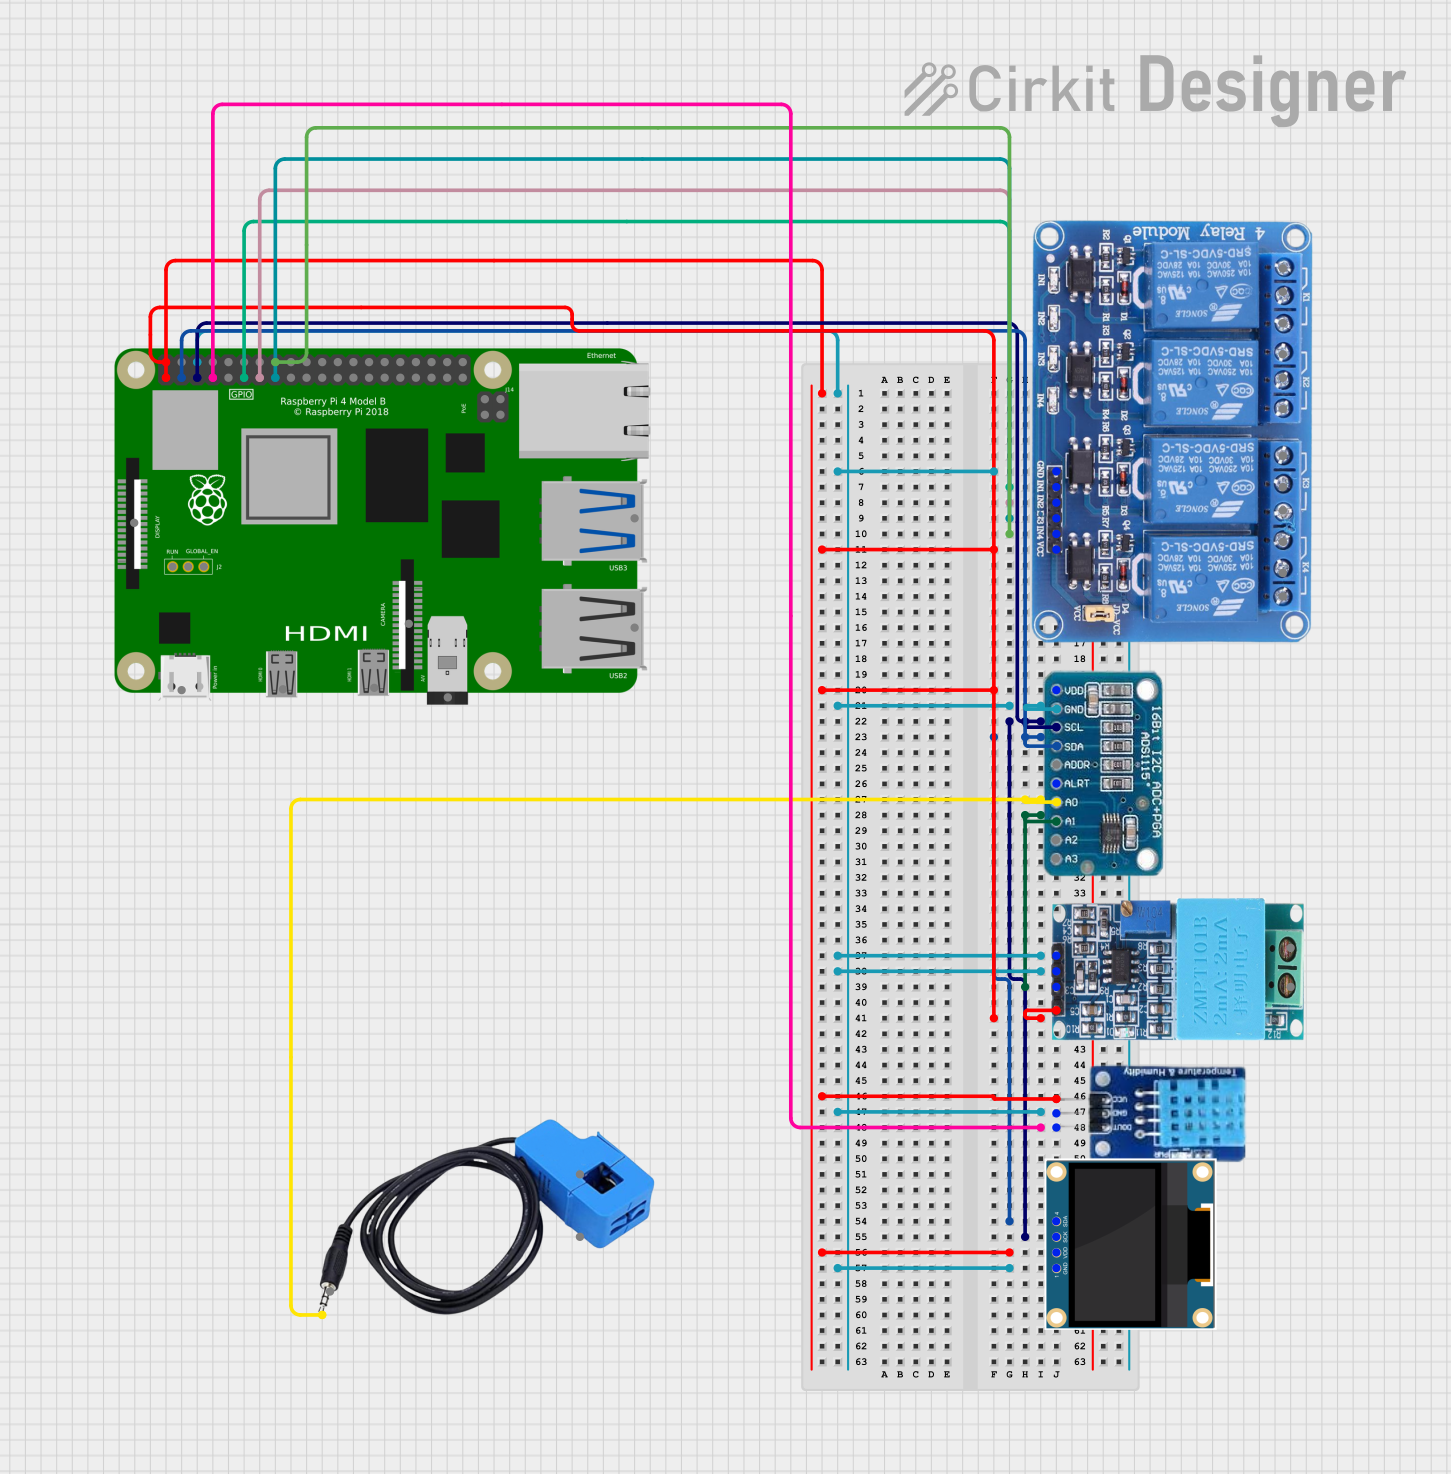
Explore Projects Built with Raspberry Pi 3B
Common Applications and Use Cases
- Educational tools for teaching programming and computer science concepts
- Home automation and Internet of Things (IoT) devices
- Media centers for streaming and playback
- Retro gaming consoles
- Prototyping for software and hardware development
- Robotics and embedded systems projects
Technical Specifications
Key Technical Details
- CPU: Broadcom BCM2837, Quad-core Cortex-A53 (ARMv8) 64-bit SoC @ 1.2GHz
- RAM: 1GB LPDDR2 SDRAM
- Networking: 10/100 Ethernet, 2.4GHz 802.11n wireless LAN
- Bluetooth: Bluetooth 4.1, Bluetooth Low Energy (BLE)
- GPIO: 40-pin GPIO header, fully backward-compatible with previous boards
- Storage: MicroSD card slot for loading operating system and data storage
- USB Ports: 4 × USB 2.0 ports
- Video Output: Full-size HDMI, Composite video (3.5mm jack)
- Audio Output: 3.5mm analog audio-video jack, HDMI
- Camera Interface (CSI)
- Display Interface (DSI)
- Power Source: 5V/2.5A DC via micro USB connector or GPIO
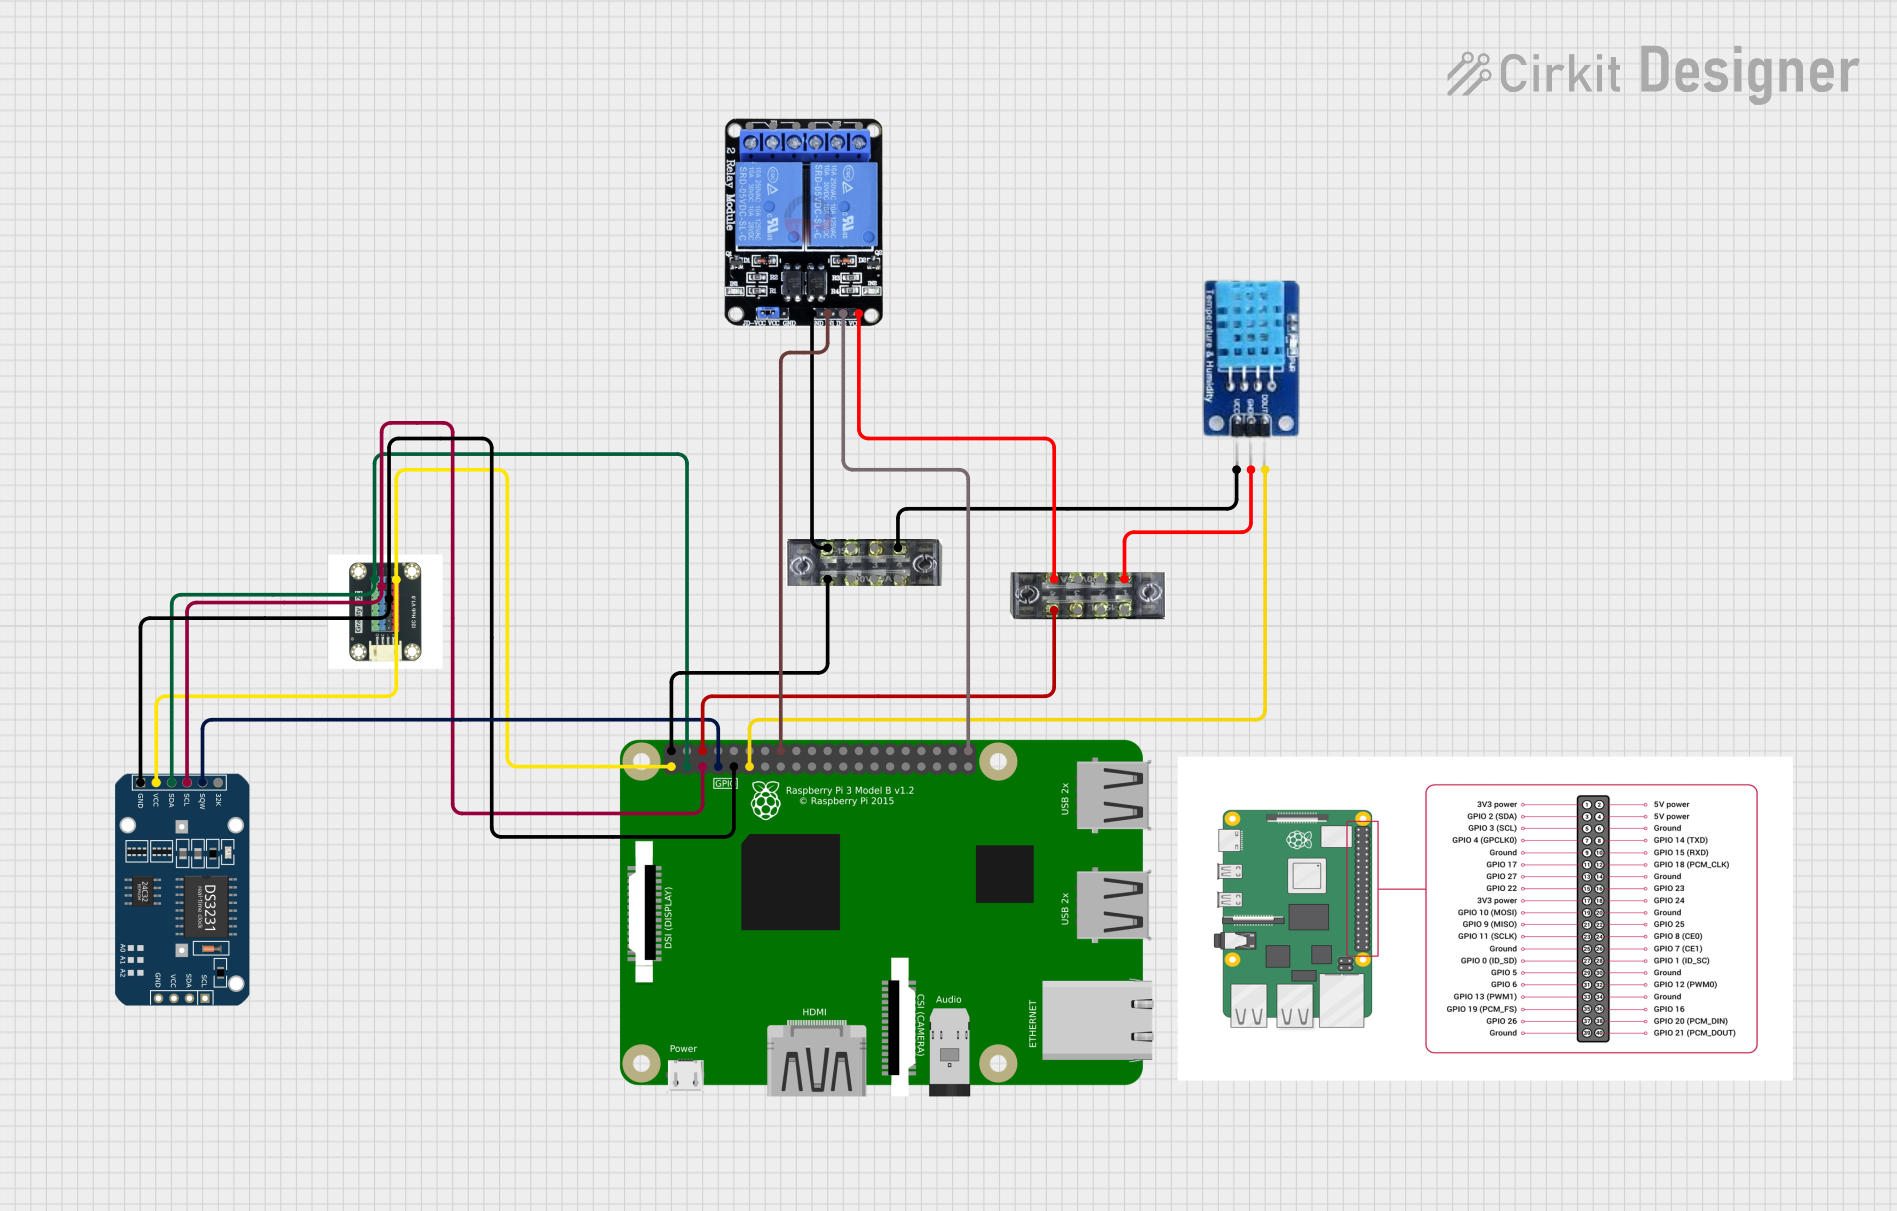
Pin Configuration and Descriptions
| Pin Number | Description | Pin Number | Description |
|---|---|---|---|
| 1 | 3.3V Power | 2 | 5V Power |
| 3 | GPIO2 (SDA1, I2C) | 4 | 5V Power |
| 5 | GPIO3 (SCL1, I2C) | 6 | Ground |
| 7 | GPIO4 (GPCLK0) | 8 | GPIO14 (TXD0, UART) |
| 9 | Ground | 10 | GPIO15 (RXD0, UART) |
| ... | ... | ... | ... |
Note: This table shows a subset of the GPIO pins for brevity. Refer to the full GPIO pinout diagram for complete details.
Usage Instructions
Setting Up the Raspberry Pi 3B
- Prepare the MicroSD Card: Download the latest version of a Raspberry Pi-compatible OS (e.g., Raspberry Pi OS) and write it to the MicroSD card.
- Connect Peripherals: Attach a keyboard, mouse, and monitor to the Raspberry Pi via the USB ports and HDMI port.
- Power Up: Connect the micro USB power supply to the Raspberry Pi. Ensure that the power supply is capable of providing at least 5V and 2.5A.
- Initial Configuration: Follow the on-screen setup instructions to configure the Raspberry Pi, including setting up Wi-Fi and updating the system.
Important Considerations and Best Practices
- Always shut down the Raspberry Pi properly before disconnecting the power to avoid corrupting the SD card.
- Use heat sinks and ensure proper ventilation to prevent overheating during operation.
- Keep the Raspberry Pi and its connectors clean and free from dust.
- Regularly back up the SD card to prevent data loss.
Troubleshooting and FAQs
Common Issues
- Raspberry Pi doesn't boot: Ensure the SD card is properly inserted and contains a valid OS. Check the power supply and LED indicators for signs of power issues.
- Wi-Fi or Bluetooth not working: Verify that the country code is set correctly in the Wi-Fi settings and that there are no physical obstructions or interference.
- Overheating: If the Pi is running hot, consider using heat sinks, a fan, or moving it to a cooler location.
Solutions and Tips for Troubleshooting
- LED Indicators: The green LED should flash irregularly during boot. If it shows a specific pattern, refer to the official documentation for error codes.
- Power Supply: Use an official Raspberry Pi power supply or a reputable brand with the correct specifications.
- Software Updates: Keep the Raspberry Pi's software up to date with the latest patches and updates for improved stability and performance.
FAQs
- Can I use any MicroSD card?
- It's recommended to use a high-quality, class 10 MicroSD card with a minimum of 8GB capacity for optimal performance.
- How do I access the Raspberry Pi remotely?
- You can enable SSH or VNC through the Raspberry Pi configuration settings and connect to it from another computer on the same network.
- Can I power the Raspberry Pi from a computer USB port?
- It is not recommended as most computer USB ports do not supply enough current to reliably power the Raspberry Pi.
Note: This documentation is a starting point for using the Raspberry Pi 3 Model B. For more detailed information, refer to the official Raspberry Pi documentation and community forums.