How to Use Adafruit LC709203F Fuel Gauge and Battery Monitor: Examples, Pinouts, and Specs
Introduction
The Adafruit LC709203F Fuel Gauge and Battery Monitor is an integrated circuit designed for precise battery monitoring and management. It is particularly useful in portable electronic devices, IoT projects, and any application where battery health and status monitoring are crucial. This component provides real-time data on battery voltage, state of charge (SoC), and temperature, which can be used to optimize power consumption and extend battery life.
Explore Projects Built with Adafruit LC709203F Fuel Gauge and Battery Monitor


Explore Projects Built with Adafruit LC709203F Fuel Gauge and Battery Monitor
Common Applications and Use Cases
- Portable consumer electronics (smartphones, tablets)
- IoT devices powered by batteries
- Battery-powered sensor networks
- Handheld gaming devices
- DIY electronics projects with power management needs
Technical Specifications
Key Technical Details
- Operating Voltage: 2.7V to 5.5V
- Battery Voltage Range: 2.5V to 4.5V
- Operating Temperature Range: -40°C to +85°C
- Communication Interface: I2C (up to 400 kHz)
- Quiescent Current: 15 µA typical
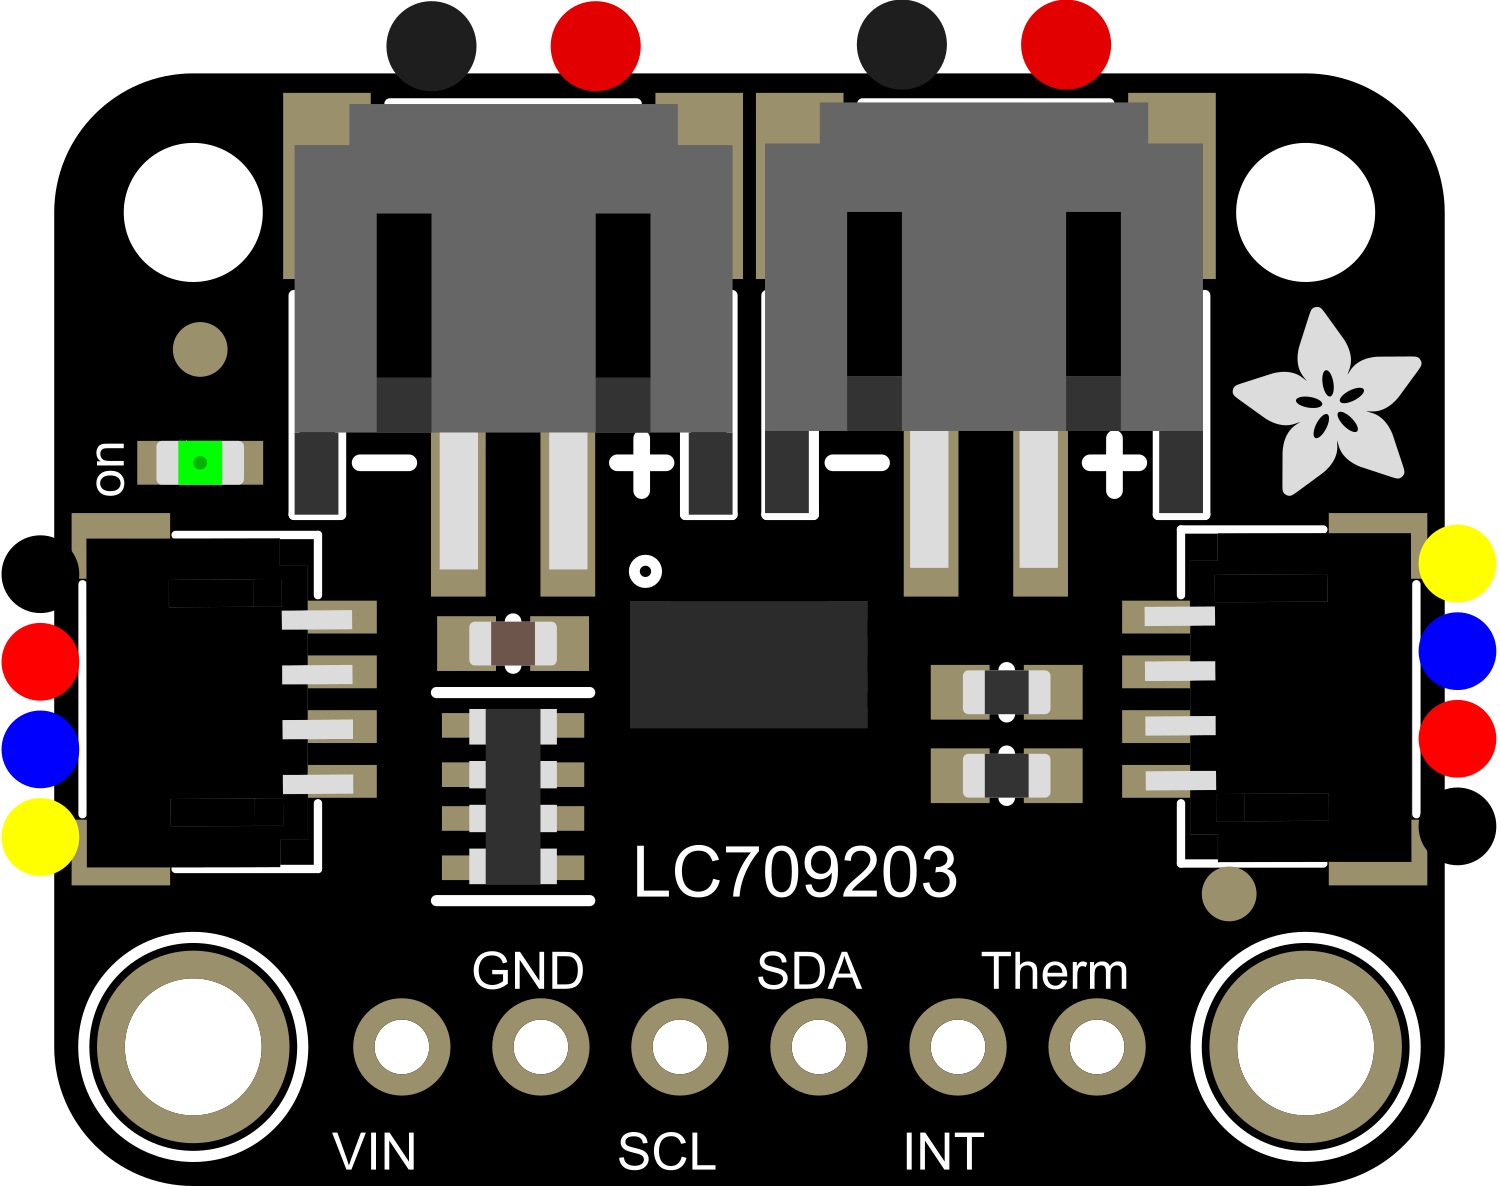
Pin Configuration and Descriptions
| Pin Number | Pin Name | Description |
|---|---|---|
| 1 | VDD | Power supply (2.7V to 5.5V) |
| 2 | GND | Ground |
| 3 | SDA | I2C Data Line |
| 4 | SCL | I2C Clock Line |
| 5 | THERM | Battery temperature input (optional) |
| 6 | HDQ | 1-Wire HDQ communication (not used in I2C) |
| 7 | A0 | I2C Address select (GND or VDD) |
Usage Instructions
How to Use the Component in a Circuit
- Connect the VDD pin to a power supply within the range of 2.7V to 5.5V.
- Connect the GND pin to the ground of your power supply.
- Connect the SDA and SCL pins to the I2C data and clock lines, respectively.
- If battery temperature monitoring is required, connect a thermistor to the THERM pin.
- Set the A0 pin to GND or VDD to select the I2C address of the device.
Important Considerations and Best Practices
- Ensure that the power supply voltage does not exceed the maximum rating of 5.5V.
- Use pull-up resistors on the I2C data and clock lines as required by the I2C specification.
- If multiple I2C devices are on the same bus, ensure that each device has a unique address.
- For accurate temperature readings, use a thermistor with known characteristics compatible with the LC709203F.
- Avoid placing the device near heat sources to prevent false temperature readings.
Troubleshooting and FAQs
Common Issues Users Might Face
- Inaccurate SoC Readings: Ensure that the battery profile is correctly set up in the LC709203F to match the specific battery chemistry and characteristics.
- Communication Errors: Check the I2C connections, pull-up resistors, and ensure that there are no address conflicts on the I2C bus.
- No Temperature Data: Verify that the thermistor is correctly connected and that the THERM pin is properly configured.
Solutions and Tips for Troubleshooting
- Double-check wiring and solder connections for any loose or cold joints.
- Use a logic analyzer or oscilloscope to debug I2C communication issues.
- Consult the LC709203F datasheet for detailed information on setting up battery profiles and temperature measurement configurations.
FAQs
Q: Can the LC709203F be used with any battery type? A: The LC709203F is optimized for single-cell lithium-ion (Li-ion) and lithium-polymer (LiPo) batteries. It may require configuration for use with other battery types.
Q: How do I change the I2C address of the LC709203F? A: The I2C address can be changed by connecting the A0 pin to either GND or VDD.
Q: What is the default I2C address of the LC709203F? A: The default I2C address is 0x0B when the A0 pin is connected to GND.
Example Arduino Code
Below is an example of how to interface the Adafruit LC709203F with an Arduino UNO using the I2C communication protocol.
#include <Wire.h>

// LC709203F default I2C address when A0 is connected to GND
const int LC709203F_I2C_ADDRESS = 0x0B;

void setup() {
  Wire.begin(); // Initialize I2C
  Serial.begin(9600); // Start serial communication for debugging
  // Initialize the LC709203F (additional initialization code may be required)
}

void loop() {
  // Read battery voltage and SoC (additional code required for specific commands)
  float batteryVoltage = readBatteryVoltage();
  float batterySoC = readBatterySoC();

  // Print the results to the serial monitor
  Serial.print("Battery Voltage: ");
  Serial.print(batteryVoltage);
  Serial.println(" V");

  Serial.print("Battery SoC: ");
  Serial.print(batterySoC);
  Serial.println(" %");

  // Delay between readings
  delay(1000);
}

float readBatteryVoltage() {
  // Implement the function to read battery voltage from the LC709203F
  // This will involve sending the appropriate I2C command and reading the response
  return 0.0; // Placeholder return value
}

float readBatterySoC() {
  // Implement the function to read the state of charge from the LC709203F
  // This will involve sending the appropriate I2C command and reading the response
  return 0.0; // Placeholder return value
}
Note: The above code is a template and does not contain the actual implementation for communicating with the LC709203F. Users will need to refer to the LC709203F datasheet for specific command codes and data formats required to read battery parameters. Additionally, Adafruit provides a library for interfacing with the LC709203F, which can simplify the process of reading data from the sensor.