
How to Use Dagu RS001B 9g Servo (Top View): Examples, Pinouts, and Specs

 Design with Dagu RS001B 9g Servo (Top View) in Cirkit Designer
Introduction
The Dagu RS001B 9g Servo is a compact and lightweight servo motor designed for precise angular movement. Weighing only 9 grams, this servo is ideal for applications where size and weight are critical. It is commonly used in robotics, RC vehicles, and hobby projects to control the position of mechanical components such as arms, wheels, or sensors. Its ease of use and compatibility with microcontrollers like Arduino make it a popular choice for beginners and professionals alike.
Explore Projects Built with Dagu RS001B 9g Servo (Top View)
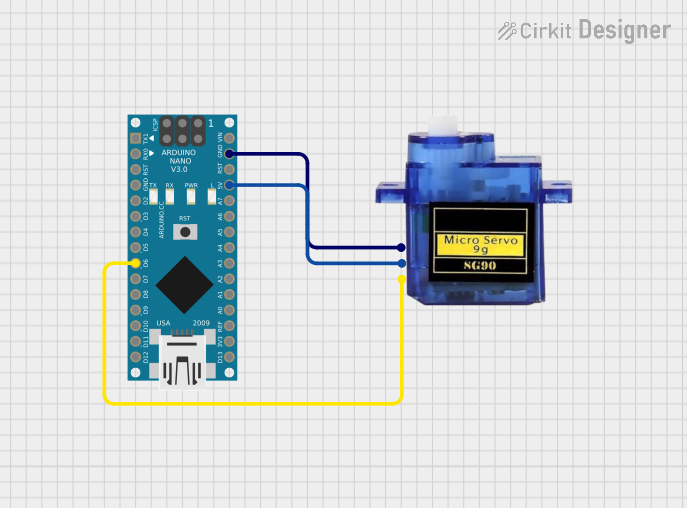 Open Project in Cirkit Designer
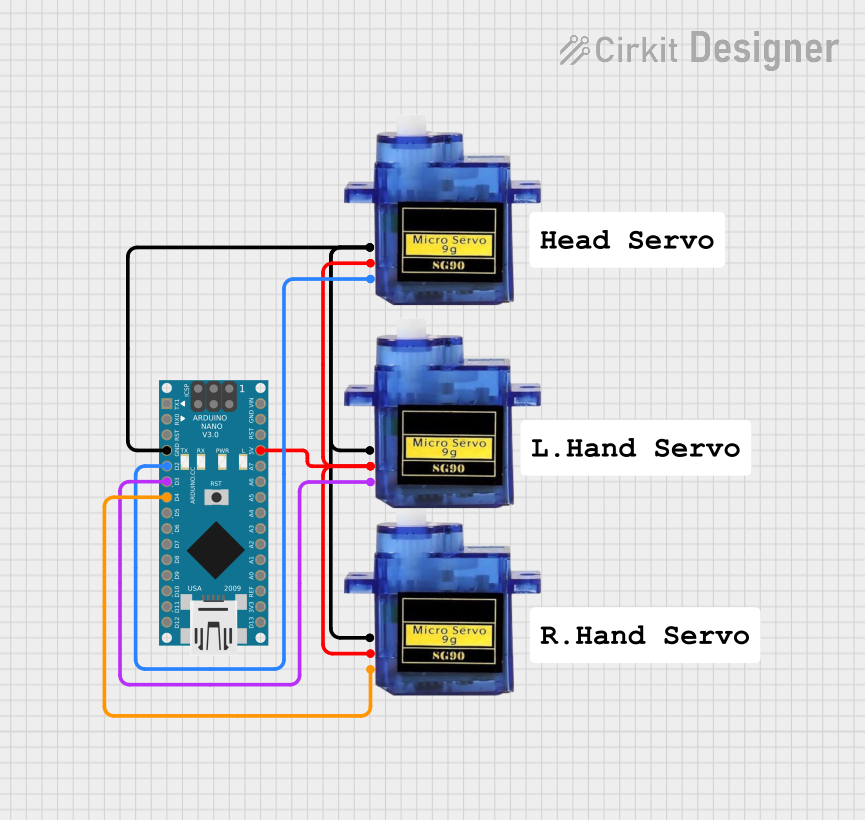 Open Project in Cirkit Designer
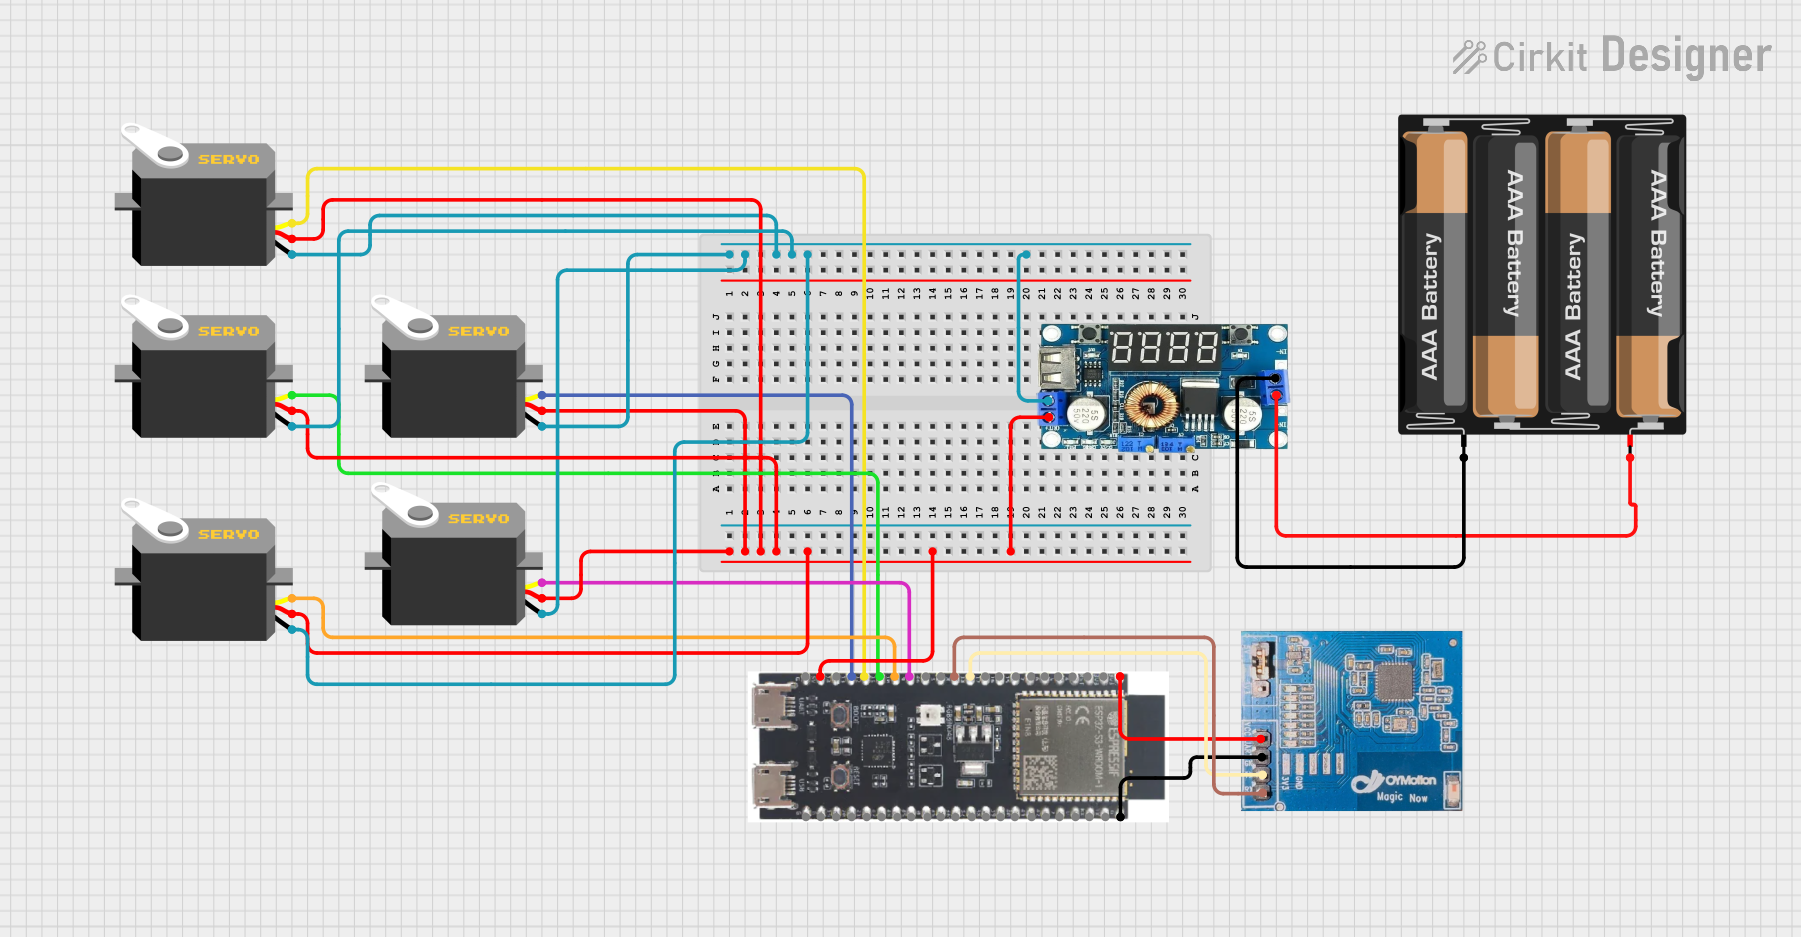 Open Project in Cirkit Designer
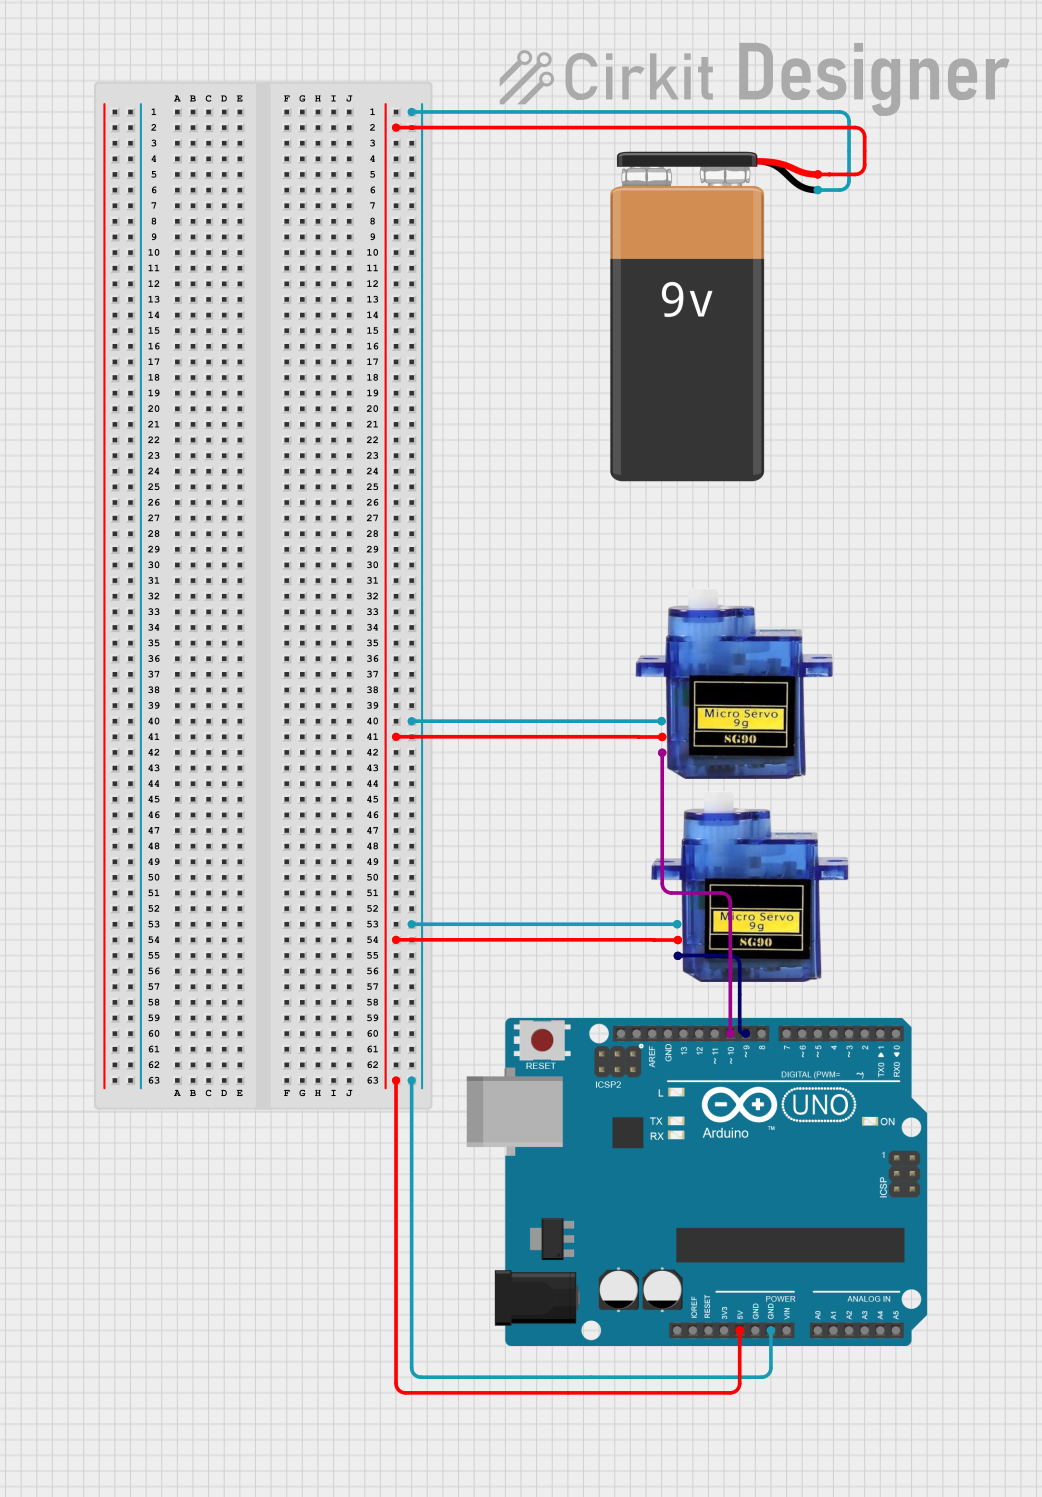 Open Project in Cirkit Designer
Explore Projects Built with Dagu RS001B 9g Servo (Top View)
Open Project in Cirkit DesignerOpen Project in Cirkit DesignerOpen Project in Cirkit DesignerOpen Project in Cirkit DesignerCommon Applications
- Robotic arms and grippers
- RC vehicles (cars, planes, boats)
- Pan-tilt camera systems
- Automated mechanisms in hobby projects
- Educational electronics kits
Technical Specifications
Below are the key technical details of the Dagu RS001B 9g Servo:
| Parameter | Value |
|---|---|
| Manufacturer | Dagu |
| Part ID | RS001B |
| Weight | 9 grams |
| Operating Voltage | 4.8V to 6.0V |
| Stall Torque | 1.6 kg·cm (at 4.8V) |
| Operating Speed | 0.12 sec/60° (at 4.8V) |
| Control Signal | PWM (Pulse Width Modulation) |
| PWM Pulse Range | 500 µs to 2500 µs |
| Angle Range | 0° to 180° |
| Connector Type | 3-pin female header |
| Dimensions | 22.2 x 11.8 x 31 mm |
Pin Configuration
The Dagu RS001B servo has a 3-pin connector with the following pinout:
| Pin | Wire Color | Function |
|---|---|---|
| 1 | Brown | Ground (GND) |
| 2 | Red | Power (VCC, 4.8V to 6.0V) |
| 3 | Orange | Signal (PWM Input) |
Usage Instructions
Connecting the Servo
- Power Supply: Connect the red wire to a 5V power source (e.g., Arduino 5V pin or an external power supply). Ensure the power source can provide sufficient current (at least 1A for multiple servos).
- Ground: Connect the brown wire to the ground (GND) of your circuit.
- Signal: Connect the orange wire to a PWM-capable pin on your microcontroller (e.g., Arduino pin 9).
Controlling the Servo with Arduino
The Dagu RS001B servo can be controlled using the Arduino Servo library. Below is an example code snippet to rotate the servo between 0° and 180°:
#include <Servo.h> // Include the Servo library

Servo myServo; // Create a Servo object

void setup() {
  myServo.attach(9); // Attach the servo to pin 9
}

void loop() {
  myServo.write(0); // Move servo to 0 degrees
  delay(1000);      // Wait for 1 second

  myServo.write(90); // Move servo to 90 degrees
  delay(1000);       // Wait for 1 second

  myServo.write(180); // Move servo to 180 degrees
  delay(1000);        // Wait for 1 second
}
Best Practices
- Use an external power supply if you are driving multiple servos to avoid overloading the Arduino's voltage regulator.
- Avoid stalling the servo for extended periods, as this can cause overheating and damage.
- Ensure the PWM signal is within the specified range (500 µs to 2500 µs) to prevent erratic behavior.
Troubleshooting and FAQs
Common Issues
Servo Not Moving:
- Cause: Incorrect wiring or insufficient power supply.
- Solution: Double-check the connections and ensure the power supply provides adequate current.
Erratic Movement:
- Cause: Noise in the PWM signal or incorrect pulse width.
- Solution: Verify the PWM signal is clean and within the specified range (500 µs to 2500 µs).
Overheating:
- Cause: Prolonged stalling or excessive load.
- Solution: Reduce the load on the servo or avoid stalling it for long durations.
Servo Jitters When Idle:
- Cause: Floating signal pin or interference.
- Solution: Ensure the signal pin is properly connected and shield the wires from interference.
FAQs
Q: Can I power the servo directly from the Arduino?
A: Yes, but only if you are using a single servo and the Arduino's 5V pin can supply sufficient current. For multiple servos, use an external power supply.
Q: What is the maximum angle the servo can rotate?
A: The Dagu RS001B servo can rotate up to 180°.
Q: Can I use this servo with a Raspberry Pi?
A: Yes, but you will need to generate a PWM signal using a library like RPi.GPIO or an external PWM controller.
Q: How do I mount the servo?
A: The servo comes with mounting hardware, including screws and servo horns, which can be attached to your project.
By following this documentation, you can effectively integrate the Dagu RS001B 9g Servo into your projects and troubleshoot common issues with ease.