How to Use Nextion Touch LCD 2.4": Examples, Pinouts, and Specs
Introduction
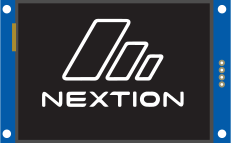
The Nextion Touch LCD 2.4" is an intelligent Human Machine Interface (HMI) solution that provides a control and visualization interface between a human and a process, machine, application, or appliance. It is a standalone device that includes an onboard processor and memory for the creation of custom user interfaces. Common applications include IoT devices, DIY electronics projects, industrial controls, and consumer electronics.
Explore Projects Built with Nextion Touch LCD 2.4"


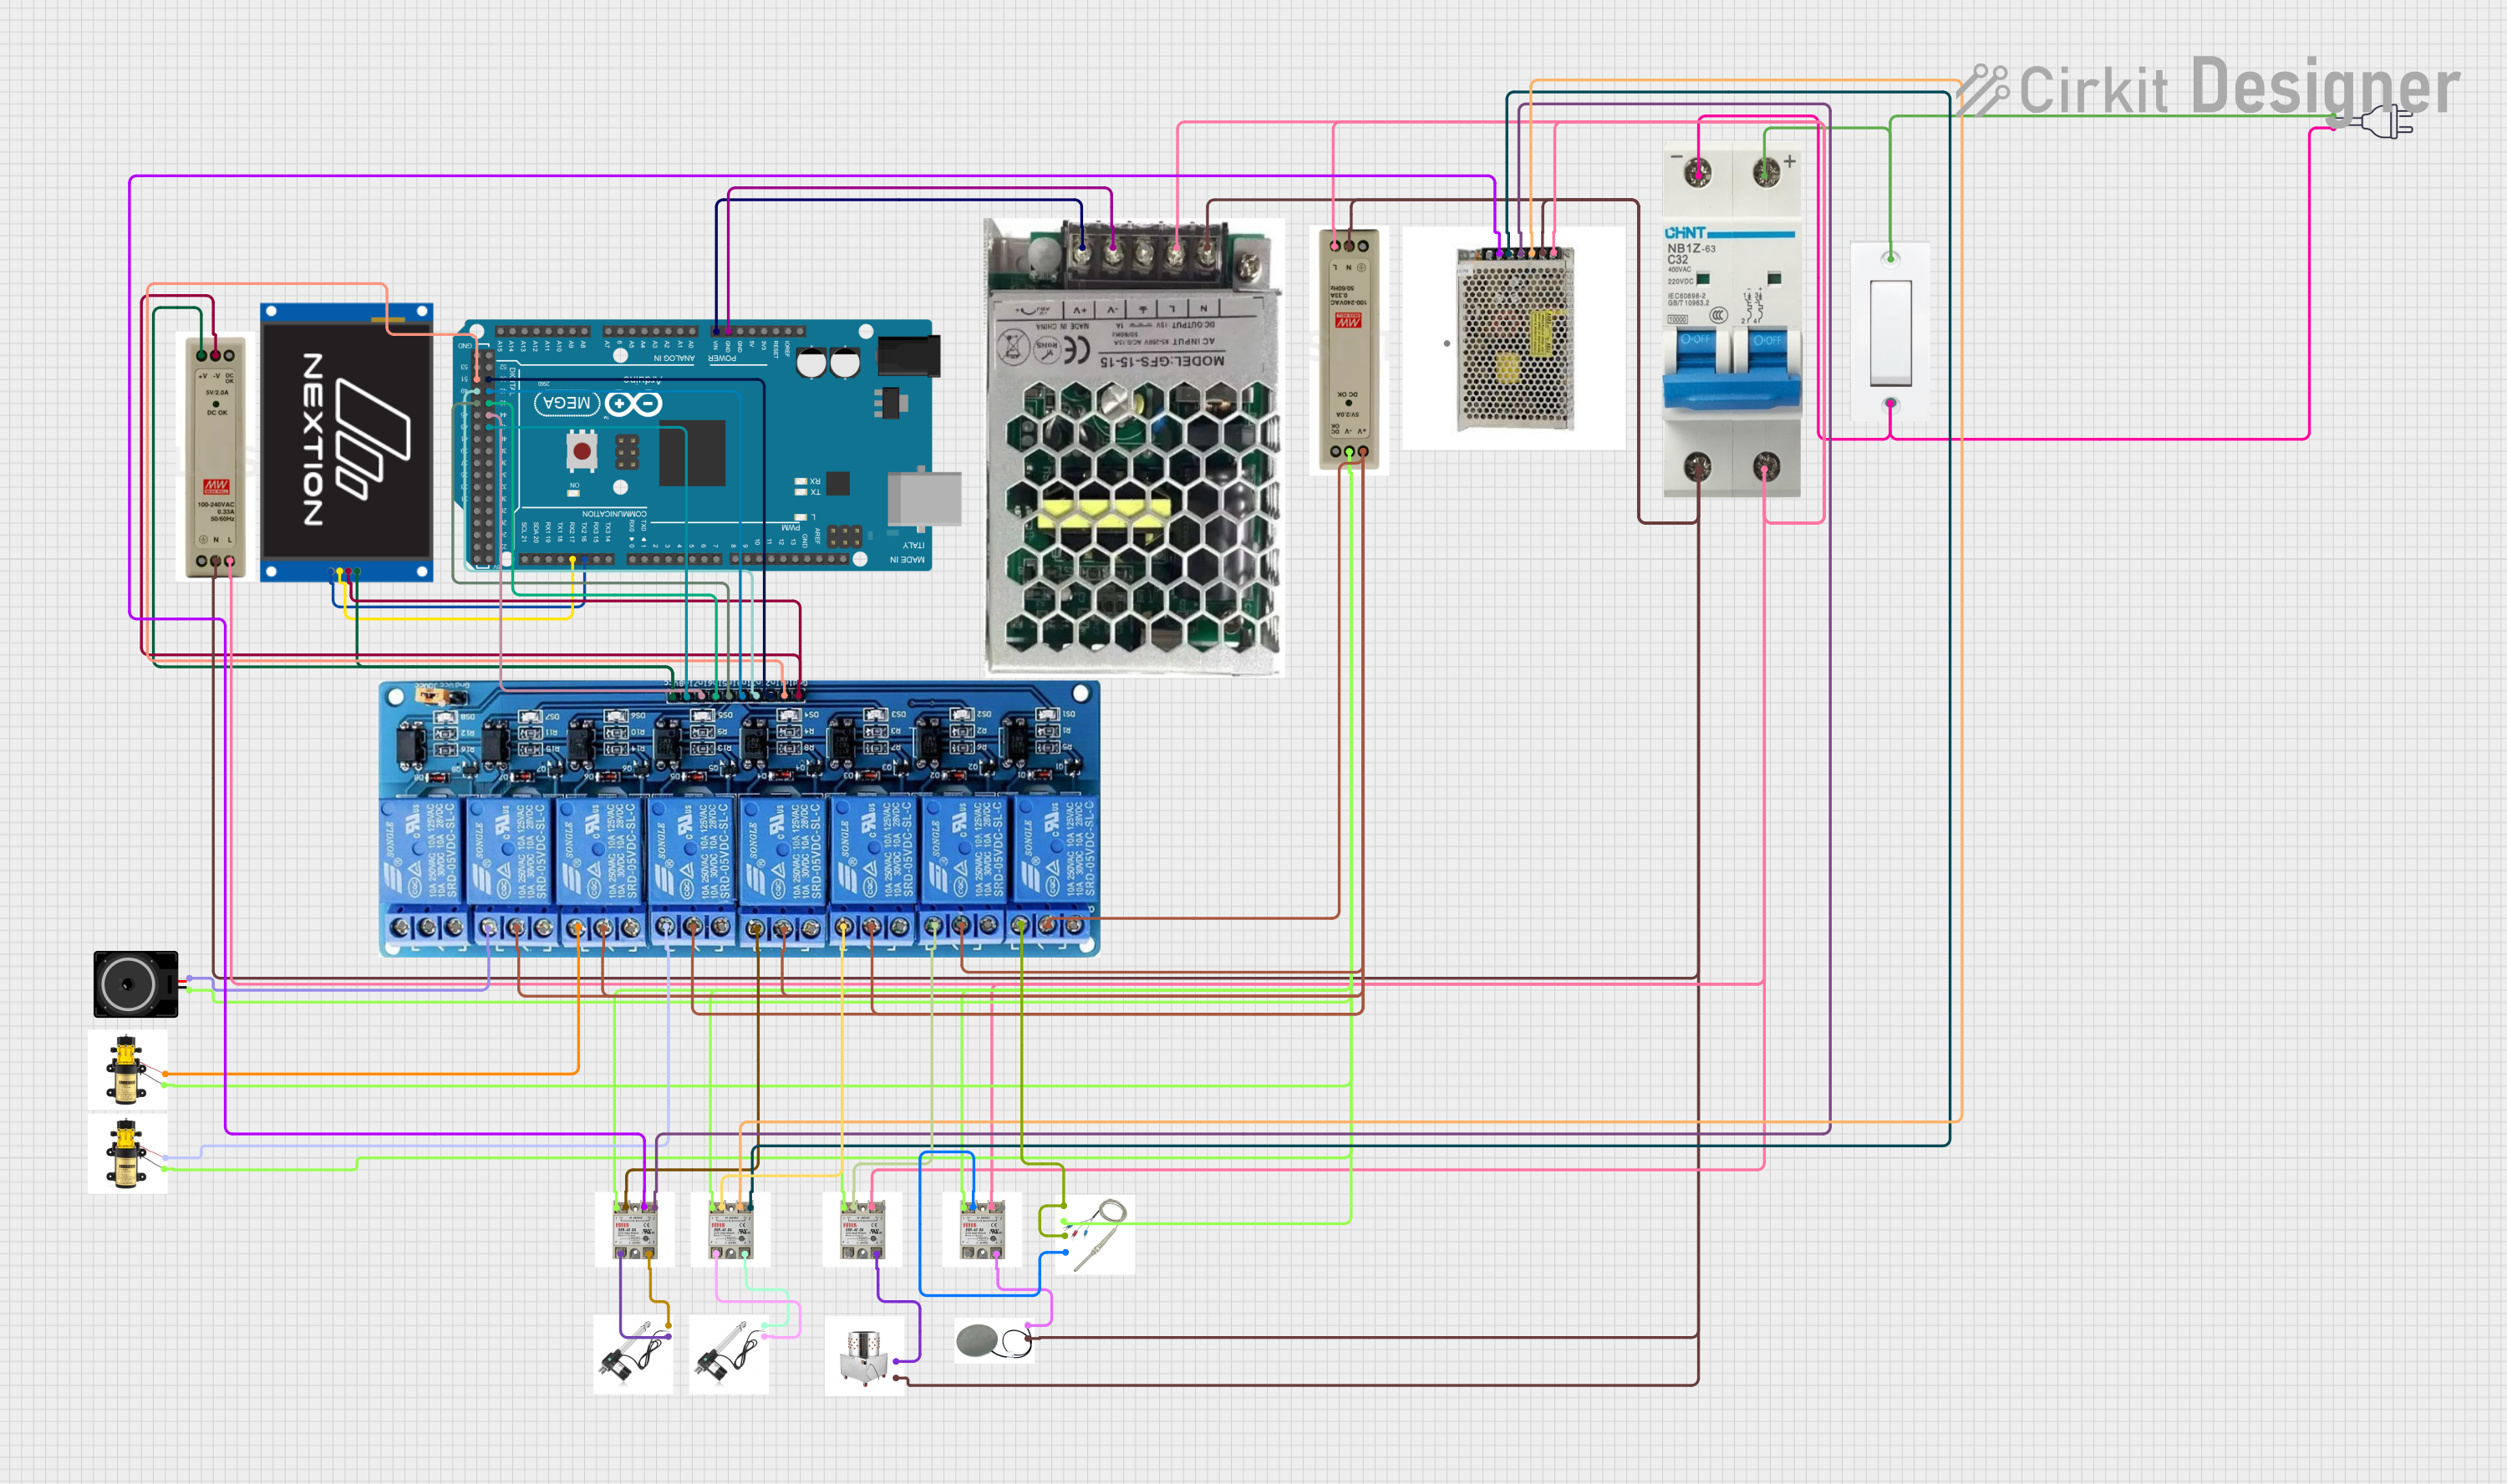
Explore Projects Built with Nextion Touch LCD 2.4"
Technical Specifications
General Features
- Display Size: 2.4 inches
- Resolution: 320 x 240 pixels
- Color: 65K true colors
- Touch Type: Resistive touch
- Interface: UART (Serial)
- Onboard MCU: 32-bit ARM Cortex-M0
- Flash Memory: 4MB
- RAM: 3584 bytes
- Power Supply: 5V DC / 500mA
- Operating Temperature: -20°C to +70°C
Pin Configuration and Descriptions
| Pin Number | Pin Name | Description |
|---|---|---|
| 1 | +5V | Power supply (4.75V to 7V) |
| 2 | TX | Transmit pin for UART communication |
| 3 | RX | Receive pin for UART communication |
| 4 | GND | Ground |
Usage Instructions
Integration with a Circuit
- Power Supply: Connect the +5V and GND pins to a stable 5V power source.
- Serial Communication: Connect the TX and RX pins to a microcontroller or other UART interface. Ensure that the TX pin of the Nextion is connected to the RX pin of the microcontroller and vice versa.
- Programming: Use the Nextion Editor to design the user interface and upload it to the Nextion LCD via a micro USB cable.
Best Practices
- Always disconnect the power before making or changing connections.
- Use a logic level converter if the microcontroller operates at a different voltage level than the Nextion display.
- Avoid static discharge by grounding yourself before handling the display.
- Ensure that the power supply can provide sufficient current for both the display and the microcontroller.
Example Code for Arduino UNO
#include <SoftwareSerial.h>

// Define the Nextion RX and TX pins
#define NEXTION_RX 10
#define NEXTION_TX 11

// Initialize the Nextion display
SoftwareSerial nextion(NEXTION_RX, NEXTION_TX);

void setup() {
  // Set the baud rate for the Nextion display and the Arduino serial monitor
  nextion.begin(9600);
  Serial.begin(9600);
}

void loop() {
  // Check if data is available to read from the Nextion display
  if (nextion.available()) {
    String message = nextion.readString();
    Serial.print("Message from Nextion: ");
    Serial.println(message);
  }

  // Check if data is available to read from the serial monitor
  if (Serial.available()) {
    String command = Serial.readString();
    nextion.print(command);
  }
}
Troubleshooting and FAQs
Common Issues
- Display Not Responding: Ensure that the power supply is connected correctly and providing the right voltage. Check the serial connections between the Nextion display and the microcontroller.
- Garbled Data on Screen: Verify that the baud rate of the Nextion display matches the baud rate set in the microcontroller code.
- Touch Not Working: Make sure the touch panel is properly calibrated using the Nextion Editor.
FAQs
Q: Can I use the Nextion display with a 3.3V microcontroller? A: Yes, but a logic level converter is recommended to match the voltage levels for reliable communication.
Q: How do I update the user interface on the Nextion display? A: Use the Nextion Editor to create or modify the user interface and upload it to the display via a micro USB cable.
Q: What is the maximum length for serial communication cables? A: It is recommended to keep the cable length as short as possible, ideally less than 2 meters, to prevent signal degradation.
For further assistance, consult the Nextion community forums or contact technical support.