How to Use Bela: Examples, Pinouts, and Specs
Introduction
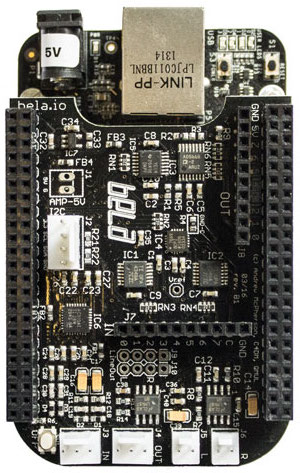
Bela is a low-latency audio and sensor processing platform designed for creating interactive audio applications. It combines a BeagleBone Black or BeagleBone Green with a custom hardware cape to provide high-performance audio and sensor interfacing. Bela is ideal for musicians, sound artists, and developers who need real-time audio processing capabilities.
Explore Projects Built with Bela

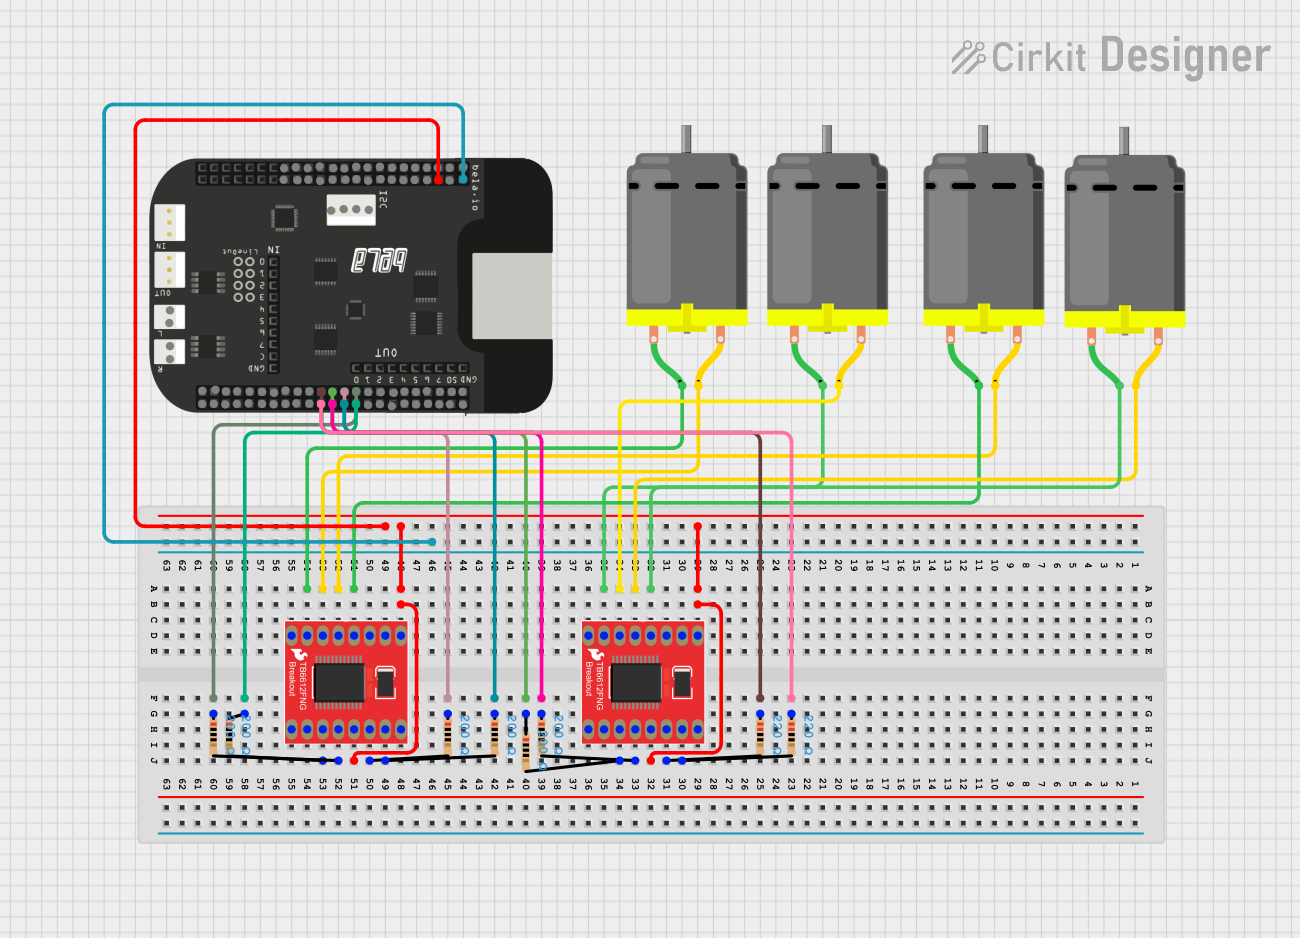
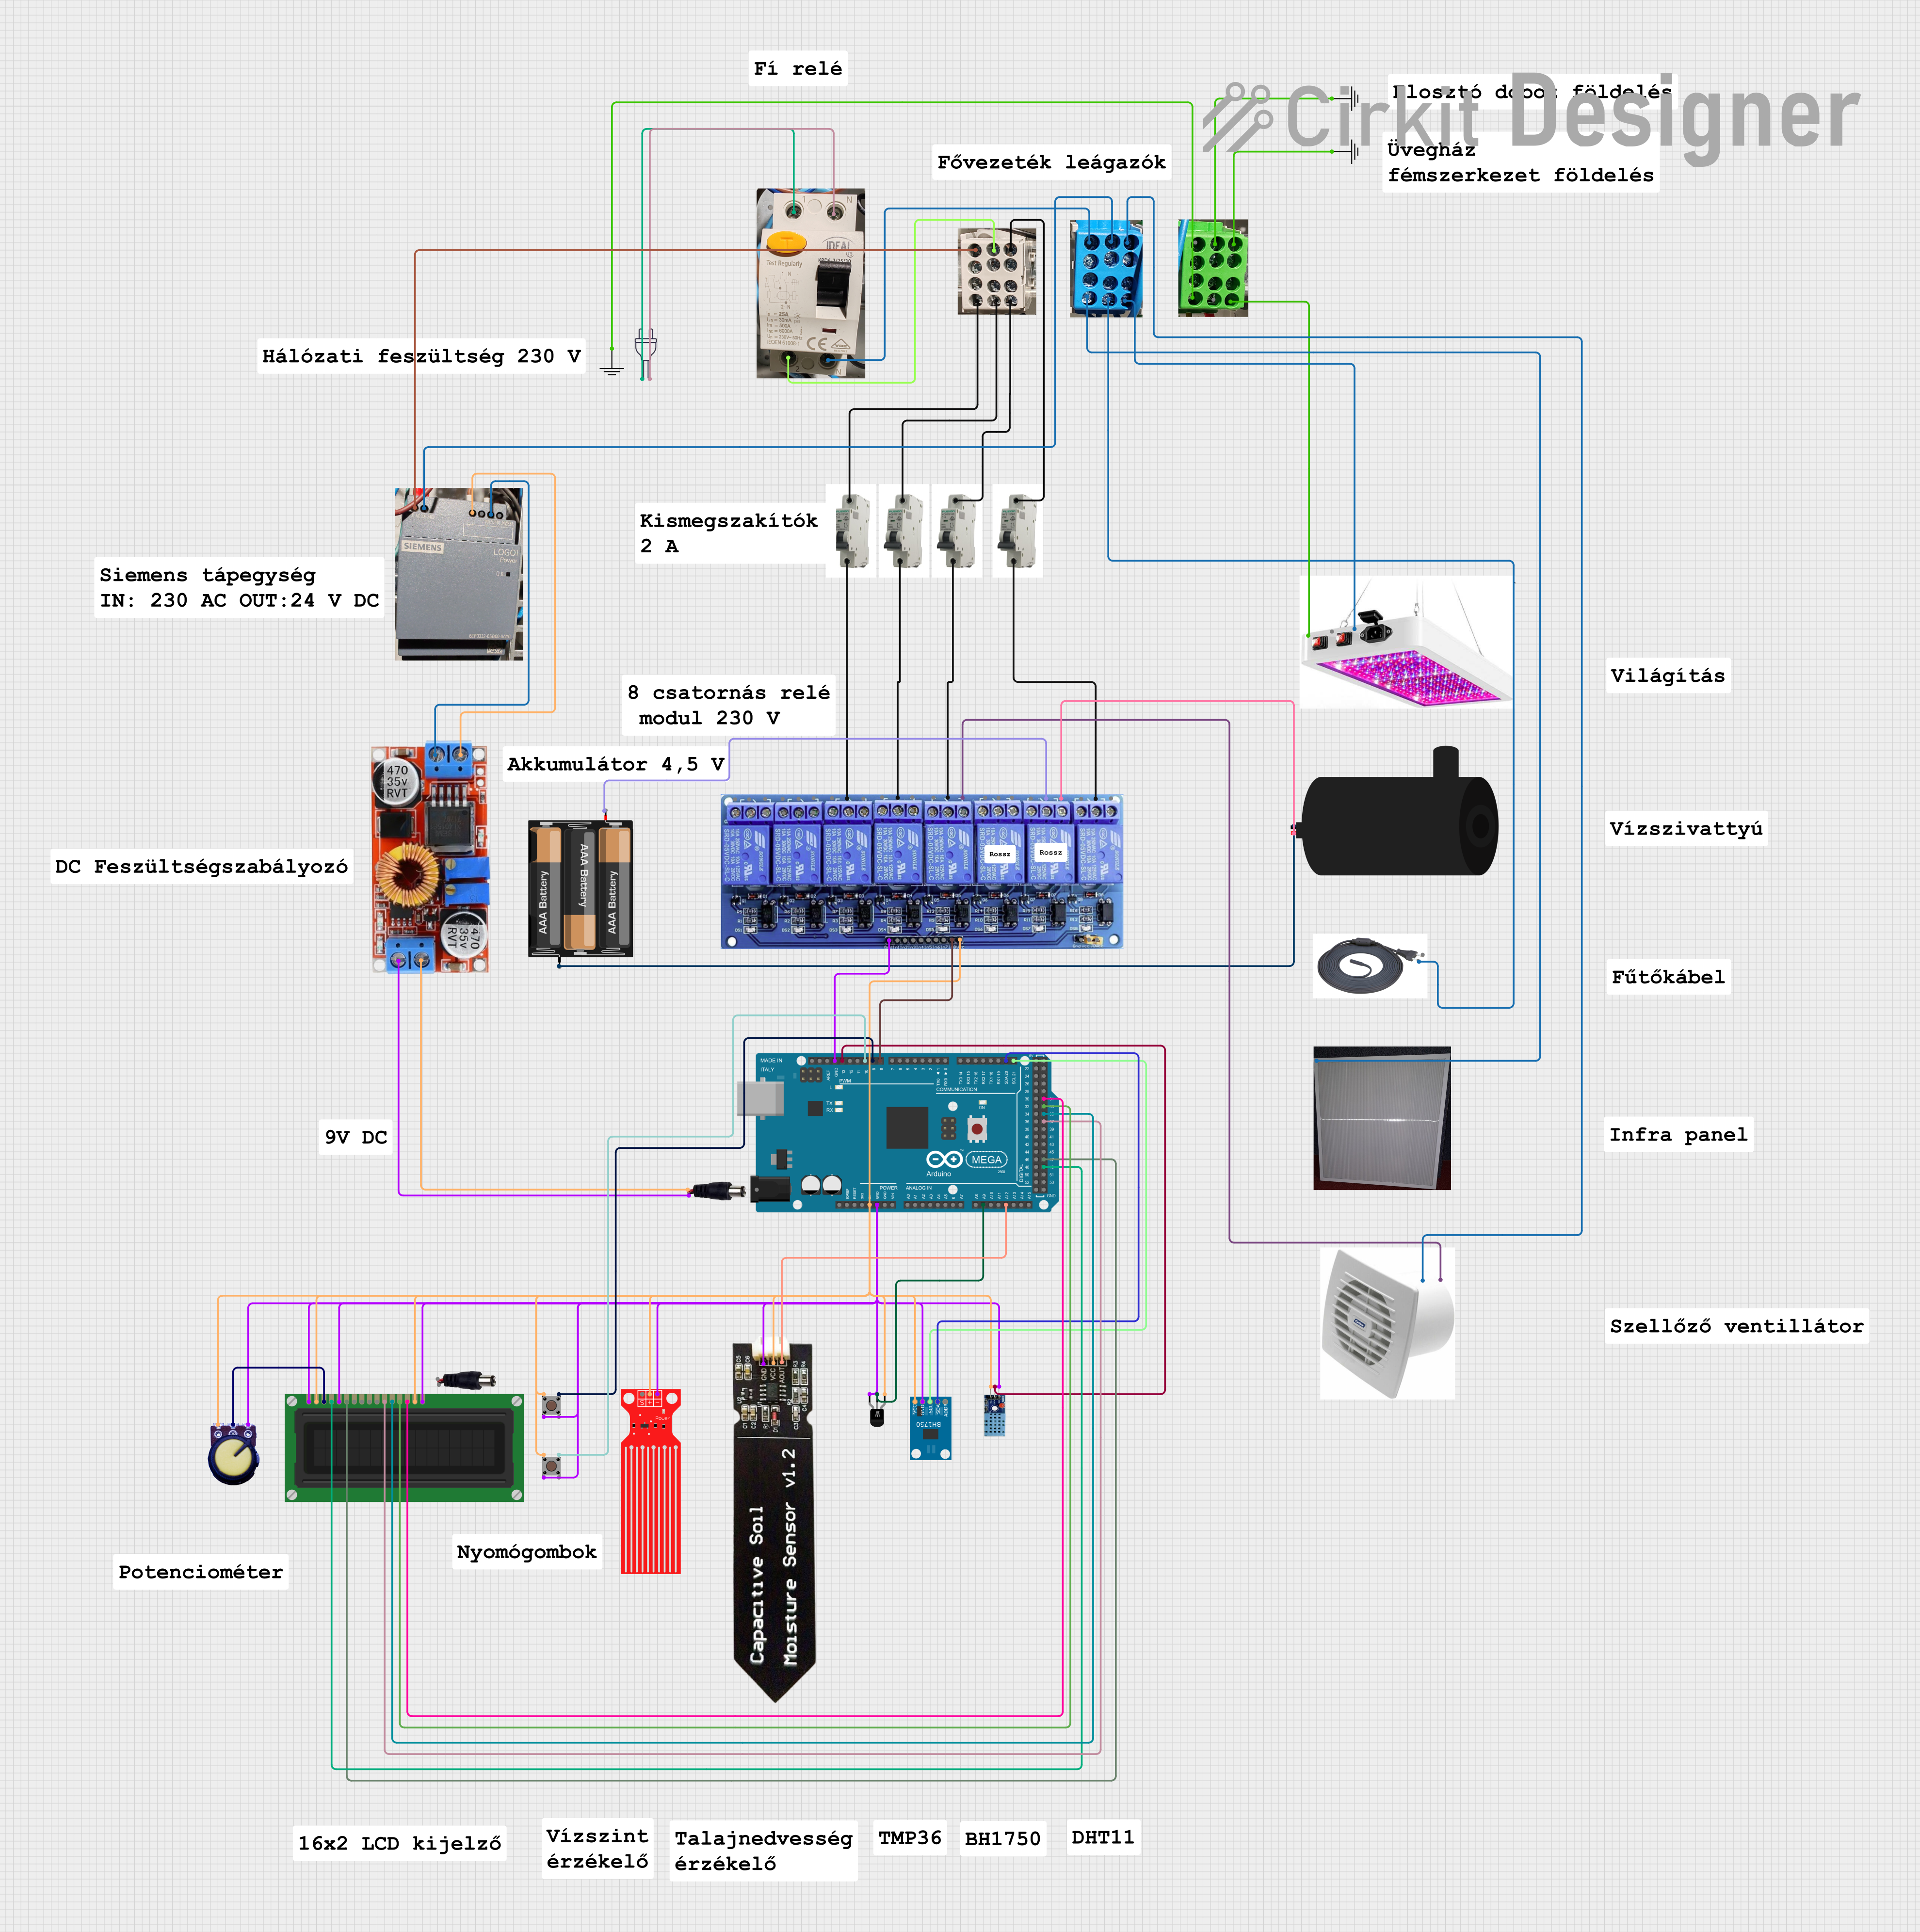
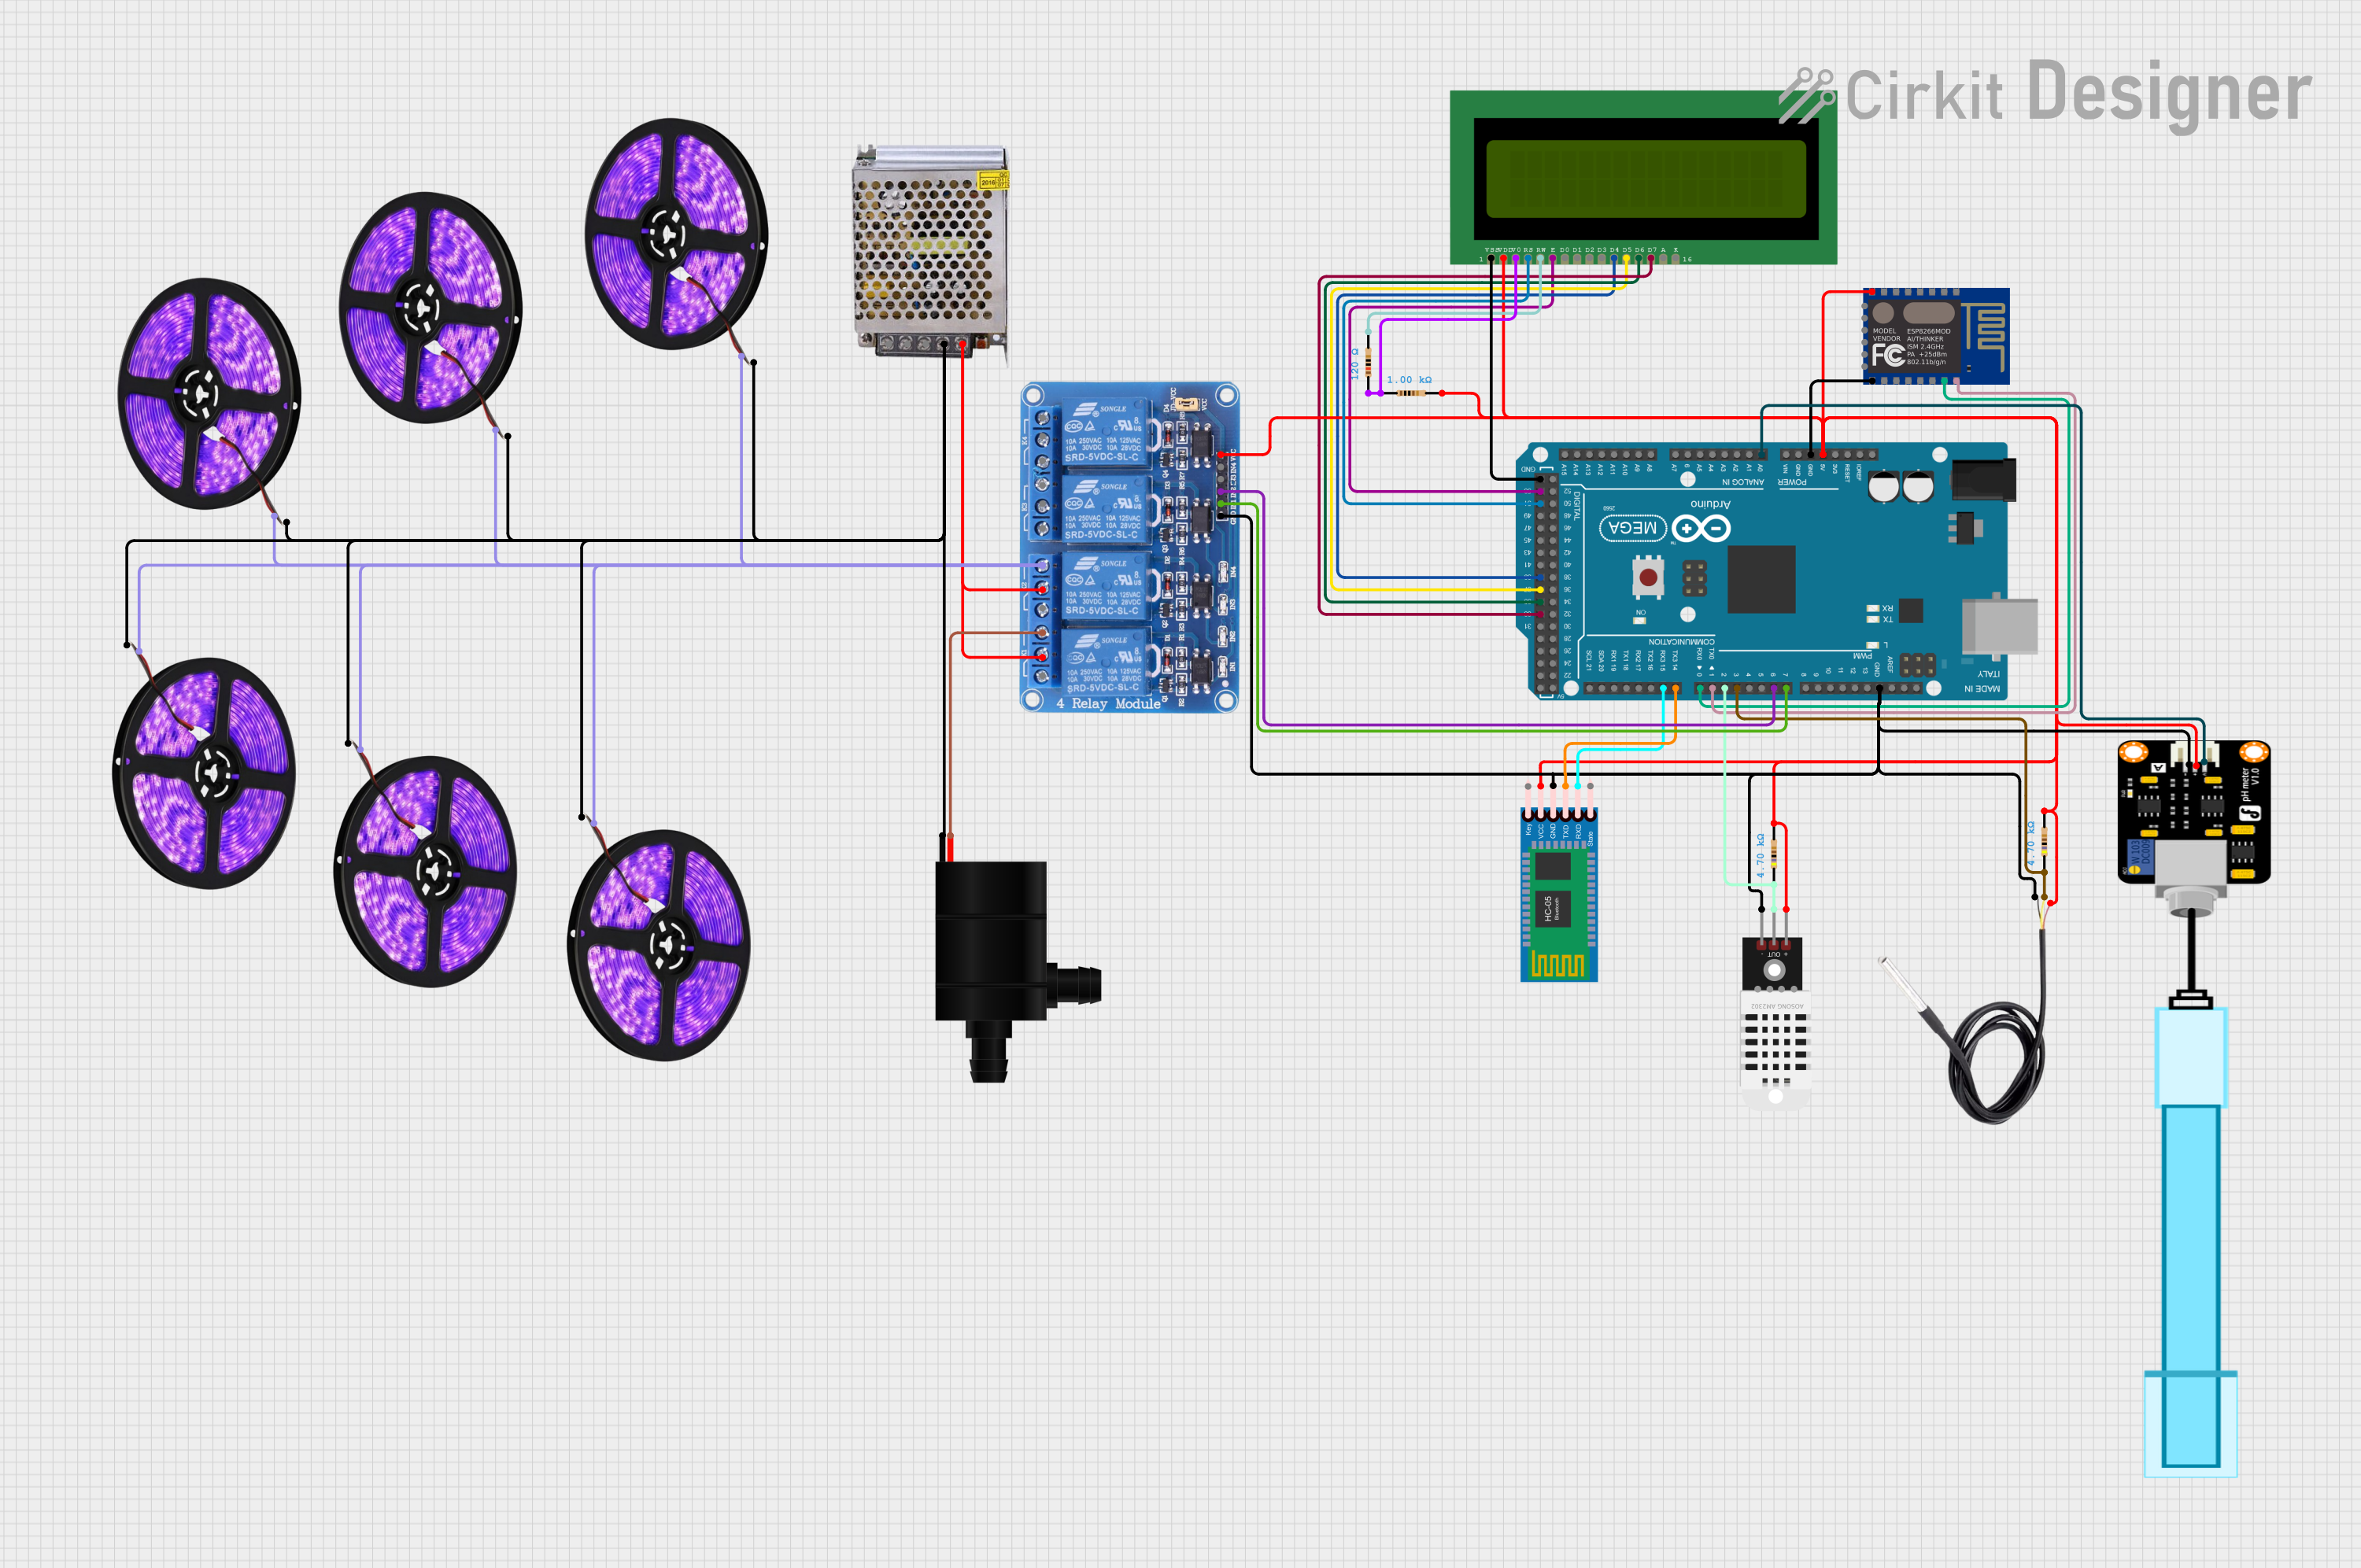
Explore Projects Built with Bela
Common Applications and Use Cases
- Interactive audio installations
- Musical instrument development
- Real-time audio effects processing
- Sensor-based audio applications
- Educational tools for audio and electronics
Technical Specifications
Key Technical Details
| Specification | Value |
|---|---|
| Processor | AM335x 1GHz ARM® Cortex-A8 |
| RAM | 512MB DDR3L |
| Audio I/O | 2x 16-bit stereo audio channels |
| Analog I/O | 8x 16-bit analog inputs, 8x 16-bit analog outputs |
| Digital I/O | 16x digital GPIO pins |
| Latency | < 1ms round-trip latency |
| Power Supply | 5V DC via barrel jack or USB |
| Operating System | Debian-based Linux |
Pin Configuration and Descriptions
Audio I/O Pins
| Pin Number | Pin Name | Description |
|---|---|---|
| P9_31 | Audio In L | Left channel audio input |
| P9_29 | Audio In R | Right channel audio input |
| P9_25 | Audio Out L | Left channel audio output |
| P9_27 | Audio Out R | Right channel audio output |
Analog I/O Pins
| Pin Number | Pin Name | Description |
|---|---|---|
| P9_39 | AIN0 | Analog input 0 |
| P9_40 | AIN1 | Analog input 1 |
| P9_37 | AIN2 | Analog input 2 |
| P9_38 | AIN3 | Analog input 3 |
| P9_33 | AIN4 | Analog input 4 |
| P9_36 | AIN5 | Analog input 5 |
| P9_35 | AIN6 | Analog input 6 |
| P9_34 | AIN7 | Analog input 7 |
| P9_31 | AOUT0 | Analog output 0 |
| P9_29 | AOUT1 | Analog output 1 |
| P9_25 | AOUT2 | Analog output 2 |
| P9_27 | AOUT3 | Analog output 3 |
Digital I/O Pins
| Pin Number | Pin Name | Description |
|---|---|---|
| P8_07 | GPIO_66 | General-purpose I/O |
| P8_08 | GPIO_67 | General-purpose I/O |
| P8_09 | GPIO_69 | General-purpose I/O |
| P8_10 | GPIO_68 | General-purpose I/O |
| P8_11 | GPIO_45 | General-purpose I/O |
| P8_12 | GPIO_44 | General-purpose I/O |
| P8_13 | GPIO_23 | General-purpose I/O |
| P8_14 | GPIO_26 | General-purpose I/O |
| P8_15 | GPIO_47 | General-purpose I/O |
| P8_16 | GPIO_46 | General-purpose I/O |
| P8_17 | GPIO_27 | General-purpose I/O |
| P8_18 | GPIO_65 | General-purpose I/O |
| P8_19 | GPIO_22 | General-purpose I/O |
| P8_26 | GPIO_61 | General-purpose I/O |
| P8_27 | GPIO_86 | General-purpose I/O |
| P8_28 | GPIO_88 | General-purpose I/O |
Usage Instructions
How to Use the Component in a Circuit
Powering the Bela:
- Connect a 5V DC power supply to the barrel jack or use a USB power source.
Connecting Audio I/O:
- Use the audio input pins (P9_31 and P9_29) to connect your audio source.
- Use the audio output pins (P9_25 and P9_27) to connect to your speakers or headphones.
Connecting Analog Sensors:
- Connect your analog sensors to the analog input pins (P9_39 to P9_34).
- Use the analog output pins (P9_31 to P9_27) to send signals to other devices.
Connecting Digital Sensors and Actuators:
- Use the digital GPIO pins (P8_07 to P8_28) to connect digital sensors and actuators.
Important Considerations and Best Practices
- Grounding: Ensure all components share a common ground to avoid noise and interference.
- Power Supply: Use a stable power supply to prevent voltage fluctuations that can affect performance.
- Shielding: For high-frequency applications, consider shielding your cables to reduce electromagnetic interference.
- Heat Management: Ensure adequate ventilation for the BeagleBone to prevent overheating.
Troubleshooting and FAQs
Common Issues Users Might Face
No Audio Output:
- Solution: Check the connections to the audio output pins. Ensure the audio source is properly connected and powered.
Analog Input Not Responding:
- Solution: Verify the sensor connections and ensure the sensor is functioning correctly. Check the analog input pin configuration.
Digital I/O Not Working:
- Solution: Ensure the digital sensor or actuator is properly connected. Check the GPIO pin configuration and ensure the correct pins are being used.
Device Not Powering On:
- Solution: Check the power supply connection. Ensure the power supply is providing the correct voltage and current.
Solutions and Tips for Troubleshooting
- Check Connections: Always double-check your connections to ensure they are secure and correct.
- Use a Multimeter: A multimeter can help diagnose issues with voltage and continuity.
- Consult the Datasheet: Refer to the Bela datasheet for detailed technical information and troubleshooting tips.
- Community Support: Engage with the Bela community for support and advice from other users.
Example Code for Arduino UNO
While Bela is typically used with BeagleBone, you can interface it with an Arduino UNO for certain applications. Below is an example code to read an analog sensor connected to Bela and send the data to Arduino UNO via serial communication.
// Arduino UNO code to read data from Bela via serial communication

void setup() {
  Serial.begin(9600); // Initialize serial communication at 9600 baud rate
}

void loop() {
  if (Serial.available() > 0) {
    int sensorValue = Serial.parseInt(); // Read the integer value from serial
    Serial.print("Sensor Value: ");
    Serial.println(sensorValue); // Print the sensor value to the serial monitor
  }
  delay(100); // Delay for stability
}
This documentation provides a comprehensive guide to using the Bela platform for interactive audio and sensor processing applications. Whether you are a beginner or an experienced user, this guide will help you get the most out of your Bela component.