
How to Use DotStar Strip -- Black (60/m): Examples, Pinouts, and Specs
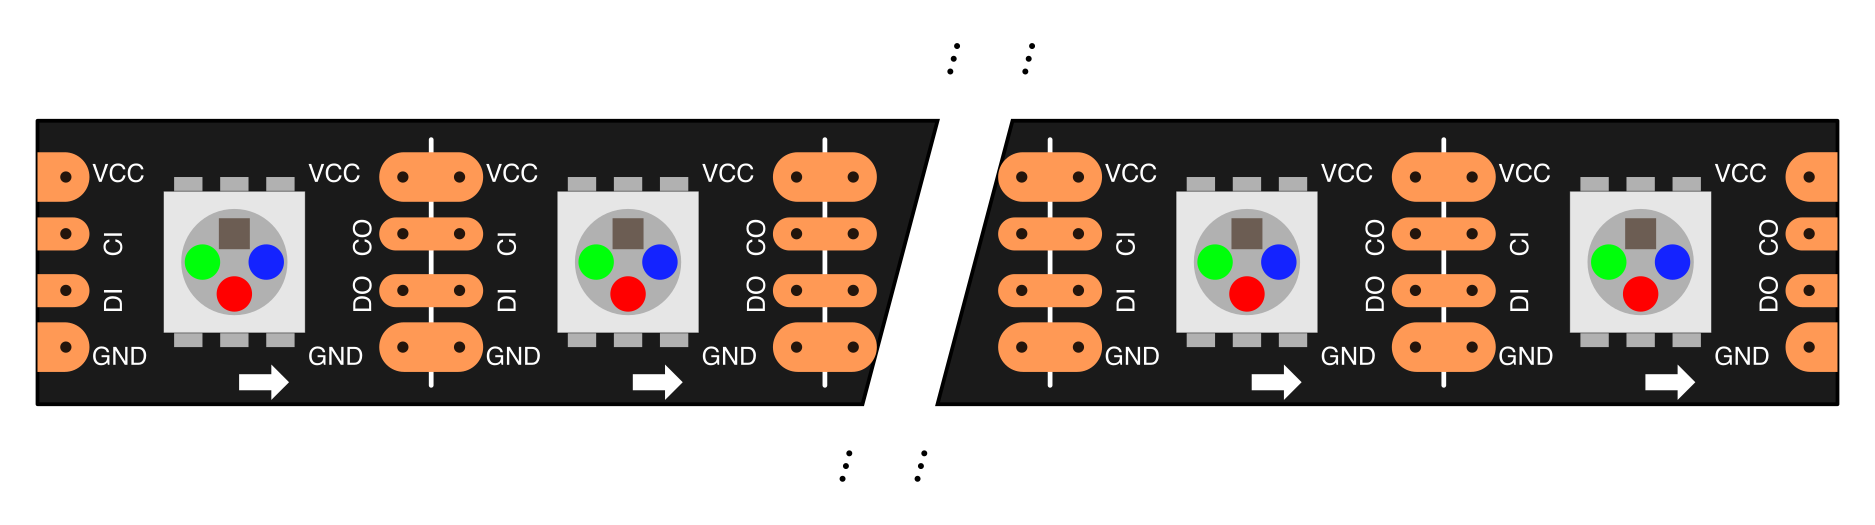
 Design with DotStar Strip -- Black (60/m) in Cirkit Designer
Introduction
The DotStar Strip -- Black (60/m) (Manufacturer Part ID: 2239) by Adafruit is a flexible LED strip featuring 60 individually addressable RGB LEDs per meter. Each LED is equipped with an integrated driver chip, enabling precise control over brightness and color. The strip uses the DotStar protocol (SPI-based), which allows for high refresh rates and smooth animations. Its black PCB enhances contrast, making it ideal for decorative lighting, dynamic displays, and projects requiring vibrant, customizable lighting effects.
Explore Projects Built with DotStar Strip -- Black (60/m)
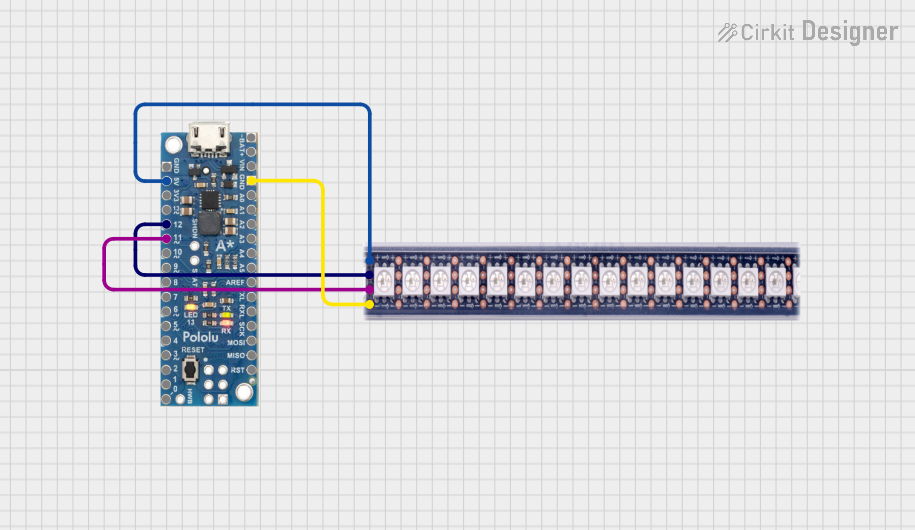 Open Project in Cirkit Designer
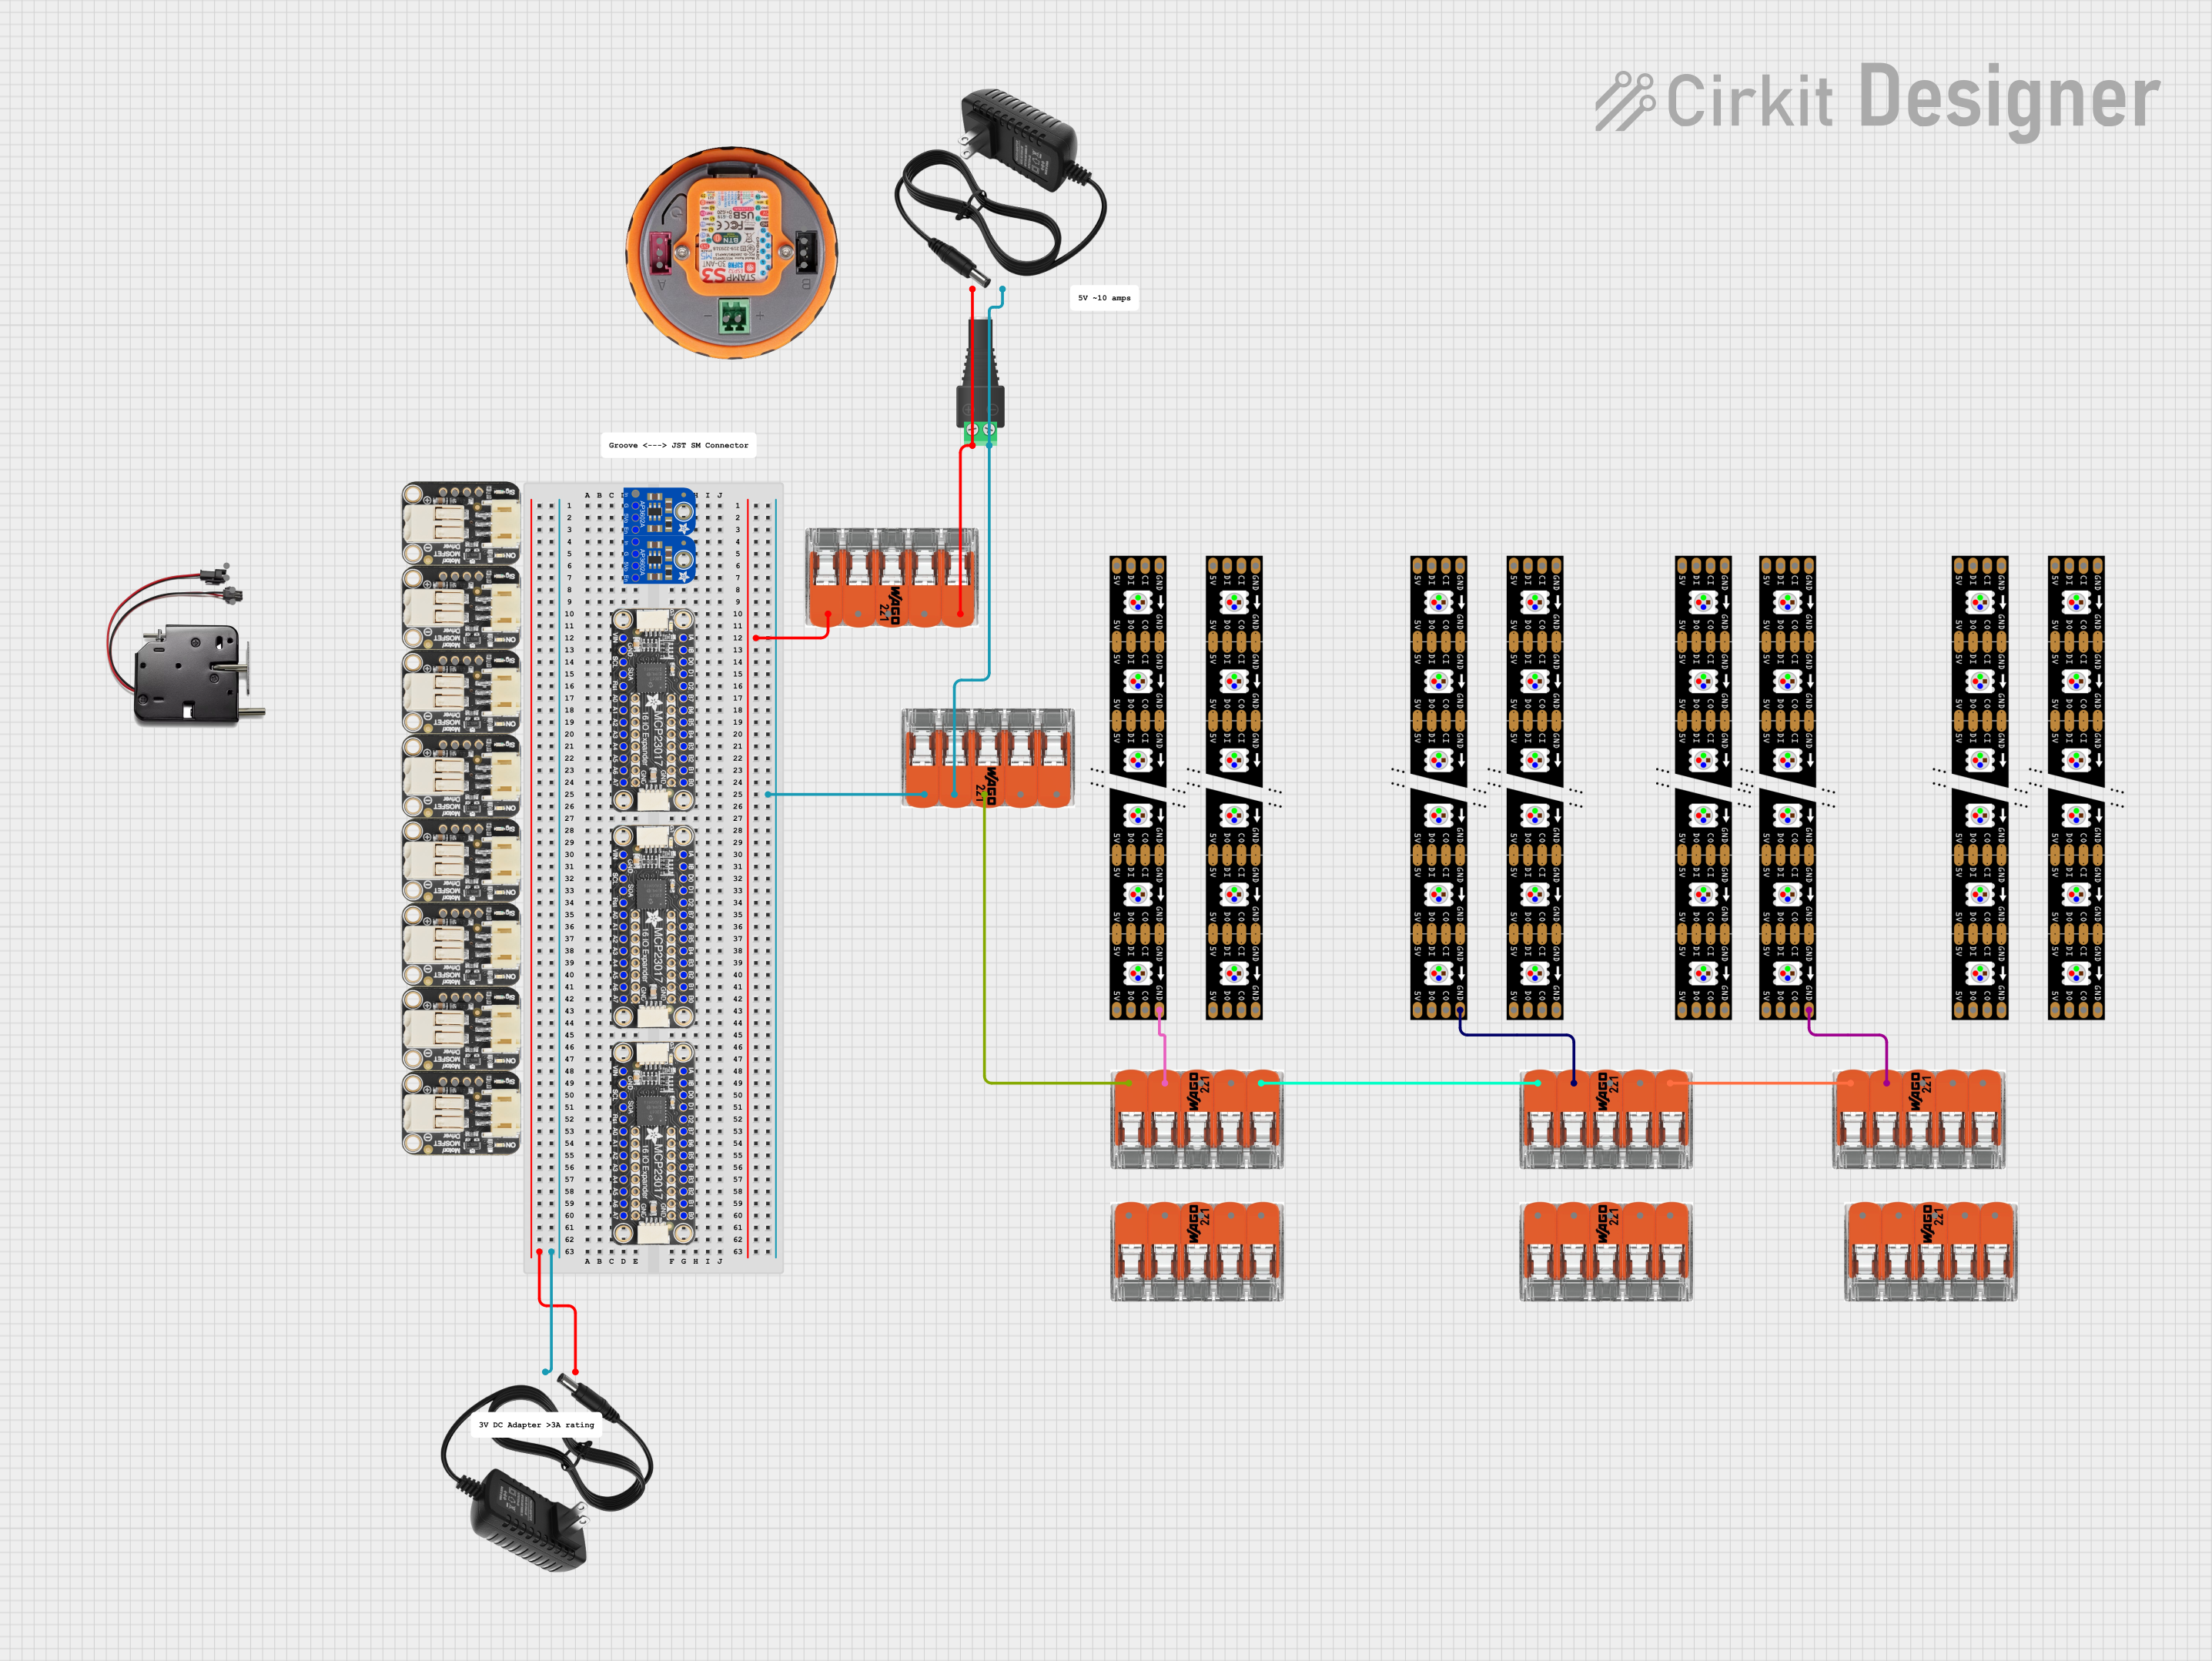 Open Project in Cirkit Designer
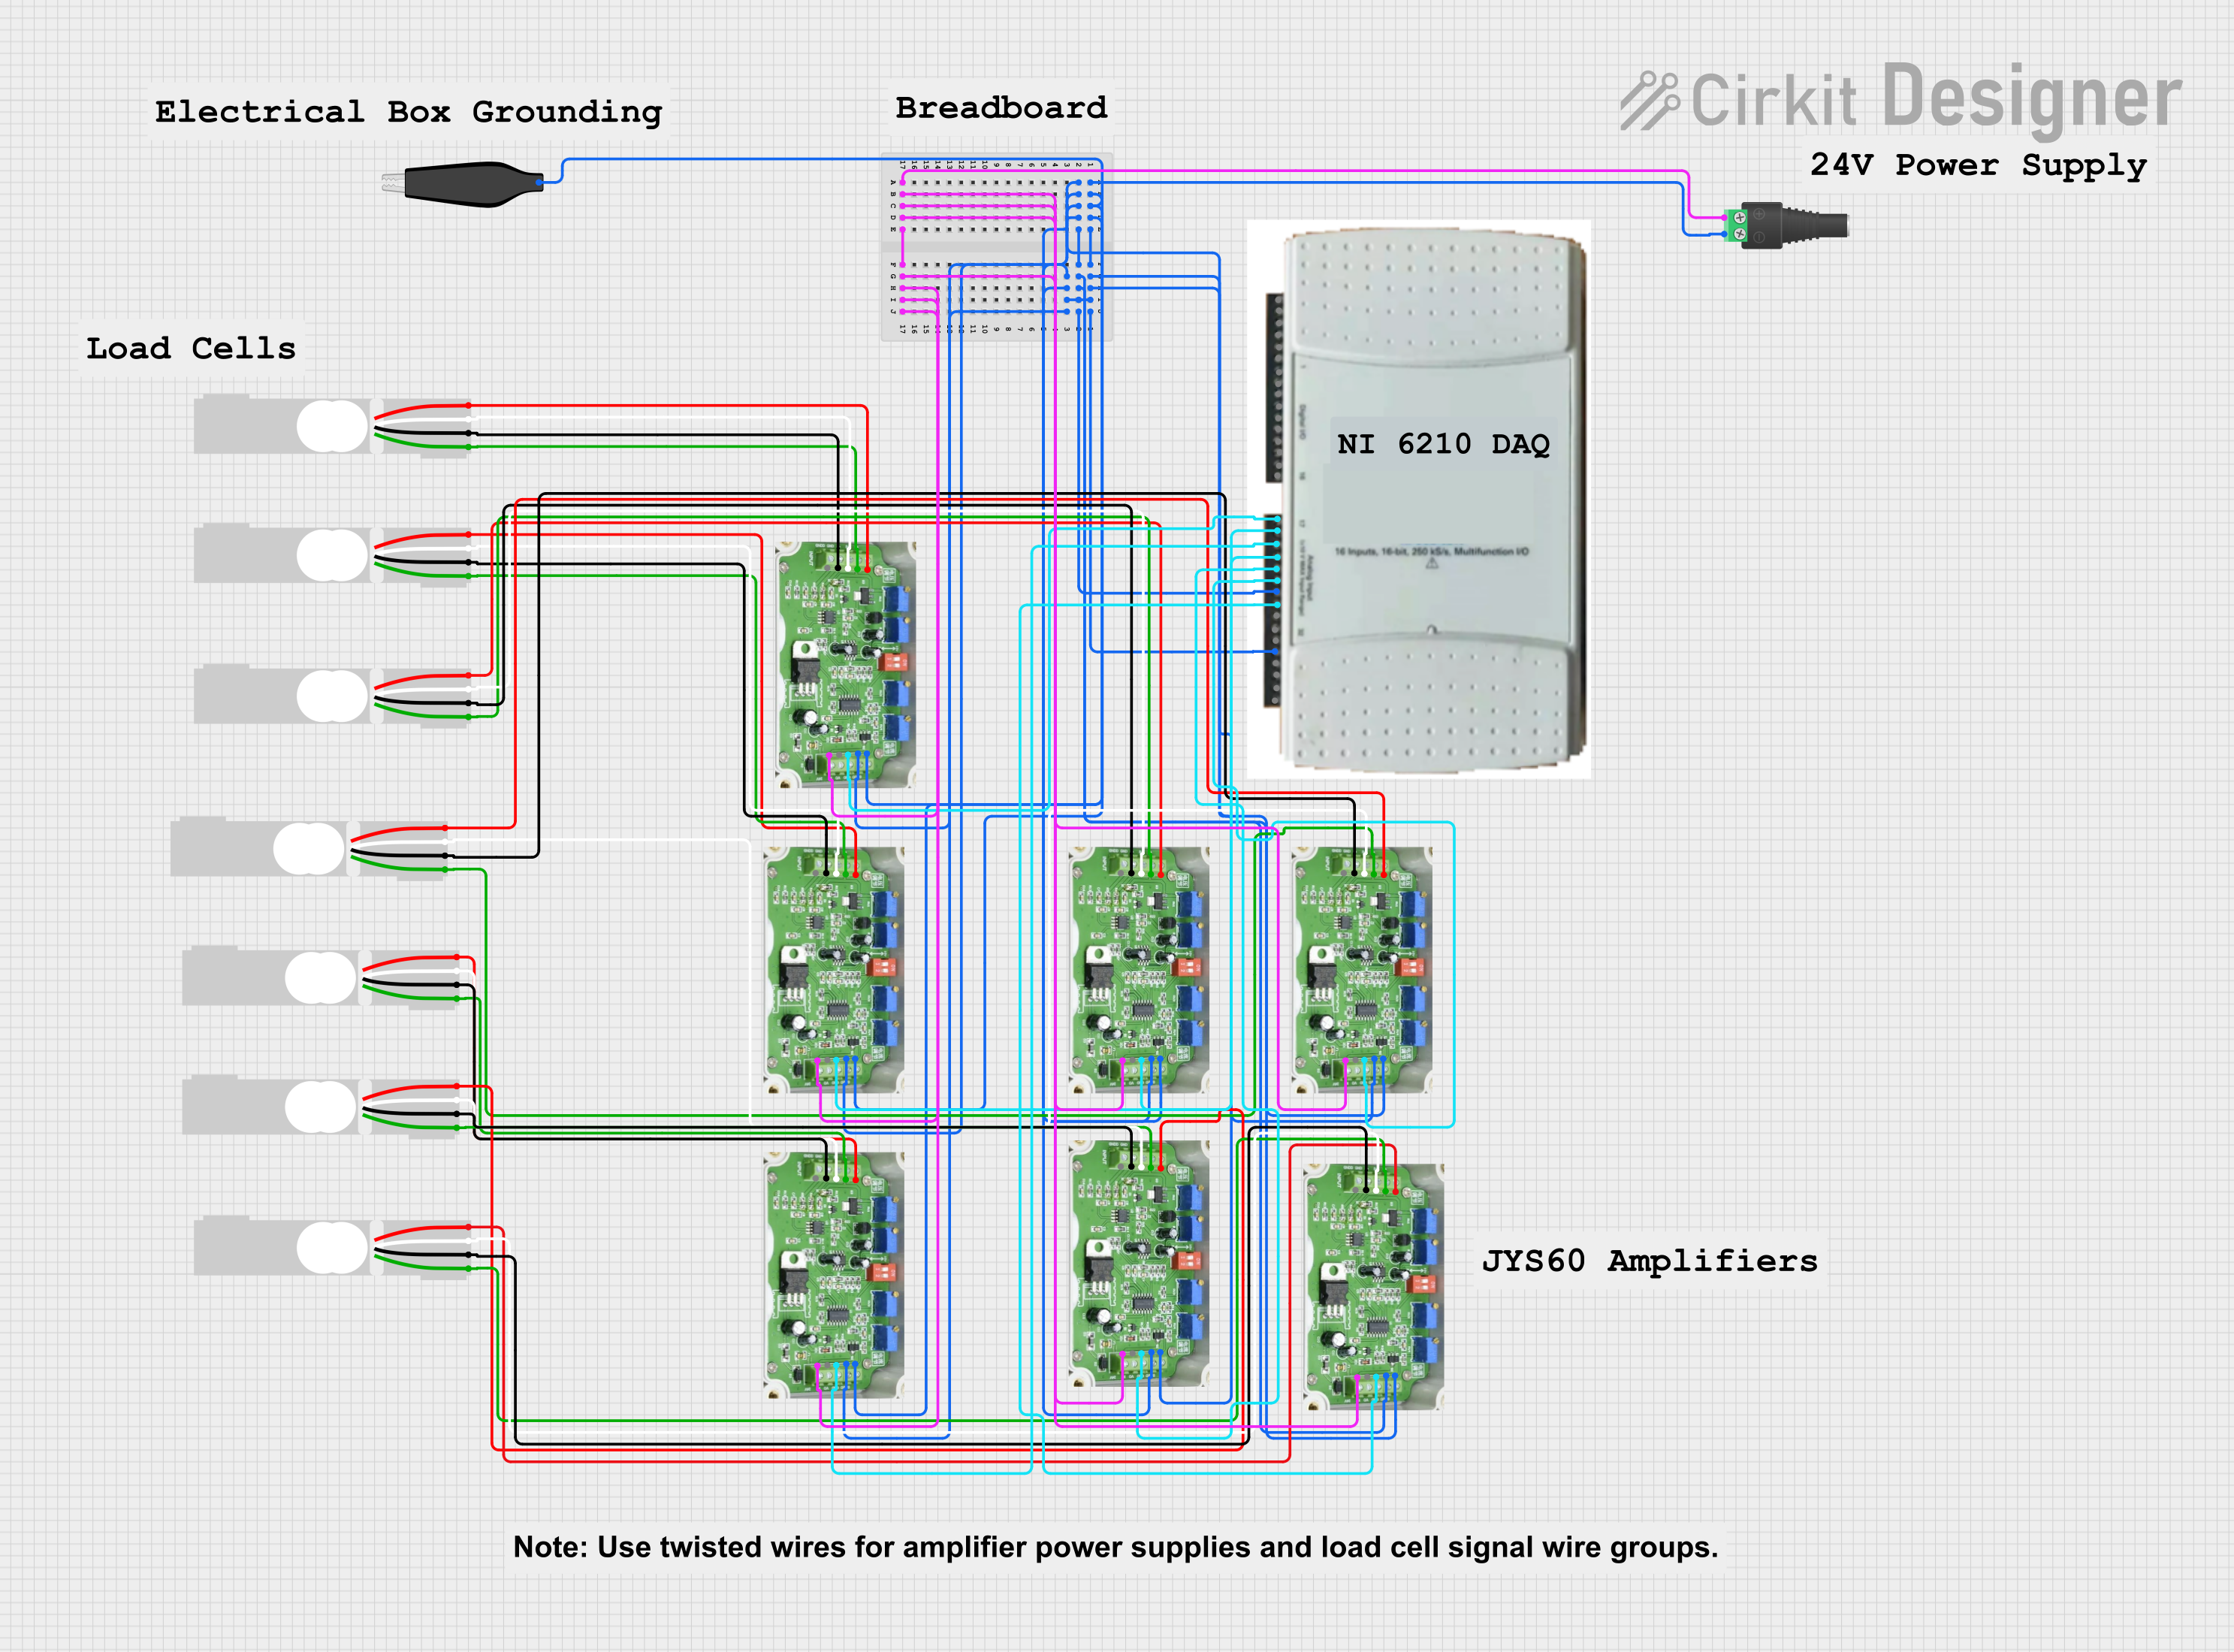 Open Project in Cirkit Designer
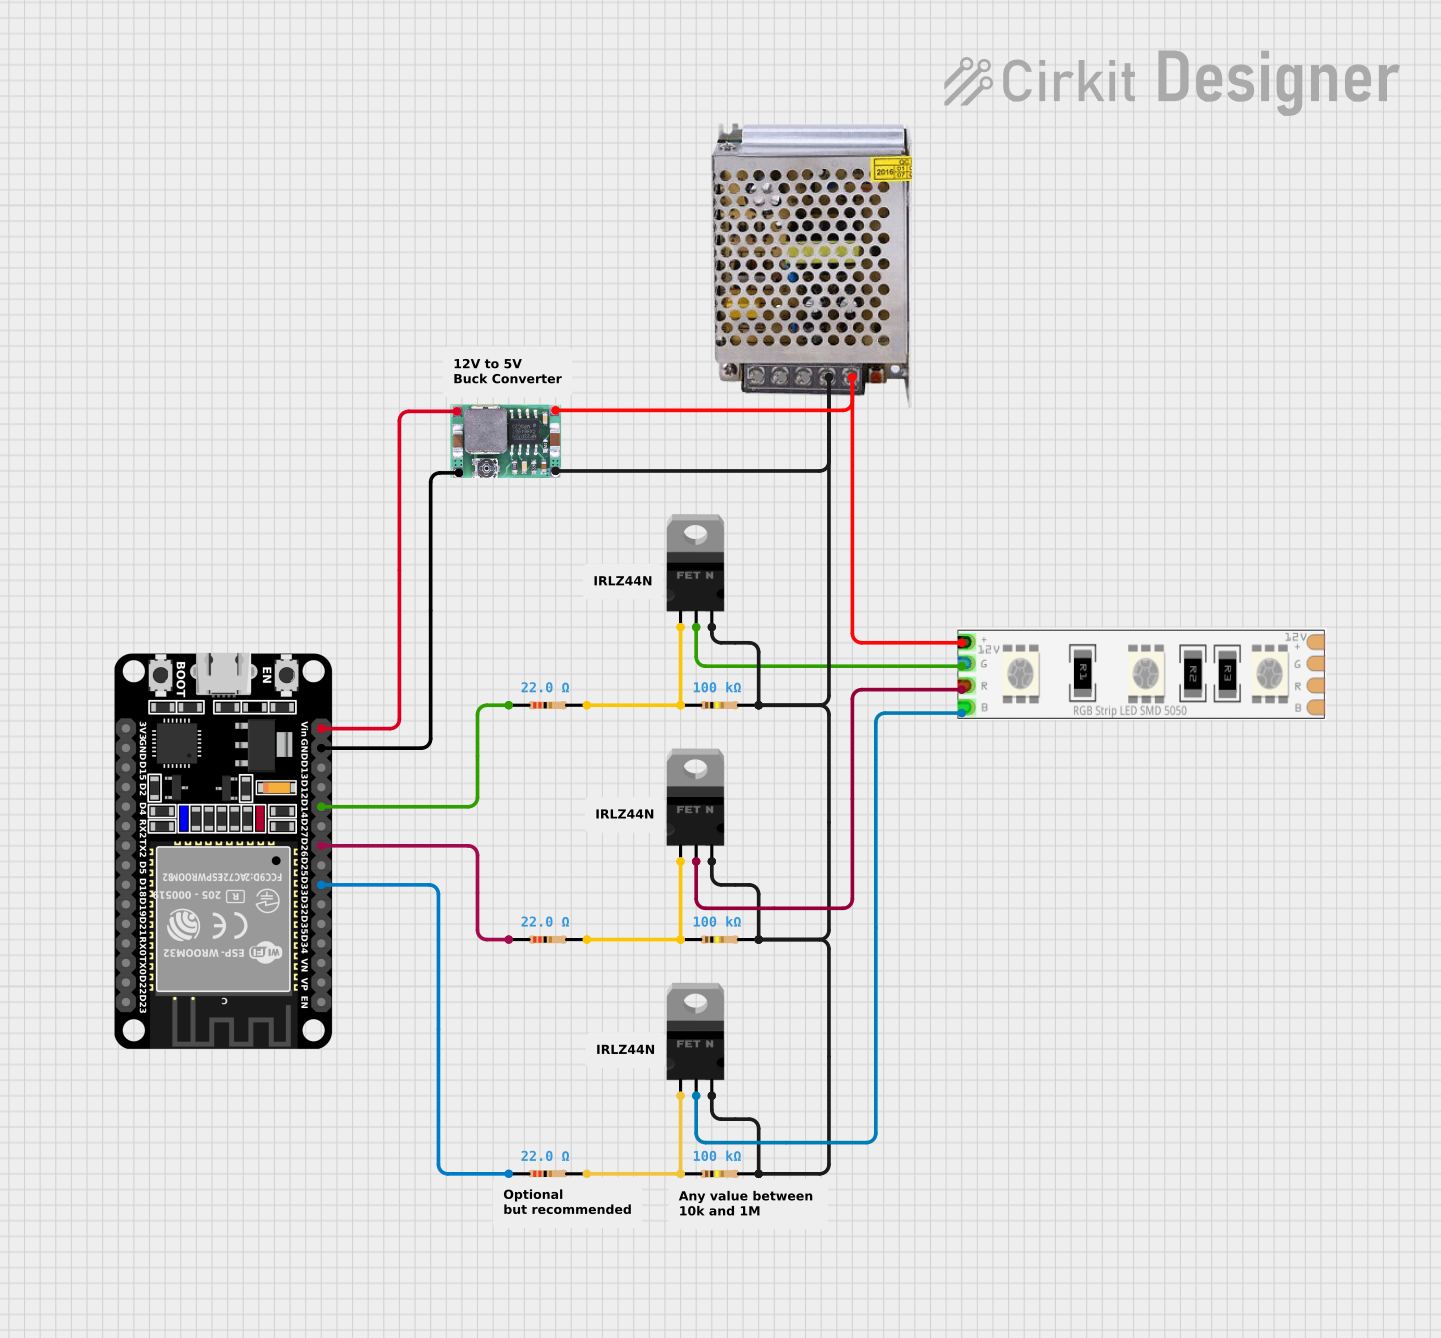 Open Project in Cirkit Designer
Explore Projects Built with DotStar Strip -- Black (60/m)
Open Project in Cirkit DesignerOpen Project in Cirkit DesignerOpen Project in Cirkit DesignerOpen Project in Cirkit DesignerCommon Applications
- Decorative lighting for homes, events, and installations
- Dynamic displays and signage
- Wearable electronics and costumes
- Robotics and model lighting
- Interactive art installations
- Prototyping and educational projects
Technical Specifications
Below are the key technical details for the DotStar Strip -- Black (60/m):
| Specification | Details |
|---|---|
| Manufacturer | Adafruit |
| Manufacturer Part ID | 2239 |
| LED Type | RGB LEDs with integrated APA102 driver chip |
| LEDs per Meter | 60 |
| Operating Voltage | 5V DC |
| Power Consumption | ~18W per meter (at full brightness, all LEDs white) |
| Communication Protocol | SPI (Clock and Data lines) |
| Data Speed | Up to 32 MHz |
| PCB Color | Black |
| Strip Length | Sold in 1-meter increments (can be cut or extended) |
| LED Viewing Angle | ~120° |
| Waterproofing | Non-waterproof (bare strip) |
| Operating Temperature | -40°C to +80°C |
Pin Configuration
The DotStar Strip has four main connections, as detailed below:
| Pin Name | Description | Notes |
|---|---|---|
| 5V | Power Supply (5V DC) | Connect to a regulated 5V power source. |
| GND | Ground | Common ground for power and data. |
| DI | Data Input | SPI data line for controlling the LEDs. |
| CI | Clock Input | SPI clock line for synchronizing data. |
Usage Instructions
Connecting the DotStar Strip
- Power Supply: Ensure you have a regulated 5V DC power supply capable of providing sufficient current. Each LED consumes approximately 60mA at full brightness (all colors on). For a 1-meter strip with 60 LEDs, the maximum current draw is around 3.6A.
- Wiring:
- Connect the 5V pin of the strip to the positive terminal of your power supply.
- Connect the GND pin to the ground terminal of your power supply and the ground of your microcontroller.
- Connect the DI (Data Input) pin to the SPI MOSI pin of your microcontroller.
- Connect the CI (Clock Input) pin to the SPI SCK pin of your microcontroller.
- Data Direction: Ensure you connect to the input side of the strip (marked with arrows pointing away from the pins). The output side can be used to chain additional strips.
Using with Arduino UNO
The DotStar Strip can be easily controlled using the Adafruit DotStar library. Below is an example code snippet to get started:
#include <Adafruit_DotStar.h>
#include <SPI.h>

// Define the number of LEDs in the strip
#define NUM_LEDS 60

// Define the data and clock pins
#define DATAPIN 11  // SPI MOSI pin on Arduino UNO
#define CLOCKPIN 13 // SPI SCK pin on Arduino UNO

// Initialize the DotStar strip
Adafruit_DotStar strip(NUM_LEDS, DATAPIN, CLOCKPIN, DOTSTAR_BRG);

void setup() {
  strip.begin();  // Initialize the strip
  strip.show();   // Turn off all LEDs initially
}

void loop() {
  // Example: Cycle through red, green, and blue colors
  for (int i = 0; i < NUM_LEDS; i++) {
    strip.setPixelColor(i, 255, 0, 0); // Set LED to red
  }
  strip.show(); // Update the strip
  delay(500);   // Wait 500ms

  for (int i = 0; i < NUM_LEDS; i++) {
    strip.setPixelColor(i, 0, 255, 0); // Set LED to green
  }
  strip.show(); // Update the strip
  delay(500);   // Wait 500ms

  for (int i = 0; i < NUM_LEDS; i++) {
    strip.setPixelColor(i, 0, 0, 255); // Set LED to blue
  }
  strip.show(); // Update the strip
  delay(500);   // Wait 500ms
}
Best Practices
- Power Injection: For strips longer than 1 meter, inject power at multiple points to prevent voltage drop and uneven brightness.
- Heat Management: Avoid running the LEDs at full brightness for extended periods to prevent overheating.
- Capacitor and Resistor: Place a 1000µF capacitor across the power supply terminals and a 470Ω resistor on the data line to protect the LEDs from power surges.
- Data Line Length: Keep the data line as short as possible to avoid signal degradation. Use level shifters if the microcontroller operates at 3.3V logic.
Troubleshooting and FAQs
Common Issues
LEDs Not Lighting Up:
- Check all connections, especially the power and ground.
- Ensure the data and clock lines are connected to the correct pins on the microcontroller.
- Verify that the power supply provides sufficient current.
Flickering or Incorrect Colors:
- Ensure the data and clock lines are not too long or prone to interference.
- Use a level shifter if the microcontroller logic level is 3.3V.
- Check for voltage drops along the strip and inject power if necessary.
Only the First LED Works:
- Verify that the data and clock lines are connected to the input side of the strip.
- Inspect the solder joints and connectors for damage.
FAQs
Q: Can I cut the strip to a shorter length?
A: Yes, the strip can be cut at the designated cut lines (between LEDs). Ensure you reconnect the power, ground, data, and clock lines properly.
Q: Can I chain multiple strips together?
A: Yes, you can chain strips by connecting the output pins (DO and CO) of one strip to the input pins (DI and CI) of the next. Ensure your power supply can handle the total current draw.
Q: Is the strip waterproof?
A: No, this version of the DotStar Strip is not waterproof. For outdoor or wet environments, consider using a waterproof casing or a different waterproof LED strip.
Q: What is the maximum length I can control?
A: The maximum length depends on your microcontroller's memory and the power supply. For longer strips, consider using power injection and signal boosters.
By following this documentation, you can effectively integrate the DotStar Strip -- Black (60/m) into your projects and create stunning lighting effects!