How to Use USB Extender: Examples, Pinouts, and Specs
Introduction
A USB Extender is a device designed to extend the range of USB connections beyond the standard cable length limitations (typically 5 meters for USB 2.0 and 3 meters for USB 3.0). It achieves this by transmitting USB signals over longer distances using alternative cabling methods, such as Ethernet (Cat5e/Cat6) or fiber optics, while maintaining signal integrity and performance.
Explore Projects Built with USB Extender

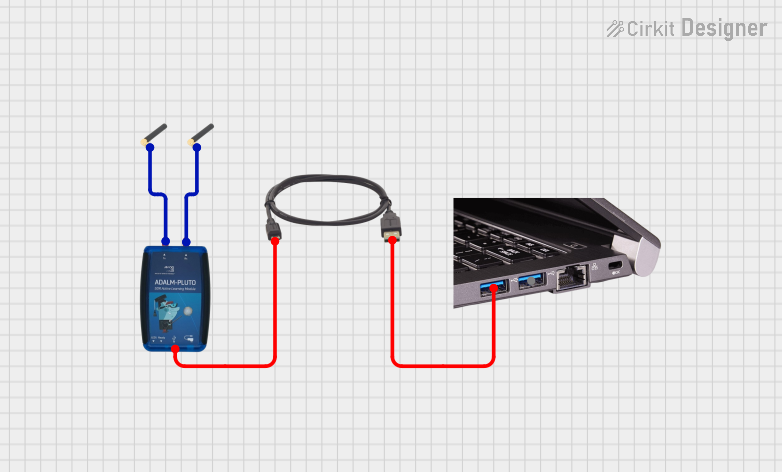

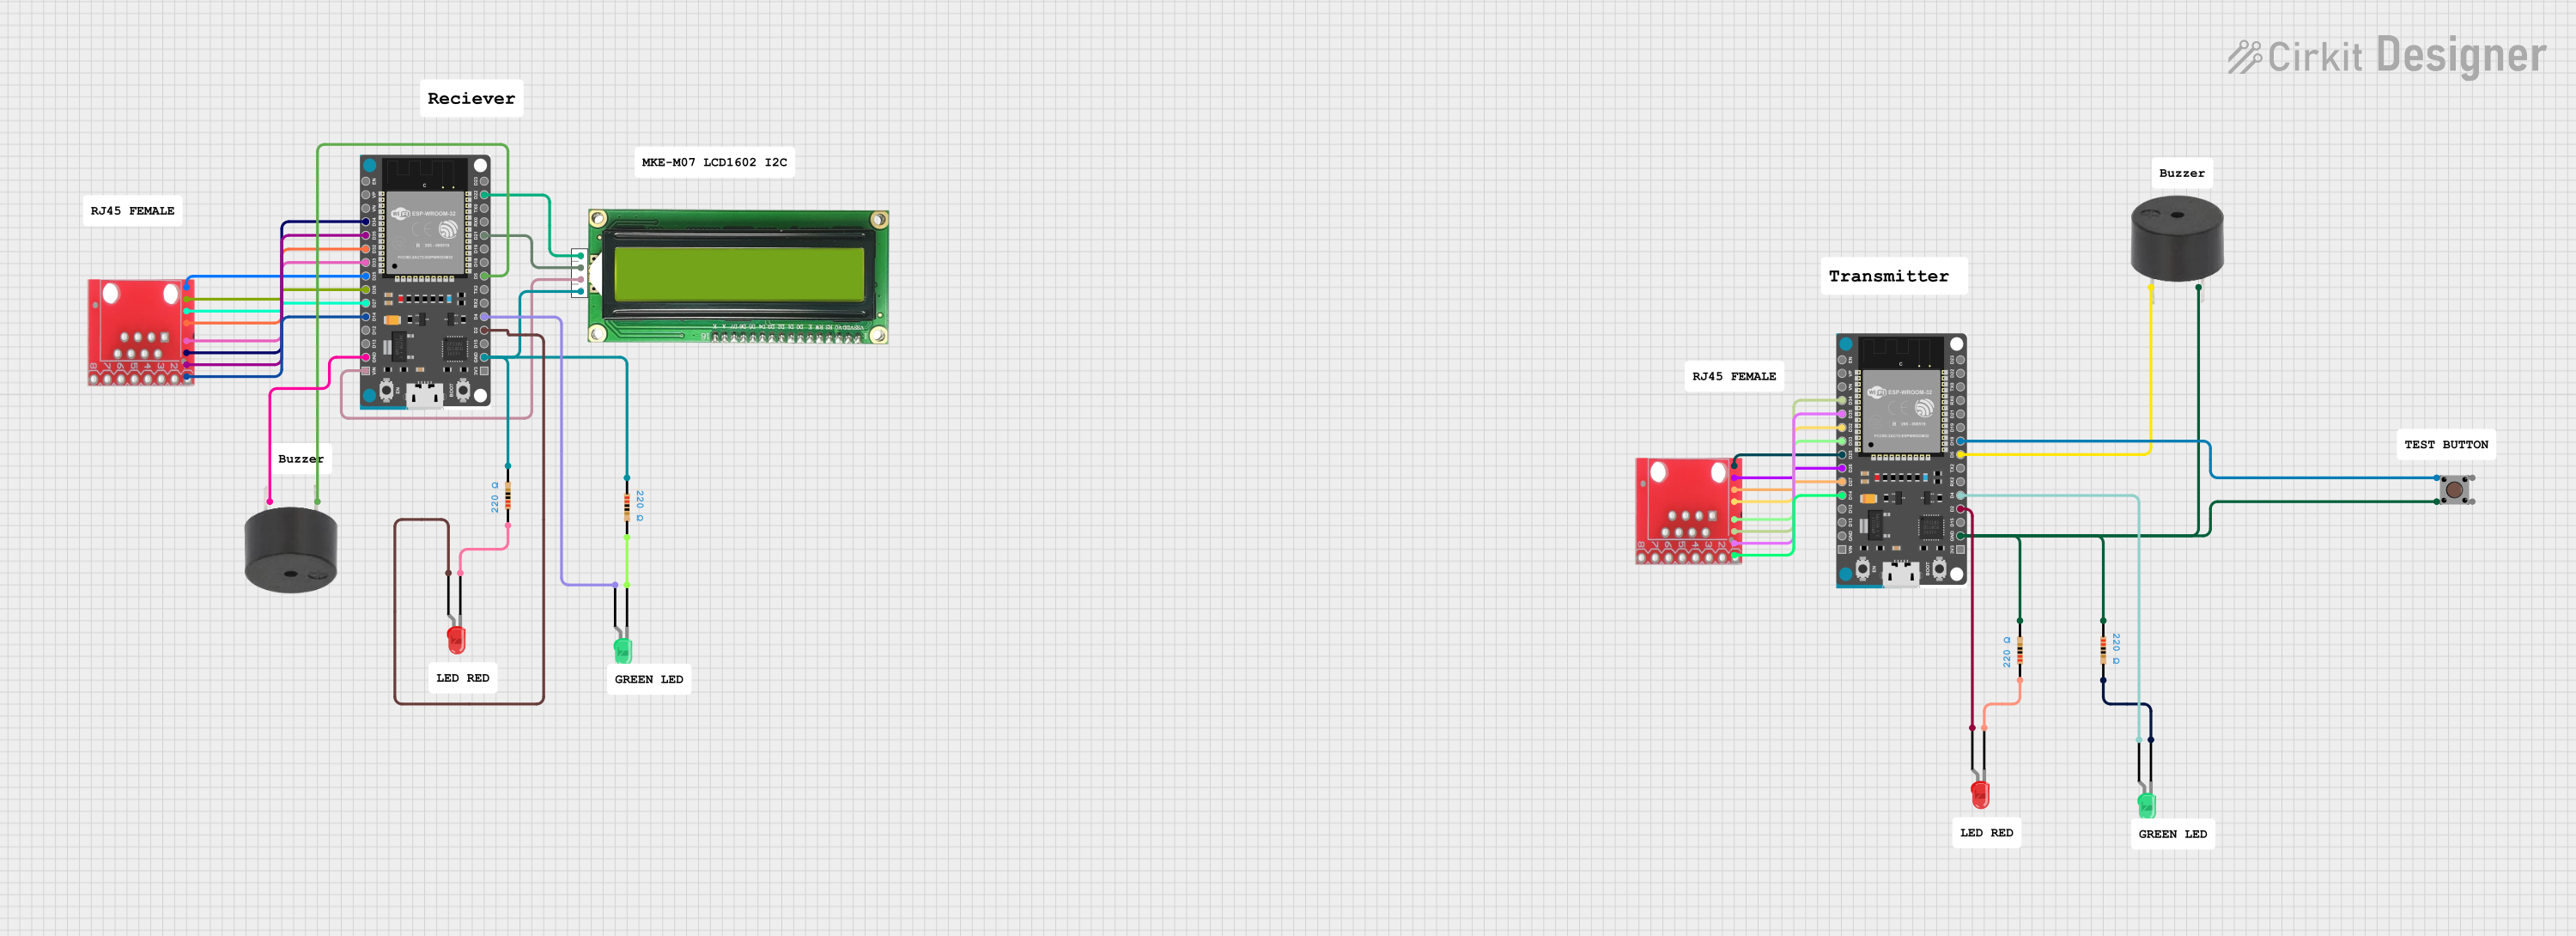
Explore Projects Built with USB Extender
Common Applications and Use Cases
- Remote USB Device Access: Connecting USB peripherals like printers, webcams, or external storage devices to a computer located far away.
- Industrial Automation: Extending USB connections in factory floors or large industrial setups.
- Home and Office Use: Enabling long-distance connections for USB devices in conference rooms or home theaters.
- Surveillance Systems: Connecting USB cameras or other security devices over long distances.
Technical Specifications
Below are the general technical specifications for a typical USB Extender. Note that specific models may vary slightly.
General Specifications
- Supported USB Standards: USB 1.1, USB 2.0, USB 3.0 (varies by model)
- Maximum Extension Distance:
- Up to 50 meters (Cat5e/Cat6 Ethernet cable for USB 2.0)
- Up to 100 meters or more (fiber optic cable for USB 3.0)
- Power Supply: May require external power for the receiver or transmitter (5V DC typical)
- Data Transfer Rate: Up to 480 Mbps (USB 2.0) or 5 Gbps (USB 3.0)
- Connector Types: USB Type-A, USB Type-B, RJ45 (Ethernet), or fiber optic ports
- Operating Temperature: 0°C to 50°C (typical)
Pin Configuration and Descriptions
USB Connector Pinout
| Pin | Name | Description |
|---|---|---|
| 1 | VBUS | +5V Power Supply |
| 2 | D- | Data Line (negative) |
| 3 | D+ | Data Line (positive) |
| 4 | GND | Ground |
Ethernet (RJ45) Pinout (for USB over Ethernet Extenders)
| Pin | Name | Description |
|---|---|---|
| 1 | TX+ | Transmit Data (positive) |
| 2 | TX- | Transmit Data (negative) |
| 3 | RX+ | Receive Data (positive) |
| 6 | RX- | Receive Data (negative) |
| 4, 5, 7, 8 | Unused | Not used in standard USB extenders |
Usage Instructions
How to Use the USB Extender in a Circuit
Connect the Transmitter:
- Plug the USB device (e.g., keyboard, mouse, or webcam) into the USB port on the transmitter unit.
- If the transmitter requires external power, connect the power adapter to the transmitter.
Connect the Receiver:
- Plug the receiver unit into the USB port of the host device (e.g., computer or laptop).
- If the receiver requires external power, connect the power adapter to the receiver.
Connect the Extender Cable:
- Use a Cat5e/Cat6 Ethernet cable (or fiber optic cable, depending on the extender type) to connect the transmitter and receiver units.
Verify the Connection:
- Ensure that the USB device is recognized by the host system. Check for proper functionality.
Important Considerations and Best Practices
- Cable Quality: Use high-quality Ethernet or fiber optic cables to ensure reliable data transmission.
- Power Requirements: Some USB extenders require external power for the transmitter, receiver, or both. Verify the power requirements before use.
- USB Standard Compatibility: Ensure that the extender supports the USB version of your device (e.g., USB 2.0 or USB 3.0).
- Signal Interference: Avoid running the extender cable near high-power electrical equipment to minimize interference.
Example: Using a USB Extender with Arduino UNO
If you are using a USB Extender to connect an Arduino UNO to a computer over a long distance, follow these steps:
- Connect the Arduino UNO to the transmitter unit using a USB cable.
- Connect the receiver unit to the computer's USB port.
- Use an Ethernet cable to link the transmitter and receiver units.
- Upload the following example code to the Arduino UNO to test the connection:
// Simple Arduino Blink Test
// This code blinks the onboard LED to verify the USB connection
// Ensure the USB Extender is properly connected before uploading

void setup() {
  pinMode(LED_BUILTIN, OUTPUT); // Set the onboard LED pin as output
}

void loop() {
  digitalWrite(LED_BUILTIN, HIGH); // Turn the LED on
  delay(1000);                     // Wait for 1 second
  digitalWrite(LED_BUILTIN, LOW);  // Turn the LED off
  delay(1000);                     // Wait for 1 second
}
Troubleshooting and FAQs
Common Issues and Solutions
USB Device Not Recognized:
- Ensure that both the transmitter and receiver units are powered (if required).
- Check the quality and length of the Ethernet or fiber optic cable.
- Verify that the USB device is compatible with the extender.
Intermittent Connection:
- Inspect the cable connections for loose or damaged connectors.
- Avoid running the cable near sources of electromagnetic interference.
Slow Data Transfer Speeds:
- Confirm that the extender supports the USB version of your device (e.g., USB 3.0 for high-speed devices).
- Use a shorter or higher-quality Ethernet cable if possible.
FAQs
Q: Can I use a USB Extender with a USB hub?
A: Yes, but ensure that the hub is powered and compatible with the extender to avoid power or bandwidth issues.
Q: What is the maximum distance I can achieve with a USB Extender?
A: The maximum distance depends on the extender type and cable used. For example, USB 2.0 extenders can typically reach up to 50 meters with Cat5e/Cat6 cables, while USB 3.0 extenders using fiber optics can exceed 100 meters.
Q: Do USB Extenders support all USB devices?
A: Most extenders support standard USB devices, but some high-power or specialized devices (e.g., USB audio interfaces) may require additional power or specific compatibility checks.