
How to Use Adafruit ESP32-S3 TFT Feather: Examples, Pinouts, and Specs
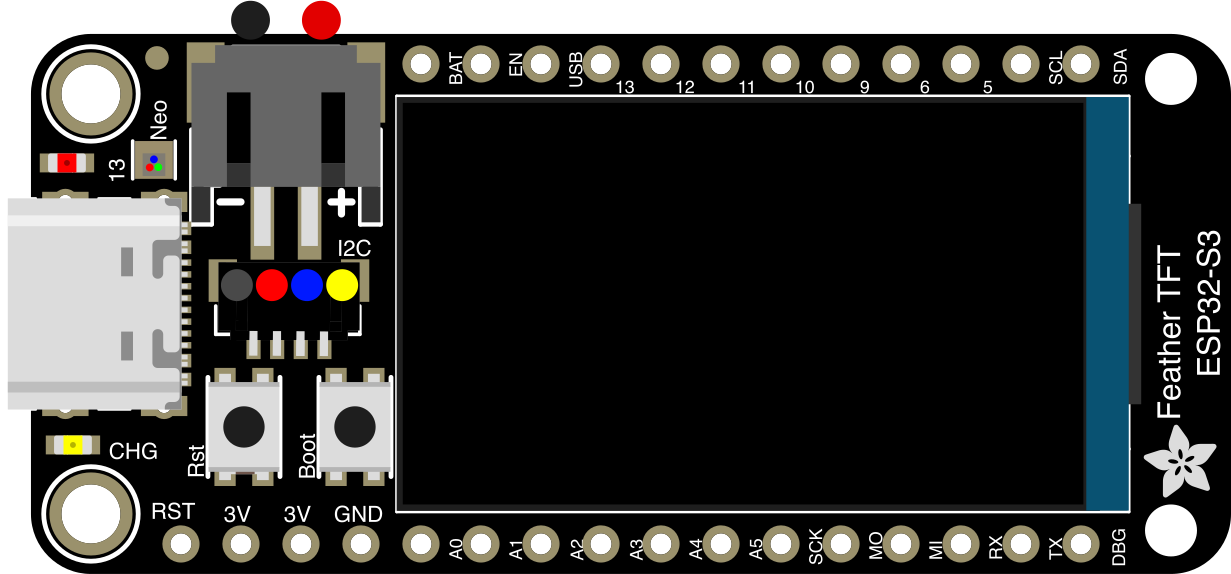
 Design with Adafruit ESP32-S3 TFT Feather in Cirkit Designer
Introduction
The Adafruit ESP32-S3 TFT Feather (Part ID: 5483) is a compact and versatile development board designed for IoT and embedded applications. It features the powerful ESP32-S3 microcontroller, an integrated 1.9" TFT display, and support for various sensors and peripherals. This board is part of Adafruit's Feather ecosystem, making it compatible with a wide range of FeatherWing add-ons for extended functionality.
Explore Projects Built with Adafruit ESP32-S3 TFT Feather
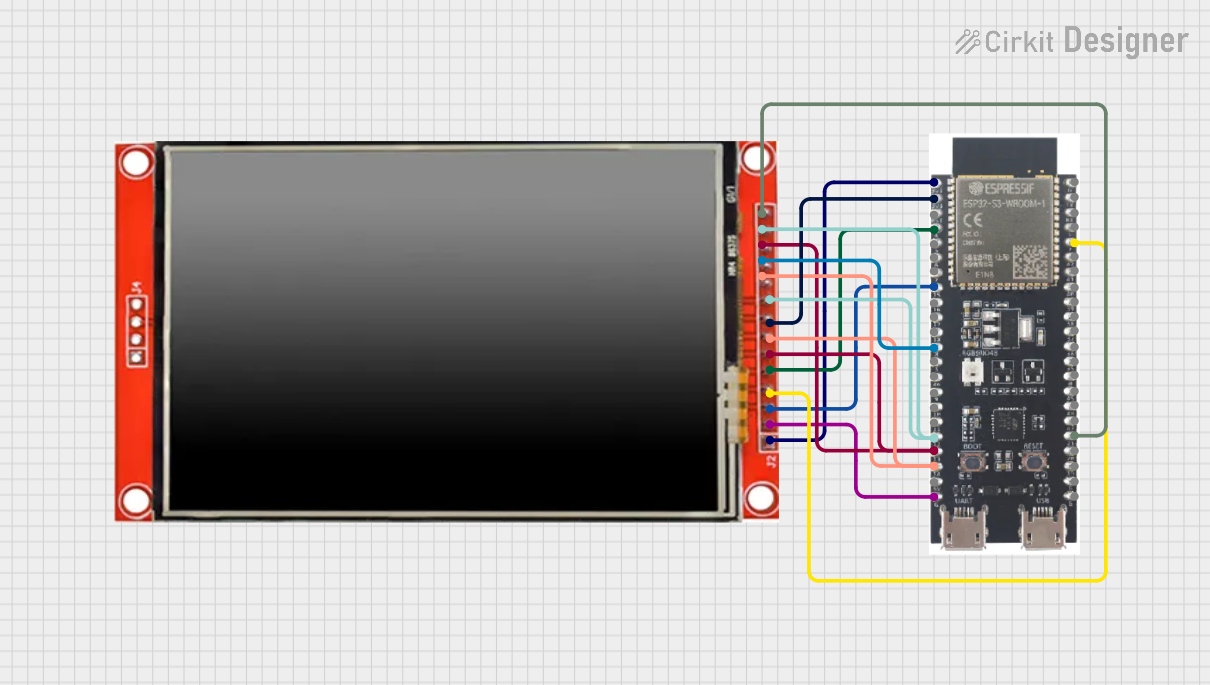 Open Project in Cirkit Designer
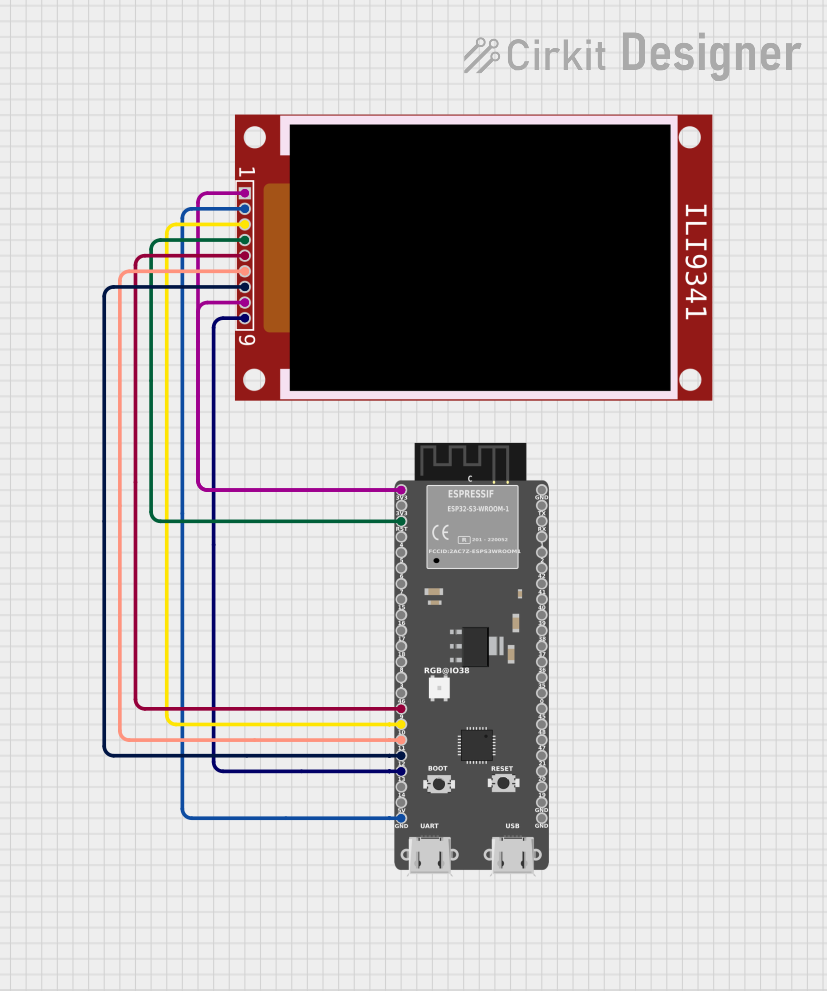 Open Project in Cirkit Designer
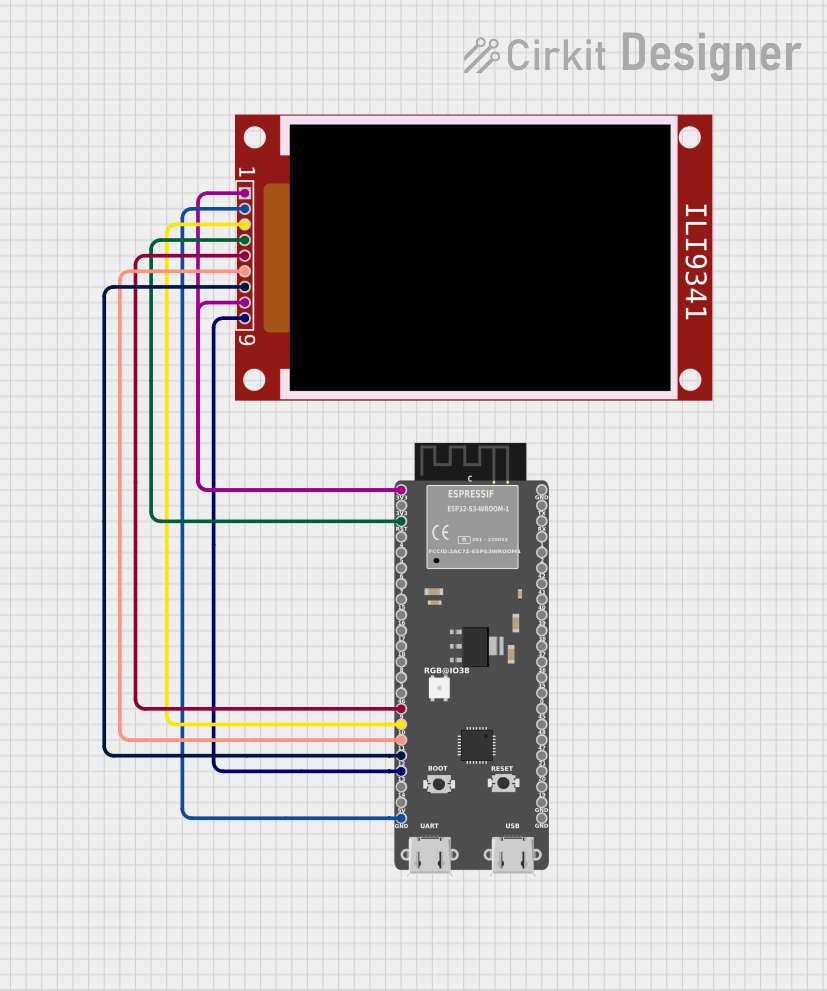 Open Project in Cirkit Designer
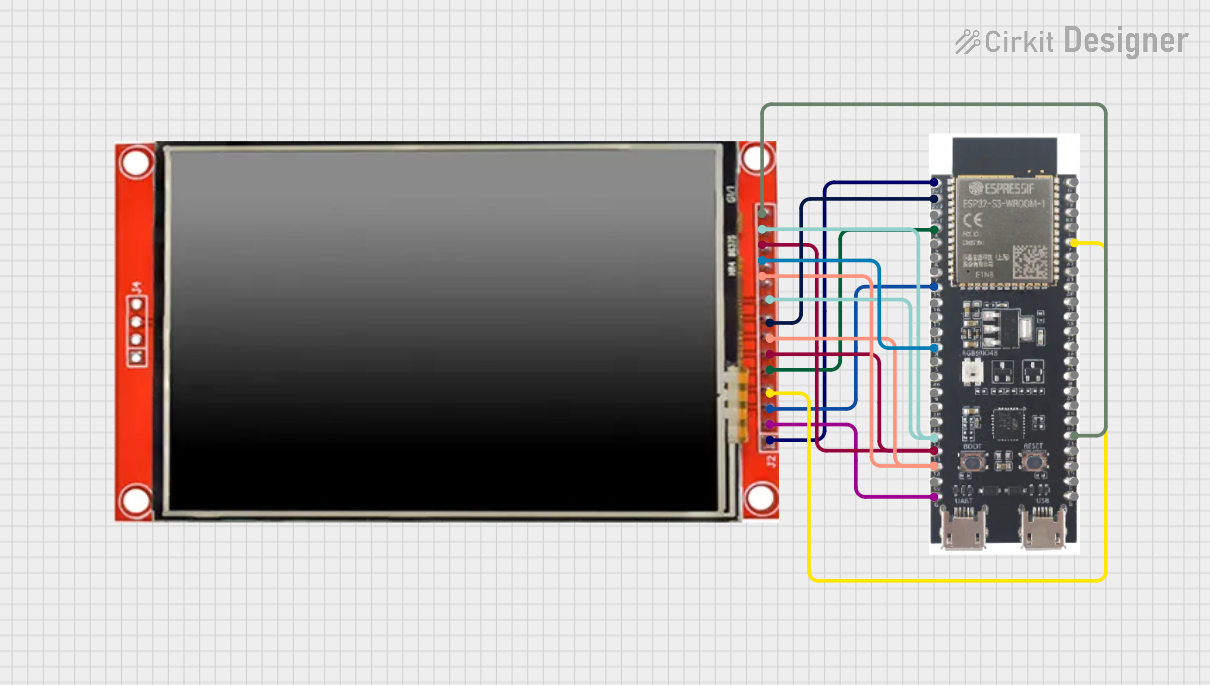 Open Project in Cirkit Designer
Explore Projects Built with Adafruit ESP32-S3 TFT Feather
Open Project in Cirkit DesignerOpen Project in Cirkit DesignerOpen Project in Cirkit DesignerOpen Project in Cirkit DesignerCommon Applications and Use Cases
- IoT devices and smart home applications
- Portable data loggers and monitoring systems
- Embedded systems with graphical user interfaces
- Prototyping and development of wireless communication projects
- Educational projects and maker activities
Technical Specifications
The Adafruit ESP32-S3 TFT Feather is packed with features to support a wide range of applications. Below are its key technical details:
Key Technical Details
| Specification | Value |
|---|---|
| Microcontroller | ESP32-S3 (Xtensa® 32-bit LX7 dual-core) |
| Clock Speed | Up to 240 MHz |
| Flash Memory | 8 MB |
| PSRAM | 2 MB |
| Display | 1.9" 240x135 Color TFT with ST7789 driver |
| Wireless Connectivity | Wi-Fi (802.11 b/g/n) and Bluetooth 5.0 |
| Operating Voltage | 3.3V |
| Power Supply | USB-C or LiPo battery (via JST connector) |
| GPIO Pins | 21 (including ADC, DAC, I2C, SPI, UART) |
| Dimensions | 51mm x 23mm x 8mm |
Pin Configuration and Descriptions
The Adafruit ESP32-S3 TFT Feather has a standard Feather pinout. Below is the pin configuration:
| Pin Name | Function | Description |
|---|---|---|
| VIN | Power Input | 5V input from USB or external power source |
| 3V3 | 3.3V Output | Regulated 3.3V output |
| GND | Ground | Common ground |
| A0-A5 | Analog Inputs | ADC pins for analog signal input |
| D0-D13 | Digital I/O | General-purpose digital input/output pins |
| SDA | I2C Data | Data line for I2C communication |
| SCL | I2C Clock | Clock line for I2C communication |
| RX | UART Receive | UART data receive pin |
| TX | UART Transmit | UART data transmit pin |
| SCK | SPI Clock | Clock line for SPI communication |
| MOSI | SPI Master Out, Slave In | Data output for SPI communication |
| MISO | SPI Master In, Slave Out | Data input for SPI communication |
| TFT_CS | TFT Chip Select | Chip select for the TFT display |
| TFT_DC | TFT Data/Command | Data/command control for the TFT display |
| TFT_RST | TFT Reset | Reset pin for the TFT display |
| BAT | Battery Voltage | Voltage output from the connected LiPo battery |
Usage Instructions
How to Use the Component in a Circuit
Powering the Board:
- Connect the board to a USB-C cable for power and programming.
- Alternatively, connect a 3.7V LiPo battery to the JST connector for portable operation.
Connecting Peripherals:
- Use the GPIO pins for connecting sensors, actuators, or other peripherals.
- For I2C devices, connect to the SDA and SCL pins.
- For SPI devices, use the SCK, MOSI, and MISO pins along with a chip select pin.
Programming the Board:
- Install the ESP32-S3 board support package in the Arduino IDE or use MicroPython.
- Select "Adafruit ESP32-S3 TFT Feather" as the target board in the IDE.
- Write and upload your code via the USB-C connection.
Using the TFT Display:
- The integrated TFT display can be controlled using the Adafruit GFX and Adafruit ST7789 libraries.
- Install these libraries in your Arduino IDE for easy integration.
Important Considerations and Best Practices
- Ensure the board is powered with a stable 5V supply when using USB or a fully charged LiPo battery.
- Avoid exceeding the maximum current rating of the GPIO pins (12mA per pin).
- Use level shifters if interfacing with 5V logic devices, as the board operates at 3.3V logic levels.
- Handle the TFT display carefully to avoid damage to the screen or flex cable.
Example Code for Arduino UNO
Below is an example code snippet to display text on the TFT screen:
#include <Adafruit_GFX.h>      // Core graphics library
#include <Adafruit_ST7789.h>   // Driver for the TFT display
#include <SPI.h>

// Define TFT pins
#define TFT_CS    10  // Chip select pin
#define TFT_DC    9   // Data/command pin
#define TFT_RST   -1  // Reset pin (-1 if not used)

// Initialize the TFT display
Adafruit_ST7789 tft = Adafruit_ST7789(TFT_CS, TFT_DC, TFT_RST);

void setup() {
  // Initialize serial communication
  Serial.begin(115200);
  Serial.println("TFT Display Test");

  // Initialize the TFT display
  tft.init(240, 135);  // Initialize with screen width and height
  tft.setRotation(1);  // Set screen rotation (0-3)

  // Set background color and text color
  tft.fillScreen(ST77XX_BLACK);
  tft.setTextColor(ST77XX_WHITE);

  // Display text
  tft.setCursor(10, 10);  // Set cursor position
  tft.setTextSize(2);     // Set text size
  tft.println("Hello, ESP32-S3!");
}

void loop() {
  // Nothing to do here
}
Troubleshooting and FAQs
Common Issues Users Might Face
Board Not Detected by the Computer:
- Ensure the USB-C cable is a data cable, not just a charging cable.
- Check if the correct board and port are selected in the Arduino IDE.
TFT Display Not Working:
- Verify the connections to the TFT_CS, TFT_DC, and TFT_RST pins.
- Ensure the Adafruit GFX and ST7789 libraries are installed and up to date.
Wi-Fi or Bluetooth Not Connecting:
- Double-check the SSID and password for Wi-Fi connections.
- Ensure the Bluetooth device is in pairing mode and within range.
Code Upload Fails:
- Press and hold the BOOT button while uploading the code.
- Check for any syntax errors or missing libraries in your code.
Solutions and Tips for Troubleshooting
- Use a multimeter to check power supply voltages and continuity of connections.
- Refer to the Adafruit ESP32-S3 TFT Feather product page for additional resources and support.
- Update the ESP32-S3 board support package and libraries regularly to ensure compatibility.