How to Use water niveau sensor: Examples, Pinouts, and Specs

Introduction
The Water Niveau Sensor is a device designed to measure the level of water in a tank, reservoir, or other liquid storage systems. It is commonly used in automation and monitoring systems to prevent issues such as overflow or dry running of pumps. This sensor is ideal for applications in water management, agriculture, industrial automation, and home automation systems.
By providing real-time water level data, the Water Niveau Sensor helps ensure efficient water usage and system safety. It is compatible with microcontrollers like Arduino, Raspberry Pi, and other control systems, making it versatile for a wide range of projects.
Explore Projects Built with water niveau sensor
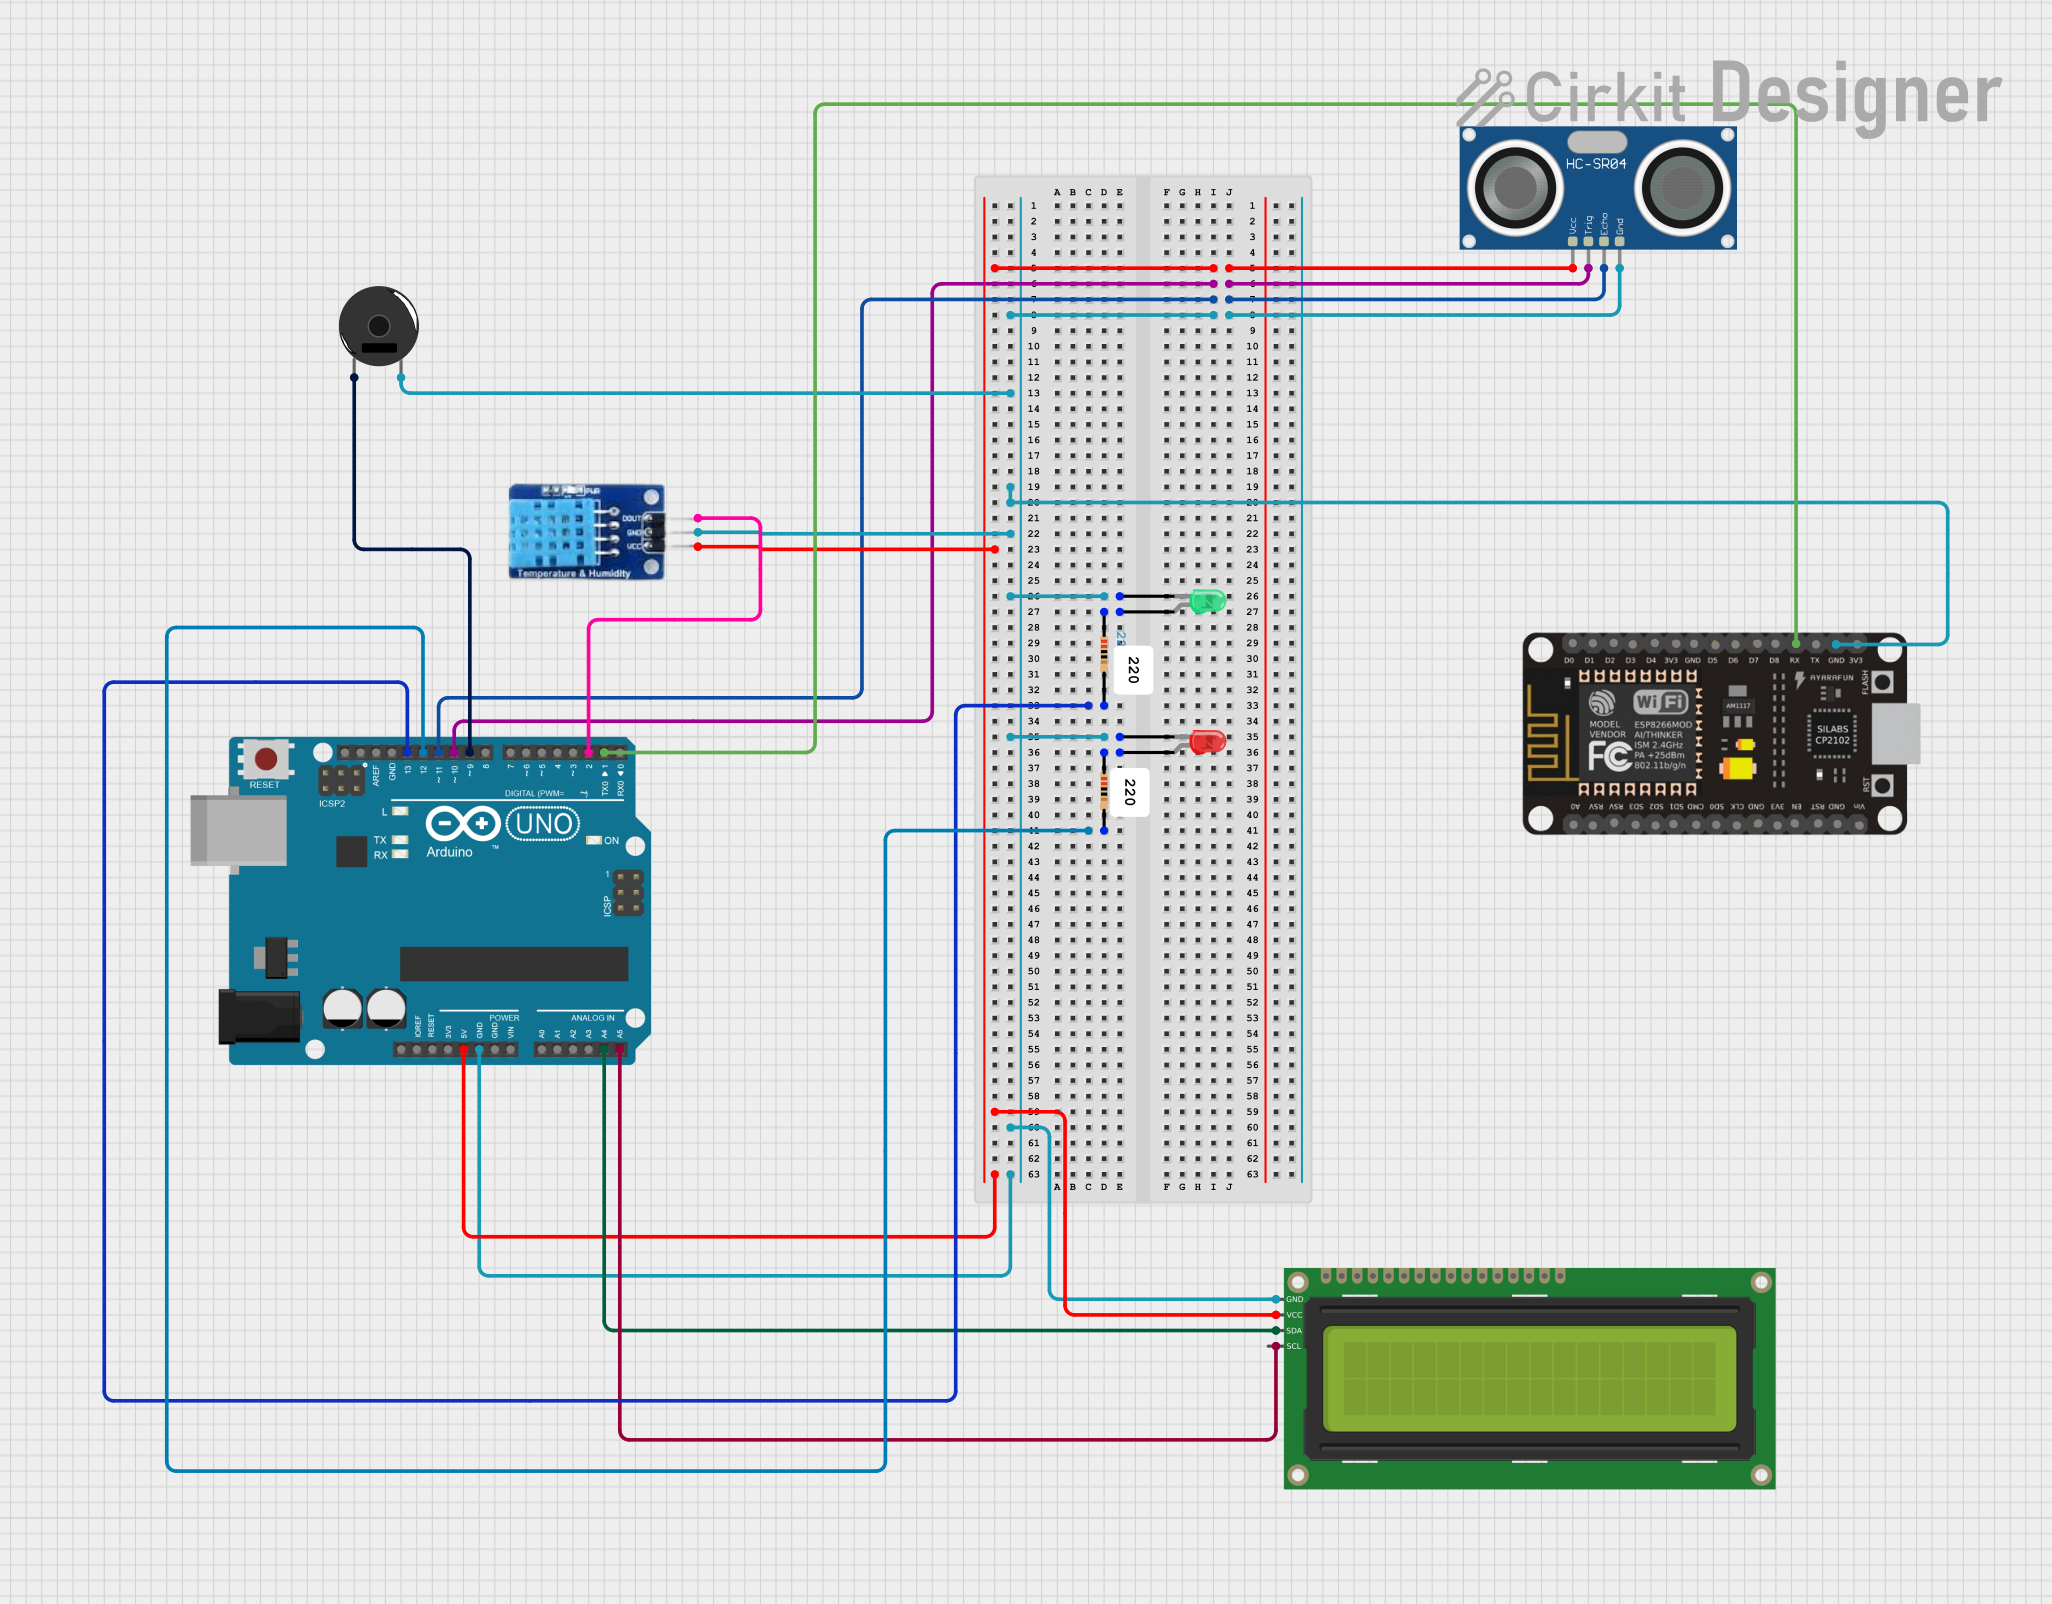

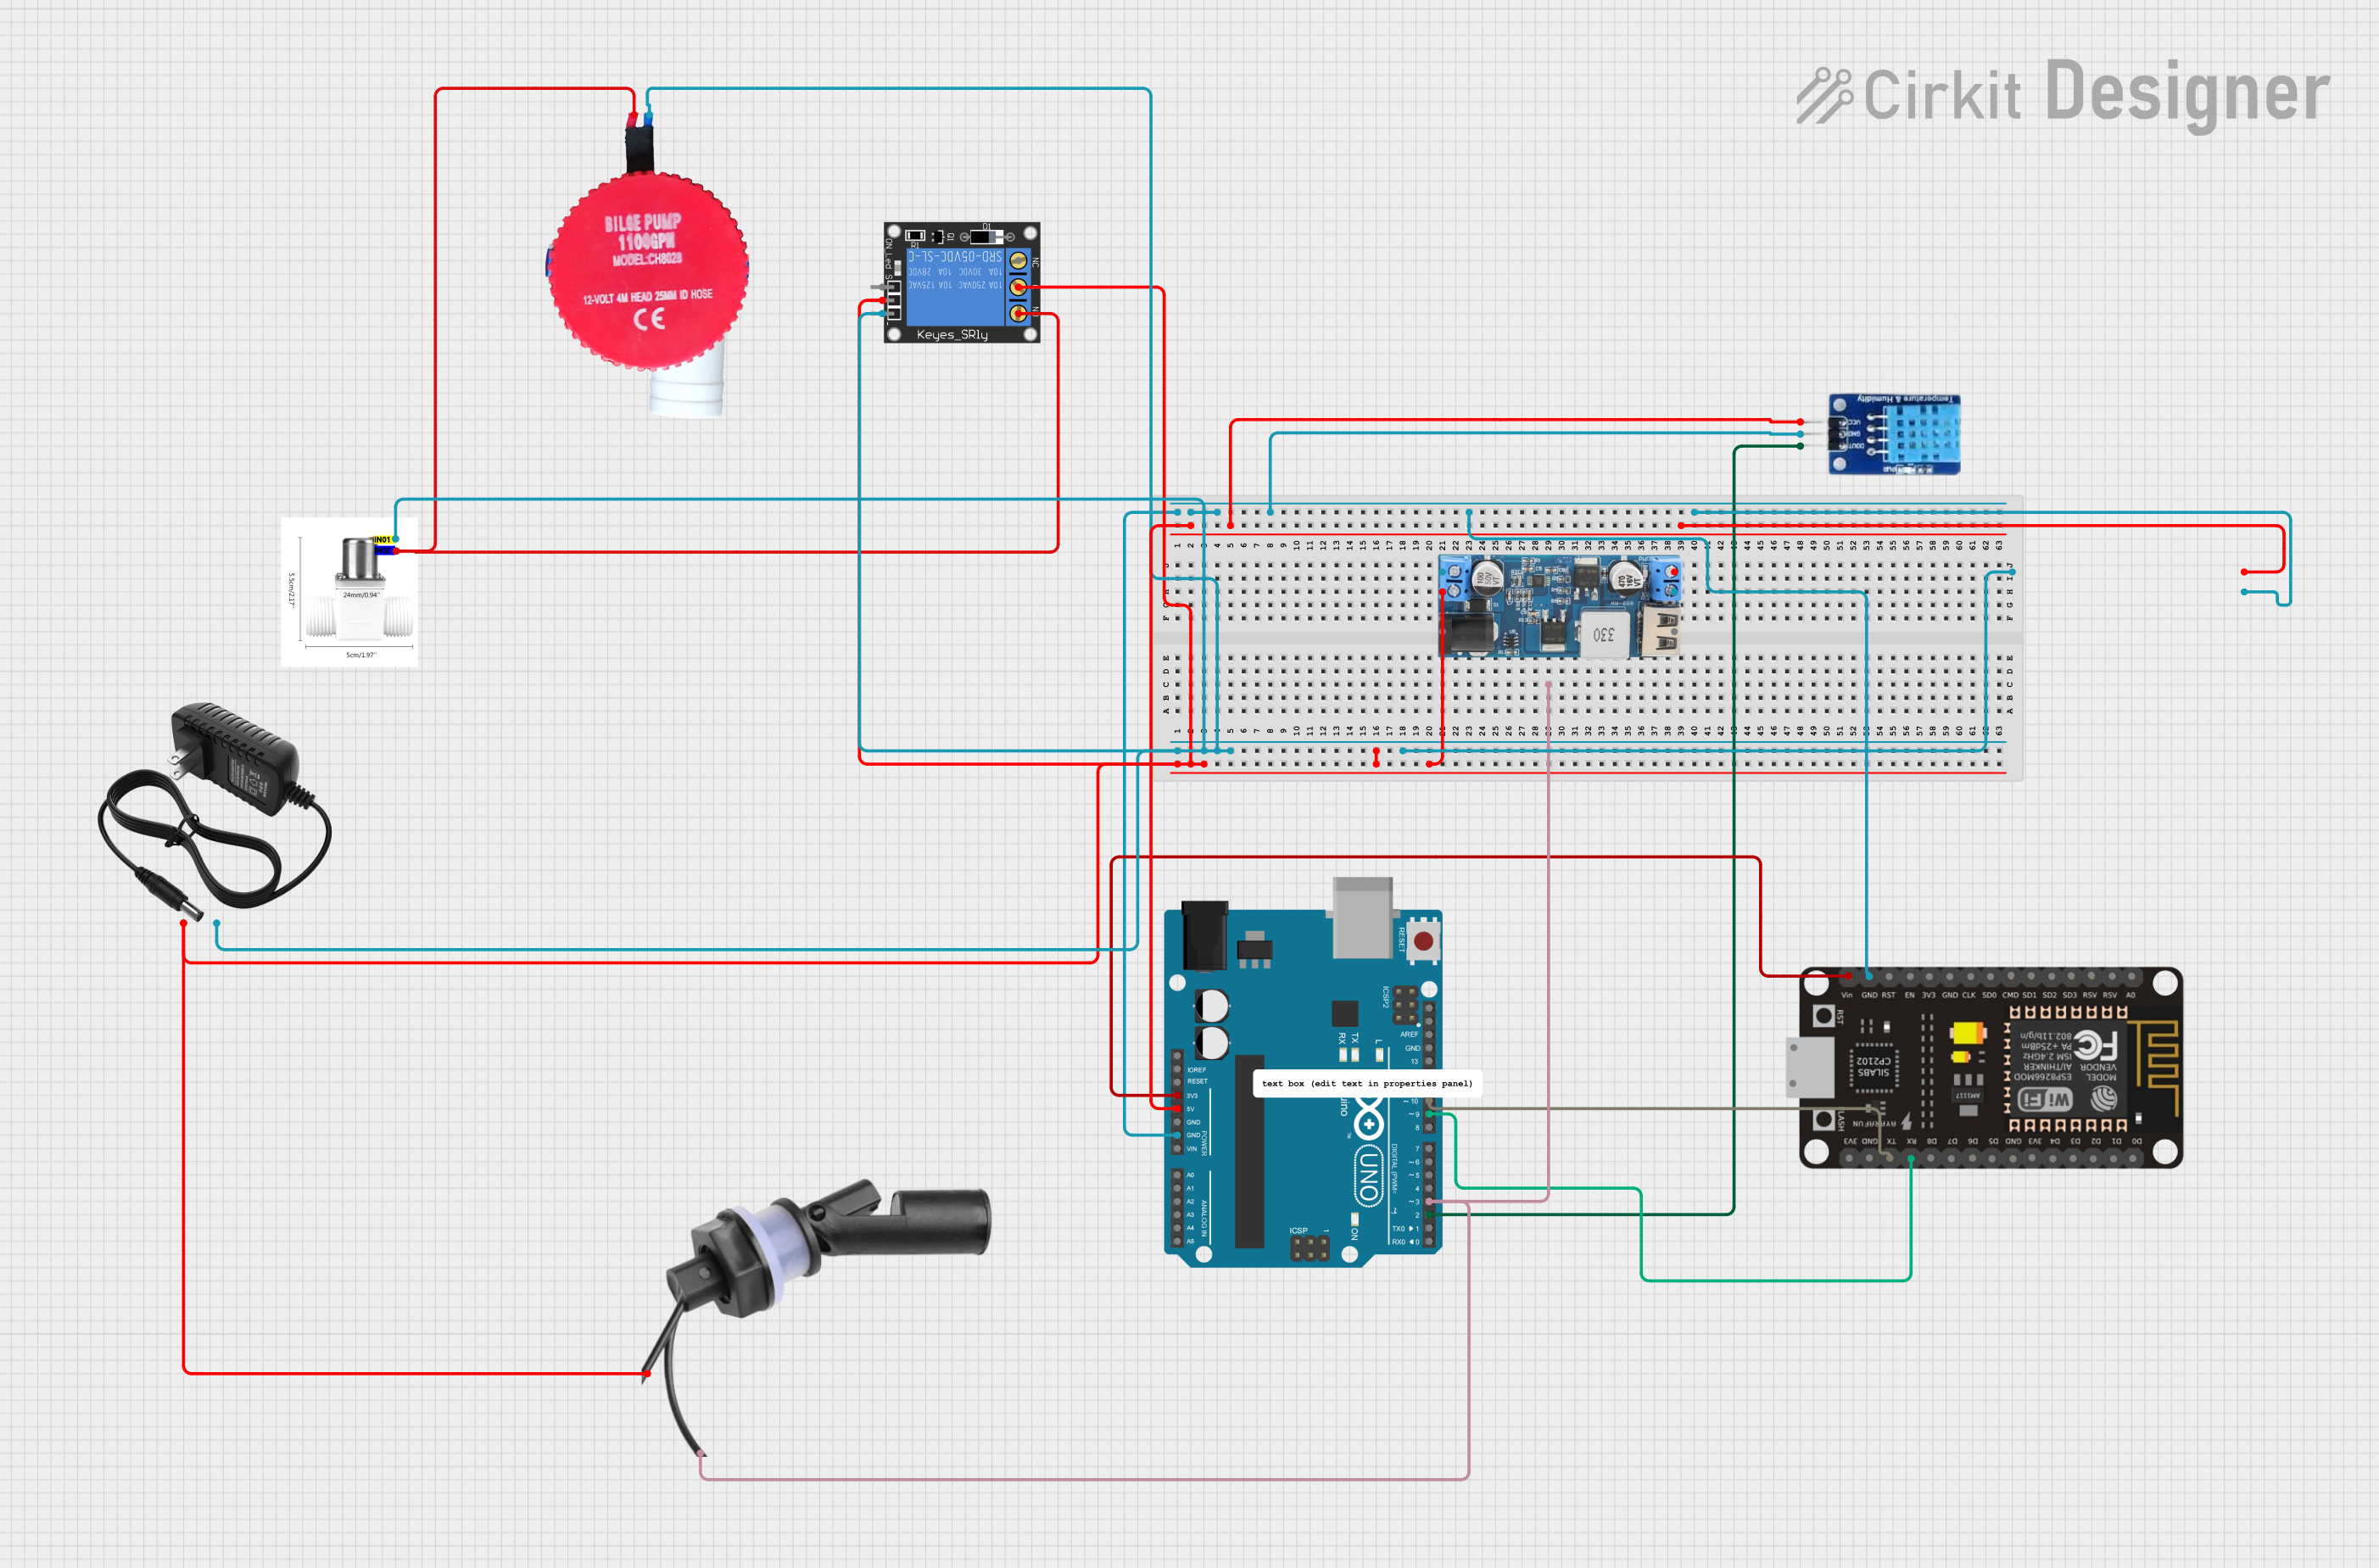

Explore Projects Built with water niveau sensor
Technical Specifications
- Operating Voltage: 3.3V to 5V DC
- Output Type: Analog or Digital (depending on the model)
- Measurement Range: 0 to 100% of the sensor's length
- Accuracy: ±2% (varies by model)
- Operating Temperature: -10°C to 60°C
- Material: Corrosion-resistant plastic or stainless steel (varies by model)
- Interface: 3-pin connector (VCC, GND, Signal)
Pin Configuration and Descriptions
| Pin Name | Description |
|---|---|
| VCC | Power supply input (3.3V to 5V DC) |
| GND | Ground connection |
| Signal | Analog or digital output signal |
Usage Instructions
How to Use the Water Niveau Sensor in a Circuit
Wiring the Sensor:
- Connect the VCC pin of the sensor to the 3.3V or 5V power supply of your microcontroller.
- Connect the GND pin to the ground (GND) of your microcontroller.
- Connect the Signal pin to an analog input pin (e.g., A0) or a digital input pin, depending on the sensor's output type.
Reading the Sensor Output:
- For analog sensors, the output voltage corresponds to the water level. A higher voltage indicates a higher water level.
- For digital sensors, the output is either HIGH (water detected) or LOW (no water detected).
Example Circuit:
- Use a pull-up resistor if required (check the sensor's datasheet).
- Ensure proper power supply and grounding to avoid noise in the signal.
Arduino UNO Example Code
Below is an example code to read the water level using an analog Water Niveau Sensor:
// Define the analog pin connected to the sensor
const int sensorPin = A0;

// Variable to store the sensor value
int waterLevel = 0;

void setup() {
  // Initialize serial communication for debugging
  Serial.begin(9600);
}

void loop() {
  // Read the analog value from the sensor
  waterLevel = analogRead(sensorPin);

  // Convert the analog value to a percentage (0-100%)
  int waterLevelPercentage = map(waterLevel, 0, 1023, 0, 100);

  // Print the water level percentage to the Serial Monitor
  Serial.print("Water Level: ");
  Serial.print(waterLevelPercentage);
  Serial.println("%");

  // Add a small delay for stability
  delay(500);
}
Important Considerations and Best Practices
- Ensure the sensor is installed vertically for accurate readings.
- Avoid exposing the sensor to extreme temperatures or corrosive liquids unless it is rated for such conditions.
- Use proper waterproofing techniques if the sensor is submerged or exposed to water.
- Calibrate the sensor if necessary to improve accuracy.
- If using a digital sensor, ensure the threshold for water detection is correctly set.
Troubleshooting and FAQs
Common Issues and Solutions
No Output Signal:
- Check the wiring connections and ensure the sensor is powered correctly.
- Verify that the microcontroller's input pin is configured correctly.
Inaccurate Readings:
- Ensure the sensor is installed in a stable position and not tilted.
- Check for debris or dirt on the sensor that might affect its performance.
- Calibrate the sensor if the readings are consistently off.
Fluctuating Output:
- Use a capacitor across the power supply pins to reduce noise.
- Ensure proper grounding to avoid electrical interference.
Sensor Not Detecting Water:
- Verify that the water level is within the sensor's measurement range.
- Check if the sensor is damaged or corroded.
FAQs
Q: Can this sensor be used with liquids other than water?
A: Yes, but ensure the liquid is non-corrosive and compatible with the sensor's material.
Q: How do I extend the sensor's cable?
A: Use shielded cables to minimize signal loss and interference. Ensure proper waterproofing for outdoor or submerged applications.
Q: Can I use this sensor with a Raspberry Pi?
A: Yes, connect the sensor's output to a GPIO pin. For analog sensors, use an ADC (Analog-to-Digital Converter) module.
Q: How do I clean the sensor?
A: Gently wipe the sensor with a soft cloth and clean water. Avoid using abrasive materials or harsh chemicals.
By following this documentation, you can effectively integrate the Water Niveau Sensor into your projects for reliable water level monitoring and control.