
How to Use Actuator Motor: Examples, Pinouts, and Specs
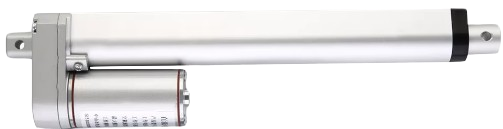
 Design with Actuator Motor in Cirkit Designer
Introduction
An actuator motor is a device that converts electrical energy into mechanical motion. It is commonly used to control the movement of mechanisms or systems in automation, robotics, and industrial applications. Actuator motors are integral to systems requiring precise motion control, such as robotic arms, conveyor belts, and automated valves. They come in various types, including DC motors, stepper motors, and servo motors, each suited for specific tasks.
Explore Projects Built with Actuator Motor
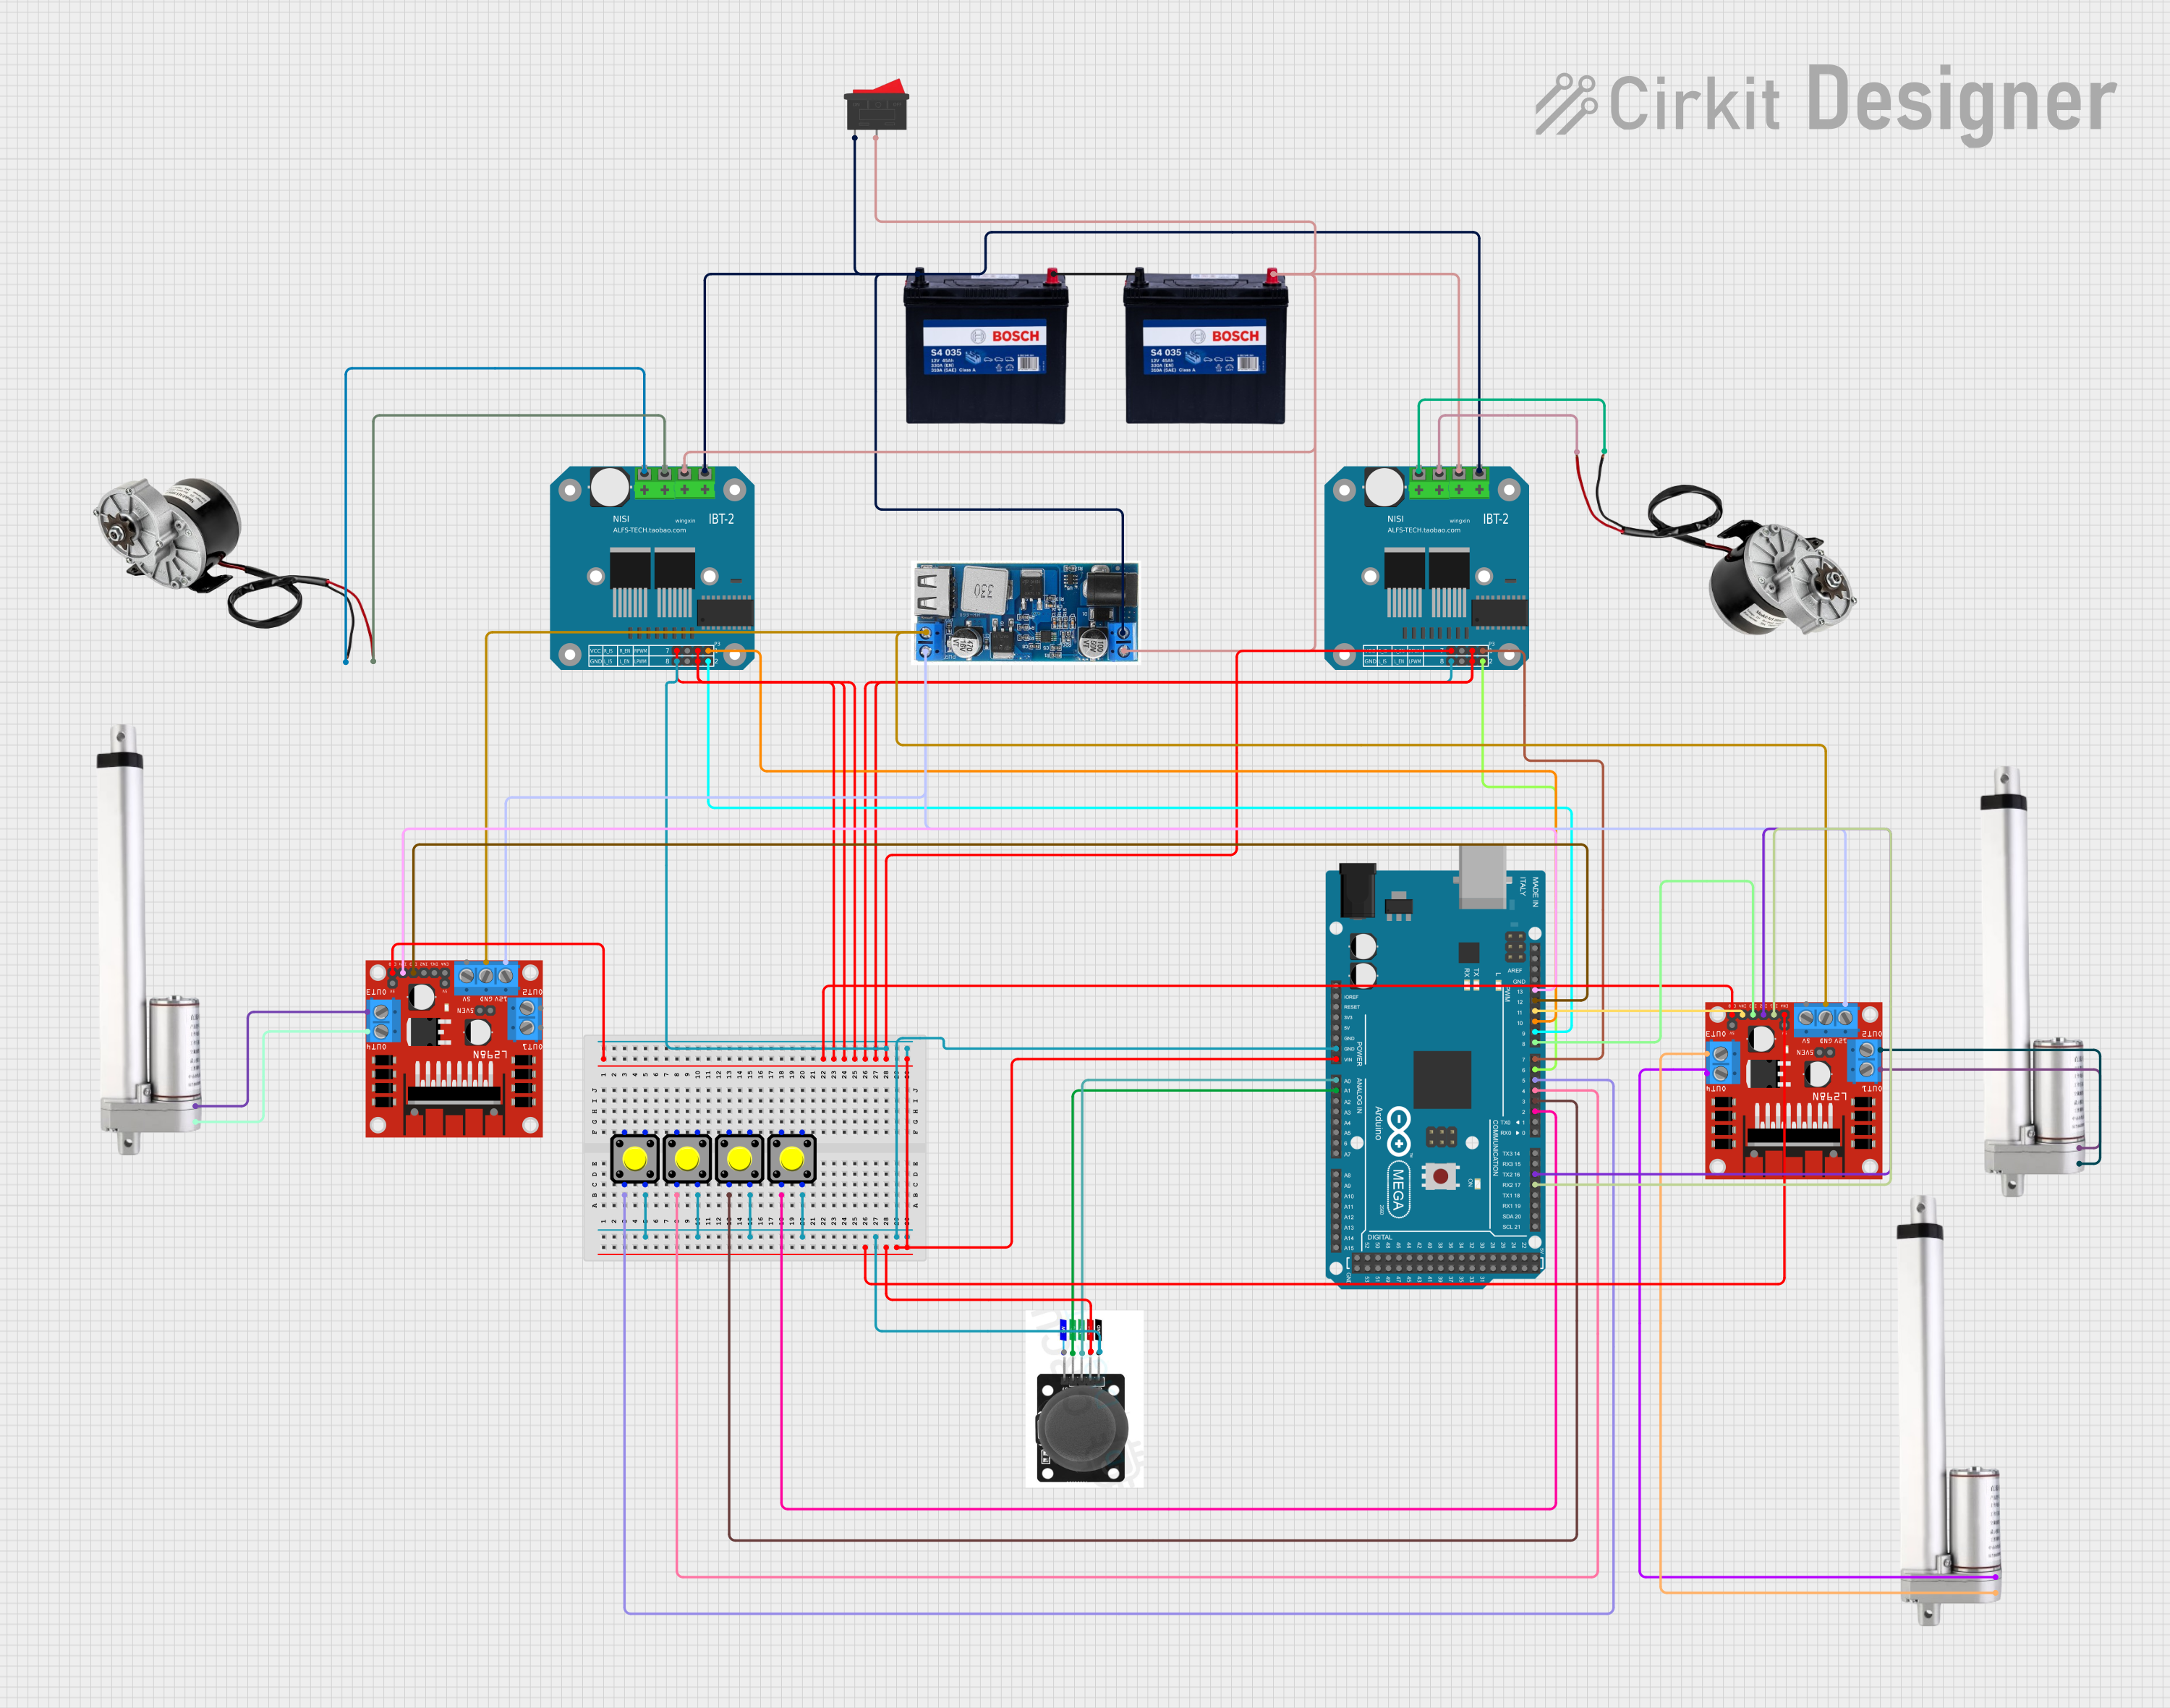 Open Project in Cirkit Designer
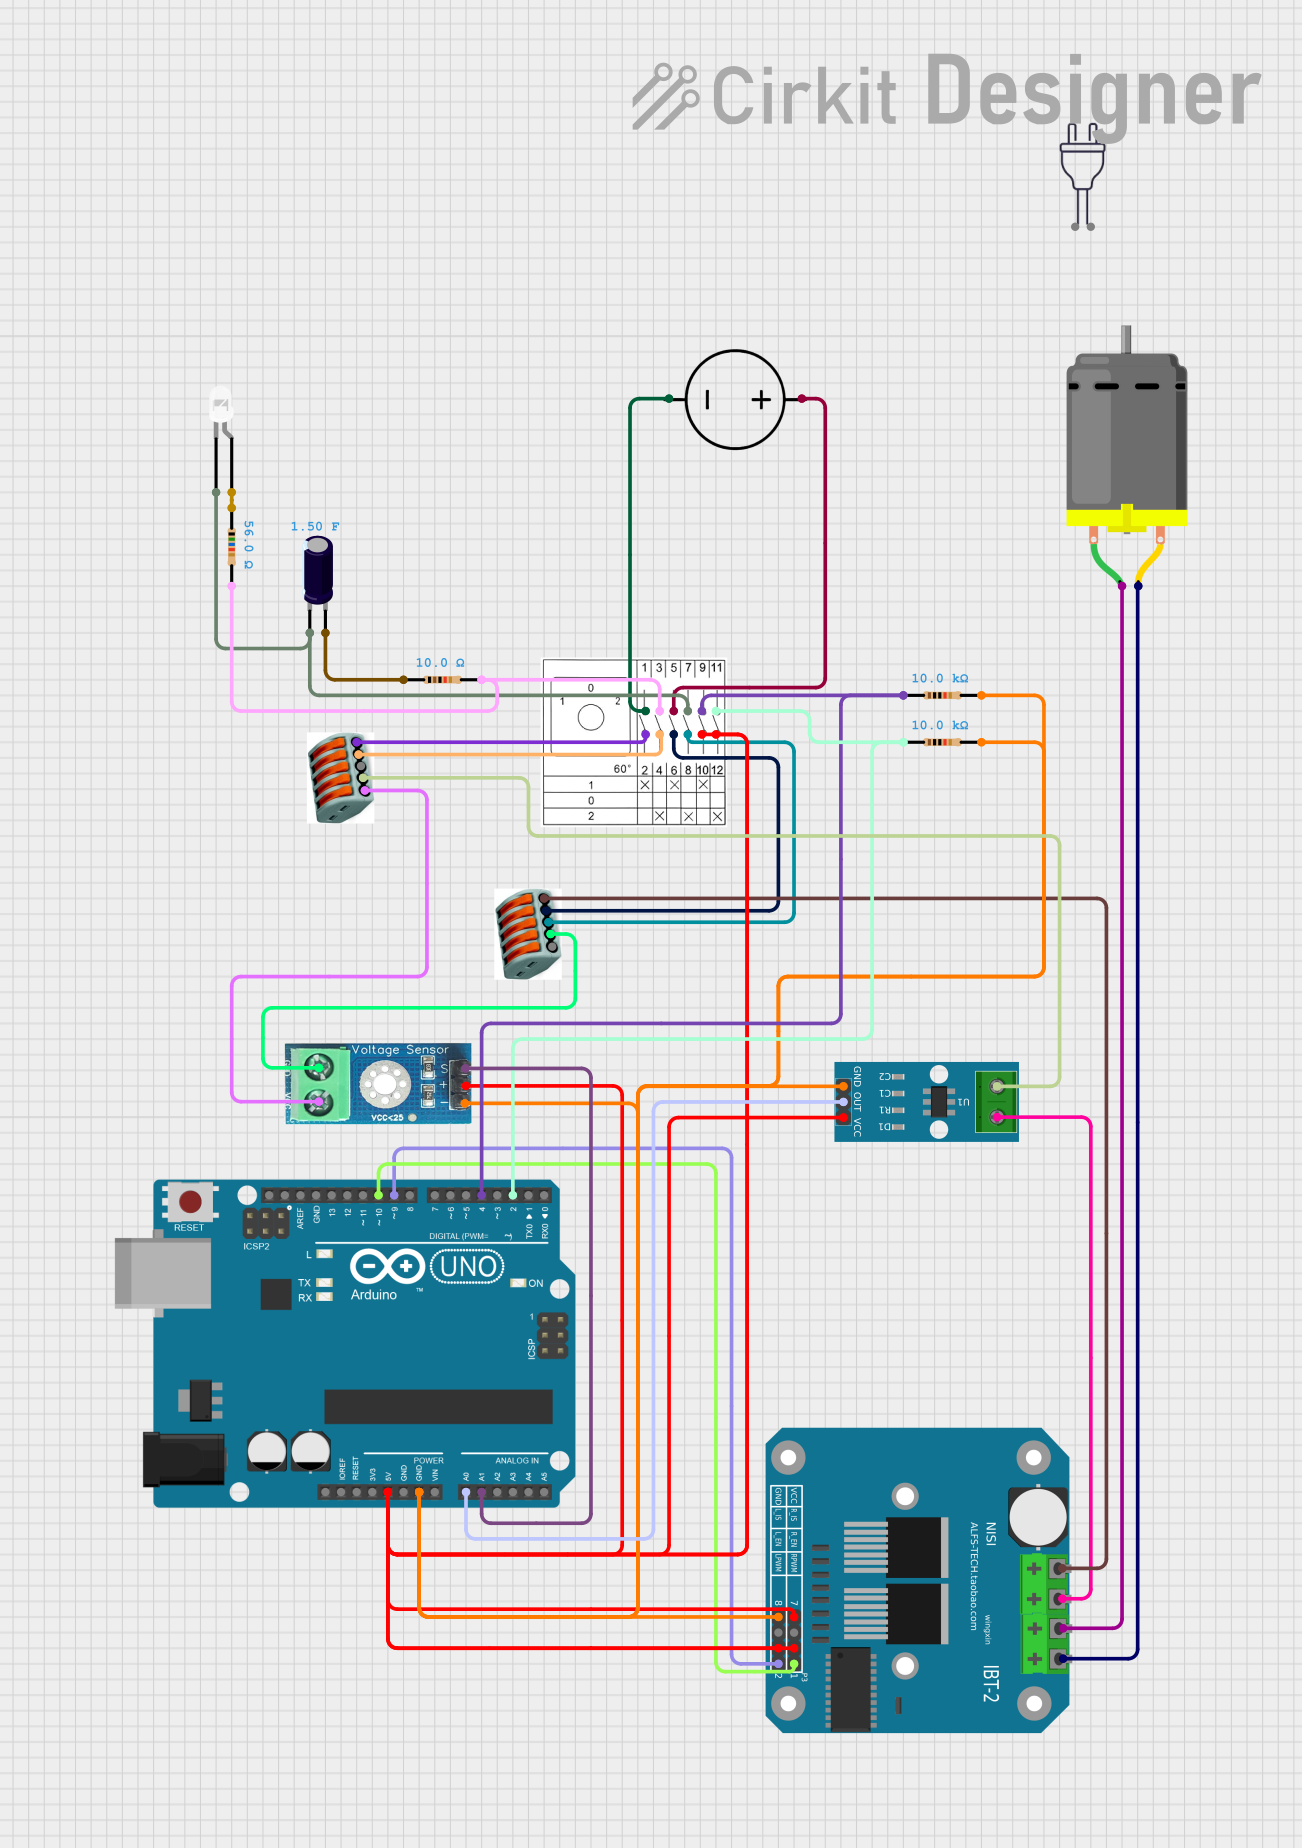 Open Project in Cirkit Designer
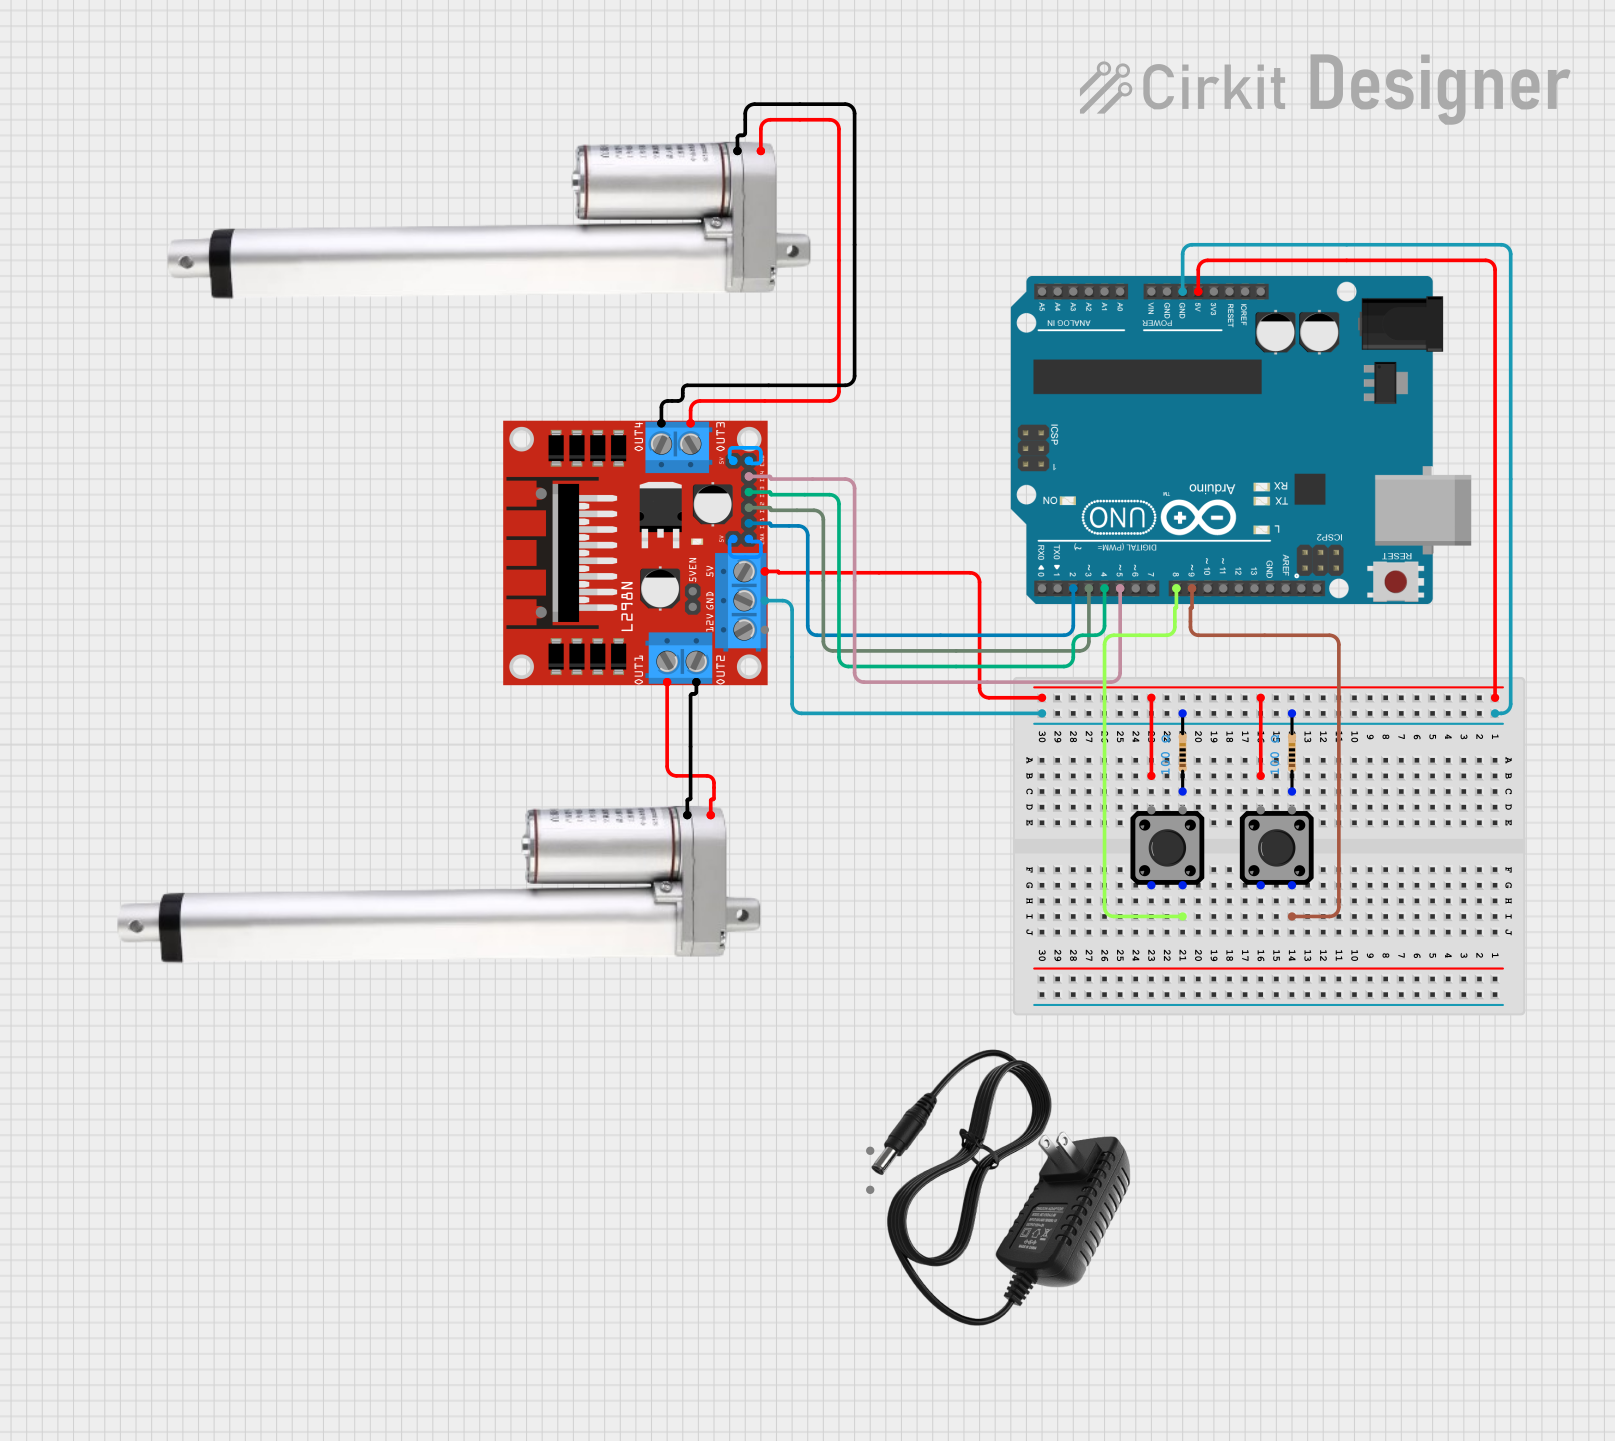 Open Project in Cirkit Designer
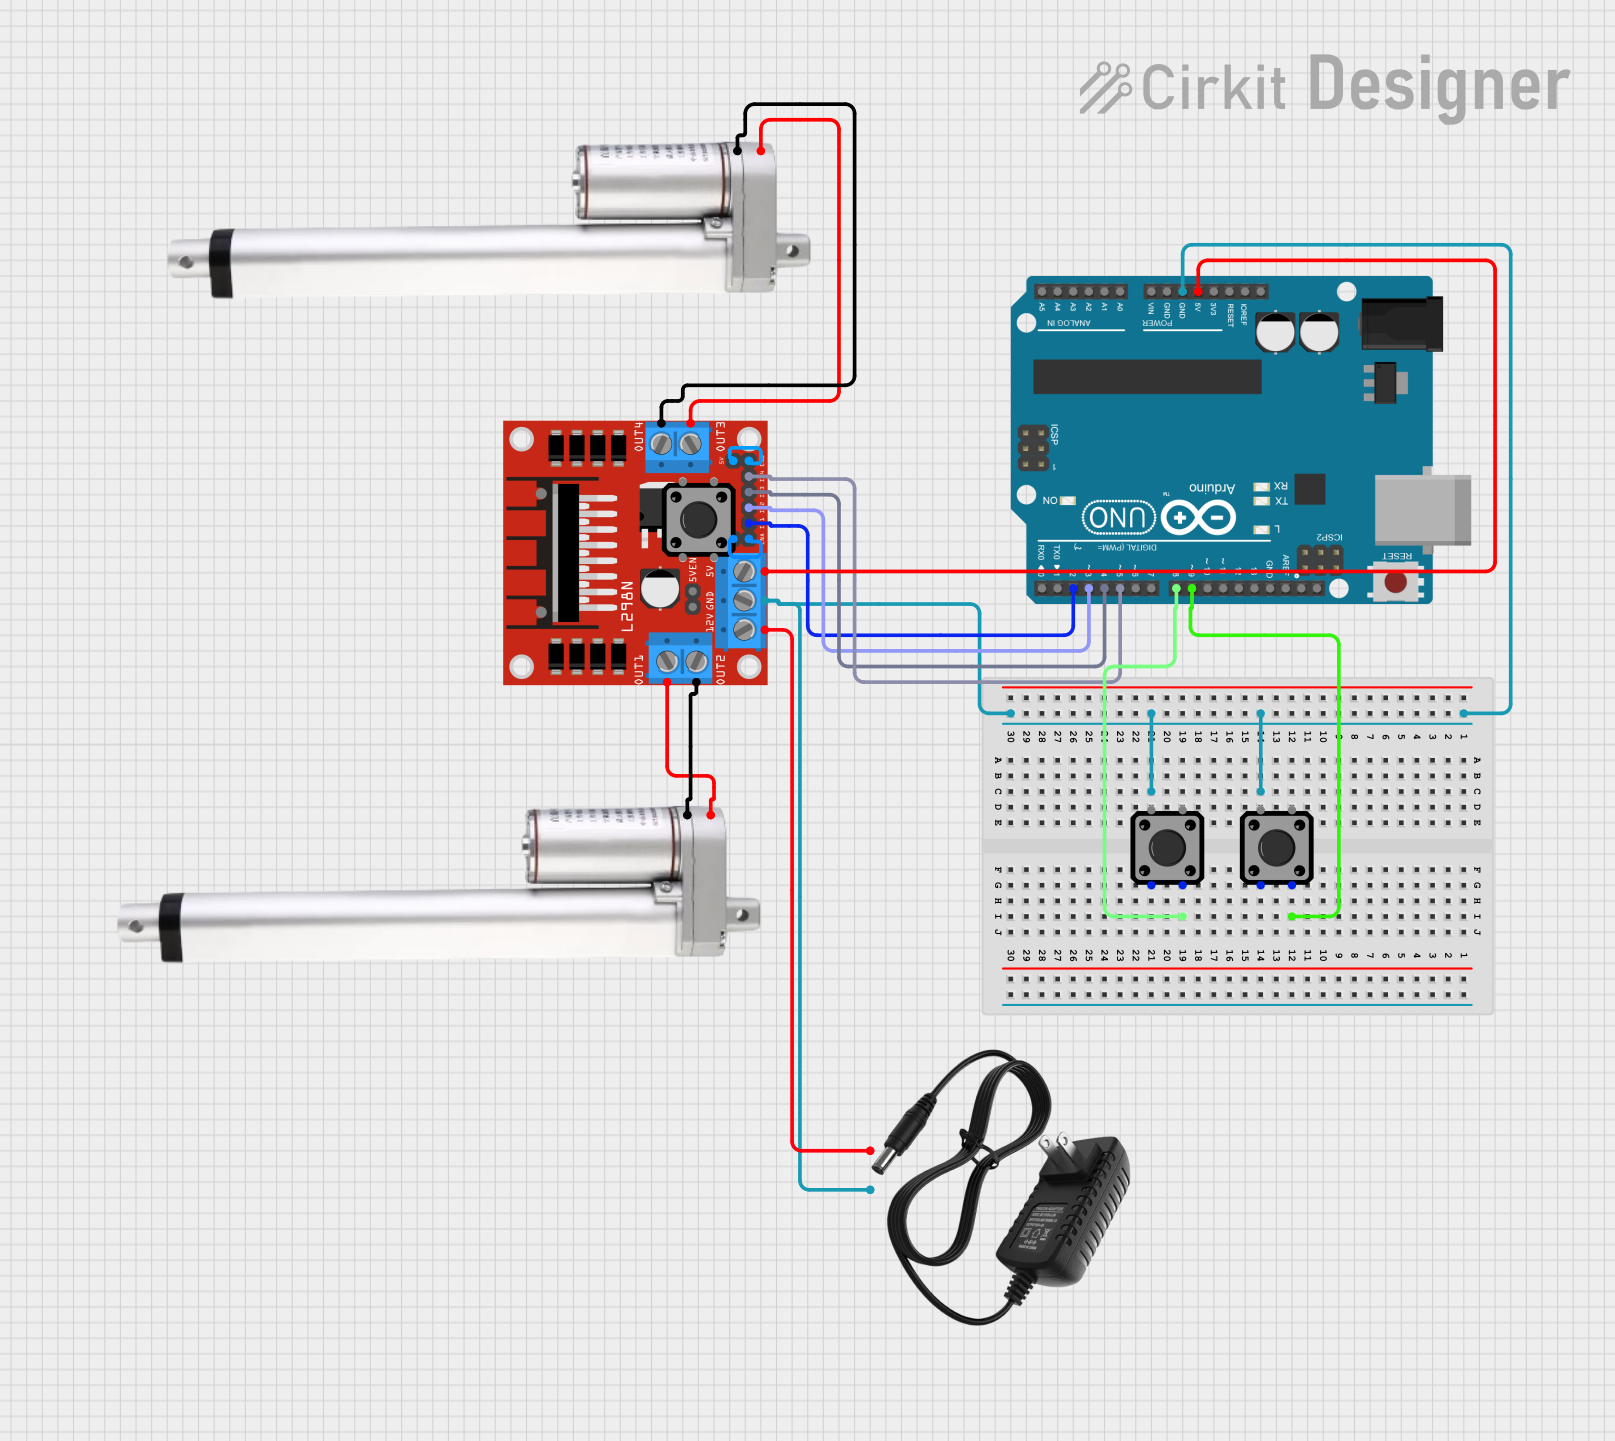 Open Project in Cirkit Designer
Explore Projects Built with Actuator Motor
Open Project in Cirkit DesignerOpen Project in Cirkit DesignerOpen Project in Cirkit DesignerOpen Project in Cirkit DesignerCommon Applications and Use Cases
- Robotics: Controlling robotic arms, grippers, and wheels.
- Industrial Automation: Operating conveyor belts, valves, and machinery.
- Home Automation: Adjusting blinds, doors, and smart furniture.
- Automotive Systems: Powering windshield wipers, seat adjustments, and throttle controls.
- Medical Devices: Driving pumps, prosthetics, and surgical tools.
Technical Specifications
The technical specifications of an actuator motor can vary depending on the type and model. Below is a general overview of key parameters:
General Specifications
| Parameter | Description |
|---|---|
| Voltage Range | Typically 3V to 48V (varies by motor type) |
| Current Rating | 0.1A to 10A (depending on load and motor size) |
| Power Output | Up to several hundred watts |
| Speed | 10 RPM to 10,000 RPM (varies by application) |
| Torque | Ranges from 0.1 Nm to 50 Nm |
| Operating Temperature | -20°C to 85°C |
| Motor Type | DC, Stepper, or Servo |
Pin Configuration and Descriptions
The pin configuration depends on the type of actuator motor. Below are examples for common motor types:
DC Motor
| Pin Name | Description |
|---|---|
| V+ | Positive power supply |
| GND | Ground connection |
Stepper Motor (4-Wire Bipolar)
| Pin Name | Description |
|---|---|
| A+ | Coil A positive terminal |
| A- | Coil A negative terminal |
| B+ | Coil B positive terminal |
| B- | Coil B negative terminal |
Servo Motor
| Pin Name | Description |
|---|---|
| V+ | Positive power supply |
| GND | Ground connection |
| Signal | PWM control signal |
Usage Instructions
How to Use the Component in a Circuit
- Identify the Motor Type: Determine whether the actuator motor is a DC motor, stepper motor, or servo motor.
- Connect Power Supply: Ensure the voltage and current ratings of the power supply match the motor's specifications.
- Control Signal: For stepper and servo motors, connect the control pins to a microcontroller (e.g., Arduino UNO) or a motor driver.
- Use a Motor Driver: For high-power motors, use a motor driver or H-bridge circuit to safely control the motor.
- Test the Motor: Gradually increase the input signal to test the motor's operation.
Important Considerations and Best Practices
- Power Supply: Use a stable power supply to avoid damaging the motor.
- Heat Dissipation: Ensure proper ventilation or heat sinks for high-power motors.
- Load Matching: Avoid overloading the motor to prevent overheating or stalling.
- Control Signals: Use appropriate PWM signals for servo motors and step sequences for stepper motors.
- Safety: Disconnect power before making any wiring changes.
Example: Controlling a Servo Motor with Arduino UNO
#include <Servo.h> // Include the Servo library

Servo myServo; // Create a Servo object

void setup() {
  myServo.attach(9); // Attach the servo to pin 9 on the Arduino
}

void loop() {
  myServo.write(0); // Move the servo to 0 degrees
  delay(1000); // Wait for 1 second

  myServo.write(90); // Move the servo to 90 degrees
  delay(1000); // Wait for 1 second

  myServo.write(180); // Move the servo to 180 degrees
  delay(1000); // Wait for 1 second
}
Note: Ensure the servo motor's power supply matches its voltage requirements.
Troubleshooting and FAQs
Common Issues Users Might Face
Motor Not Spinning:
- Cause: Insufficient power supply or incorrect wiring.
- Solution: Verify the power supply voltage and current. Check all connections.
Overheating:
- Cause: Overloading or prolonged operation at high power.
- Solution: Reduce the load or add a cooling mechanism.
Erratic Movement:
- Cause: Noise in the control signal or loose connections.
- Solution: Use shielded cables and secure all connections.
Stepper Motor Losing Steps:
- Cause: Insufficient torque or incorrect step sequence.
- Solution: Increase the current limit on the driver or adjust the step sequence.
FAQs
Q: Can I use an actuator motor without a motor driver?
A: Small DC motors can be directly controlled using a microcontroller, but high-power motors require a motor driver to handle the current and voltage safely.
Q: How do I choose the right actuator motor for my project?
A: Consider the required torque, speed, voltage, and control precision. For precise positioning, use a stepper or servo motor.
Q: Can I power the motor directly from the Arduino UNO?
A: No, the Arduino UNO cannot supply sufficient current for most motors. Use an external power supply and a motor driver.
Q: What is the difference between a stepper motor and a servo motor?
A: A stepper motor moves in discrete steps and is ideal for precise positioning. A servo motor uses feedback to achieve accurate angular motion and is faster than a stepper motor.