The Polymer Lithium Ion Battery with a capacity of 850mAh is a lightweight, rechargeable power source that is ideal for modern portable electronics. With its high energy density and long cycle life, it is commonly used in devices such as smartphones, tablets, wearable devices, and various projects involving microcontrollers like Arduino.
Explore Projects Built with Polymer Lithium Ion Battery - 850mAh
Use Cirkit Designer to design, explore, and prototype these projects online. Some projects support real-time simulation. Click "Open Project" to start designing instantly!
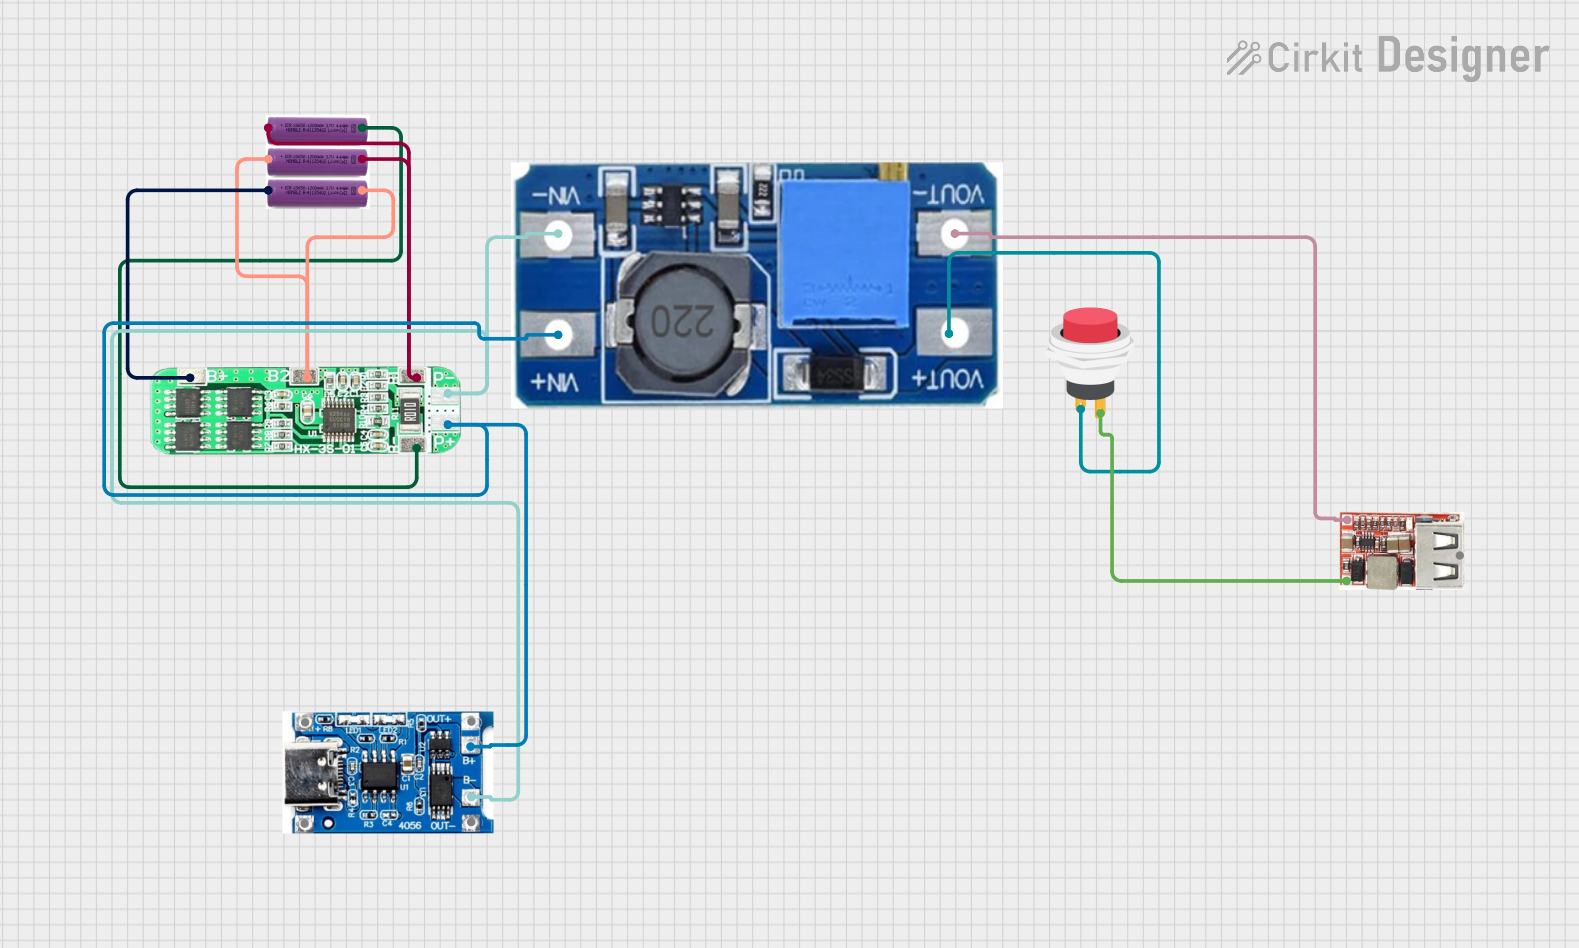
This circuit is a battery management and power supply system that uses three 3.7V batteries connected to a 3S 10A Li-ion 18650 Charger Protection Board Module for balanced charging and protection. The system includes a TP4056 Battery Charging Protection Module for additional charging safety, a Step Up Boost Power Converter to regulate and boost the voltage, and a USB regulator to provide a stable 5V output, controlled by a push switch.
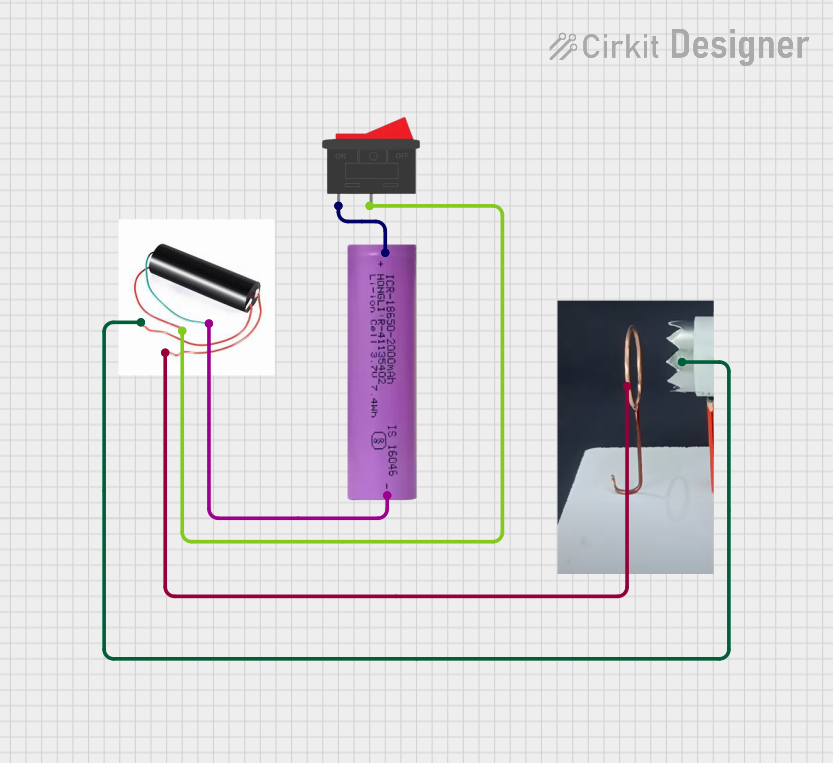
This circuit consists of a Li-ion battery connected to a step-up power module through a rocker switch, which boosts the voltage to power a ring of copper gauge with an aluminum frame. The rocker switch allows the user to control the power flow from the battery to the step-up module, which then supplies the boosted voltage to the copper ring.
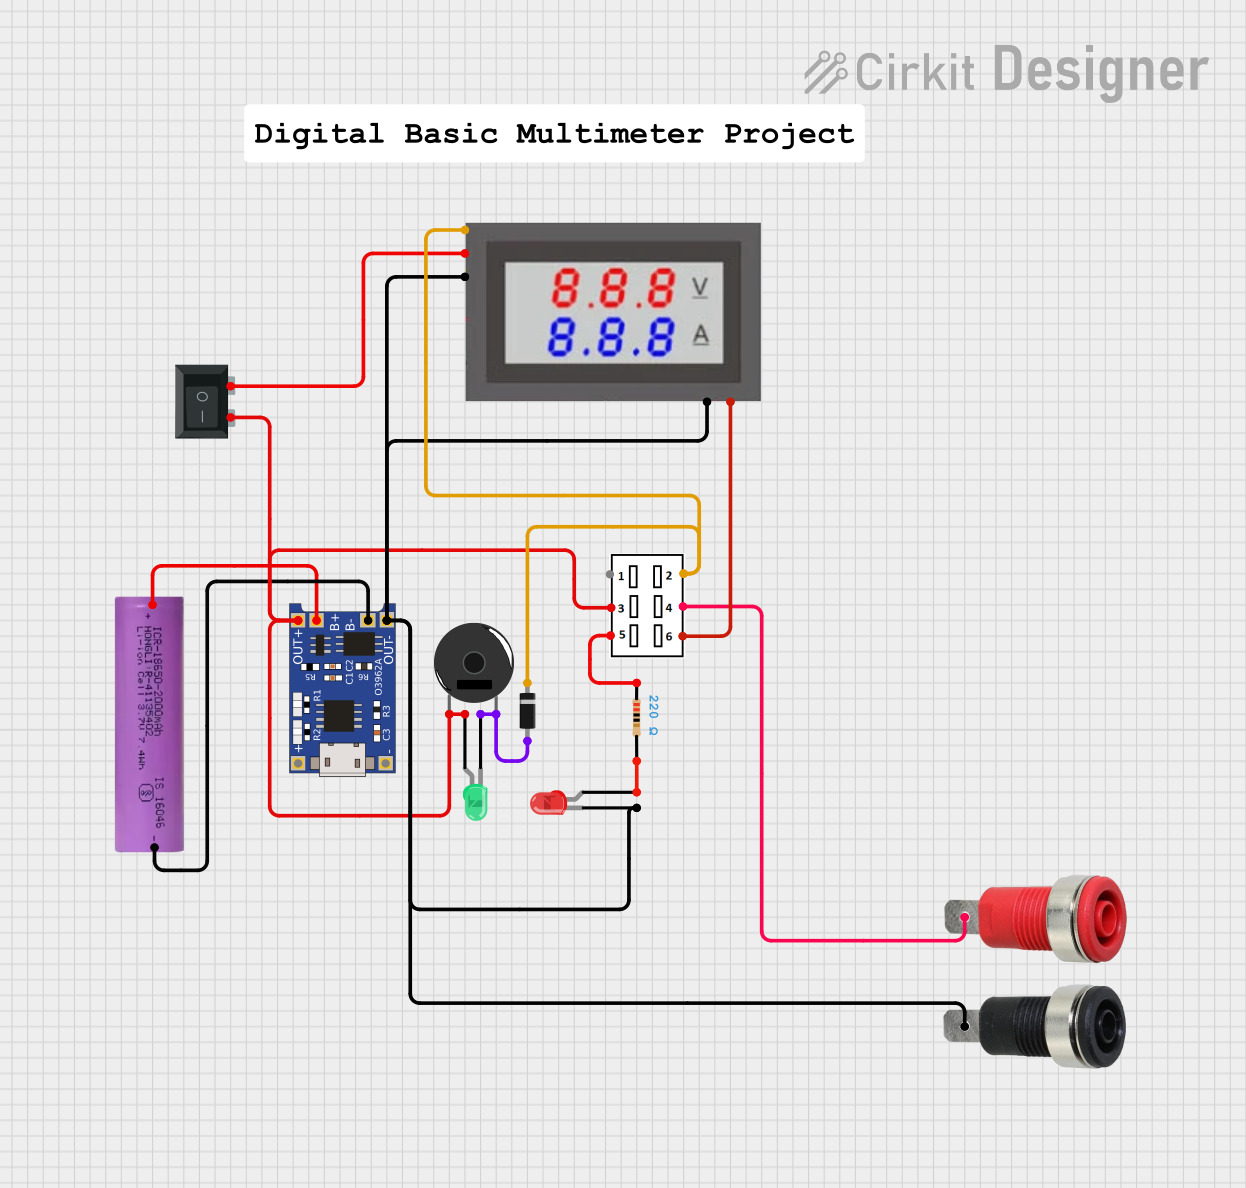
This circuit is a battery charging and monitoring system for a Li-ion battery using a TP4056 charger module. It includes a digital volt/ammeter to display the battery voltage and current, and features LEDs and a piezo buzzer for status indication. The circuit also incorporates switches for controlling the power and monitoring functions.
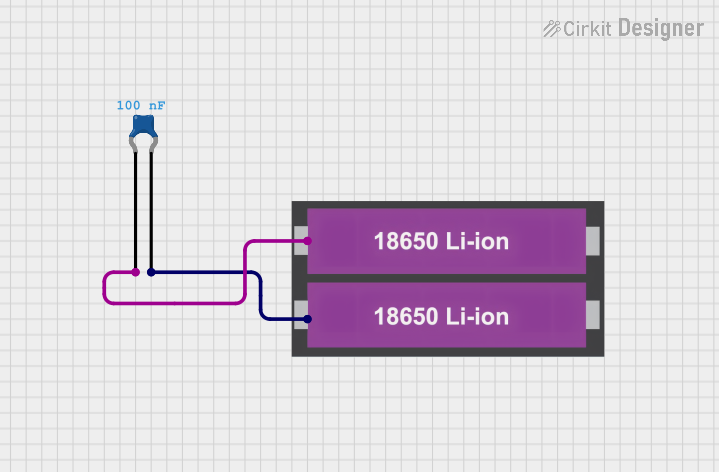
This circuit consists of a 18650 Li-ion battery connected to a ceramic capacitor. The positive terminal of the battery is connected to one pin of the capacitor, and the negative terminal is connected to the other pin, forming a simple energy storage and filtering circuit.
Dimensions: (Length x Width x Height) Approximately 50mm x 30mm x 5mm
Weight: Approximately 20g
Connector Type: JST-PH 2-pin connector
Pin Configuration
Pin Number
Description
1
Positive (+) Lead
2
Negative (-) Lead
Usage Instructions
Integration with a Circuit
Connection: Ensure the battery's connector is compatible with your device or use an appropriate adapter.
Charging: Use a lithium polymer (LiPo) compatible charger. Do not exceed the recommended charge voltage or current.
Discharging: Do not draw more than the maximum continuous discharge current. Ensure your load does not drain the battery below 3.0V.
Storage: Store the battery at half-charge in a cool, dry place if not in use for extended periods.
Best Practices
Always monitor charging and discharging to prevent overcharging or deep discharging.
Use a protection circuit module (PCM) to safeguard against overcharge, over-discharge, and short circuits.
Avoid physical damage to the battery, punctures or bending can lead to dangerous leaks or fires.
Do not expose the battery to high temperatures or direct sunlight.
Troubleshooting and FAQs
Common Issues
Battery won't charge: Check the charger and connections. Ensure the battery is not below its discharge cut-off voltage.
Reduced capacity: Batteries degrade over time and with use. If the battery doesn't hold a charge as it used to, it may be nearing the end of its life.
Swelling or deformation: Stop using the battery immediately. This is a sign of internal damage and can be dangerous.
FAQs
Q: Can I charge the battery with a higher current to charge it faster?
A: Charging the battery with a current higher than the maximum charge current can damage the battery and pose safety risks.
Q: What should I do if the battery gets wet?
A: Remove any external power sources and allow the battery to dry completely. If the battery shows any signs of damage, it should be replaced.
Q: Can I use multiple batteries in series or parallel?
A: Yes, but it is essential to match the batteries in terms of capacity, voltage, and charge state. Also, use a protection circuit for each battery.
Arduino Connection Example
// No direct code is involved in connecting a battery to an Arduino.
// However, you can monitor the battery voltage through an analog pin.

const int batteryPin = A0; // Connect battery + to A0 through a voltage divider

void setup() {
  Serial.begin(9600);
}

void loop() {
  int sensorValue = analogRead(batteryPin);
  float voltage = sensorValue * (5.0 / 1023.0) * 2; // Calculate voltage based on voltage divider
  Serial.print("Battery Voltage: ");
  Serial.println(voltage);
  delay(1000);
}
Note: The code above assumes the use of a voltage divider to reduce the battery's voltage to a safe level for the Arduino analog input. Always ensure that the input voltage does not exceed the maximum voltage rating of the Arduino pin (typically 5V).
Remember to adjust the voltage divider calculation in the code to match the actual resistors used in your voltage divider circuit.


 Open Project in Cirkit Designer