How to Use Adafruit PowerRelay Feather Wing: Examples, Pinouts, and Specs
Introduction
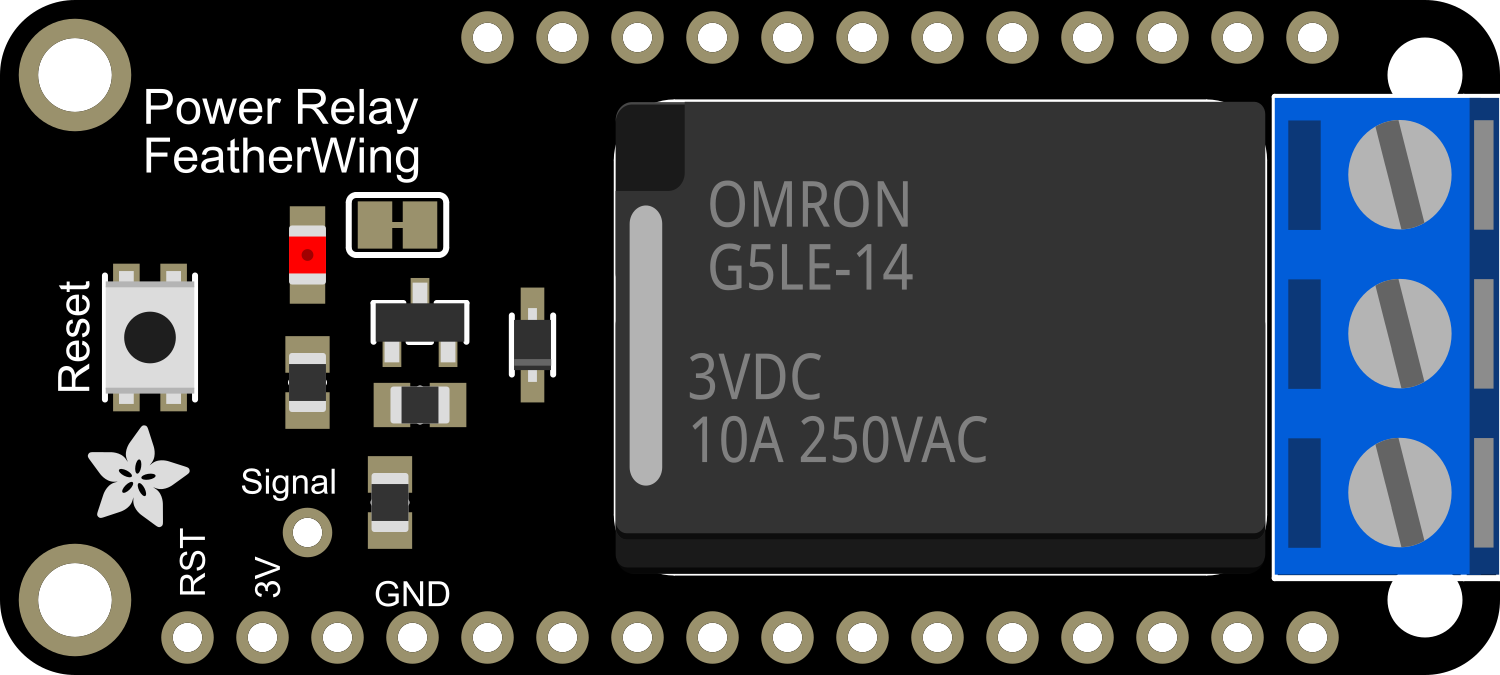
The Adafruit PowerRelay Feather Wing is an add-on board designed to integrate with the Feather ecosystem, providing the ability to control high-power devices with low-power signals. This board features two independent relays capable of switching up to 6 Amps of current at 250VAC or 30VDC, making it suitable for a variety of applications such as home automation, industrial controls, and other projects requiring electrical isolation between the Feather microcontroller and high-power loads.
Explore Projects Built with Adafruit PowerRelay Feather Wing


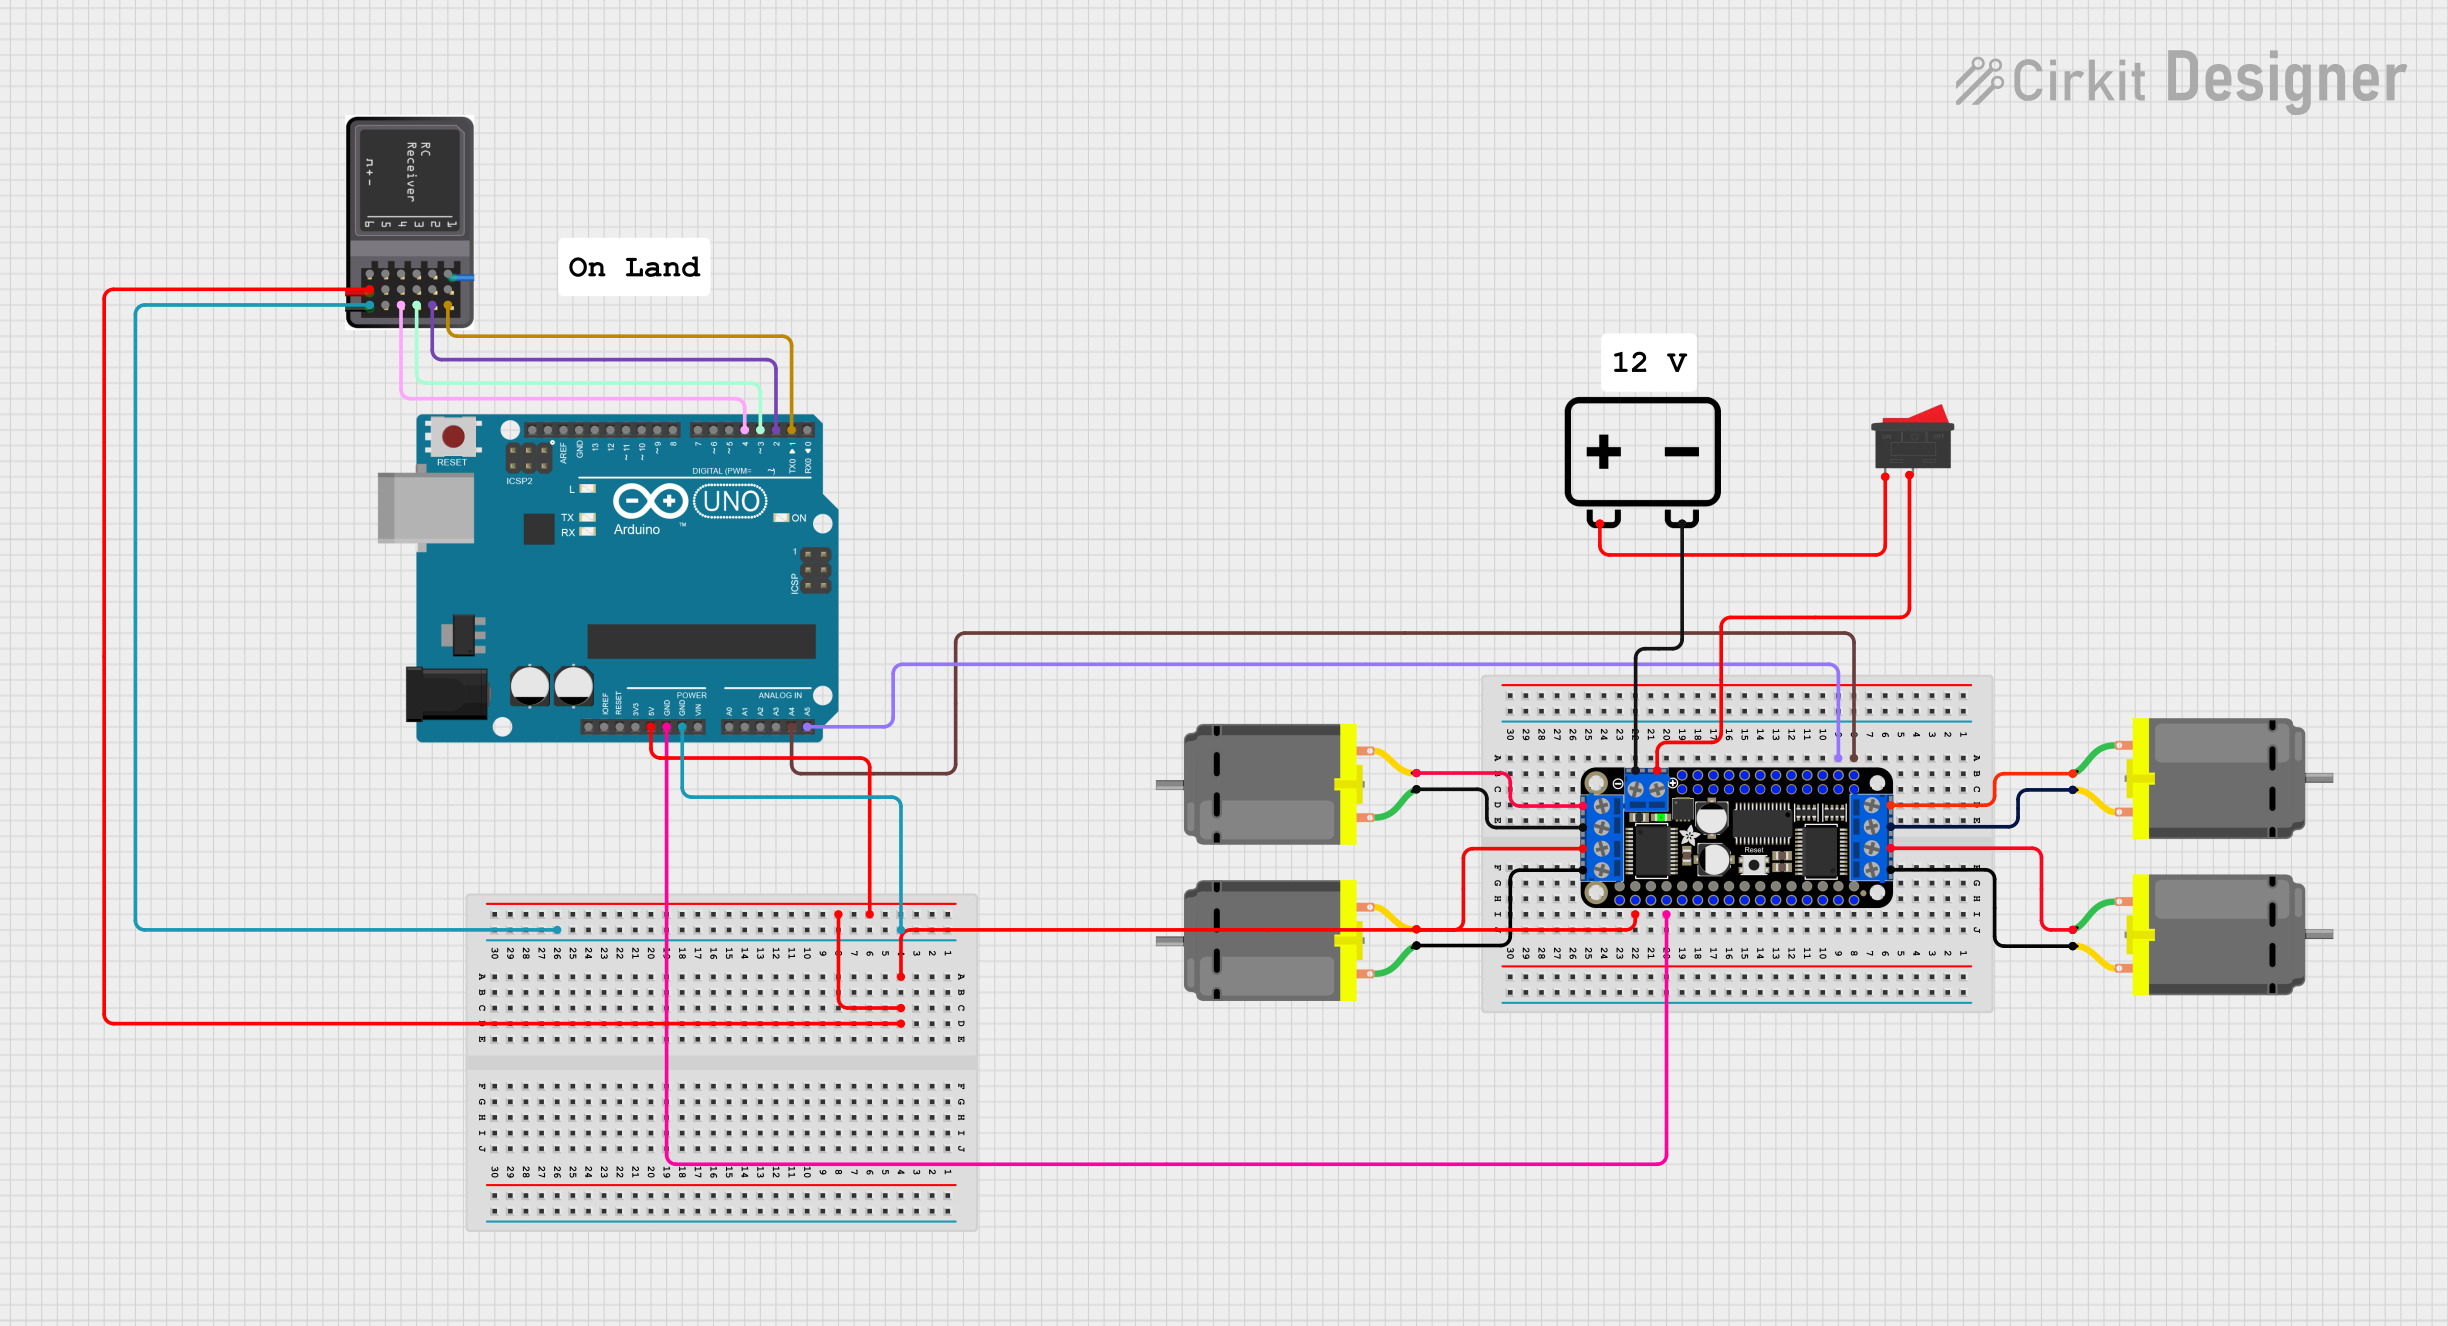

Explore Projects Built with Adafruit PowerRelay Feather Wing
Common Applications and Use Cases
- Home automation systems
- Remote control of appliances
- Industrial machine control
- Automotive electronics
- Power supply control
Technical Specifications
Key Technical Details
- Voltage Rating: 250VAC, 30VDC
- Current Rating: Up to 6A per relay
- Control Signal Voltage: 3.3V to 5V (compatible with all Feather boards)
- Number of Relays: 2 independent relays
Pin Configuration and Descriptions
| Pin | Description |
|---|---|
| GND | Ground connection |
| BAT | Battery input for Feather |
| USB | USB input for Feather |
| Relay 1 Control | Digital signal to control Relay 1 |
| Relay 2 Control | Digital signal to control Relay 2 |
| NC1 | Normally Closed contact for Relay 1 |
| NO1 | Normally Open contact for Relay 1 |
| COM1 | Common contact for Relay 1 |
| NC2 | Normally Closed contact for Relay 2 |
| NO2 | Normally Open contact for Relay 2 |
| COM2 | Common contact for Relay 2 |
Usage Instructions
How to Use the Component in a Circuit
- Mounting: Attach the PowerRelay Feather Wing to your Feather board using headers.
- Wiring: Connect the COM pins to the common points of your load circuits. Connect NO or NC pins to the respective parts of your load circuits depending on whether you want the relay to be normally open or normally closed.
- Power Supply: Ensure that the Feather board is powered through BAT or USB. The relays on the PowerRelay Feather Wing will draw power from the Feather board.
- Control: Use digital outputs from the Feather board to control the relays. A HIGH signal will activate the relay, and a LOW signal will deactivate it.
Important Considerations and Best Practices
- Isolation: Ensure that there is proper electrical isolation between the low-voltage control circuitry and the high-voltage load circuits.
- Load Ratings: Do not exceed the maximum voltage and current ratings of the relays.
- Inductive Loads: When controlling inductive loads (like motors or coils), use a snubber circuit to protect the relay contacts from voltage spikes.
- Safety: Always exercise caution when working with high voltages. Disconnect power before making or altering connections.
Example Code for Arduino UNO
// Example code to control the Adafruit PowerRelay Feather Wing with an Arduino UNO

#define RELAY1_PIN 5 // Relay 1 control pin
#define RELAY2_PIN 6 // Relay 2 control pin

void setup() {
  pinMode(RELAY1_PIN, OUTPUT); // Set the relay control pins as outputs
  pinMode(RELAY2_PIN, OUTPUT);
}

void loop() {
  digitalWrite(RELAY1_PIN, HIGH); // Turn on Relay 1
  delay(1000);                    // Wait for 1 second
  digitalWrite(RELAY1_PIN, LOW);  // Turn off Relay 1
  delay(1000);                    // Wait for 1 second

  digitalWrite(RELAY2_PIN, HIGH); // Turn on Relay 2
  delay(1000);                    // Wait for 1 second
  digitalWrite(RELAY2_PIN, LOW);  // Turn off Relay 2
  delay(1000);                    // Wait for 1 second
}
Troubleshooting and FAQs
Common Issues Users Might Face
- Relay Not Activating: Check the control signal voltage and connections. Ensure the Feather board is powered and functioning.
- Unexpected Relay Behavior: Verify the code logic and ensure that the correct pins are being used to control the relays.
- Intermittent Functionality: Inspect the solder joints and headers for loose connections.
Solutions and Tips for Troubleshooting
- Control Signal: Use a multimeter to check that the control pins are receiving the correct voltage when activated.
- Power Supply: Confirm that the Feather board has a stable power supply capable of providing sufficient current for the relays.
- Load Testing: Test the relay with a lower power load to rule out issues with the connected device.
FAQs
Q: Can I use the PowerRelay Feather Wing with a 5V logic level? A: Yes, the relay control inputs are compatible with both 3.3V and 5V logic levels.
Q: What is the maximum switching frequency of the relays? A: The relays are mechanical and are not designed for high-frequency switching. Consult the datasheet for the maximum recommended switching frequency.
Q: Can I control the relays with PWM? A: No, PWM is not suitable for controlling mechanical relays. Use a digital HIGH or LOW signal to control the relays.
Q: Are the relays SPDT (Single Pole Double Throw)? A: Yes, each relay has a Normally Open (NO), Normally Closed (NC), and Common (COM) terminal, making them SPDT.
Q: How do I know if the relay is on or off? A: Some relay boards have an LED indicator for each relay. If the PowerRelay Feather Wing has these, the LED will light up when the relay is activated. Otherwise, you can listen for the characteristic "click" sound when the relay activates or use a multimeter to check the continuity across the relay contacts.