How to Use 12978-alligator_clip_cable_half-blue: Examples, Pinouts, and Specs
Introduction
The 12978-alligator_clip_cable_half-blue is a versatile and essential tool for hobbyists, engineers, and technicians alike. This blue alligator clip cable is designed for creating temporary electrical connections, which is particularly useful during prototyping, testing, and troubleshooting circuits. Its ease of use and quick connectivity make it a staple in electronic labs and educational environments.
Explore Projects Built with 12978-alligator_clip_cable_half-blue
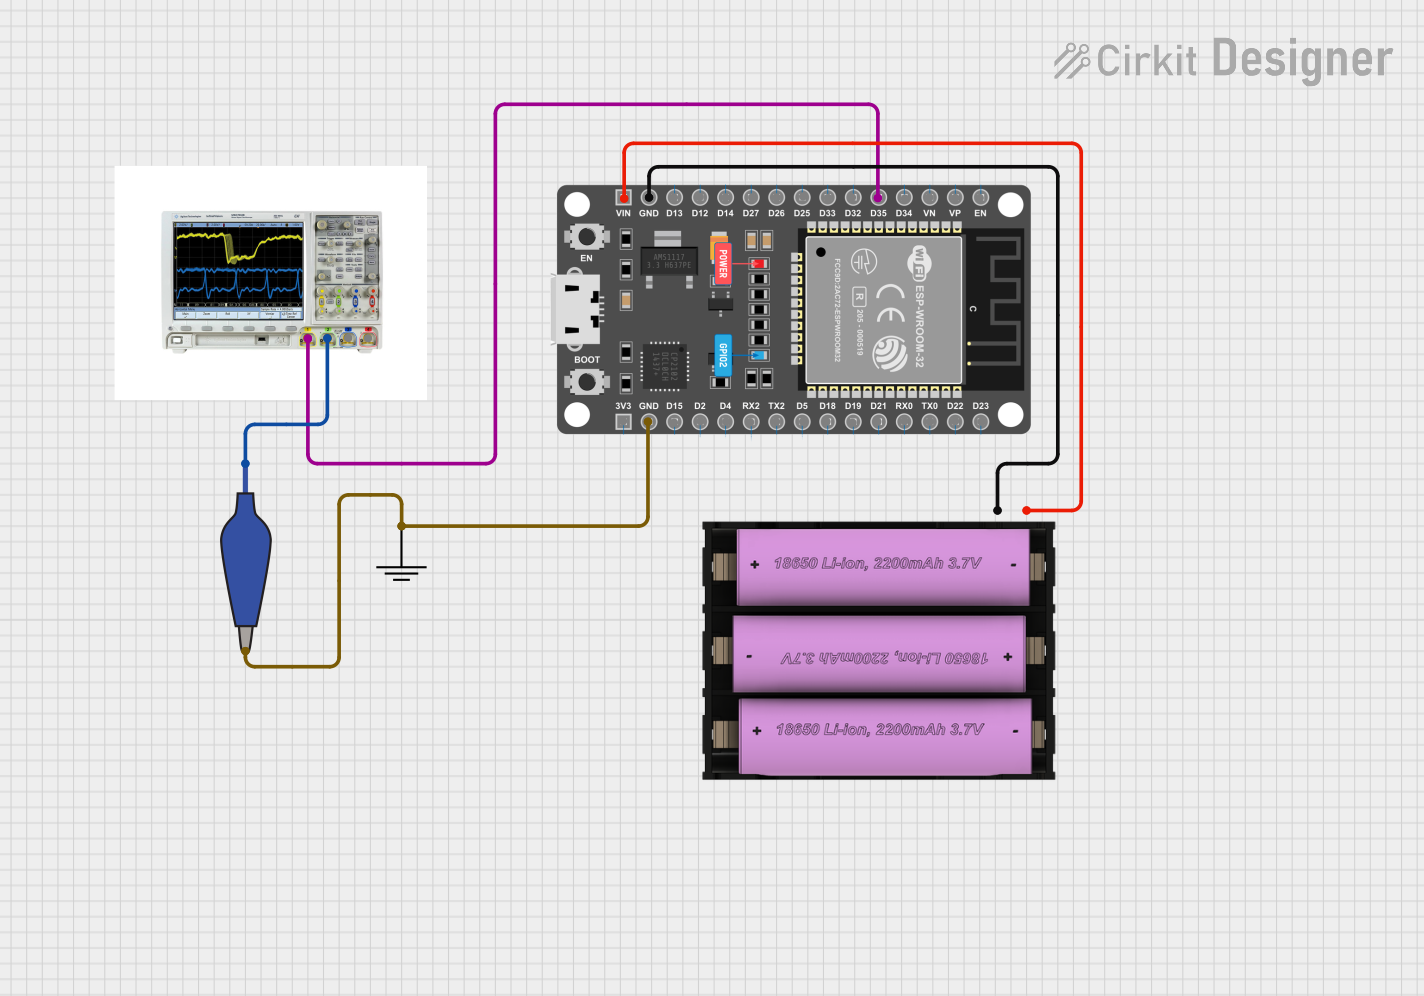

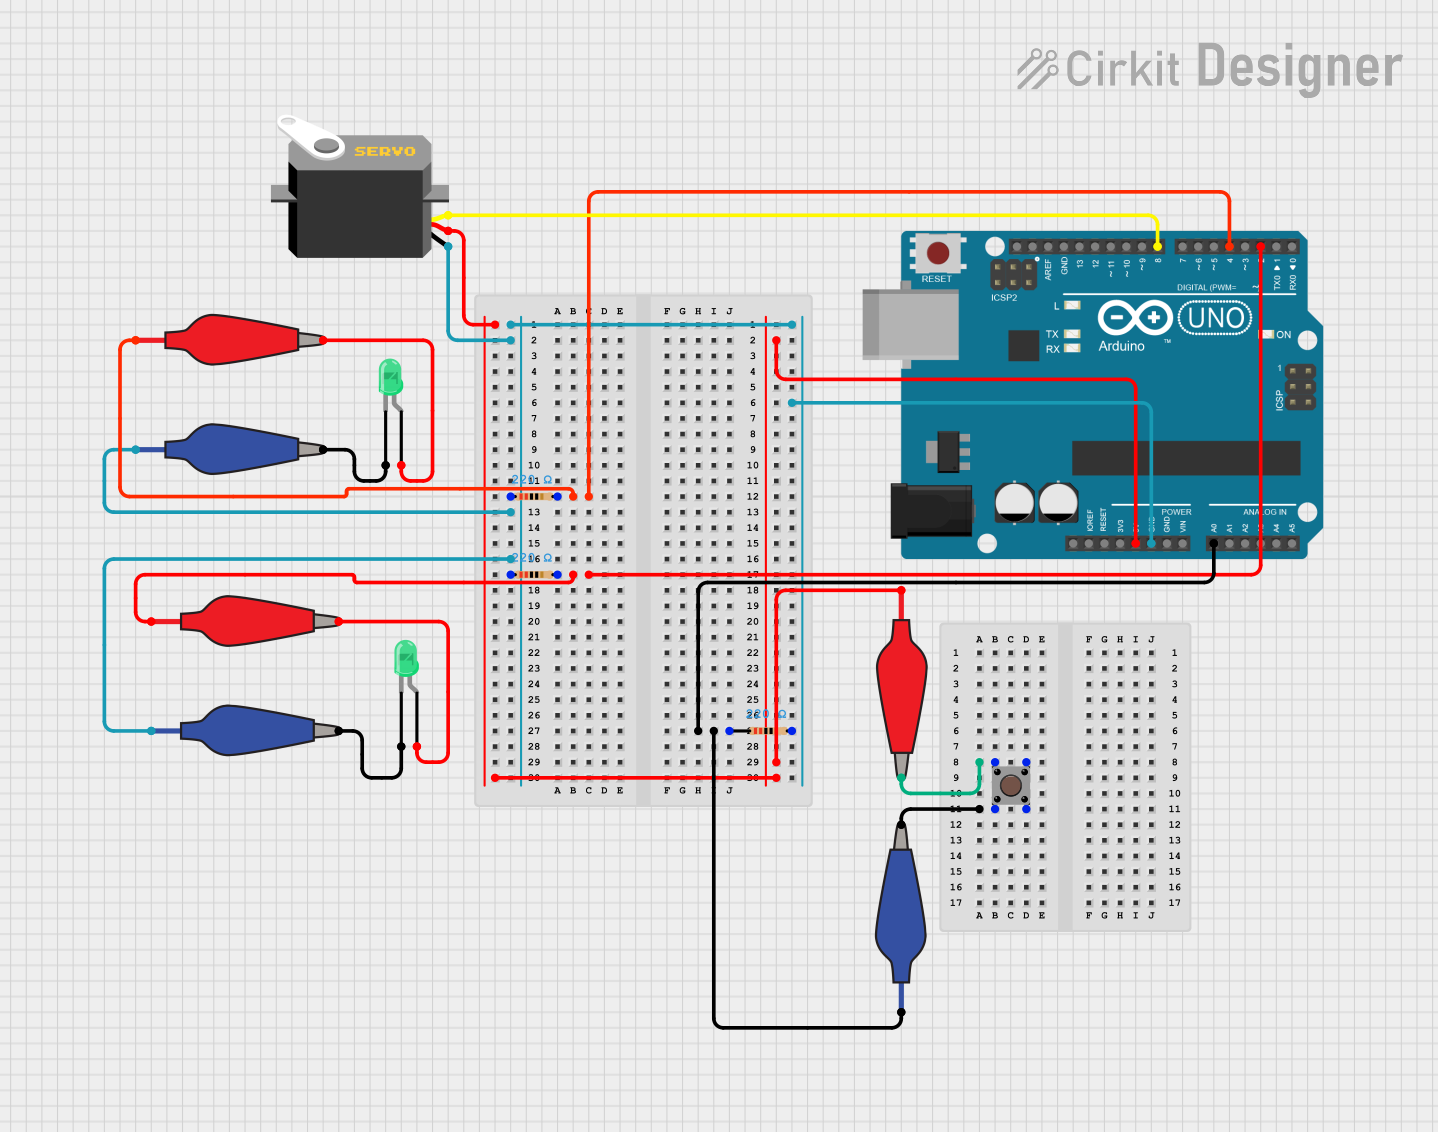

Explore Projects Built with 12978-alligator_clip_cable_half-blue
Common Applications and Use Cases
- Prototyping electronic circuits
- Testing components within a circuit
- Temporary connections for electrical testing
- Educational purposes for teaching electronics
- Connecting to terminals of batteries or power supplies
Technical Specifications
The 12978-alligator_clip_cable_half-blue is a simple component with the following specifications:
| Specification | Detail |
|---|---|
| Cable Color | Blue |
| Clip Material | Metal with plastic insulation |
| Cable Length | Typically 50cm (varies) |
| Maximum Current | 5A (depends on usage) |
| Connection Type | Alligator clip to open wire |
| Operating Temperature | -10°C to +50°C |
Pin Configuration and Descriptions
As the 12978-alligator_clip_cable_half-blue is a single cable with an alligator clip on one end and an open wire on the other, there is no pin configuration. The alligator clip is used to clamp onto a connection point, while the open wire end is typically soldered or connected to another terminal or wire.
Usage Instructions
How to Use the Component in a Circuit
- Prepare the Cable: Ensure that the alligator clip and open wire are free from oxidation or debris for a good electrical connection.
- Connect the Alligator Clip: Clamp the alligator clip onto the desired component lead, terminal, or wire. Ensure a firm grip to maintain a stable connection.
- Connect the Open Wire End: The open wire can be inserted into a breadboard, soldered to a component or terminal, or twisted together with another wire (use wire nuts or electrical tape for insulation).
- Check Connections: Before powering the circuit, double-check all connections for stability and correctness.
Important Considerations and Best Practices
- Current Rating: Do not exceed the recommended current rating of 5A to prevent overheating or damage to the cable.
- Insulation: Always ensure that the alligator clip's insulation is intact to prevent accidental shorts.
- Connection Quality: Periodically check the connection for any signs of wear or corrosion and replace if necessary.
- Safety: When working with power sources, always connect the ground first to prevent any accidental shorts or electrical shocks.
Troubleshooting and FAQs
Common Issues Users Might Face
- Loose Connections: If the alligator clip is not gripping firmly, the connection may be intermittent. Check the clip's tension and adjust if necessary.
- Corrosion: Over time, the metal parts may corrode, leading to poor conductivity. Clean the clip and wire or replace the cable if the corrosion is severe.
- Insulation Damage: If the insulation is damaged, it could lead to accidental shorts. Inspect the insulation regularly and replace the cable if the damage is significant.
Solutions and Tips for Troubleshooting
- Intermittent Connections: If the connection is intermittent, ensure that the alligator clip is clean and clamping down firmly.
- Testing Continuity: Use a multimeter to test for continuity between the alligator clip and the open wire end to ensure there are no breaks in the cable.
- Safe Handling: Always disconnect the power source before adjusting the alligator clip to prevent shocks or damage to the circuit.
FAQs
Q: Can I use the 12978-alligator_clip_cable_half-blue with high voltage? A: No, it is not recommended to use this cable with high voltage. It is designed for low voltage applications and prototyping.
Q: How do I prevent the alligator clip from slipping off? A: Ensure that the clip has a firm grip on the connection point. If necessary, you can gently squeeze the clip to tighten its grip.
Q: Is it possible to extend the length of the cable? A: Yes, you can extend the cable by soldering additional wire to the open wire end or using a wire connector.
Q: Can the alligator clip be replaced if it is damaged? A: Yes, the alligator clip can be replaced. You can either solder a new clip onto the existing wire or replace the entire cable.
Note: This documentation is for informational purposes only. Always follow safety guidelines and consult professional resources when working with electrical components.