How to Use Car Reading LED Light : Examples, Pinouts, and Specs
Introduction
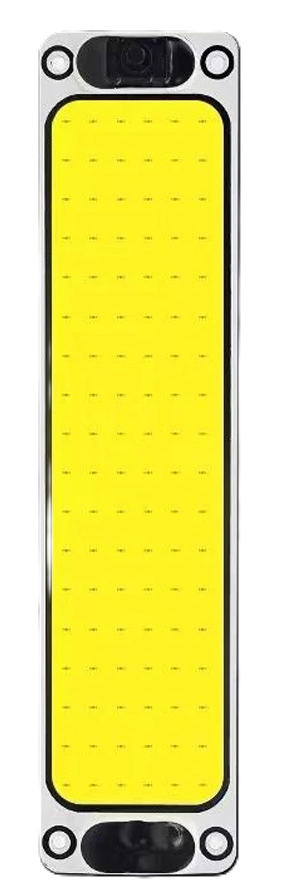
The Car Reading LED Light is a compact, energy-efficient lighting solution designed for vehicle interiors. It provides sufficient illumination for reading or enhancing visibility inside the car, without consuming excessive power. These lights are typically powered by the car's 12V electrical system and are designed to be durable, long-lasting, and easy to install.
Explore Projects Built with Car Reading LED Light
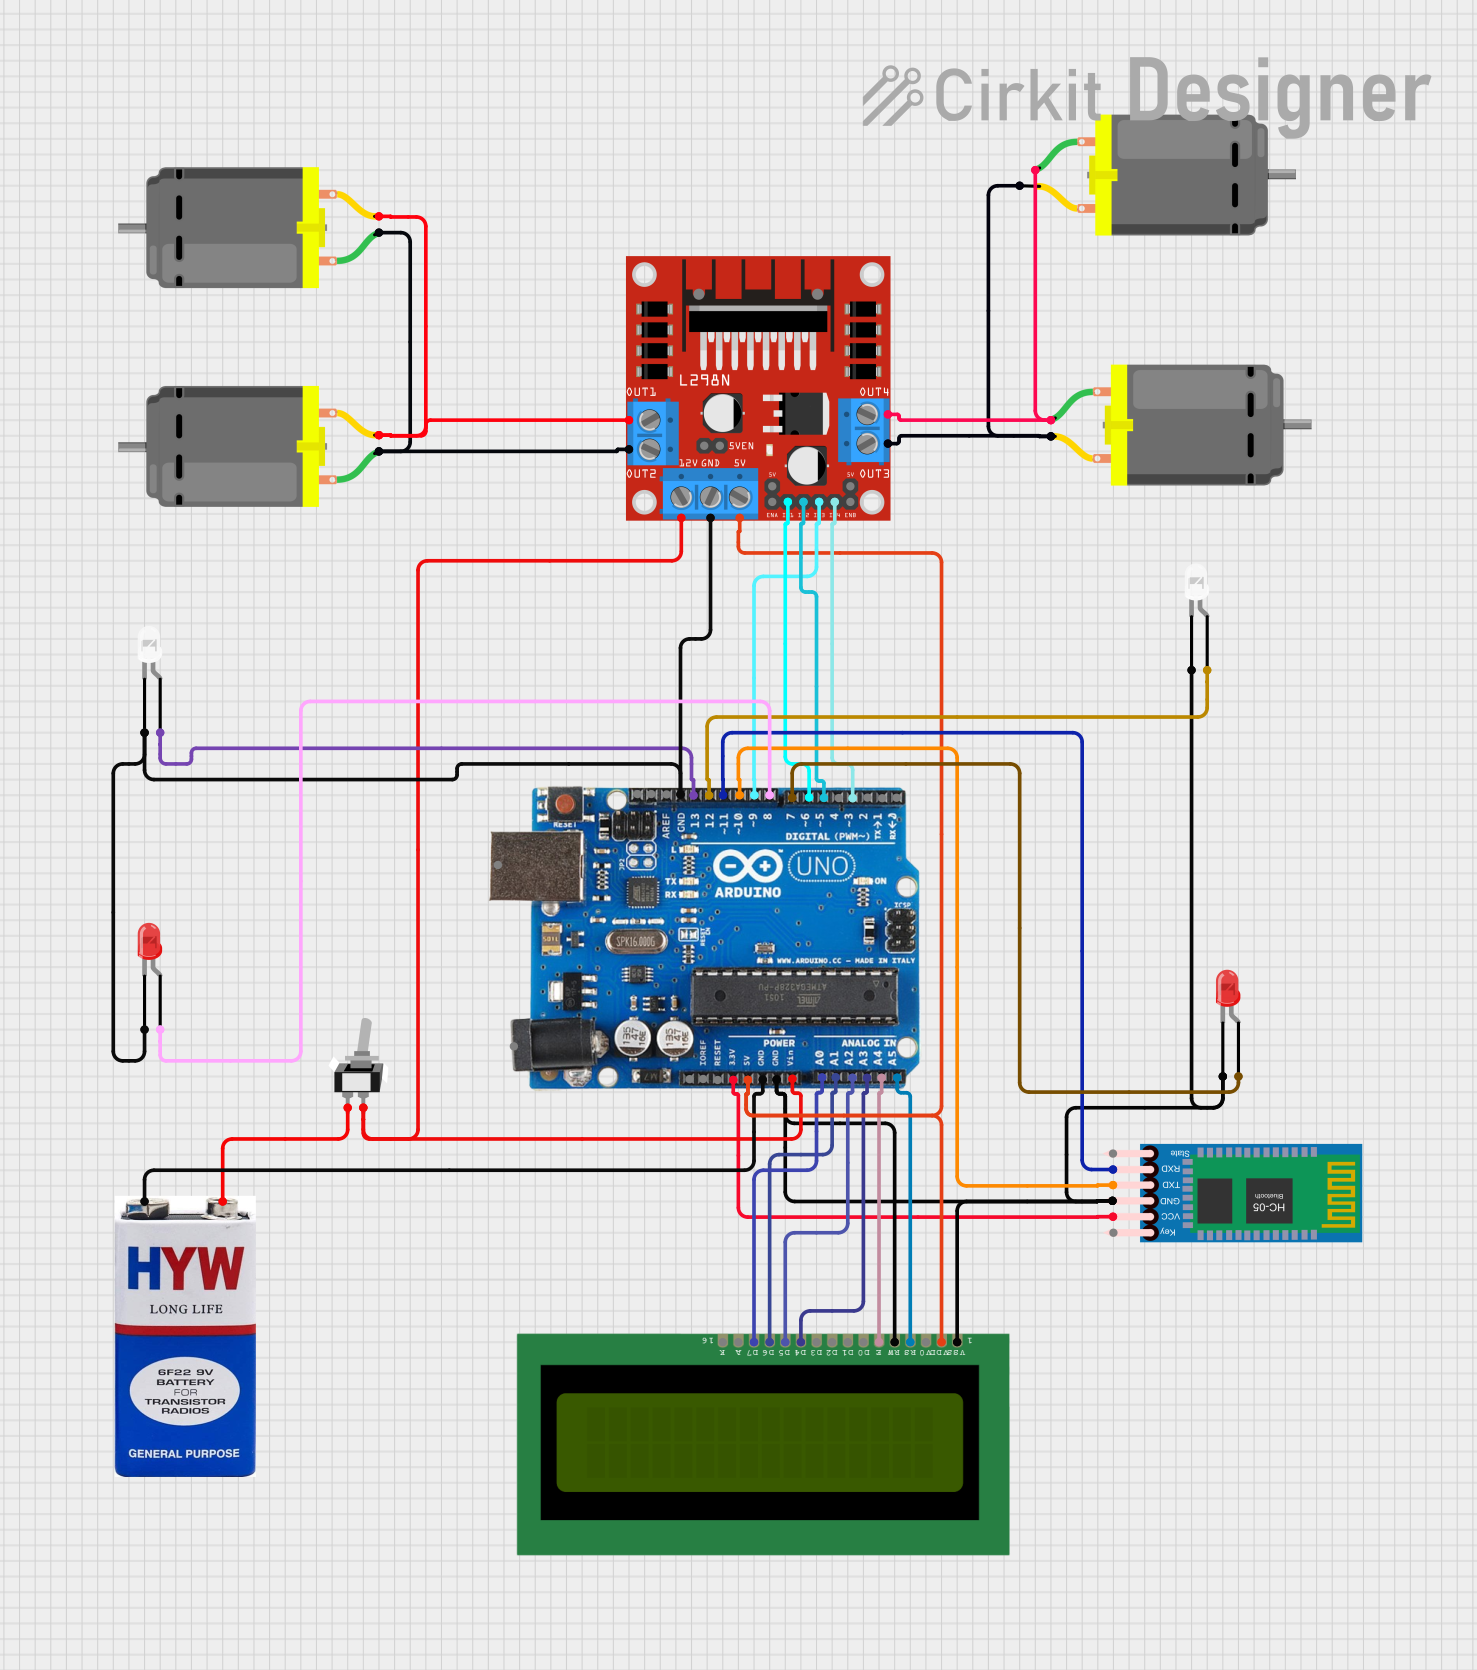


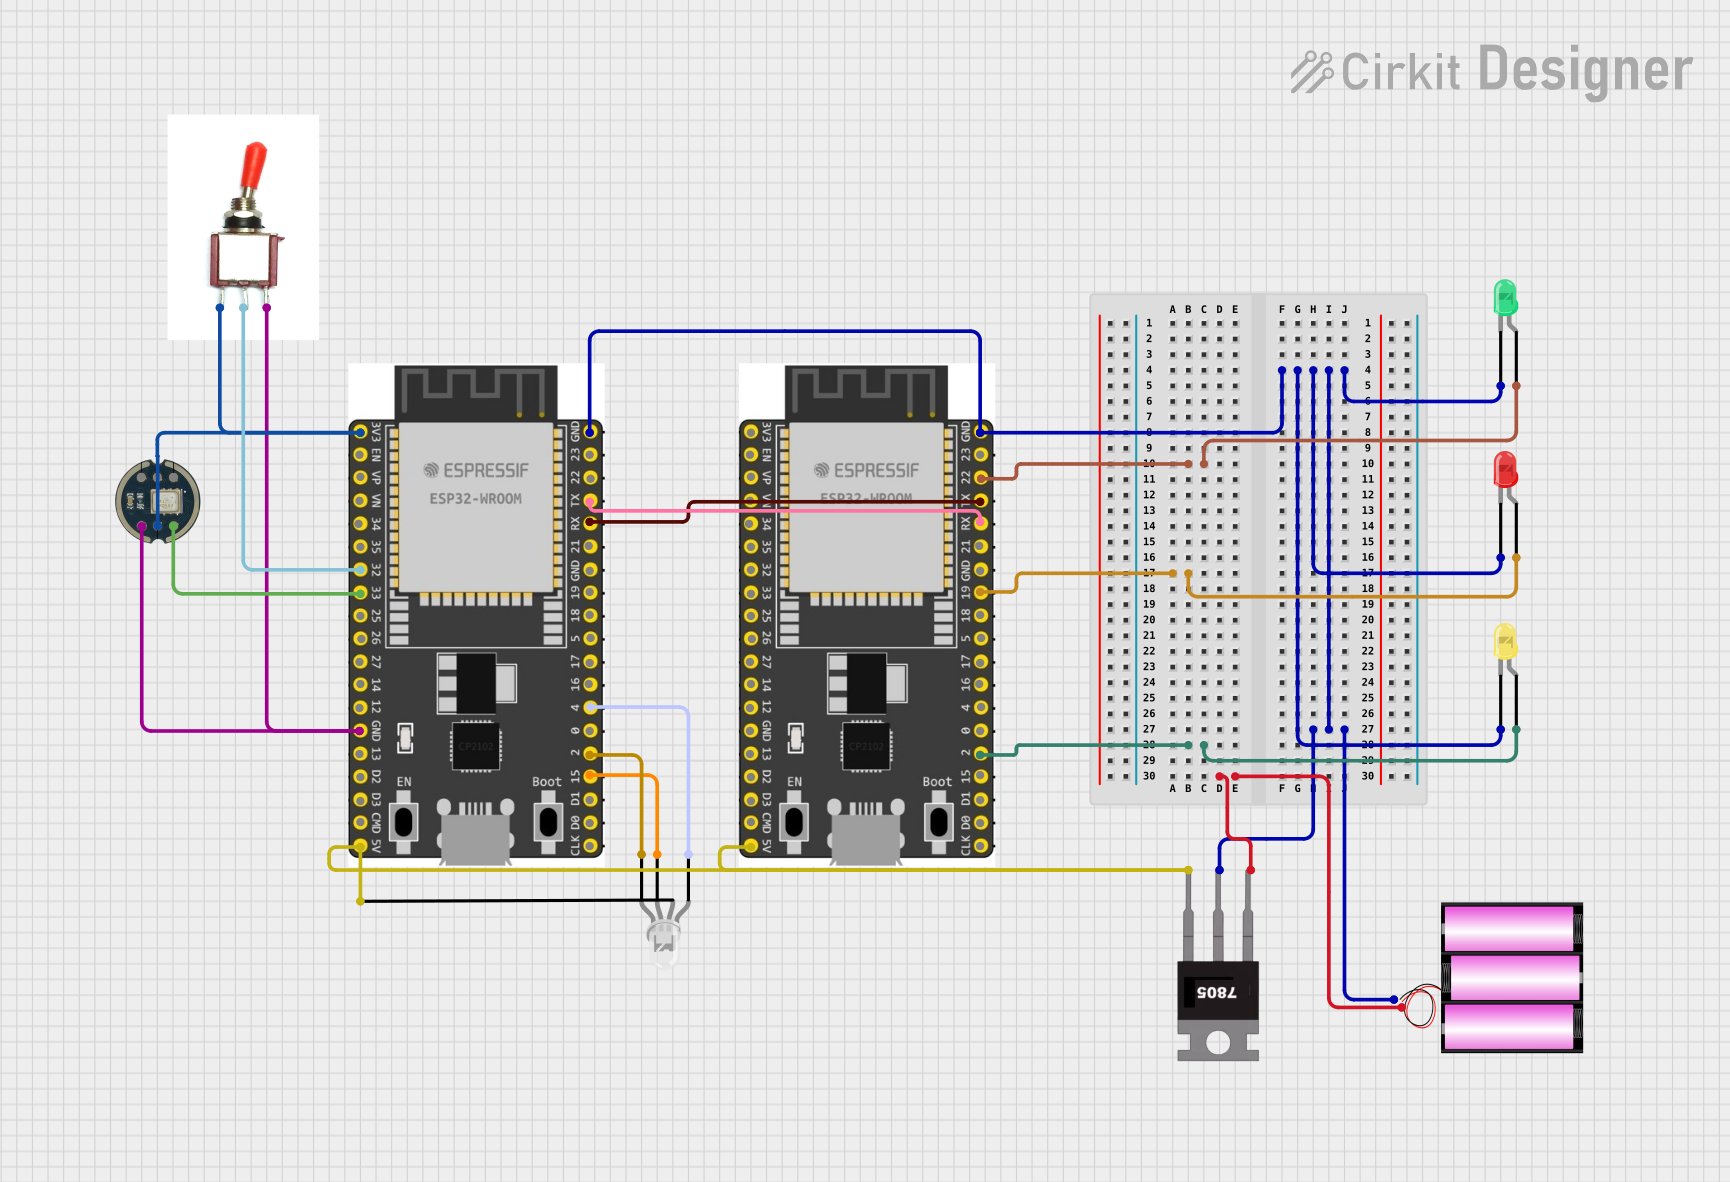
Explore Projects Built with Car Reading LED Light
Common Applications and Use Cases
- Interior lighting for reading maps or documents in vehicles.
- Ambient lighting for enhanced visibility during nighttime driving.
- Replacement for traditional incandescent interior lights to improve energy efficiency.
- Customization of vehicle interiors for aesthetic purposes.
Technical Specifications
Key Technical Details
| Parameter | Value |
|---|---|
| Operating Voltage | 12V DC |
| Power Consumption | 1W to 5W (varies by model) |
| Light Output | 100 to 300 lumens (approx.) |
| Color Temperature | 3000K (warm white) to 6500K (cool white) |
| Lifespan | 20,000 to 50,000 hours |
| Dimensions | Varies (commonly 30mm x 10mm) |
| Mounting Type | Clip-on, adhesive, or screw mount |
| Connector Type | Standard 12V car socket or wired |
Pin Configuration and Descriptions
| Pin/Connection | Description |
|---|---|
| Positive (+) | Connects to the 12V DC positive terminal of the car's electrical system. |
| Negative (-) | Connects to the ground (GND) of the car's electrical system. |
Usage Instructions
How to Use the Component in a Circuit
- Identify the Power Source: Locate the 12V DC power supply in your vehicle. This is typically accessible via the car's fuse box, dome light wiring, or a dedicated 12V socket.
- Connect the Wires:
- Attach the positive wire of the LED light to the 12V positive terminal.
- Attach the negative wire to the ground (GND) terminal.
- Secure the Light: Use the provided mounting mechanism (clip, adhesive, or screws) to install the light in the desired location.
- Test the Light: Turn on the car's interior light switch to ensure the LED light functions correctly.
Important Considerations and Best Practices
- Polarity Matters: Ensure correct polarity when connecting the wires. Reversing the polarity may damage the LED light.
- Fuse Protection: Use an inline fuse (1A to 2A) to protect the circuit from overcurrent.
- Avoid Overvoltage: Ensure the voltage does not exceed 12V DC to prevent damage to the LED.
- Heat Management: Although LEDs generate minimal heat, ensure proper ventilation to avoid overheating in enclosed spaces.
- Compatibility: Verify that the light's dimensions and mounting type are suitable for your vehicle.
Example: Connecting to an Arduino UNO
The Car Reading LED Light can also be controlled using an Arduino UNO for custom lighting effects. Below is an example of how to connect and control the light using a PWM pin.
Circuit Diagram
- Connect the positive terminal of the LED light to a 220-ohm resistor, then to Arduino pin 9.
- Connect the negative terminal of the LED light to the Arduino GND.
Arduino Code
// Example code to control a Car Reading LED Light with PWM
// Pin 9 is used to control the brightness of the LED light.

const int ledPin = 9; // PWM pin connected to the LED light

void setup() {
  pinMode(ledPin, OUTPUT); // Set pin 9 as an output
}

void loop() {
  // Gradually increase brightness
  for (int brightness = 0; brightness <= 255; brightness++) {
    analogWrite(ledPin, brightness); // Set PWM value
    delay(10); // Small delay for smooth transition
  }

  // Gradually decrease brightness
  for (int brightness = 255; brightness >= 0; brightness--) {
    analogWrite(ledPin, brightness); // Set PWM value
    delay(10); // Small delay for smooth transition
  }
}
Troubleshooting and FAQs
Common Issues and Solutions
| Issue | Possible Cause | Solution |
|---|---|---|
| LED does not turn on | Incorrect wiring or polarity | Verify connections and ensure correct polarity. |
| Flickering light | Unstable power supply | Check the car's electrical system for voltage stability. |
| Overheating | Poor ventilation or excessive voltage | Ensure proper ventilation and verify the voltage is 12V DC. |
| Dim light output | Low voltage or degraded LED | Check the power supply and replace the LED if necessary. |
FAQs
Can I use this LED light in a 24V vehicle?
- No, this light is designed for 12V systems. Using it in a 24V system without a voltage regulator may damage the light.
How do I clean the LED light?
- Use a soft, dry cloth to clean the surface. Avoid using water or harsh chemicals.
Can I dim the light without an Arduino?
- Yes, you can use a 12V-compatible dimmer switch to adjust the brightness manually.
What should I do if the light stops working?
- Check the wiring, fuse, and power supply. If the issue persists, the LED may need replacement.
By following this documentation, you can effectively install, use, and troubleshoot the Car Reading LED Light in your vehicle or custom projects.