How to Use Ultrasonic Humidifier Transducer: Examples, Pinouts, and Specs
Introduction
The Ultrasonic Humidifier Transducer is a device that utilizes ultrasonic vibrations to atomize water into a fine mist. This mist is then dispersed into the air to increase humidity levels. The transducer operates by converting electrical energy into high-frequency mechanical vibrations, which break water into tiny droplets.
Explore Projects Built with Ultrasonic Humidifier Transducer
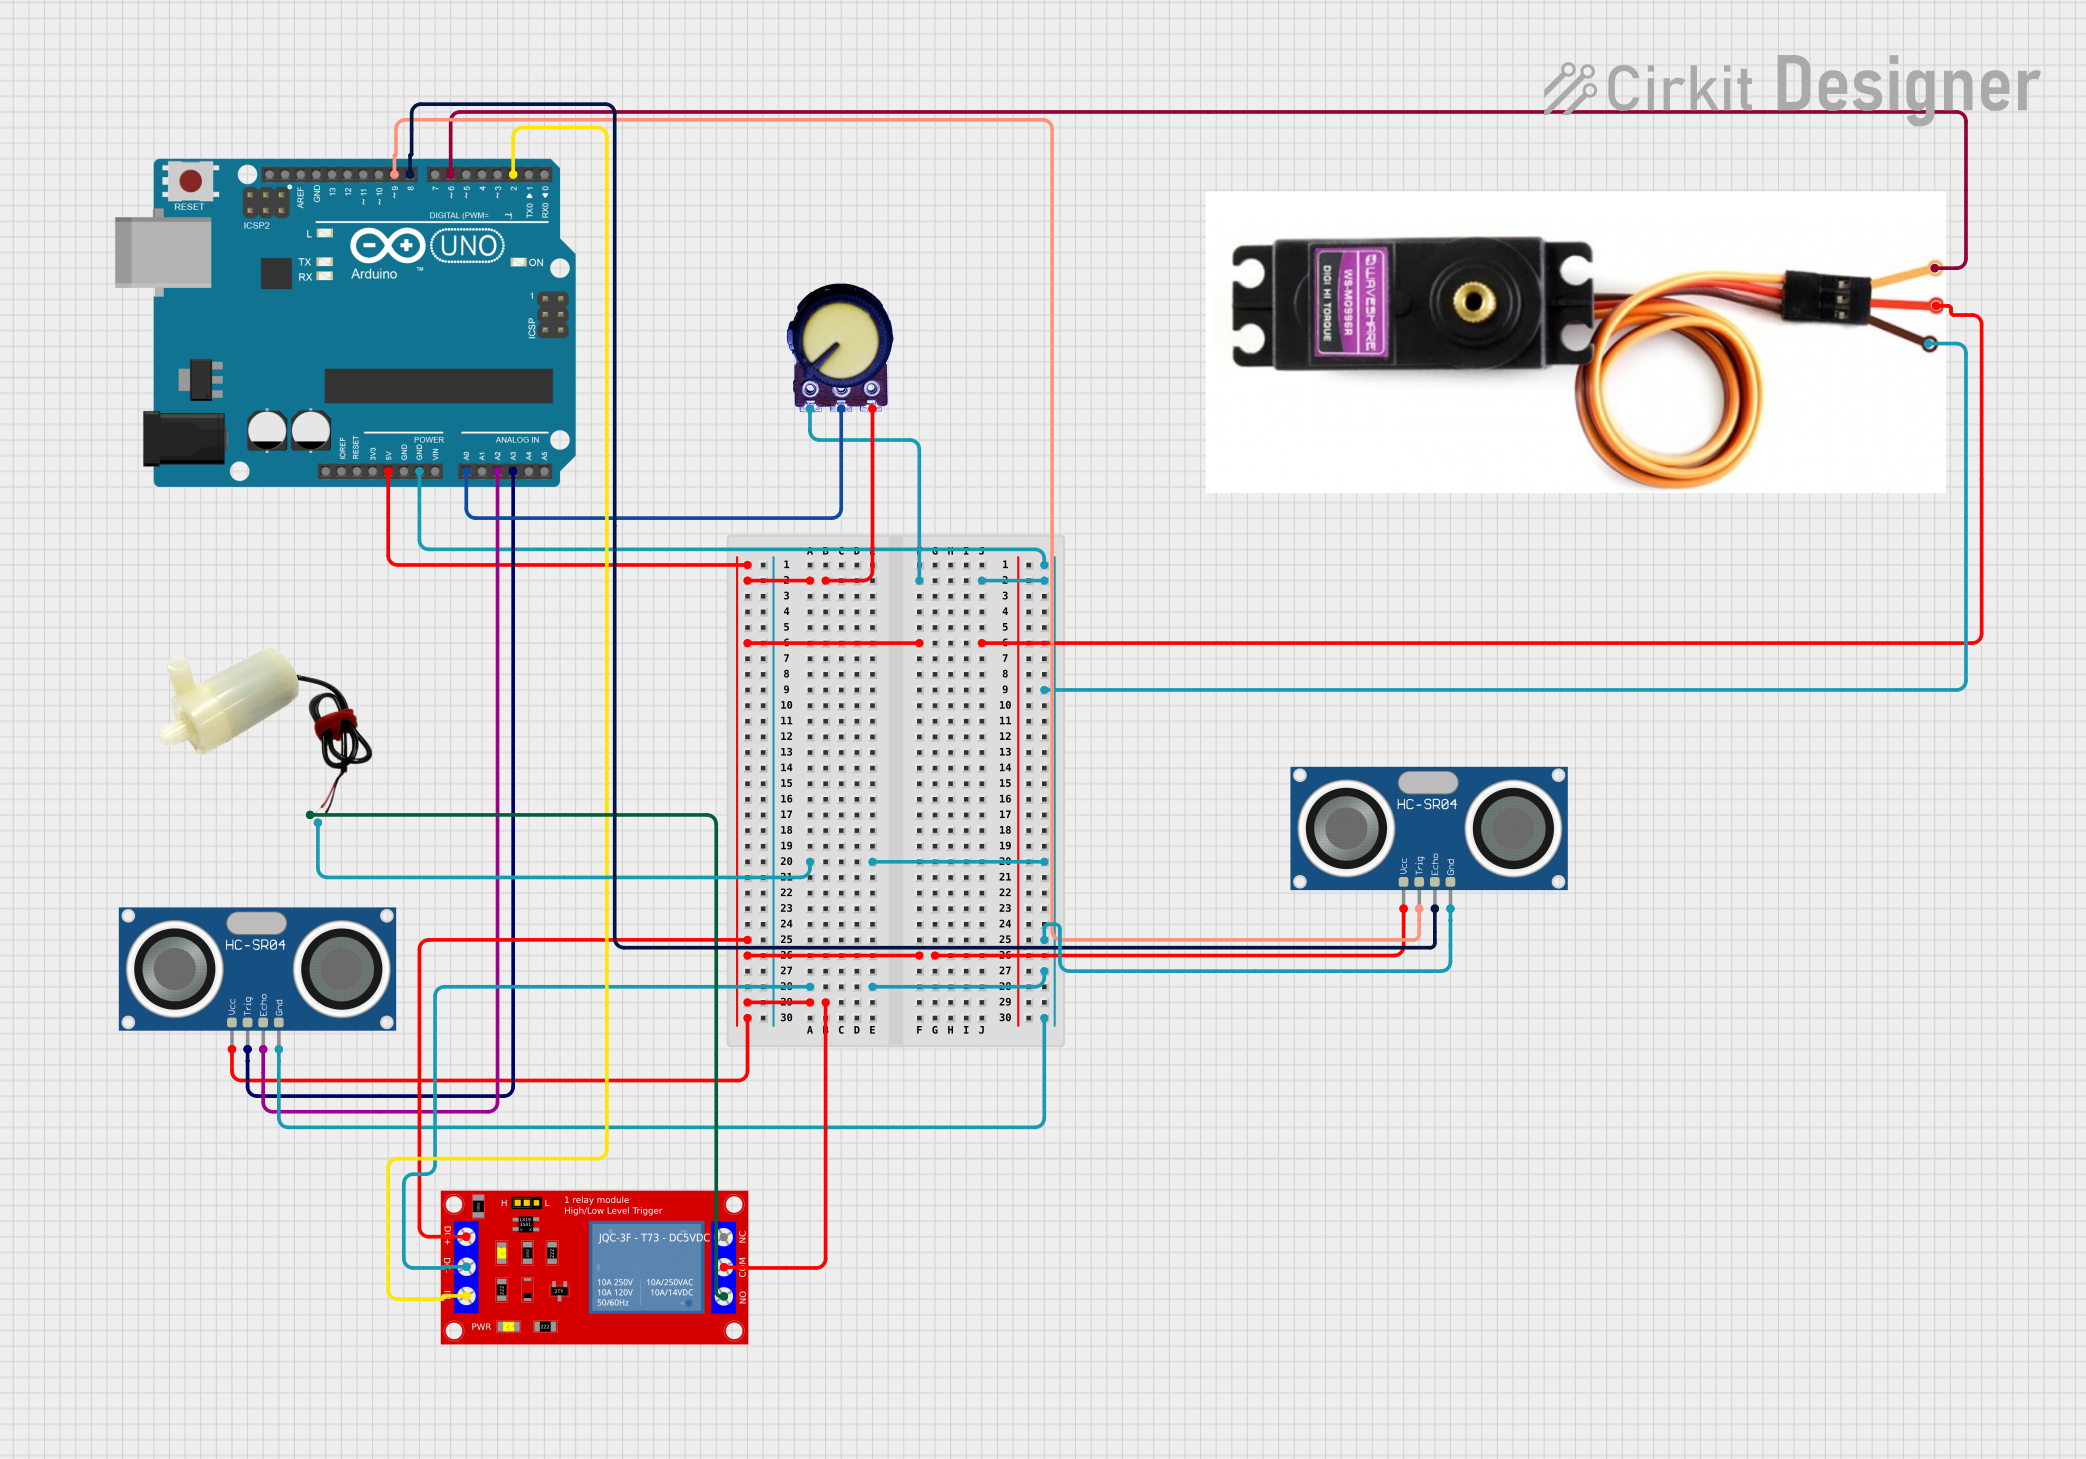
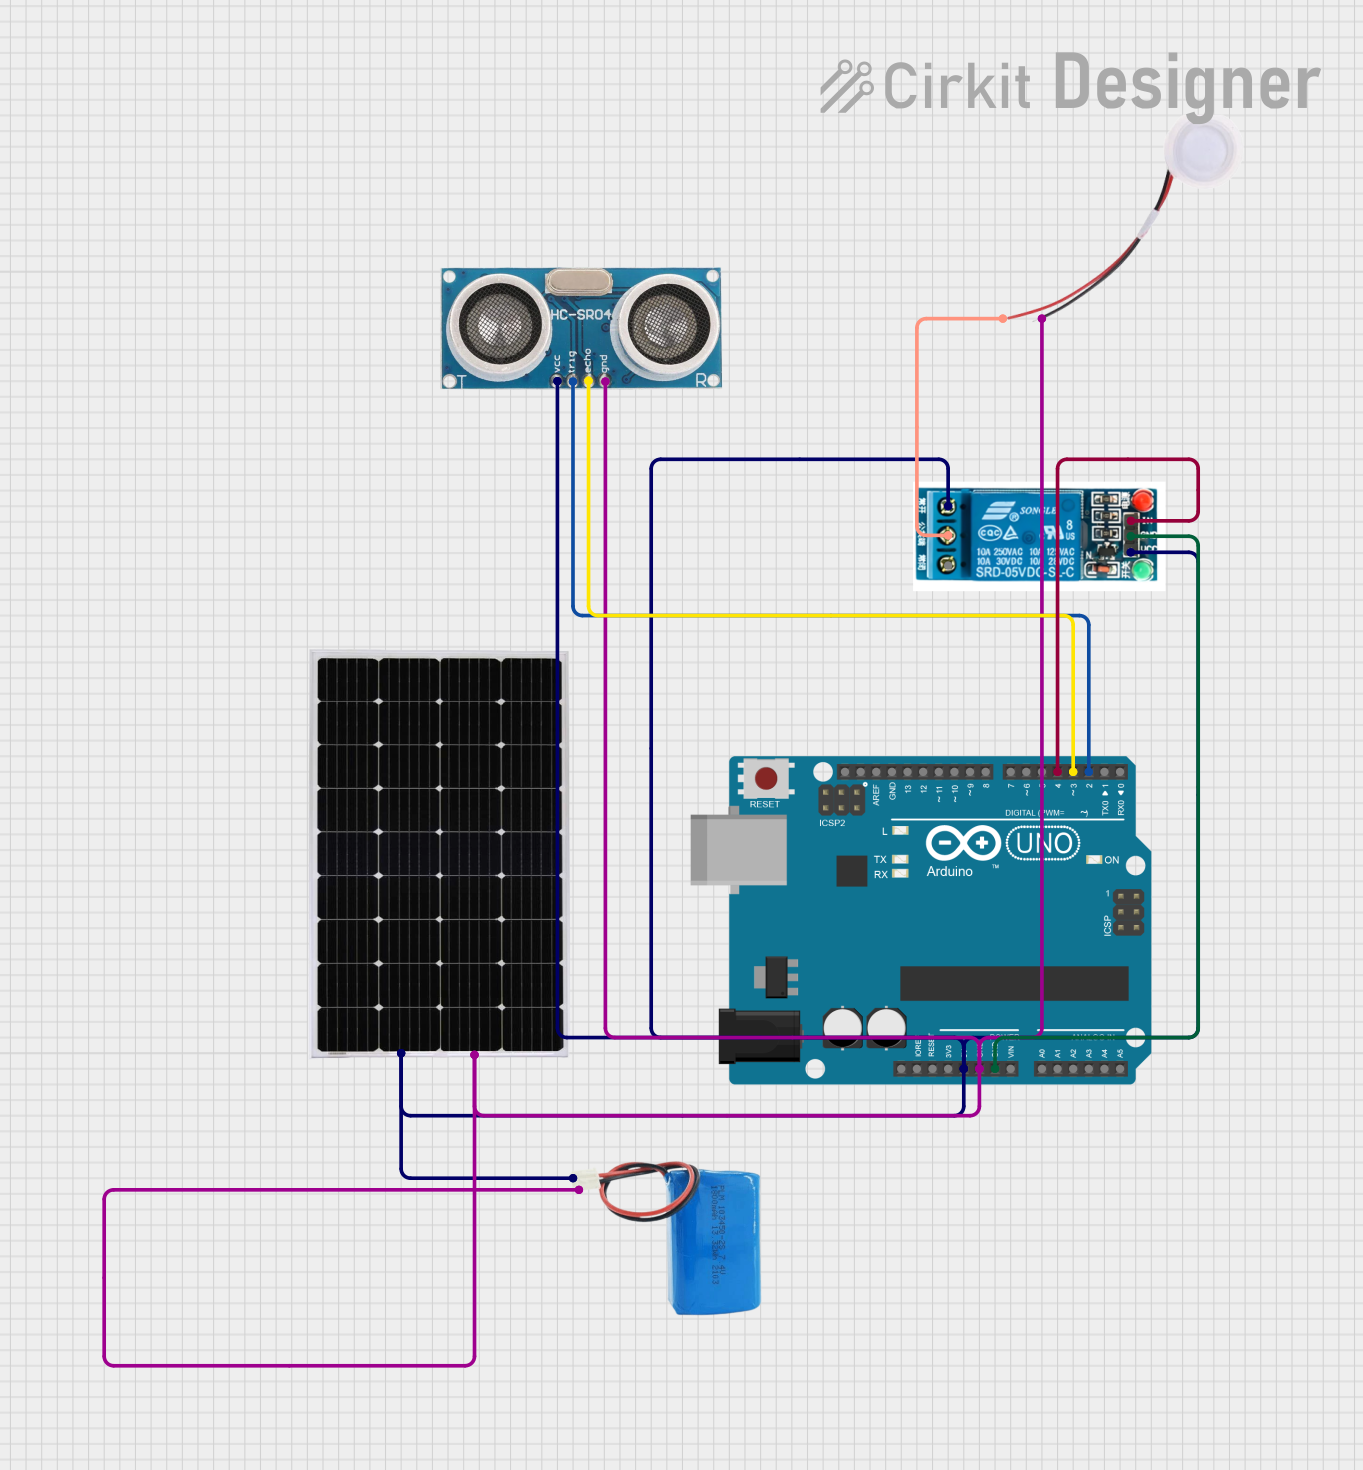
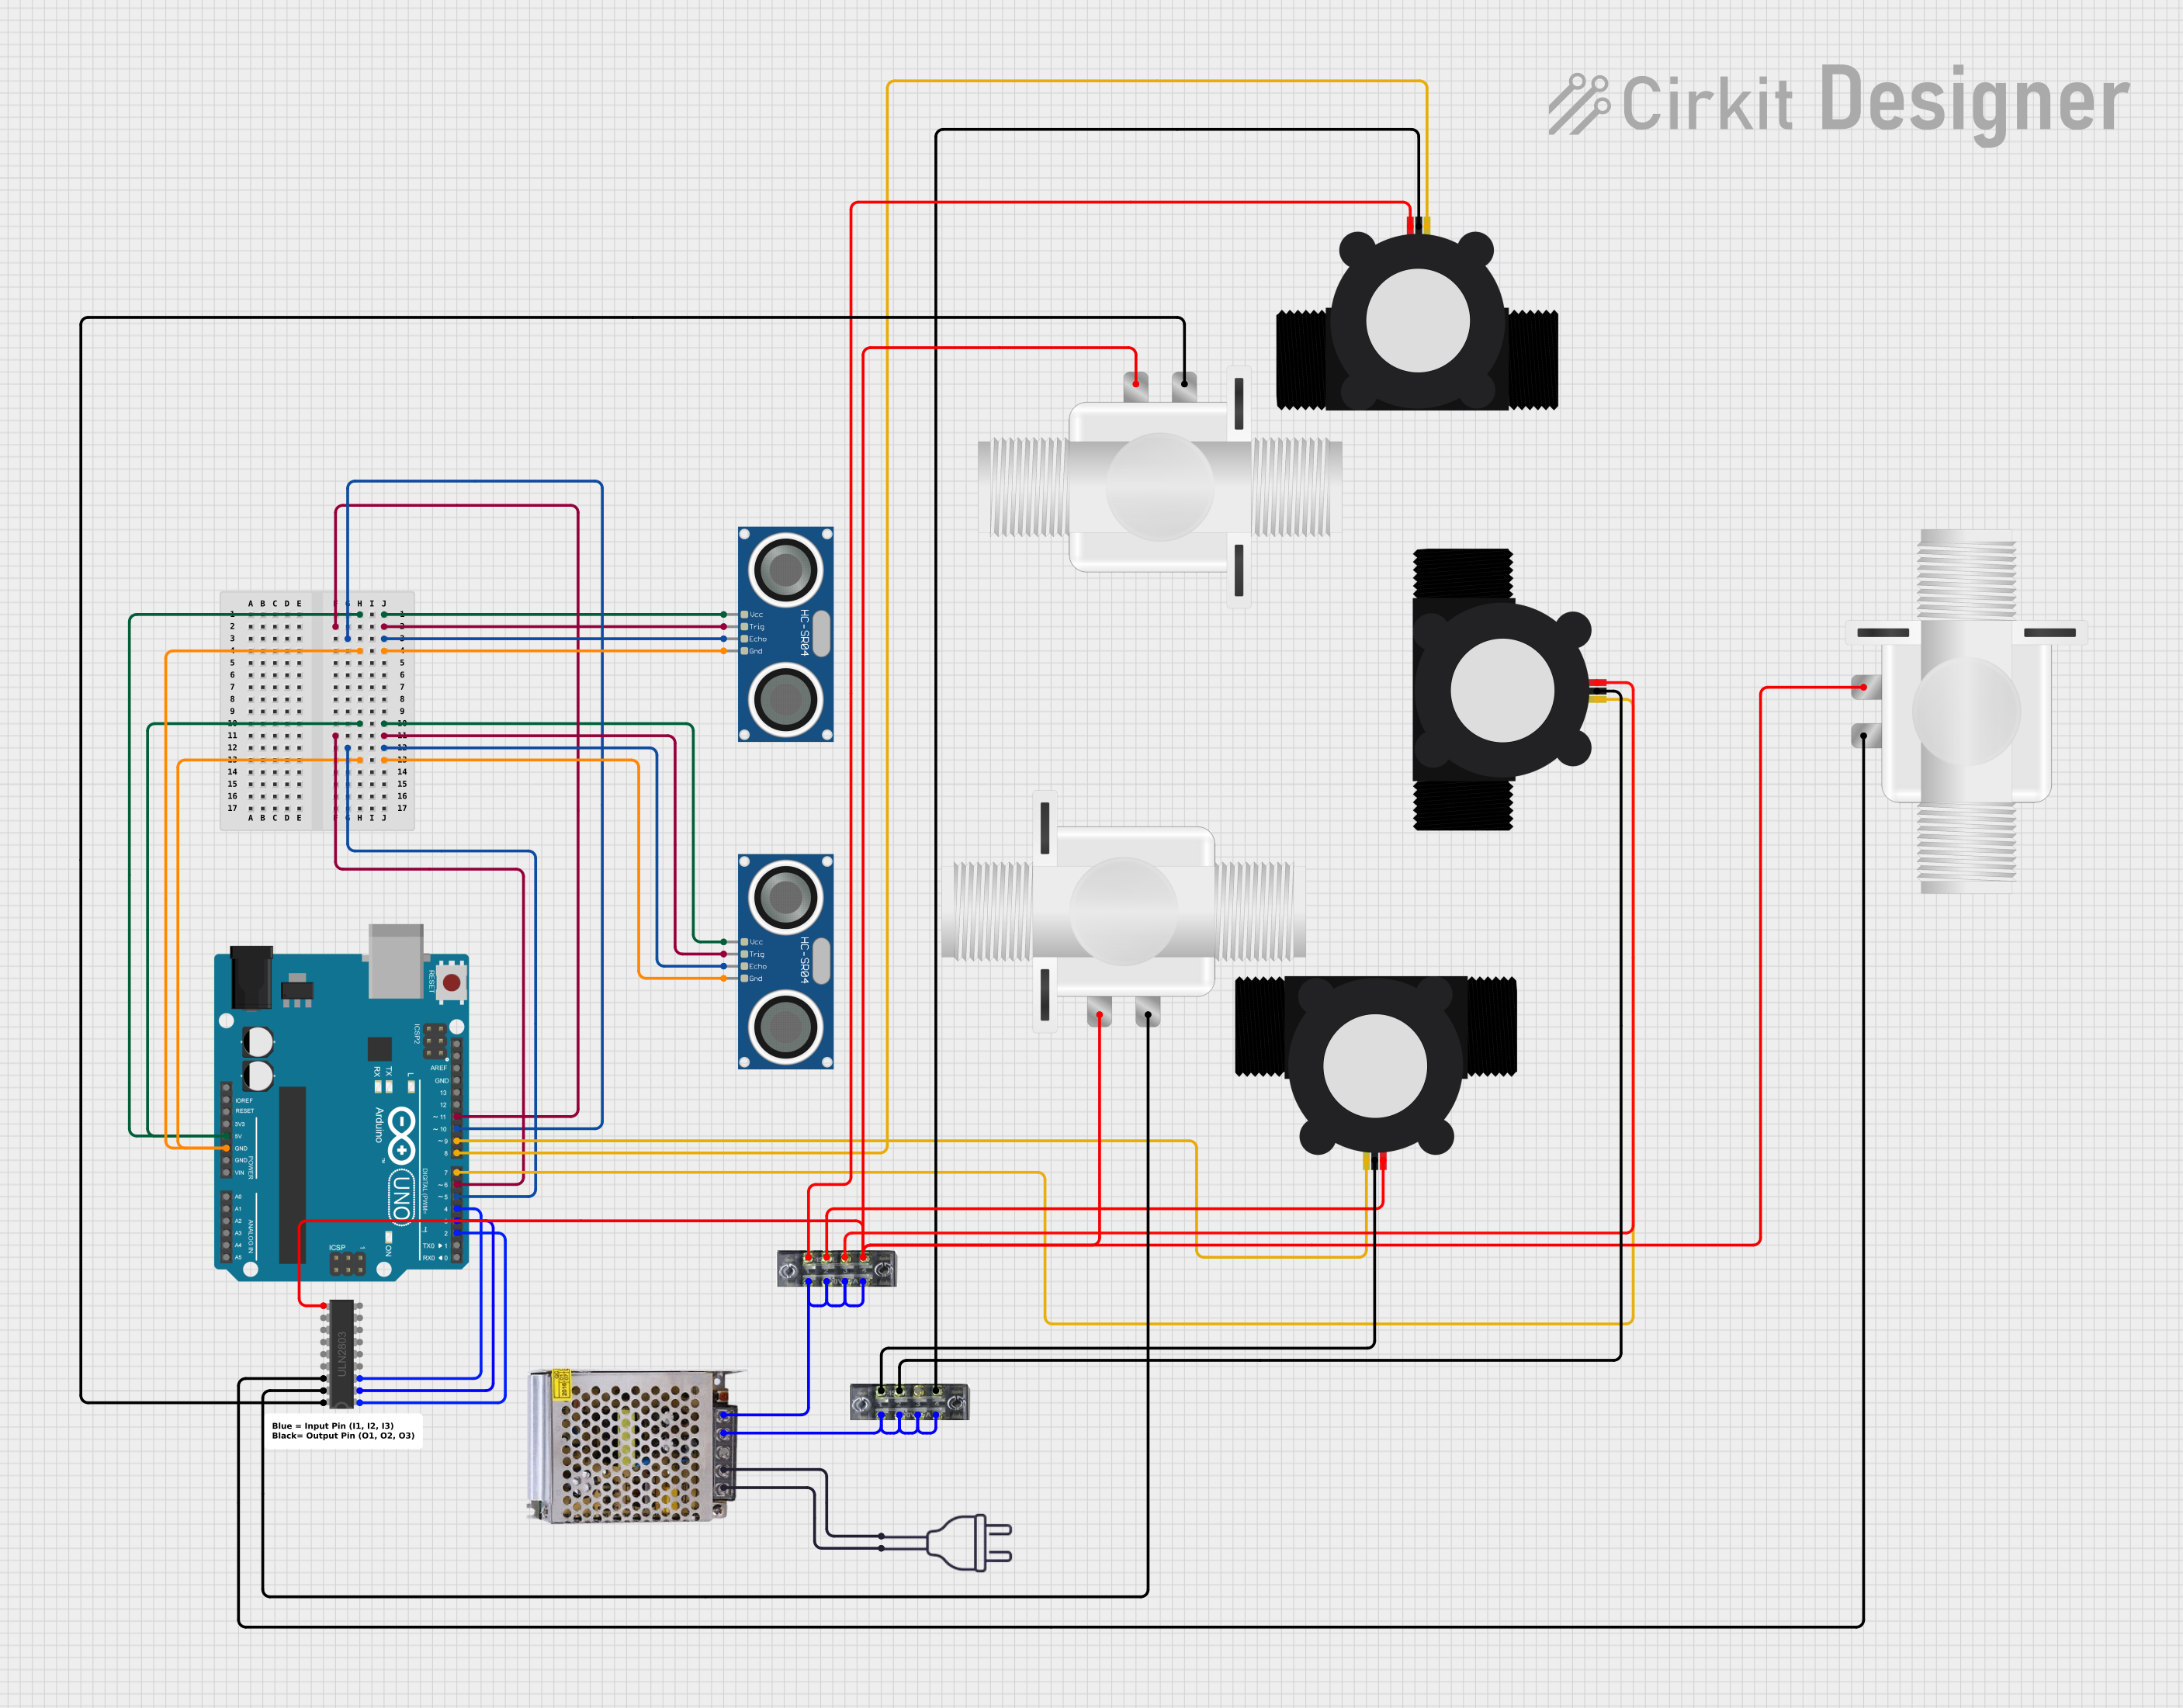

Explore Projects Built with Ultrasonic Humidifier Transducer
Common Applications and Use Cases
- Humidifiers: Used in household and industrial humidifiers to maintain optimal humidity levels.
- Aromatherapy Devices: Integrated into diffusers for dispersing essential oils.
- Medical Equipment: Found in nebulizers for respiratory therapy.
- Agriculture: Used in greenhouses to maintain humidity for plant growth.
- Electronics Cooling: Applied in cooling systems for delicate electronic components.
Technical Specifications
Below are the key technical details of a typical Ultrasonic Humidifier Transducer:
| Parameter | Value |
|---|---|
| Operating Voltage | 24V AC (typical) |
| Operating Frequency | 1.7 MHz |
| Power Consumption | 10W - 30W (depending on model) |
| Atomization Rate | 300 mL/h - 500 mL/h |
| Diameter | 16 mm - 25 mm (varies by model) |
| Material | Piezoelectric ceramic |
| Operating Temperature | 5°C to 50°C |
| Lifespan | ~5000 hours (typical) |
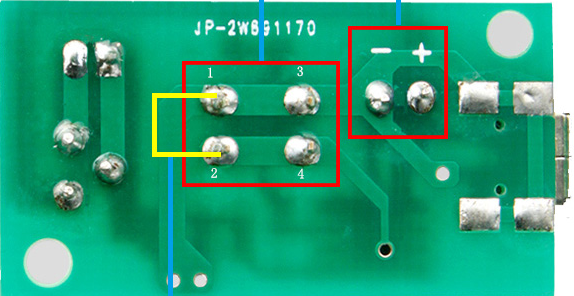
Pin Configuration and Descriptions
The Ultrasonic Humidifier Transducer typically has two connection points:
| Pin | Description |
|---|---|
| Pin 1 | Positive terminal for AC voltage input |
| Pin 2 | Negative terminal for AC voltage input |
Note: Some transducers may come with additional components like a driver circuit or water level sensor. Refer to the specific datasheet for such models.
Usage Instructions
How to Use the Component in a Circuit
- Power Supply: Connect the transducer to a 24V AC power source. Ensure the power supply matches the voltage and frequency requirements of the transducer.
- Driver Circuit: Use a compatible driver circuit to generate the required high-frequency signal (1.7 MHz). The driver circuit ensures the transducer operates efficiently.
- Water Reservoir: Place the transducer in a water reservoir. Ensure the water level is sufficient to cover the transducer but not too high to submerge it completely.
- Humidity Control: If used in a humidifier, connect the transducer to a humidity sensor and control circuit to regulate mist output.
Important Considerations and Best Practices
- Water Quality: Use distilled or demineralized water to prevent mineral buildup on the transducer surface.
- Cooling: Avoid overheating by ensuring proper ventilation and water coverage during operation.
- Polarity: Double-check the polarity of the connections to avoid damage to the transducer.
- Maintenance: Clean the transducer regularly to remove any residue or deposits that may affect performance.
- Driver Compatibility: Ensure the driver circuit matches the transducer's frequency and power requirements.
Example: Connecting to an Arduino UNO
While the Ultrasonic Humidifier Transducer itself cannot be directly controlled by an Arduino UNO due to its high-frequency and power requirements, the Arduino can be used to control the driver circuit. Below is an example of how to use an Arduino to toggle the transducer via a relay:
// Example code to control an Ultrasonic Humidifier Transducer via a relay
const int relayPin = 7; // Pin connected to the relay module

void setup() {
  pinMode(relayPin, OUTPUT); // Set relay pin as output
  digitalWrite(relayPin, LOW); // Ensure relay is off at startup
}

void loop() {
  digitalWrite(relayPin, HIGH); // Turn on the transducer
  delay(5000); // Keep it on for 5 seconds
  digitalWrite(relayPin, LOW); // Turn off the transducer
  delay(5000); // Keep it off for 5 seconds
}
Note: Ensure the relay module is rated for the transducer's voltage and current.
Troubleshooting and FAQs
Common Issues and Solutions
No Mist Output:
- Cause: Insufficient water level or incorrect power supply.
- Solution: Check the water level and ensure the power supply matches the transducer's specifications.
Overheating:
- Cause: Prolonged operation without proper cooling or water coverage.
- Solution: Ensure the transducer is adequately submerged and allow cooling periods.
Reduced Mist Output:
- Cause: Mineral deposits or dirt on the transducer surface.
- Solution: Clean the transducer with a soft cloth and distilled water.
Driver Circuit Not Working:
- Cause: Incorrect frequency or damaged components.
- Solution: Verify the driver circuit's frequency and inspect for damaged parts.
FAQs
Q: Can I use tap water with the transducer?
A: It is not recommended, as tap water can cause mineral buildup, reducing efficiency.Q: How do I clean the transducer?
A: Gently wipe the surface with a soft cloth and distilled water. Avoid using abrasive materials.Q: Can the transducer operate without a driver circuit?
A: No, the transducer requires a high-frequency signal, which is generated by the driver circuit.Q: What happens if the transducer is submerged completely?
A: Submerging the transducer can damage it. Ensure only the surface is in contact with water.
This documentation provides a comprehensive guide to understanding, using, and troubleshooting the Ultrasonic Humidifier Transducer. For further details, refer to the specific datasheet of your transducer model.