How to Use rain sensor pad: Examples, Pinouts, and Specs
Introduction
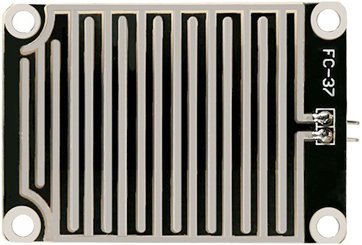
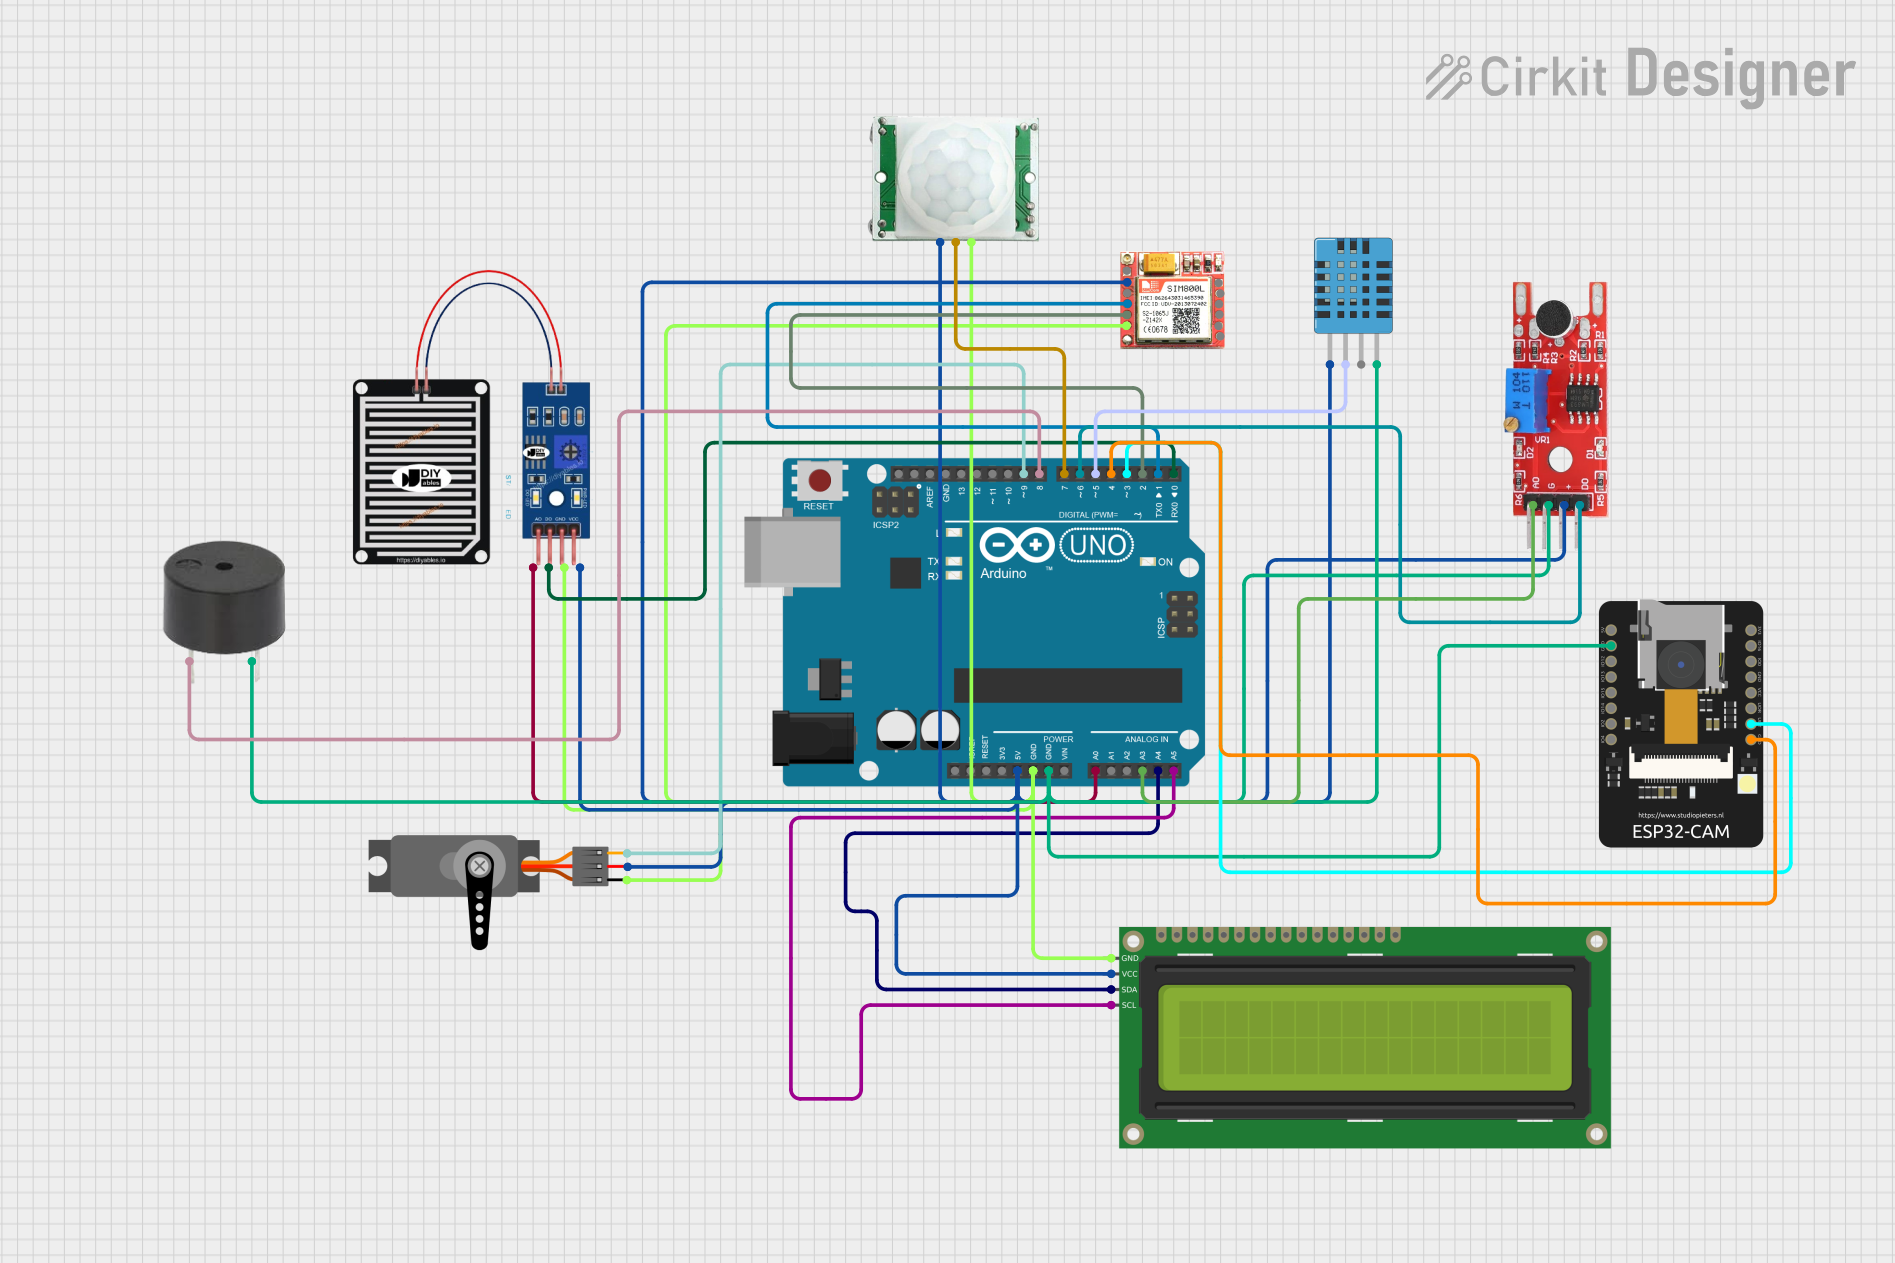
The rain sensor pad is a device designed to detect the presence of moisture or rain. It operates by using a conductive surface that changes its resistance when exposed to water. This change in resistance is then interpreted as a signal, which can be used to trigger various actions in electronic systems. Rain sensor pads are widely used in applications such as automatic irrigation systems, weather monitoring, and automotive systems (e.g., automatic windshield wipers).
Explore Projects Built with rain sensor pad
Explore Projects Built with rain sensor pad
Common Applications:
- Automatic irrigation systems: Activates or deactivates watering based on rain detection.
- Weather monitoring systems: Measures rainfall or detects wet conditions.
- Automotive systems: Controls windshield wipers in response to rain.
- Home automation: Triggers alerts or actions when rain is detected.
Technical Specifications
Below are the key technical details of a typical rain sensor pad:
| Parameter | Value |
|---|---|
| Operating Voltage | 3.3V to 5V |
| Output Signal | Analog (variable voltage) and Digital (high/low) |
| Current Consumption | < 20mA |
| Dimensions | ~30mm x 40mm (varies by model) |
| Material | Conductive PCB with moisture-sensitive traces |
| Operating Temperature | -40°C to 85°C |
Pin Configuration and Descriptions
The rain sensor pad typically comes with a 3-pin interface. Below is the pinout description:
| Pin | Name | Description |
|---|---|---|
| 1 | VCC | Power supply input (3.3V to 5V). Connect to the positive terminal of the power source. |
| 2 | GND | Ground connection. Connect to the negative terminal of the power source. |
| 3 | OUT | Output signal. Provides an analog voltage or digital high/low signal based on moisture level. |
Usage Instructions
How to Use the Rain Sensor Pad in a Circuit
Connect the Power Supply:
- Connect the
VCCpin to a 3.3V or 5V power source. - Connect the
GNDpin to the ground of the power source.
- Connect the
Connect the Output Pin:
- For analog output, connect the
OUTpin to an analog input pin of a microcontroller (e.g., Arduino). - For digital output, connect the
OUTpin to a digital input pin of a microcontroller. Adjust the onboard potentiometer to set the moisture threshold for the digital signal.
- For analog output, connect the
Place the Sensor:
- Position the rain sensor pad in an open area where it can detect rain or moisture effectively.
- Ensure the conductive surface is exposed to the environment but avoid submerging the sensor in water.
Read the Output:
- For analog output, read the voltage level to determine the moisture intensity.
- For digital output, monitor the high/low signal to detect rain presence.
Important Considerations and Best Practices
- Avoid prolonged exposure to water: While the sensor is designed to detect moisture, continuous exposure to water can corrode the conductive traces.
- Use a protective coating: If the sensor will be used outdoors for extended periods, consider applying a waterproof coating to the non-conductive parts.
- Adjust the sensitivity: Use the onboard potentiometer to fine-tune the sensitivity of the digital output.
- Debounce the signal: When using the digital output, implement software debouncing to avoid false triggers caused by intermittent moisture.
Example Code for Arduino UNO
Below is an example of how to use the rain sensor pad with an Arduino UNO:
// Define pin connections
const int rainSensorPin = A0; // Analog pin connected to the sensor's OUT pin
const int digitalPin = 2;     // Digital pin for digital output (optional)

// Threshold for rain detection (adjust based on your sensor and environment)
const int rainThreshold = 500;

void setup() {
  Serial.begin(9600);          // Initialize serial communication
  pinMode(digitalPin, INPUT);  // Set digital pin as input
}

void loop() {
  // Read analog value from the rain sensor
  int analogValue = analogRead(rainSensorPin);

  // Print the analog value to the Serial Monitor
  Serial.print("Analog Value: ");
  Serial.println(analogValue);

  // Check if the analog value exceeds the rain threshold
  if (analogValue > rainThreshold) {
    Serial.println("Rain detected!");
  } else {
    Serial.println("No rain detected.");
  }

  // Optional: Read digital output
  int digitalValue = digitalRead(digitalPin);
  if (digitalValue == HIGH) {
    Serial.println("Rain detected (Digital Output)!");
  }

  delay(1000); // Wait for 1 second before the next reading
}
Troubleshooting and FAQs
Common Issues and Solutions
No output signal from the sensor:
- Ensure the sensor is properly connected to the power supply and ground.
- Verify that the
OUTpin is connected to the correct input pin on the microcontroller.
False triggers or inconsistent readings:
- Adjust the sensitivity using the onboard potentiometer.
- Check for debris or dirt on the sensor pad and clean it gently with a dry cloth.
Corrosion on the sensor pad:
- Avoid prolonged exposure to water or use a protective coating to prevent corrosion.
Analog readings are too low or too high:
- Ensure the sensor is powered with the correct voltage (3.3V to 5V).
- Verify that the sensor is not submerged in water, as it is designed for surface moisture detection.
FAQs
Q: Can the rain sensor pad be used indoors?
A: Yes, the sensor can be used indoors to detect spills or leaks, but it is primarily designed for outdoor use.
Q: How do I clean the rain sensor pad?
A: Use a soft, dry cloth to gently clean the conductive surface. Avoid using water or abrasive materials.
Q: Can the sensor detect the intensity of rain?
A: Yes, the analog output provides a variable voltage that corresponds to the moisture level, which can be used to estimate rain intensity.
Q: Is the rain sensor pad waterproof?
A: The sensor pad is water-resistant but not fully waterproof. Prolonged exposure to water may damage the conductive traces.