How to Use TPA3116D2: Examples, Pinouts, and Specs
Introduction
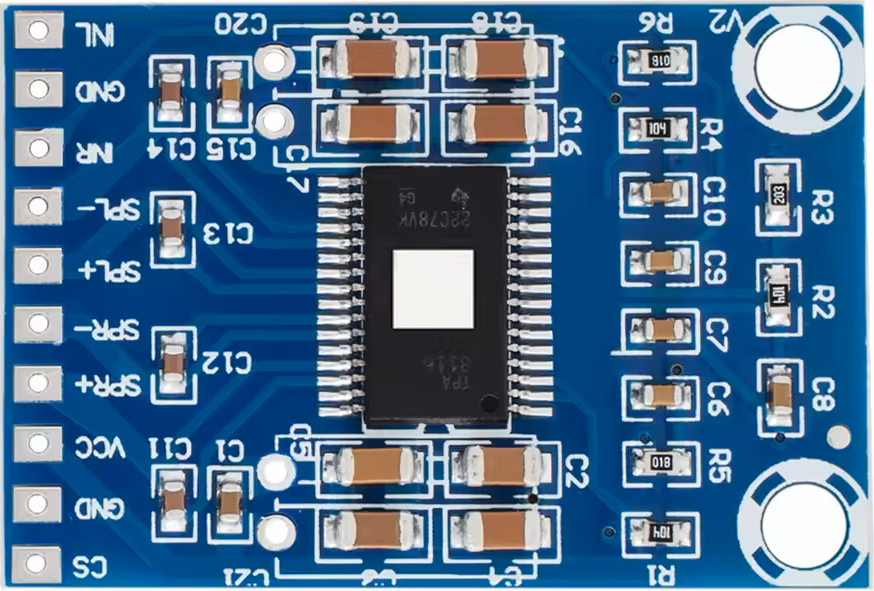
The TPA3116D2 is a high-efficiency Class D audio amplifier designed for driving speakers in various audio applications. It is capable of delivering high output power with low distortion, making it an excellent choice for high-quality audio systems. The component features a built-in power management system, thermal protection, and short-circuit protection, ensuring reliable operation in demanding environments. Its compact design and high efficiency make it suitable for use in home audio systems, portable speakers, soundbars, and other audio devices.
Explore Projects Built with TPA3116D2


Explore Projects Built with TPA3116D2
Common Applications:
- Home audio systems
- Portable Bluetooth speakers
- Soundbars and TV audio systems
- DIY audio amplifier projects
- Public address systems
Technical Specifications
Key Technical Details:
| Parameter | Value |
|---|---|
| Supply Voltage Range | 4.5V to 26V |
| Output Power | Up to 50W per channel (stereo, 4Ω load) |
| Efficiency | Up to 90% |
| Total Harmonic Distortion (THD) | < 0.1% at 1W, 1kHz |
| Signal-to-Noise Ratio (SNR) | > 100 dB |
| Operating Temperature Range | -40°C to 85°C |
| Amplifier Type | Class D |
| Channels Supported | Stereo (2-channel) |
Pin Configuration and Descriptions:
The TPA3116D2 is typically available in a 32-pin HTSSOP package. Below is the pin configuration:
| Pin Number | Pin Name | Description |
|---|---|---|
| 1 | PVCC | Power supply for the output stage |
| 2 | OUT_A+ | Positive output for channel A |
| 3 | OUT_A- | Negative output for channel A |
| 4 | GND | Ground |
| 5 | SDZ | Shutdown control (active low) |
| 6 | FAULTZ | Fault reporting (active low) |
| 7 | GAIN0 | Gain setting input 0 |
| 8 | GAIN1 | Gain setting input 1 |
| 9 | AVCC | Power supply for the analog section |
| 10 | IN_A+ | Positive audio input for channel A |
| 11 | IN_A- | Negative audio input for channel A |
| 12 | IN_B+ | Positive audio input for channel B |
| 13 | IN_B- | Negative audio input for channel B |
| 14 | OUT_B+ | Positive output for channel B |
| 15 | OUT_B- | Negative output for channel B |
| 16 | MUTE | Mute control (active high) |
| 17 | OSC_IO | Oscillator frequency adjustment |
| 18 | GND | Ground |
| 19 | PVCC | Power supply for the output stage |
| 20 | NC | No connection |
Usage Instructions
How to Use the TPA3116D2 in a Circuit:
- Power Supply: Connect a DC power supply within the range of 4.5V to 26V to the PVCC pins. Ensure the power supply can provide sufficient current for the desired output power.
- Audio Input: Connect the audio signal to the IN_A+/- and IN_B+/- pins. Use decoupling capacitors if necessary to block DC offset.
- Speaker Connection: Connect the speakers to the OUT_A+/- and OUT_B+/- pins. Ensure the speaker impedance matches the amplifier's specifications (typically 4Ω or 8Ω).
- Gain Settings: Configure the gain using the GAIN0 and GAIN1 pins. Refer to the datasheet for the gain configuration table.
- Control Pins:
- Use the SDZ pin to enable or disable the amplifier. Pull it high to enable and low to shut down.
- Use the MUTE pin to mute the output. Pull it high to mute and low to unmute.
- Thermal Management: Ensure proper heat dissipation by using a heatsink or mounting the IC on a PCB with good thermal design.
Important Considerations:
- Use decoupling capacitors close to the power supply pins to reduce noise and improve stability.
- Avoid exceeding the maximum supply voltage (26V) to prevent damage to the IC.
- Ensure proper grounding to minimize noise and interference.
- Use a low-pass filter at the output if required to reduce high-frequency noise.
Example: Connecting the TPA3116D2 to an Arduino UNO
The TPA3116D2 can be used with an Arduino UNO to amplify audio signals. Below is an example of Arduino code to generate a simple PWM audio signal:
// Example: Generating a PWM audio signal for the TPA3116D2
// Connect the PWM output pin (e.g., pin 9) to the audio input of the TPA3116D2

const int pwmPin = 9; // PWM output pin

void setup() {
  pinMode(pwmPin, OUTPUT); // Set the pin as output
}

void loop() {
  // Generate a simple square wave at 1kHz
  digitalWrite(pwmPin, HIGH); // Set the pin HIGH
  delayMicroseconds(500);     // Wait for 500 microseconds (1kHz frequency)
  digitalWrite(pwmPin, LOW);  // Set the pin LOW
  delayMicroseconds(500);     // Wait for 500 microseconds
}
Note: For high-quality audio, use an external DAC or audio source instead of PWM.
Troubleshooting and FAQs
Common Issues:
No Output Sound:
- Check the power supply voltage and connections.
- Ensure the SDZ pin is pulled high to enable the amplifier.
- Verify the audio input signal is present and properly connected.
Distorted Audio:
- Ensure the speaker impedance matches the amplifier's specifications.
- Check for clipping caused by excessive input signal amplitude.
- Verify the power supply can provide sufficient current.
Overheating:
- Ensure proper heat dissipation with a heatsink or thermal pad.
- Check for short circuits at the output pins.
Fault Pin Active (FAULTZ Low):
- Check for overcurrent or short-circuit conditions.
- Verify the power supply voltage is within the specified range.
FAQs:
Q1: Can I use the TPA3116D2 with a 12V power supply?
A1: Yes, the TPA3116D2 works with a 12V power supply. However, the output power will depend on the supply voltage and speaker impedance.
Q2: What is the maximum speaker impedance supported?
A2: The TPA3116D2 supports speaker impedances of 4Ω and 8Ω. Higher impedances may reduce output power.
Q3: Can I bridge the outputs for higher power?
A3: No, the TPA3116D2 is designed for stereo operation and does not support bridging.
Q4: How do I adjust the gain?
A4: The gain is set using the GAIN0 and GAIN1 pins. Refer to the datasheet for the gain configuration table.
By following this documentation, you can effectively integrate the TPA3116D2 into your audio projects and troubleshoot common issues.