The Tervinal 15 Pins is a versatile electronic component designed to facilitate the connection of multiple wires in a circuit. With 15 individual pins, it allows for organized and efficient wiring, making it an essential tool for prototyping, industrial applications, and complex circuit designs. Its robust design ensures reliable connections, reducing the risk of loose or faulty wiring.
Explore Projects Built with Tervinal 15 pins
Use Cirkit Designer to design, explore, and prototype these projects online. Some projects support real-time simulation. Click "Open Project" to start designing instantly!
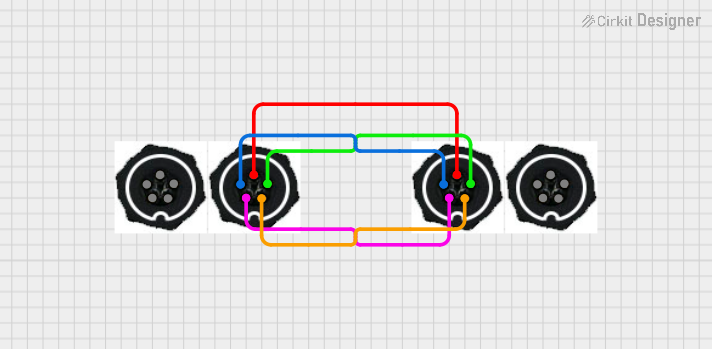
This circuit consists of four 5-pin connectors, where two of the connectors are fully interconnected pin-to-pin. The purpose of this setup could be to create a parallel connection between the two 5-pin connectors, possibly for signal distribution or redundancy.
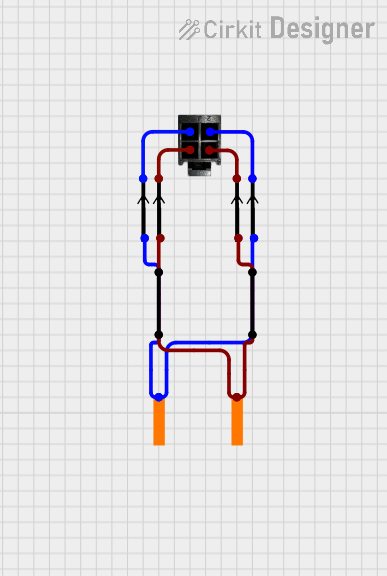
This circuit appears to be a simple interconnection of pins and points, with a 4-pin component serving as a central hub. The red and black pins of the 4-pin component are connected to various other pins and edge components, forming a basic network of connections without any active components or microcontroller logic.
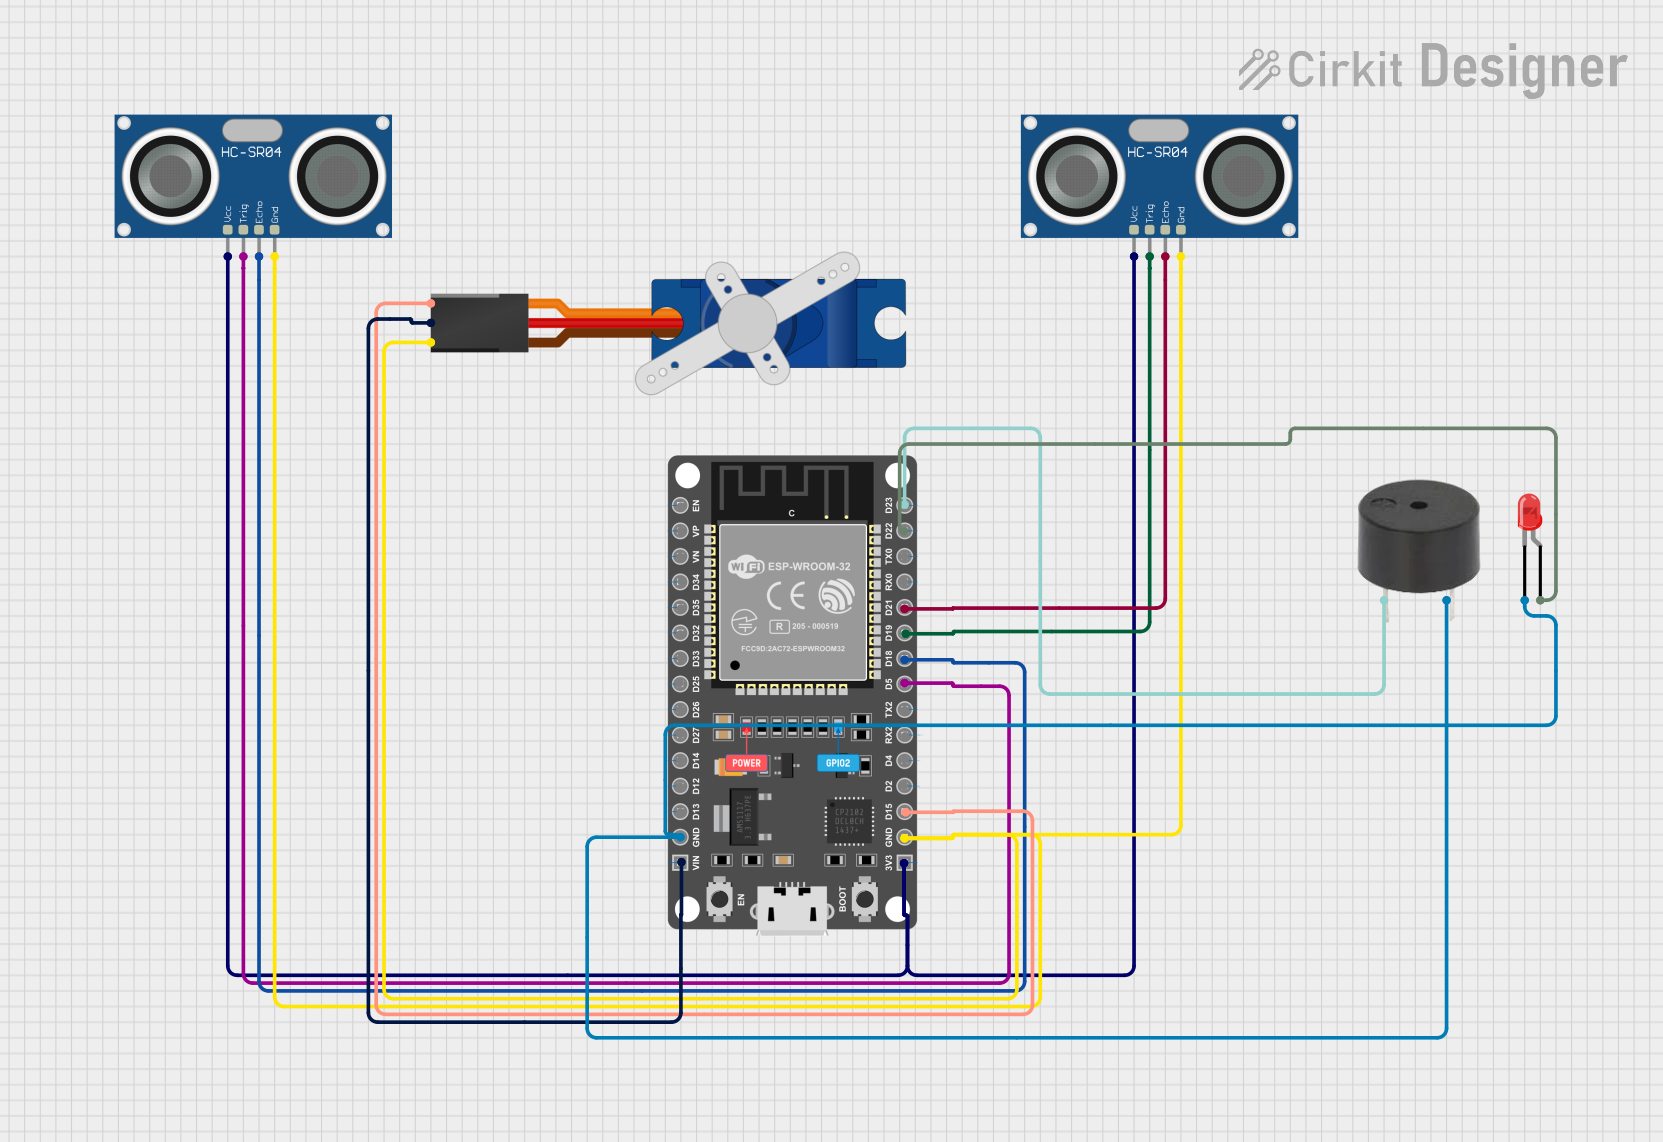
This circuit features an ESP32 microcontroller connected to two HC-SR04 ultrasonic sensors, a Tower Pro SG90 servo motor, a buzzer, and an LED. The ESP32 controls the servo motor via a signal connection on pin D15 and interfaces with the ultrasonic sensors through pins D5, D18, D19, and D21 for triggering and receiving echo signals. The LED and buzzer are connected to pins D22 and D23 respectively, allowing the ESP32 to activate visual and auditory indicators.
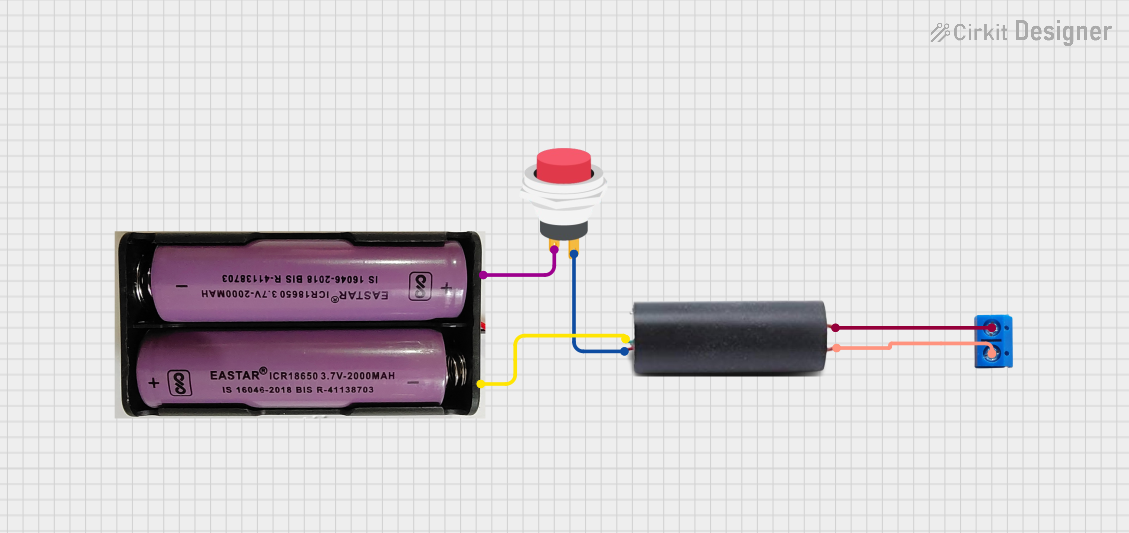
This circuit features a high voltage generator connected to a terminal PCB for output, with its power supply controlled by a 2-pin push switch. The high voltage generator's VCC is connected through the switch, allowing the user to turn the high voltage output on and off. The circuit is powered by a 7.4V battery, with the positive terminal connected to the switch and the negative terminal connected to the generator's ground.
Organizing and managing connections in complex systems
Technical Specifications
The Tervinal 15 Pins is designed to handle a wide range of applications. Below are its key technical details:
Specification
Value
Number of Pins
15
Maximum Voltage Rating
250V AC/DC
Maximum Current Rating
10A per pin
Material
High-quality thermoplastic (body)
Pin Material
Nickel-plated brass
Mounting Style
Screw terminal
Operating Temperature
-40°C to 85°C
Dimensions
150mm x 20mm x 15mm
Pin Configuration and Descriptions
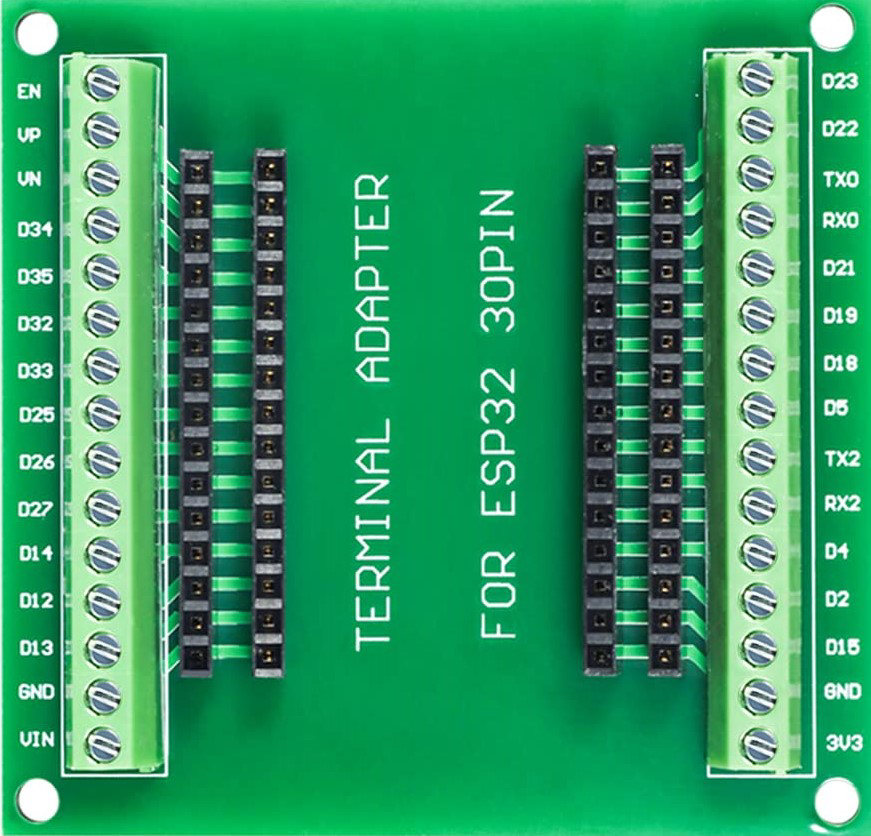
The Tervinal 15 Pins does not have a specific pinout like ICs or microcontrollers. Instead, each pin is a screw terminal designed to connect a single wire. Below is a general description of the pin layout:
Pin Number
Description
1 to 15
Individual screw terminals for wire connections. Each pin is isolated from the others to prevent short circuits.
Usage Instructions
How to Use the Tervinal 15 Pins in a Circuit
Prepare the Wires: Strip the insulation from the ends of the wires you want to connect, exposing about 5-7mm of the conductor.
Insert the Wires: Loosen the screw on the desired terminal, insert the stripped wire into the opening, and tighten the screw to secure the connection.
Verify Connections: Ensure that the wires are firmly held in place and that no exposed conductor is touching adjacent terminals.
Mount the Tervinal: If needed, mount the Tervinal on a panel or enclosure using screws or adhesive for stability.
Important Considerations and Best Practices
Avoid Overloading: Do not exceed the maximum voltage or current rating of 250V and 10A per pin.
Use Proper Tools: Use a screwdriver that fits the terminal screws to avoid damaging them.
Wire Gauge Compatibility: Ensure the wires used are compatible with the terminal size (typically 16-22 AWG).
Prevent Short Circuits: Double-check that no exposed wires are touching adjacent terminals.
Environmental Conditions: Avoid using the Tervinal in environments with excessive moisture or temperatures beyond its operating range.
Example: Connecting to an Arduino UNO
The Tervinal 15 Pins can be used to organize connections between an Arduino UNO and external components. Below is an example of how to connect an LED and a resistor using the Tervinal:
Circuit Diagram
Pin 1: Connect to Arduino UNO digital pin (e.g., D13).
Pin 2: Connect to the positive leg of the LED.
Pin 3: Connect the negative leg of the LED to one end of a resistor.
Pin 4: Connect the other end of the resistor to the Arduino GND.
Arduino Code
// This code blinks an LED connected to the Tervinal 15 Pins via Arduino UNO

const int ledPin = 13; // Pin connected to the LED via the Tervinal

void setup() {
  pinMode(ledPin, OUTPUT); // Set the LED pin as an output
}

void loop() {
  digitalWrite(ledPin, HIGH); // Turn the LED on
  delay(1000);               // Wait for 1 second
  digitalWrite(ledPin, LOW);  // Turn the LED off
  delay(1000);               // Wait for 1 second
}
Troubleshooting and FAQs
Common Issues Users Might Face
Loose Connections: Wires may come loose if the screws are not tightened properly.
Solution: Ensure screws are securely tightened without over-tightening, which could damage the wire or terminal.
Short Circuits: Exposed wires touching adjacent terminals can cause short circuits.
Solution: Use heat shrink tubing or electrical tape to insulate exposed wire ends.
Overheating: Excessive current can cause the terminal to overheat.
Solution: Verify that the current does not exceed the 10A per pin rating.
Corrosion: Terminals may corrode in humid environments.
Solution: Use the Tervinal in a dry environment or apply a protective coating to the terminals.
FAQs
Q: Can I use the Tervinal 15 Pins for high-power applications?
A: The Tervinal is rated for a maximum of 10A per pin. For high-power applications, ensure the current does not exceed this limit and use appropriate wire gauges.
Q: Is the Tervinal suitable for outdoor use?
A: The Tervinal is not waterproof. If used outdoors, it must be enclosed in a weatherproof housing.
Q: Can I connect multiple wires to a single pin?
A: While possible, it is not recommended as it may compromise the connection's reliability. Use one wire per pin for best results.
Q: How do I clean the Tervinal?
A: Use a dry cloth or a soft brush to remove dust. Avoid using water or cleaning agents that could damage the material.
This concludes the documentation for the Tervinal 15 Pins.

 Open Project in Cirkit Designer