
How to Use MOSFET-NCHANNEL: Examples, Pinouts, and Specs
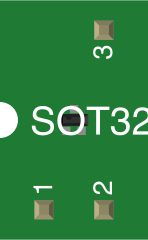
 Design with MOSFET-NCHANNEL in Cirkit Designer
Introduction
- The MOSFET-NCHANNEL is a type of field-effect transistor (FET) that utilizes an n-type semiconductor for its channel. It operates by allowing current to flow from the drain to the source when a positive voltage is applied to the gate terminal.
- Commonly used in switching and amplification applications, the MOSFET-NCHANNEL is a versatile component found in power supplies, motor drivers, LED drivers, and digital circuits. Its high efficiency and fast switching capabilities make it ideal for modern electronic designs.
Explore Projects Built with MOSFET-NCHANNEL
 Open Project in Cirkit Designer
 Open Project in Cirkit Designer
 Open Project in Cirkit Designer
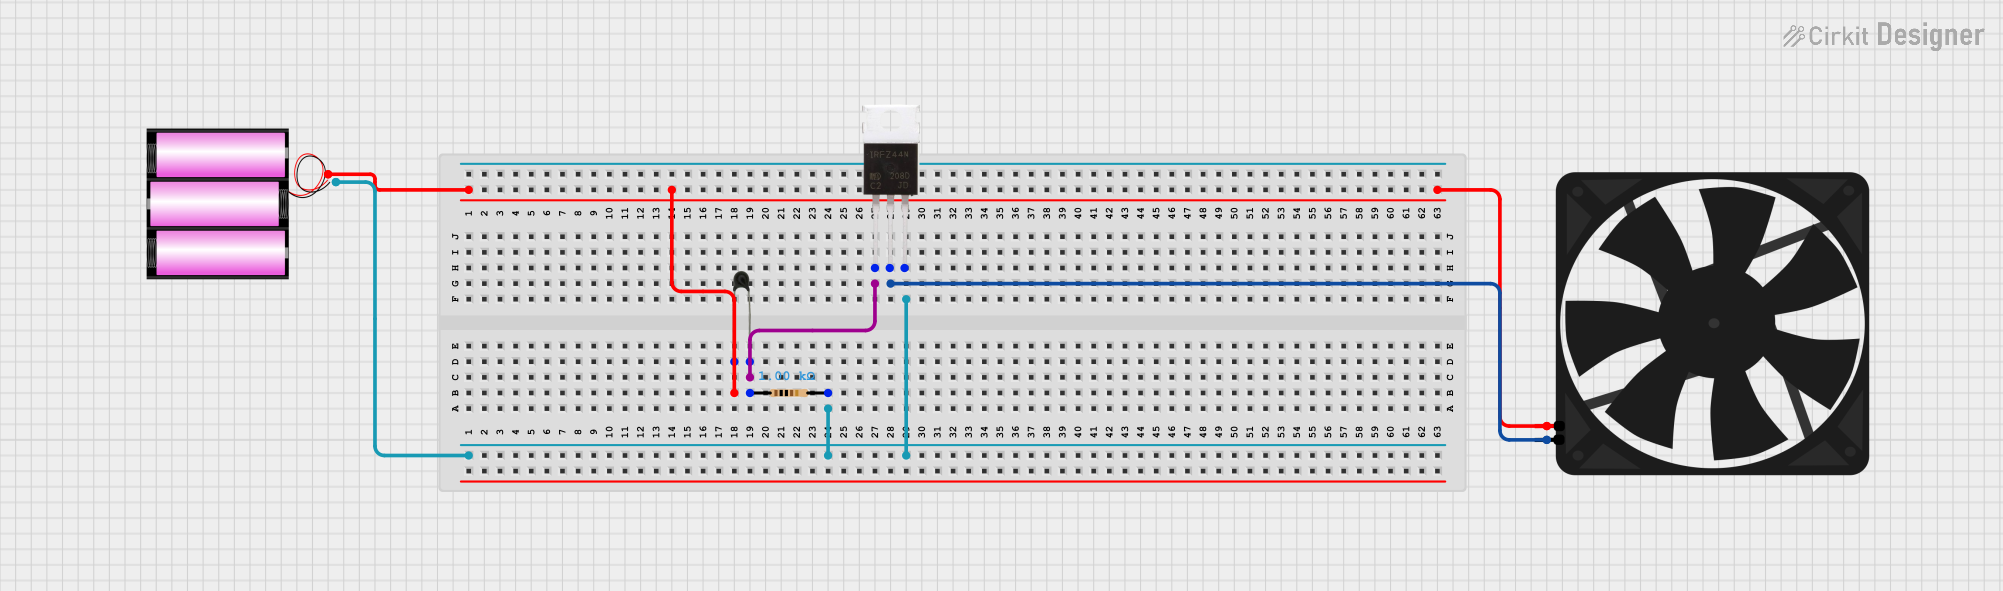 Open Project in Cirkit Designer
Explore Projects Built with MOSFET-NCHANNEL
Open Project in Cirkit DesignerOpen Project in Cirkit DesignerOpen Project in Cirkit DesignerOpen Project in Cirkit DesignerTechnical Specifications
- Type: N-Channel MOSFET
- Operating Voltage: VGS (Gate-Source Voltage) typically ranges from 2V to 20V
- Drain-Source Voltage (VDS): Up to 100V or more (varies by model)
- Continuous Drain Current (ID): Typically ranges from 1A to 50A
- Power Dissipation: Depends on the package, typically 1W to 200W
- Threshold Voltage (VGS(th)): 1V to 4V
- RDS(on) (On-Resistance): As low as a few milliohms for high-efficiency designs
- Package Types: TO-220, TO-247, SOT-23, DPAK, etc.
Pin Configuration and Descriptions
Below is the typical pin configuration for a standard MOSFET-NCHANNEL in a TO-220 package:
| Pin Number | Pin Name | Description |
|---|---|---|
| 1 | Gate | Controls the flow of current between the drain and source. |
| 2 | Drain | The terminal where current enters the MOSFET. |
| 3 | Source | The terminal where current exits the MOSFET. |
| Tab | Drain | Often connected to the drain for heat dissipation. |
For surface-mount packages like SOT-23, the pin configuration may vary slightly. Always refer to the datasheet of the specific MOSFET model.
Usage Instructions
How to Use the MOSFET-NCHANNEL in a Circuit
Basic Switching Circuit:
- Connect the source terminal to ground.
- Connect the drain terminal to the load (e.g., a motor or LED) and then to the positive supply voltage.
- Apply a positive voltage (typically 5V or higher, depending on the MOSFET's threshold voltage) to the gate terminal to turn the MOSFET on, allowing current to flow through the load.
Gate Resistor:
- Use a resistor (e.g., 10Ω to 1kΩ) between the gate and the control signal to limit inrush current and protect the driving circuit.
Pull-Down Resistor:
- Add a pull-down resistor (e.g., 10kΩ) between the gate and source to ensure the MOSFET remains off when no signal is applied to the gate.
Flyback Diode:
- When driving inductive loads (e.g., motors or relays), include a flyback diode across the load to protect the MOSFET from voltage spikes.
Example: Controlling an LED with Arduino UNO
Below is an example of using an N-Channel MOSFET to control an LED with an Arduino UNO:
// Define the MOSFET gate pin
const int mosfetGatePin = 9; // Connect this pin to the MOSFET gate via a resistor

void setup() {
  pinMode(mosfetGatePin, OUTPUT); // Set the MOSFET gate pin as an output
}

void loop() {
  digitalWrite(mosfetGatePin, HIGH); // Turn the MOSFET on (LED lights up)
  delay(1000); // Wait for 1 second
  digitalWrite(mosfetGatePin, LOW);  // Turn the MOSFET off (LED turns off)
  delay(1000); // Wait for 1 second
}
Important Considerations and Best Practices
- Gate Drive Voltage: Ensure the gate voltage is sufficient to fully turn on the MOSFET (check the VGS(th) in the datasheet).
- Heat Dissipation: Use a heatsink or proper thermal management for high-power applications.
- Avoid Overvoltage: Do not exceed the maximum VDS or VGS ratings to prevent damage.
- Static Sensitivity: Handle the MOSFET carefully to avoid damage from electrostatic discharge (ESD).
Troubleshooting and FAQs
Common Issues
MOSFET Not Turning On:
- Check if the gate voltage is high enough to exceed the threshold voltage (VGS(th)).
- Verify the gate resistor value; it should not be too high.
Excessive Heat:
- Ensure the MOSFET is fully turned on by providing adequate gate drive voltage.
- Check for proper heatsinking and thermal management.
Load Not Operating:
- Verify the connections to the drain and source terminals.
- Check if the load is functional and properly connected.
MOSFET Damaged:
- Ensure the voltage and current ratings are not exceeded.
- Use a flyback diode for inductive loads to prevent voltage spikes.
FAQs
Q1: Can I use a 3.3V signal to drive the MOSFET?
A1: It depends on the MOSFET's threshold voltage (VGS(th)). Many MOSFETs require at least 5V to fully turn on. Look for "logic-level" MOSFETs designed for 3.3V operation.
Q2: Why is my MOSFET heating up even with a small load?
A2: This could be due to insufficient gate drive voltage, causing the MOSFET to operate in the linear region instead of fully turning on. Ensure the gate voltage is above the recommended level.
Q3: Can I use an N-Channel MOSFET for high-side switching?
A3: Yes, but it requires a gate driver circuit to provide a voltage higher than the supply voltage. For simpler designs, consider using a P-Channel MOSFET for high-side switching.
By following this documentation, you can effectively integrate the MOSFET-NCHANNEL into your electronic projects and troubleshoot common issues. Always refer to the specific datasheet for detailed information about your MOSFET model.