How to Use Water Pump: Examples, Pinouts, and Specs
Introduction
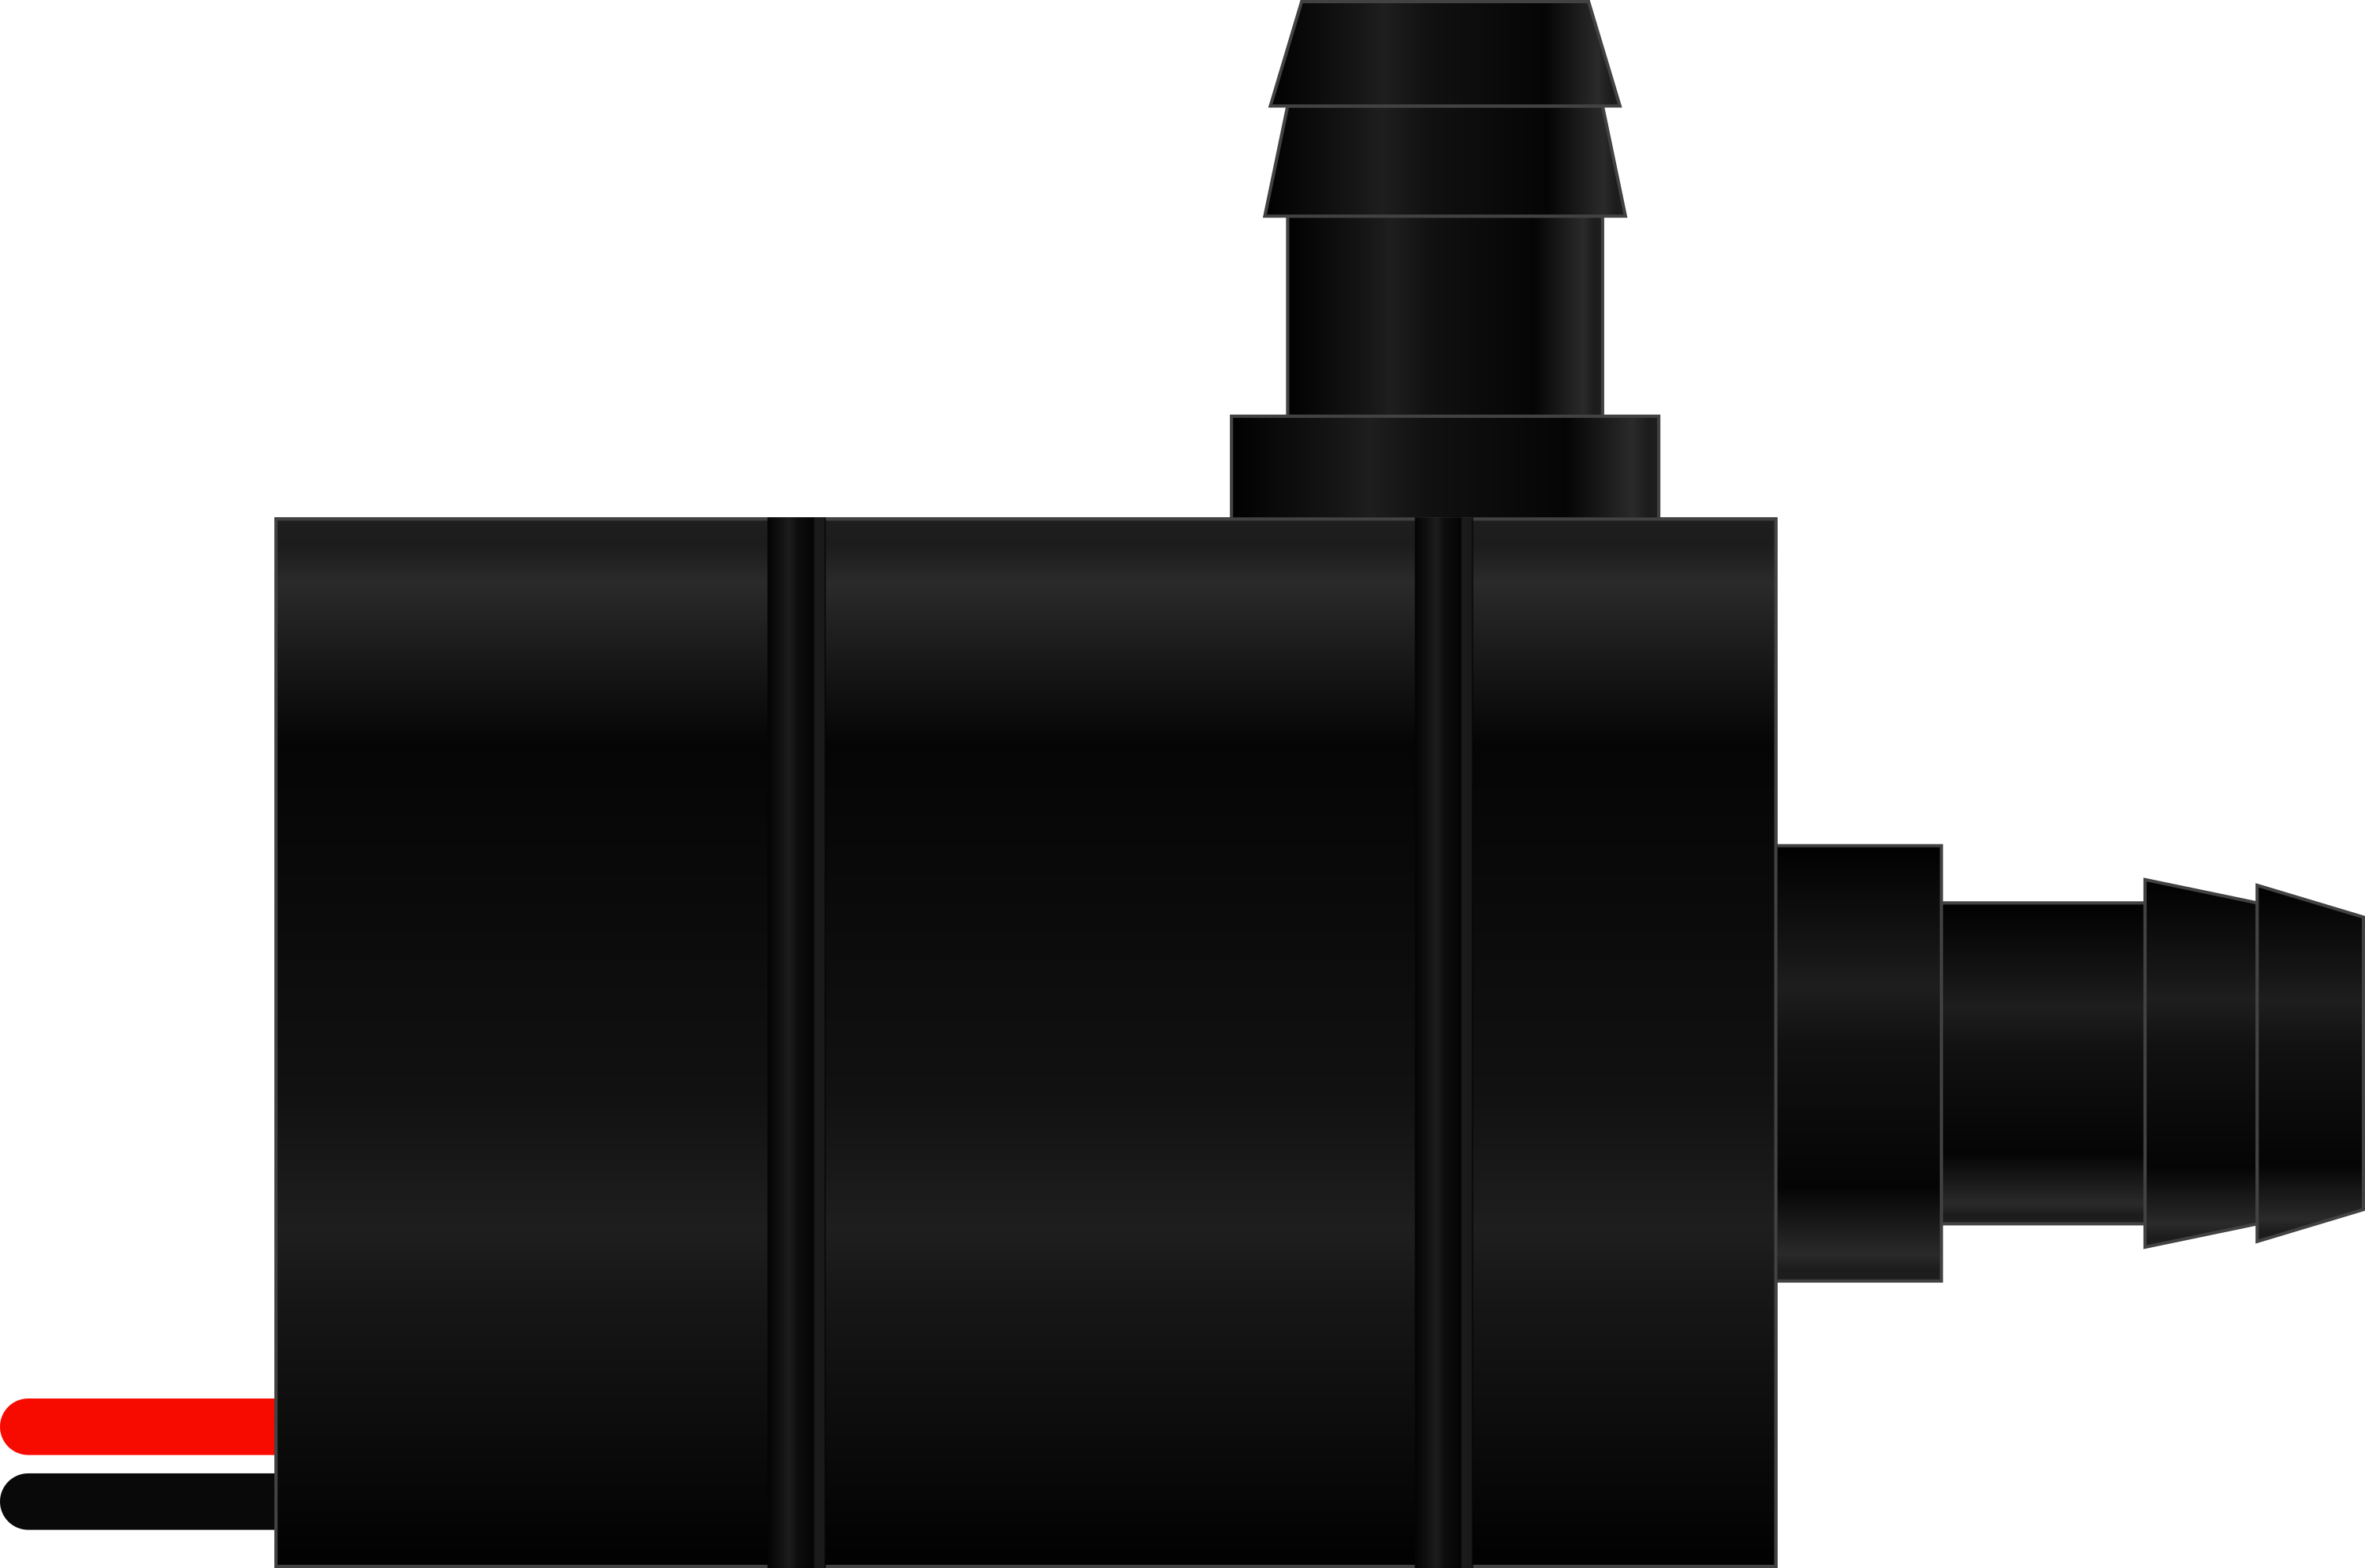
A water pump is an electronic device designed to move water from one location to another. It is commonly used in applications such as irrigation systems, drainage systems, water supply systems, aquariums, and cooling systems. Water pumps are available in various types, including submersible pumps, centrifugal pumps, and diaphragm pumps, each suited for specific use cases.
Water pumps are essential in both residential and industrial settings, providing efficient water transfer and circulation. They are often controlled electronically, making them compatible with microcontrollers like Arduino for automated operations.
Explore Projects Built with Water Pump
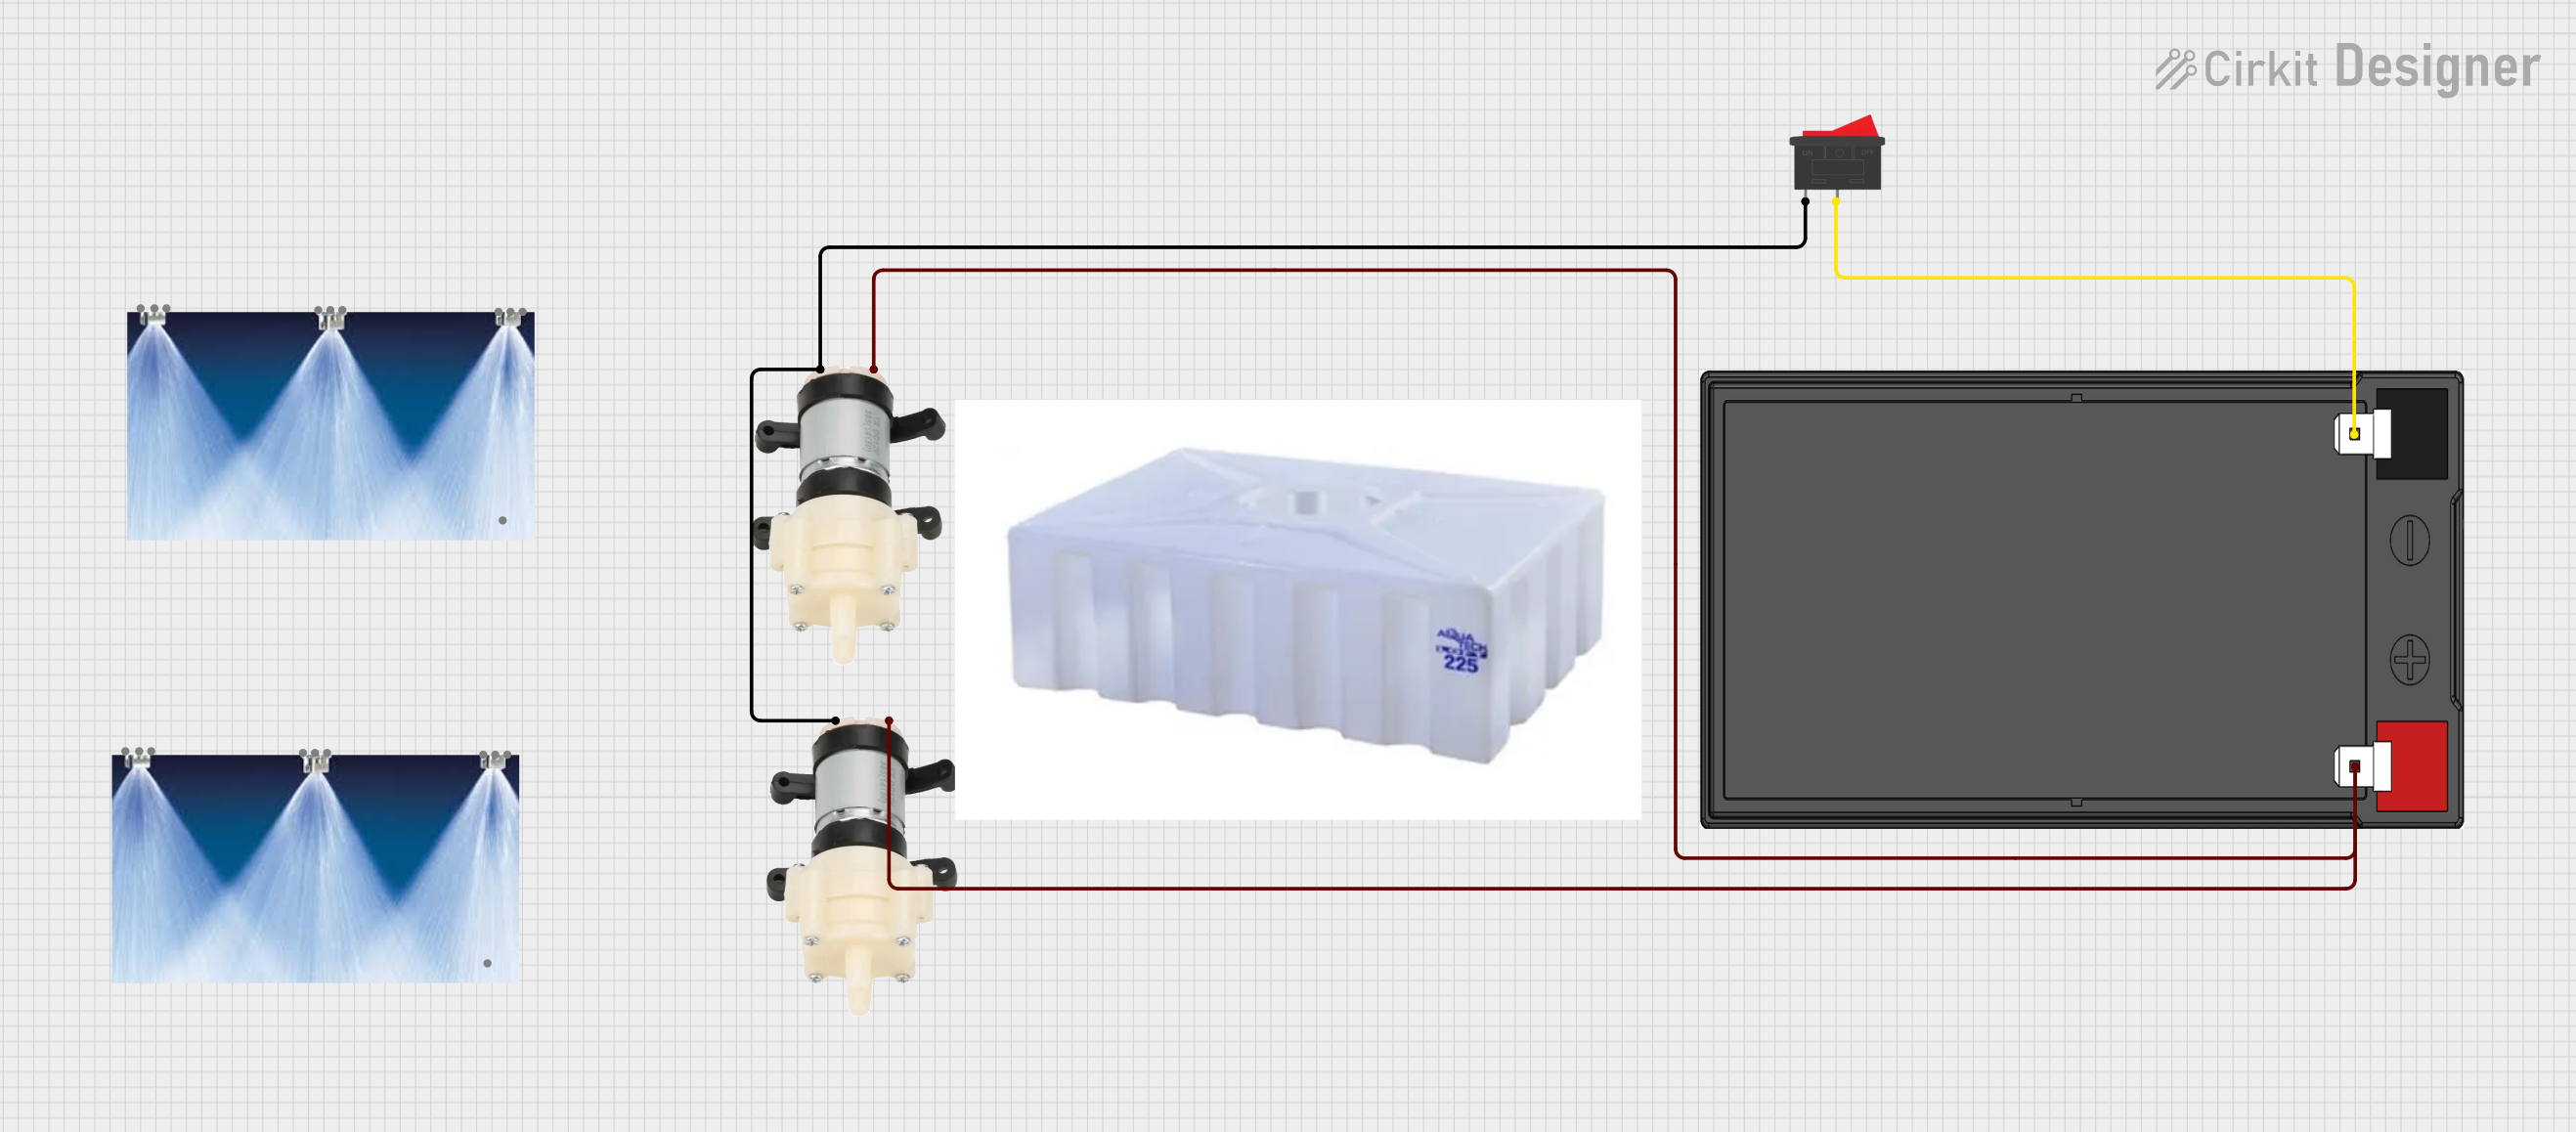
Explore Projects Built with Water Pump
Technical Specifications
Below are the general technical specifications for a typical DC water pump. Specifications may vary depending on the specific model.
General Specifications
- Operating Voltage: 3V to 12V DC (commonly 5V or 6V for small pumps)
- Operating Current: 0.1A to 0.5A (depending on load)
- Power Consumption: 0.5W to 6W
- Flow Rate: 80 L/h to 240 L/h (liters per hour)
- Maximum Lift: 1m to 3m (height water can be pumped)
- Pump Type: Submersible or non-submersible
- Material: Plastic or metal housing (waterproof for submersible pumps)
Pin Configuration and Descriptions
Water pumps typically have two wires for electrical connections. The table below describes the pin configuration:
| Wire Color | Description |
|---|---|
| Red | Positive terminal (+V) |
| Black | Negative terminal (GND) |
For pumps with additional control features (e.g., PWM speed control), there may be a third wire:
| Wire Color | Description |
|---|---|
| Yellow/White | PWM control signal (optional) |
Usage Instructions
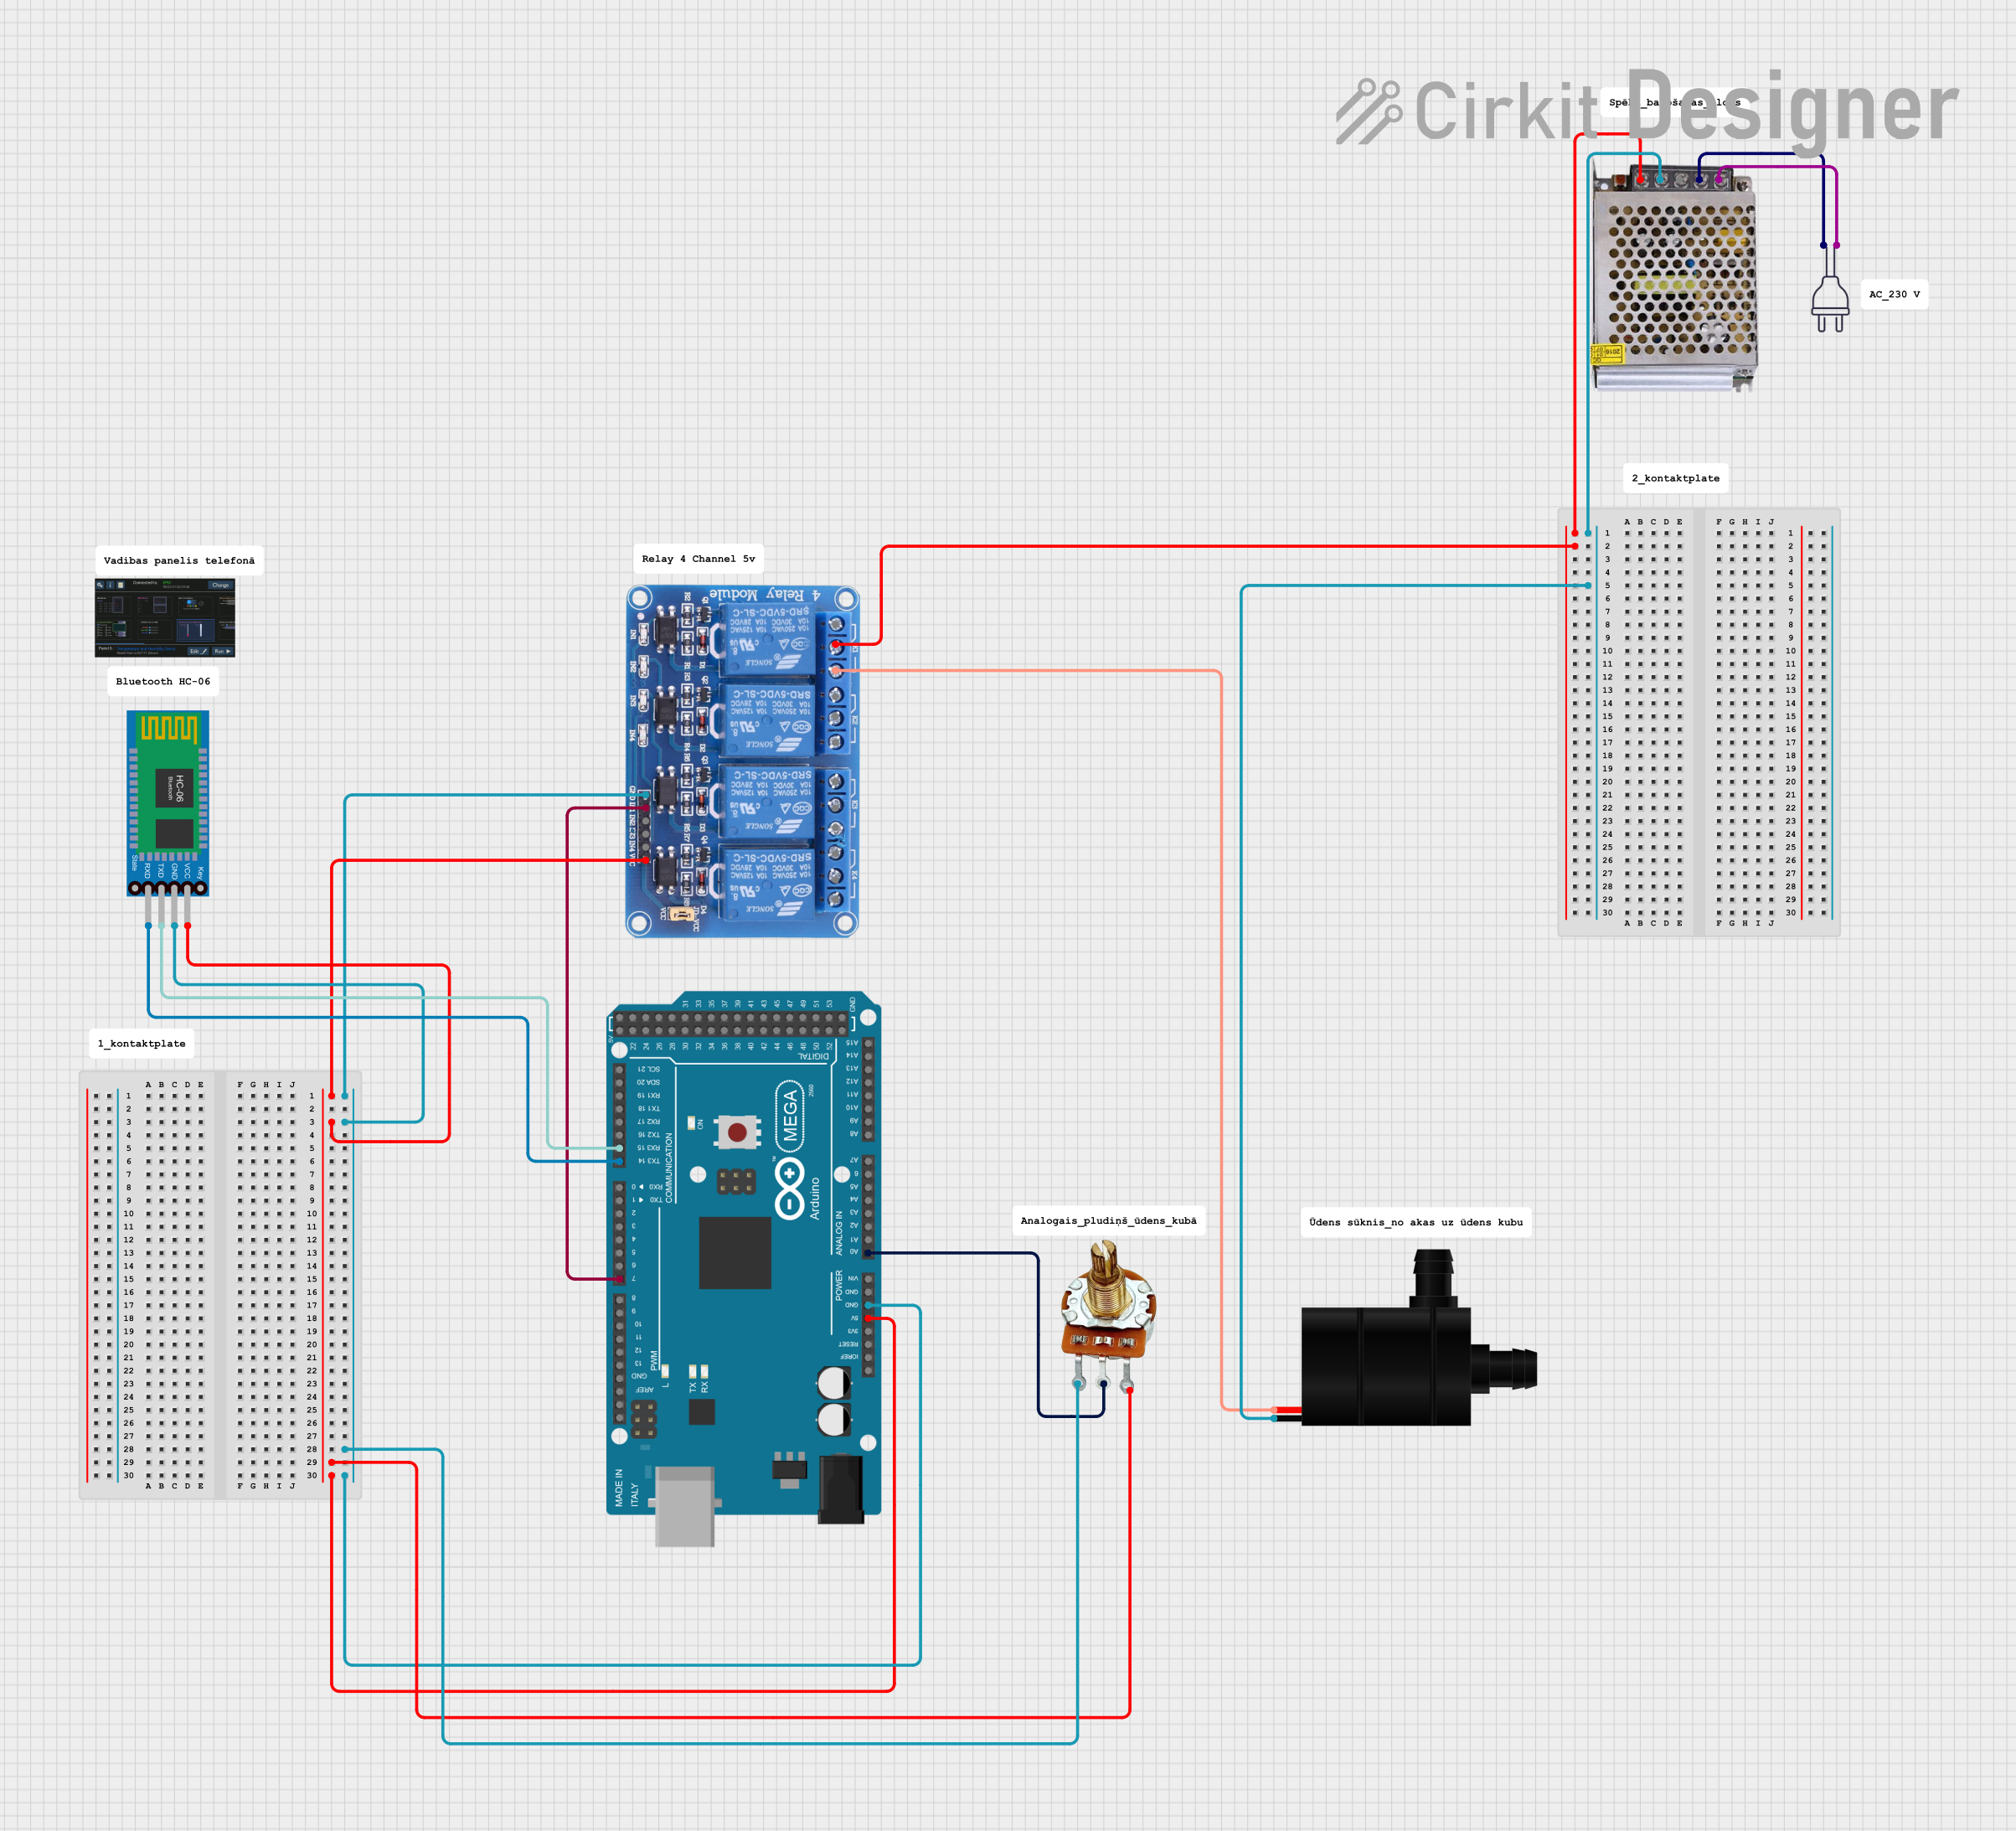
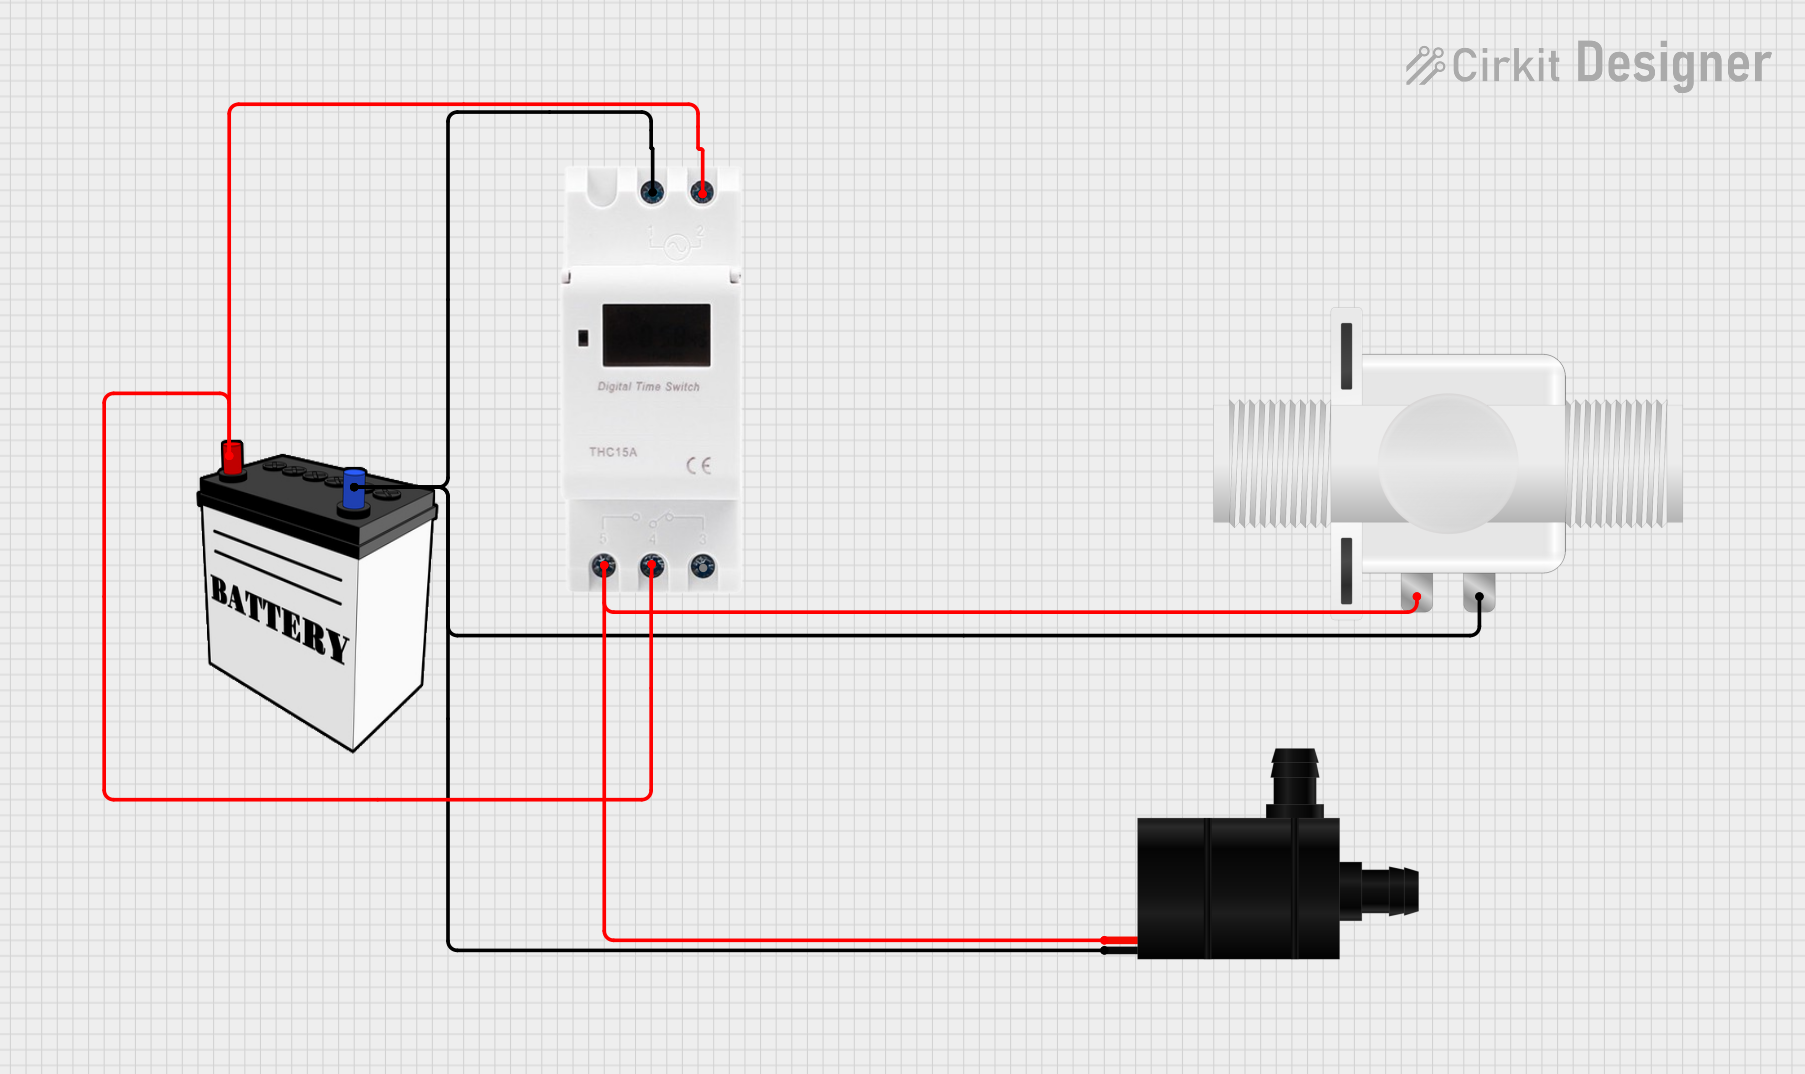
How to Use the Water Pump in a Circuit
- Power Supply: Connect the red wire to the positive terminal of a DC power source (e.g., a battery or power adapter) and the black wire to the ground terminal. Ensure the voltage matches the pump's operating range.
- Control with Microcontroller: To control the pump using an Arduino or similar microcontroller, use a transistor or relay module to handle the higher current required by the pump.
- Water Source: Place the pump in or near the water source. For submersible pumps, ensure the pump is fully submerged.
- Tubing: Attach tubing to the pump's inlet and outlet as needed for water flow.
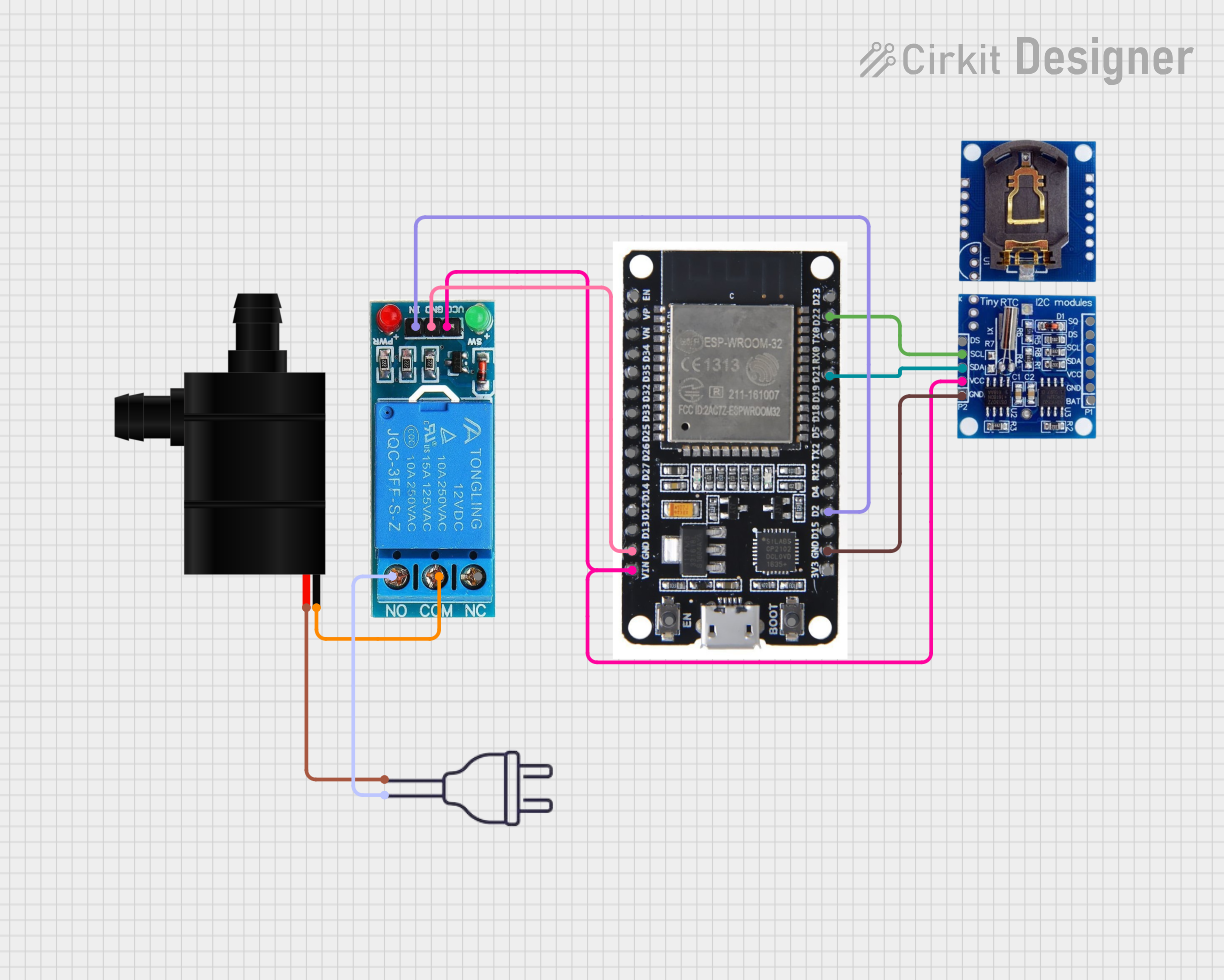
Example Circuit with Arduino UNO
Below is an example of controlling a water pump using an Arduino UNO and a relay module:
Components Required
- 1x Water Pump
- 1x Arduino UNO
- 1x Relay Module
- 1x Diode (e.g., 1N4007 for flyback protection)
- 1x External Power Supply (matching pump voltage)
- Jumper wires
Circuit Diagram
- Connect the pump's red wire to the relay's NO (Normally Open) terminal.
- Connect the pump's black wire to the external power supply's ground.
- Connect the external power supply's positive terminal to the relay's COM (Common) terminal.
- Connect the relay's control pin to an Arduino digital pin (e.g., pin 7).
- Connect the relay's VCC and GND to the Arduino's 5V and GND, respectively.
Arduino Code
// Water Pump Control with Arduino and Relay
// This code turns the water pump ON for 5 seconds and OFF for 5 seconds.

const int relayPin = 7; // Pin connected to the relay module

void setup() {
  pinMode(relayPin, OUTPUT); // Set relay pin as output
  digitalWrite(relayPin, LOW); // Ensure pump is OFF at startup
}

void loop() {
  digitalWrite(relayPin, HIGH); // Turn pump ON
  delay(5000); // Keep pump ON for 5 seconds
  digitalWrite(relayPin, LOW); // Turn pump OFF
  delay(5000); // Keep pump OFF for 5 seconds
}
Important Considerations and Best Practices
- Voltage Matching: Always use a power supply that matches the pump's voltage rating to avoid damage.
- Current Handling: Ensure the power supply and control circuit can handle the pump's current requirements.
- Waterproofing: For submersible pumps, ensure all electrical connections are waterproof to prevent short circuits.
- Priming: Some pumps may require priming (filling with water) before operation to avoid damage.
- Filtration: Use a filter to prevent debris from entering the pump and causing blockages.
Troubleshooting and FAQs
Common Issues and Solutions
Pump Does Not Start
- Cause: Insufficient power supply or loose connections.
- Solution: Check the power supply voltage and current. Ensure all connections are secure.
Low Water Flow
- Cause: Blocked tubing or clogged pump inlet.
- Solution: Inspect and clean the tubing and pump inlet.
Pump Overheats
- Cause: Running the pump dry or exceeding its voltage rating.
- Solution: Ensure the pump is submerged (if submersible) and use the correct voltage.
Noisy Operation
- Cause: Air trapped in the pump or worn-out components.
- Solution: Remove air by priming the pump. Replace worn-out parts if necessary.
FAQs
Can I use the water pump with an Arduino?
- Yes, but you must use a relay or transistor to handle the pump's current requirements.
Is the pump safe for drinking water?
- Check the manufacturer's specifications. Some pumps are designed for potable water, while others are not.
Can the pump run continuously?
- Most pumps can run continuously, but check the manufacturer's guidelines for maximum runtime and cooling requirements.
What happens if the pump runs dry?
- Running dry can damage the pump. Always ensure the pump is primed or submerged in water before operation.