
How to Use Silicone Heater Mat: Examples, Pinouts, and Specs

 Design with Silicone Heater Mat in Cirkit Designer
Introduction
The Silicone Heater Mat by Icstation is a flexible heating element designed to provide uniform heat distribution across its surface. Made from durable silicone rubber, this heater mat is ideal for applications requiring consistent and reliable heating. Its flexibility allows it to conform to curved or irregular surfaces, making it a versatile solution for a wide range of heating needs.
Explore Projects Built with Silicone Heater Mat
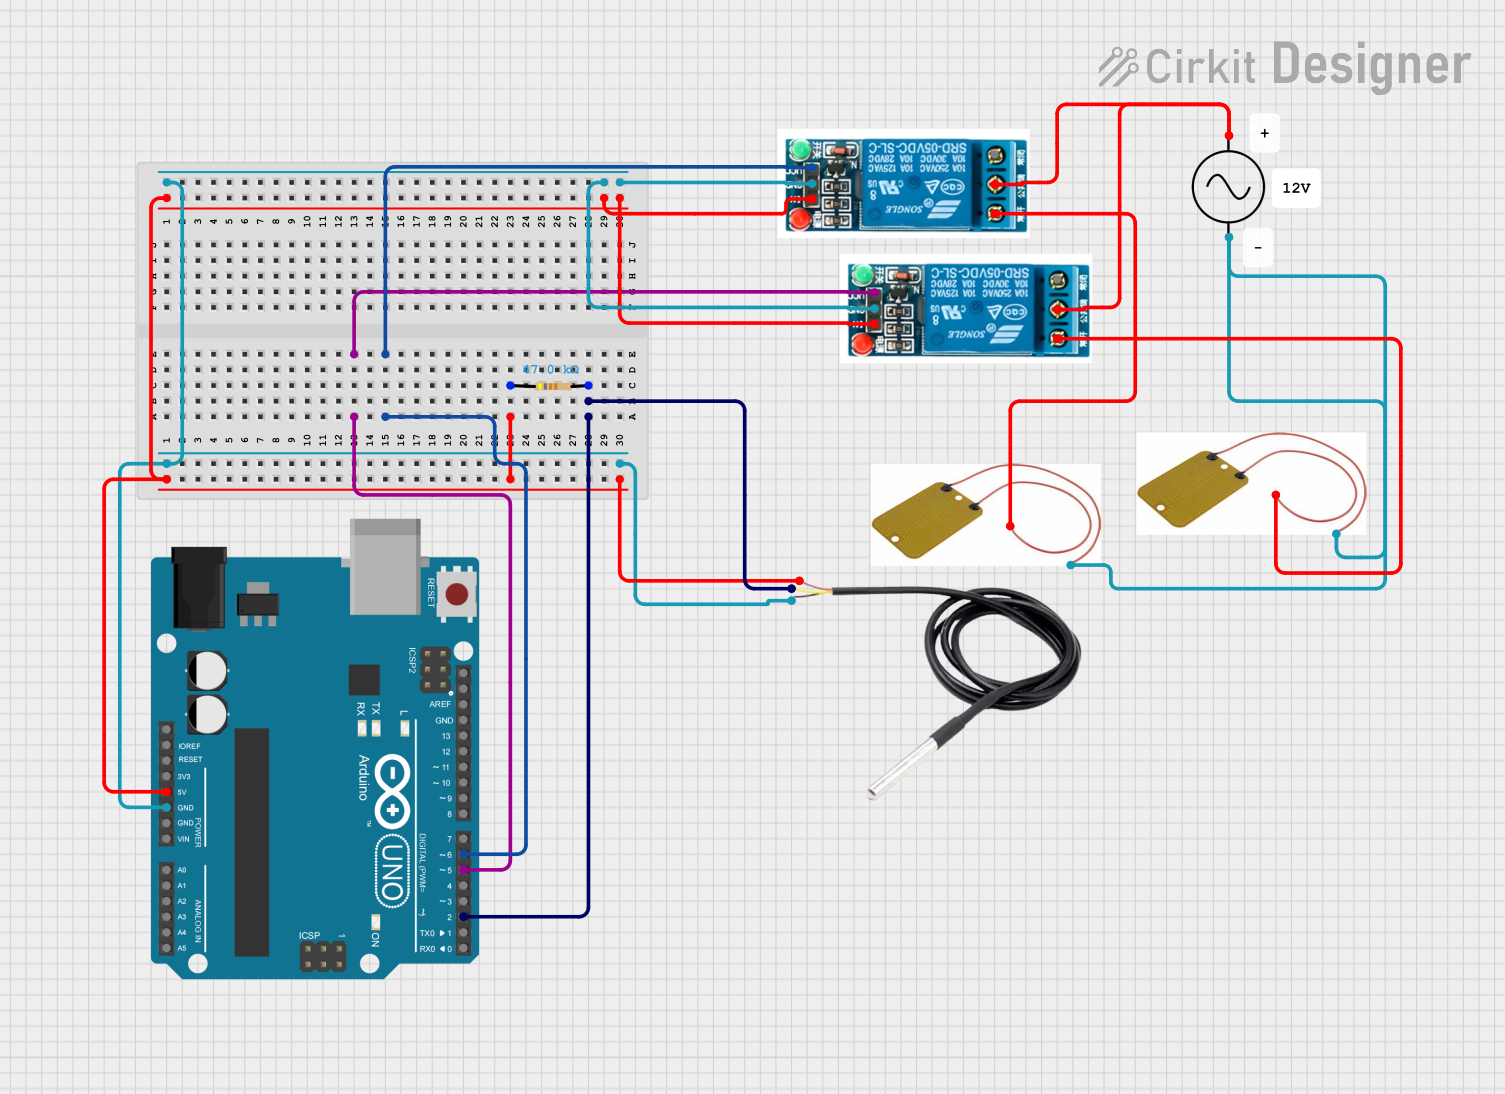 Open Project in Cirkit Designer
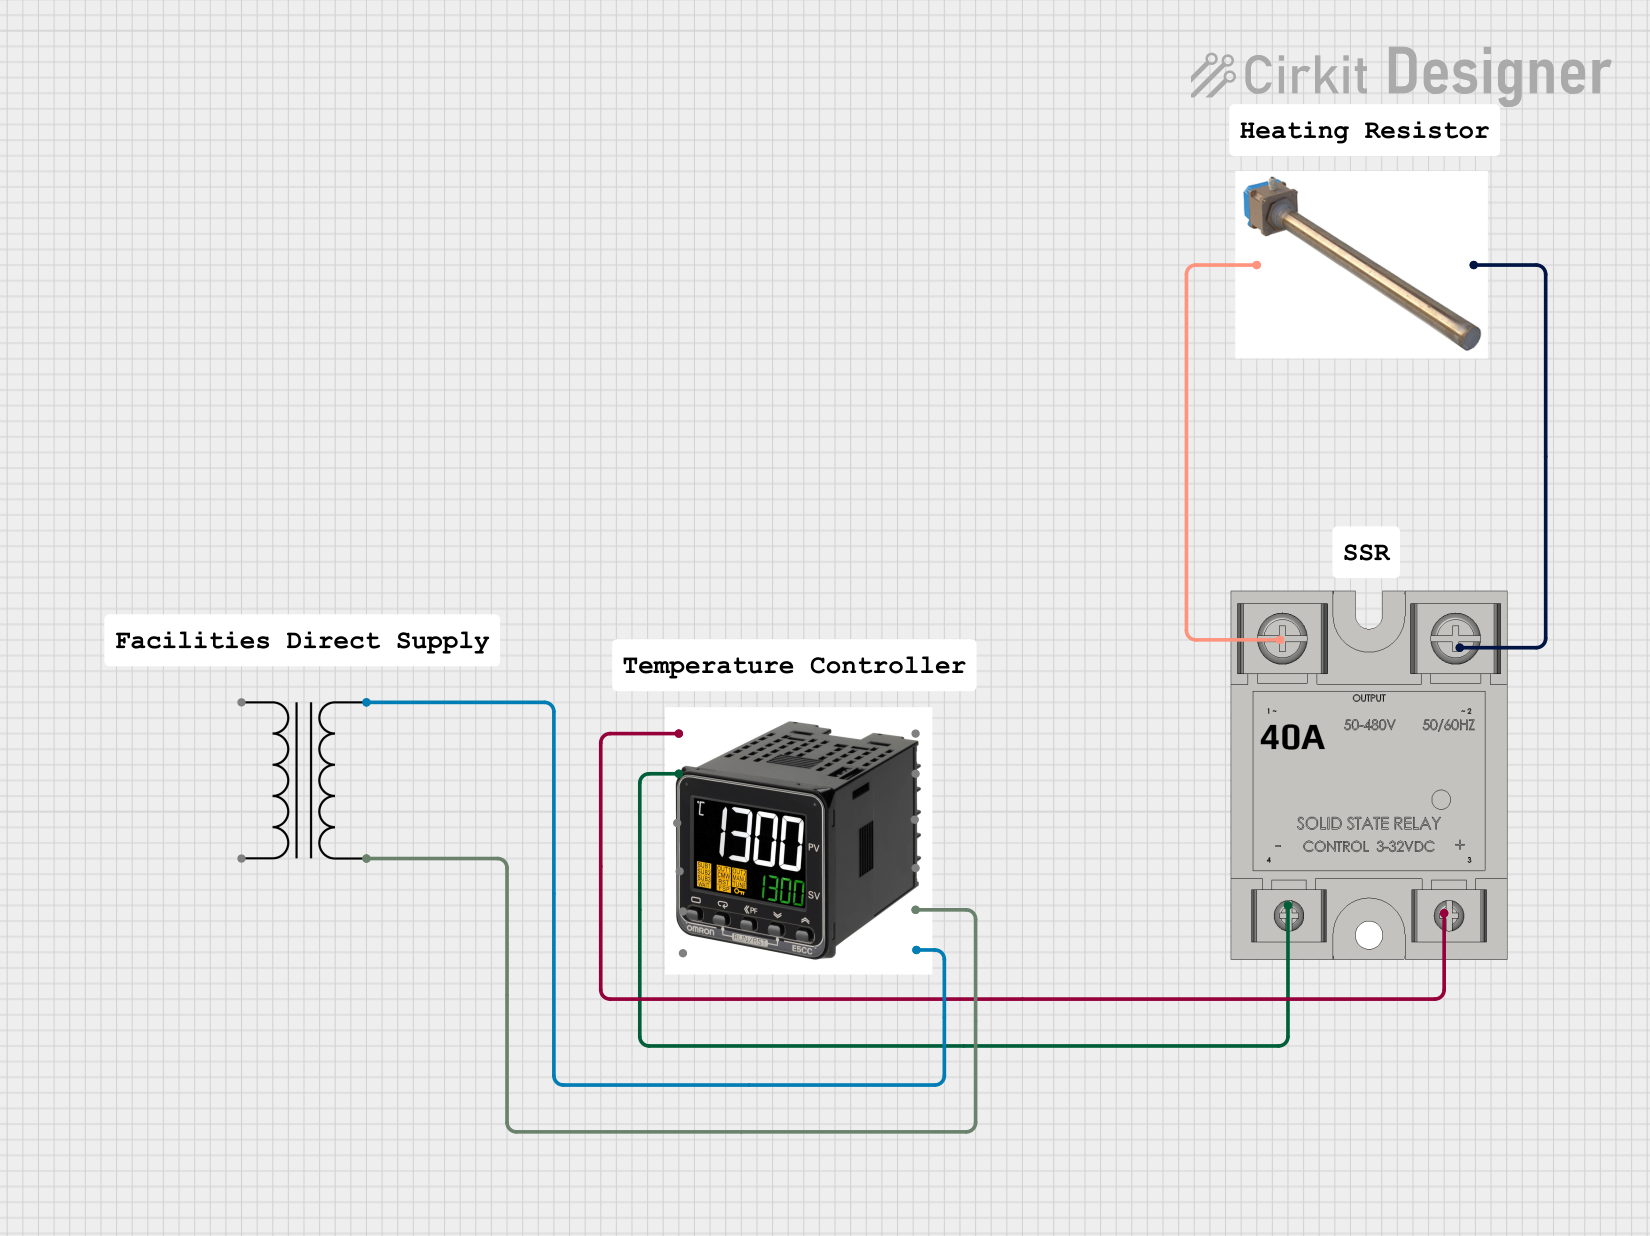 Open Project in Cirkit Designer
 Open Project in Cirkit Designer
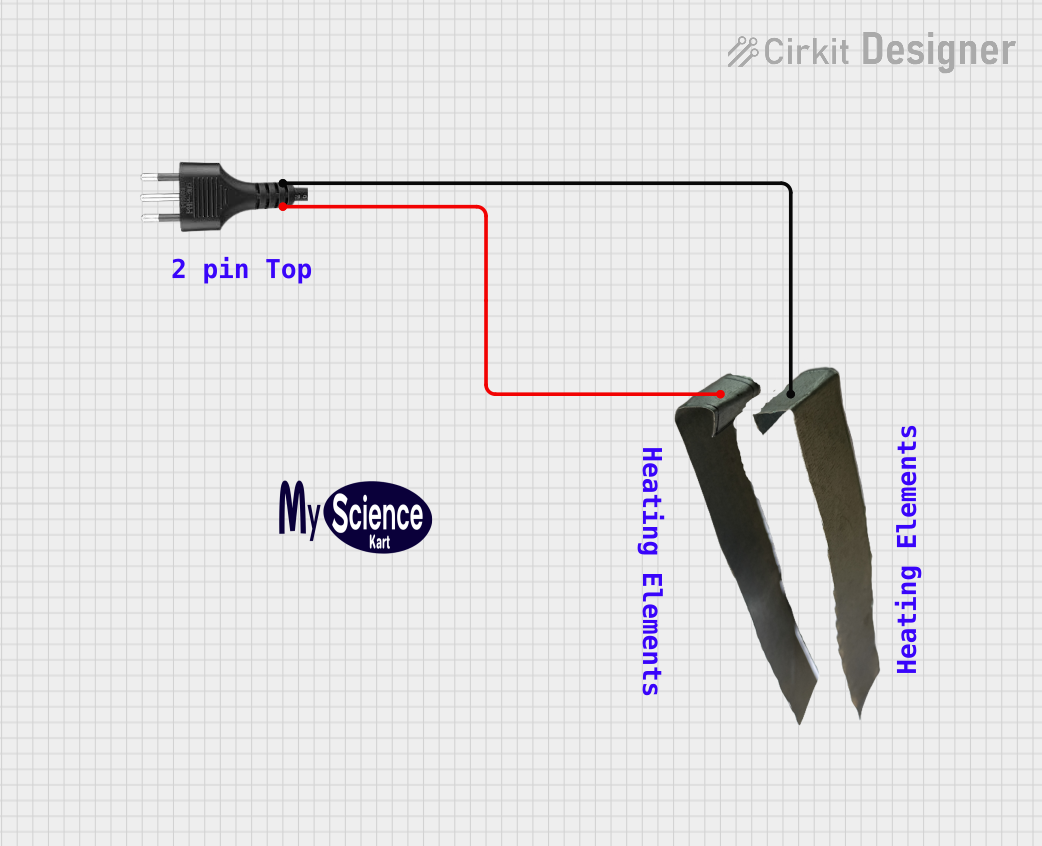 Open Project in Cirkit Designer
Explore Projects Built with Silicone Heater Mat
Open Project in Cirkit DesignerOpen Project in Cirkit DesignerOpen Project in Cirkit DesignerOpen Project in Cirkit DesignerCommon Applications and Use Cases
- 3D printer heated beds for maintaining optimal printing temperatures
- Laboratory equipment for controlled heating
- Industrial machinery for preventing condensation or freezing
- Food service equipment for warming trays or containers
- DIY projects requiring surface heating
Technical Specifications
Below are the key technical details for the Silicone Heater Mat by Icstation:
| Parameter | Value |
|---|---|
| Material | Silicone Rubber |
| Voltage Rating | 12V, 24V, or 110V (varies by model) |
| Power Rating | 50W to 500W (model-dependent) |
| Maximum Temperature | 200°C (392°F) |
| Thickness | 1.5mm to 2mm |
| Heating Uniformity | ±5% across the surface |
| Adhesive Backing | Optional (varies by model) |
| Wire Length | 1 meter (standard) |
Pin Configuration and Descriptions
The Silicone Heater Mat typically comes with two wires for power input. The configuration is as follows:
| Wire Color | Function | Description |
|---|---|---|
| Red | Positive (+) | Connect to the positive terminal of the power supply. |
| Black | Negative (-) | Connect to the negative terminal of the power supply. |
Note: Some models may include a built-in thermistor or temperature sensor. Refer to the specific product datasheet for additional wiring details.
Usage Instructions
How to Use the Silicone Heater Mat in a Circuit
- Power Supply Selection: Ensure the power supply matches the voltage and power rating of the heater mat. For example, use a 12V DC power supply for a 12V heater mat.
- Wiring: Connect the red wire to the positive terminal and the black wire to the negative terminal of the power supply.
- Temperature Control: For precise temperature regulation, use a compatible thermostat or temperature controller. If the mat includes a thermistor, connect it to the controller as per the manufacturer's instructions.
- Mounting: Secure the heater mat to the desired surface. If the mat has adhesive backing, peel off the protective layer and press it firmly onto the surface. For non-adhesive models, use heat-resistant tape or clamps.
- Testing: Power on the system and monitor the temperature to ensure proper operation.
Important Considerations and Best Practices
- Avoid Overheating: Always use a temperature controller to prevent the mat from exceeding its maximum temperature rating.
- Surface Preparation: Ensure the mounting surface is clean, dry, and free of debris for optimal heat transfer.
- Insulation: For improved efficiency, consider adding insulation around the heater mat to minimize heat loss.
- Safety: Do not fold or crease the mat, as this may damage the heating element. Avoid exposing the mat to sharp objects or excessive mechanical stress.
Example: Using the Silicone Heater Mat with an Arduino UNO
To control the heater mat with an Arduino UNO, you can use a relay module to switch the power supply. Below is an example code snippet:
// Example code to control a Silicone Heater Mat using an Arduino UNO
// and a relay module. The relay is connected to pin 7 of the Arduino.

const int relayPin = 7; // Define the pin connected to the relay module
const int tempThreshold = 50; // Temperature threshold in degrees Celsius

void setup() {
  pinMode(relayPin, OUTPUT); // Set the relay pin as an output
  digitalWrite(relayPin, LOW); // Ensure the relay is off initially
}

void loop() {
  int currentTemp = readTemperature(); // Replace with actual temperature reading logic

  if (currentTemp < tempThreshold) {
    digitalWrite(relayPin, HIGH); // Turn on the heater mat
  } else {
    digitalWrite(relayPin, LOW); // Turn off the heater mat
  }

  delay(1000); // Wait for 1 second before checking again
}

// Placeholder function for reading temperature
int readTemperature() {
  // Replace this with code to read from a temperature sensor
  return 25; // Example: Return a dummy temperature value
}
Note: Ensure you use a compatible temperature sensor (e.g., DS18B20) and update the readTemperature() function accordingly.
Troubleshooting and FAQs
Common Issues and Solutions
Heater Mat Not Heating
- Cause: Incorrect wiring or insufficient power supply.
- Solution: Verify the wiring connections and ensure the power supply matches the voltage and power rating of the mat.
Uneven Heating
- Cause: Poor surface contact or damaged heating element.
- Solution: Ensure the mat is securely mounted to a flat surface. Inspect for physical damage.
Overheating
- Cause: Lack of temperature control.
- Solution: Use a thermostat or temperature controller to regulate the temperature.
Adhesive Backing Not Sticking
- Cause: Dirty or uneven surface.
- Solution: Clean and dry the surface thoroughly before applying the mat.
FAQs
Q: Can the Silicone Heater Mat be cut to size?
A: No, cutting the mat will damage the internal heating element and render it unusable.
Q: Is the mat waterproof?
A: The silicone material is water-resistant, but the mat should not be submerged in water or exposed to excessive moisture.
Q: Can I use the mat without a temperature controller?
A: While possible, it is not recommended as it may lead to overheating and damage to the mat or surrounding components.
Q: How do I clean the mat?
A: Use a damp cloth to wipe the surface. Avoid using abrasive cleaners or submerging the mat in water.
By following this documentation, you can safely and effectively use the Icstation Silicone Heater Mat in your projects.