How to Use Adafruit 1.27 inch 16-bit Color OLED w microSD holder: Examples, Pinouts, and Specs
Introduction
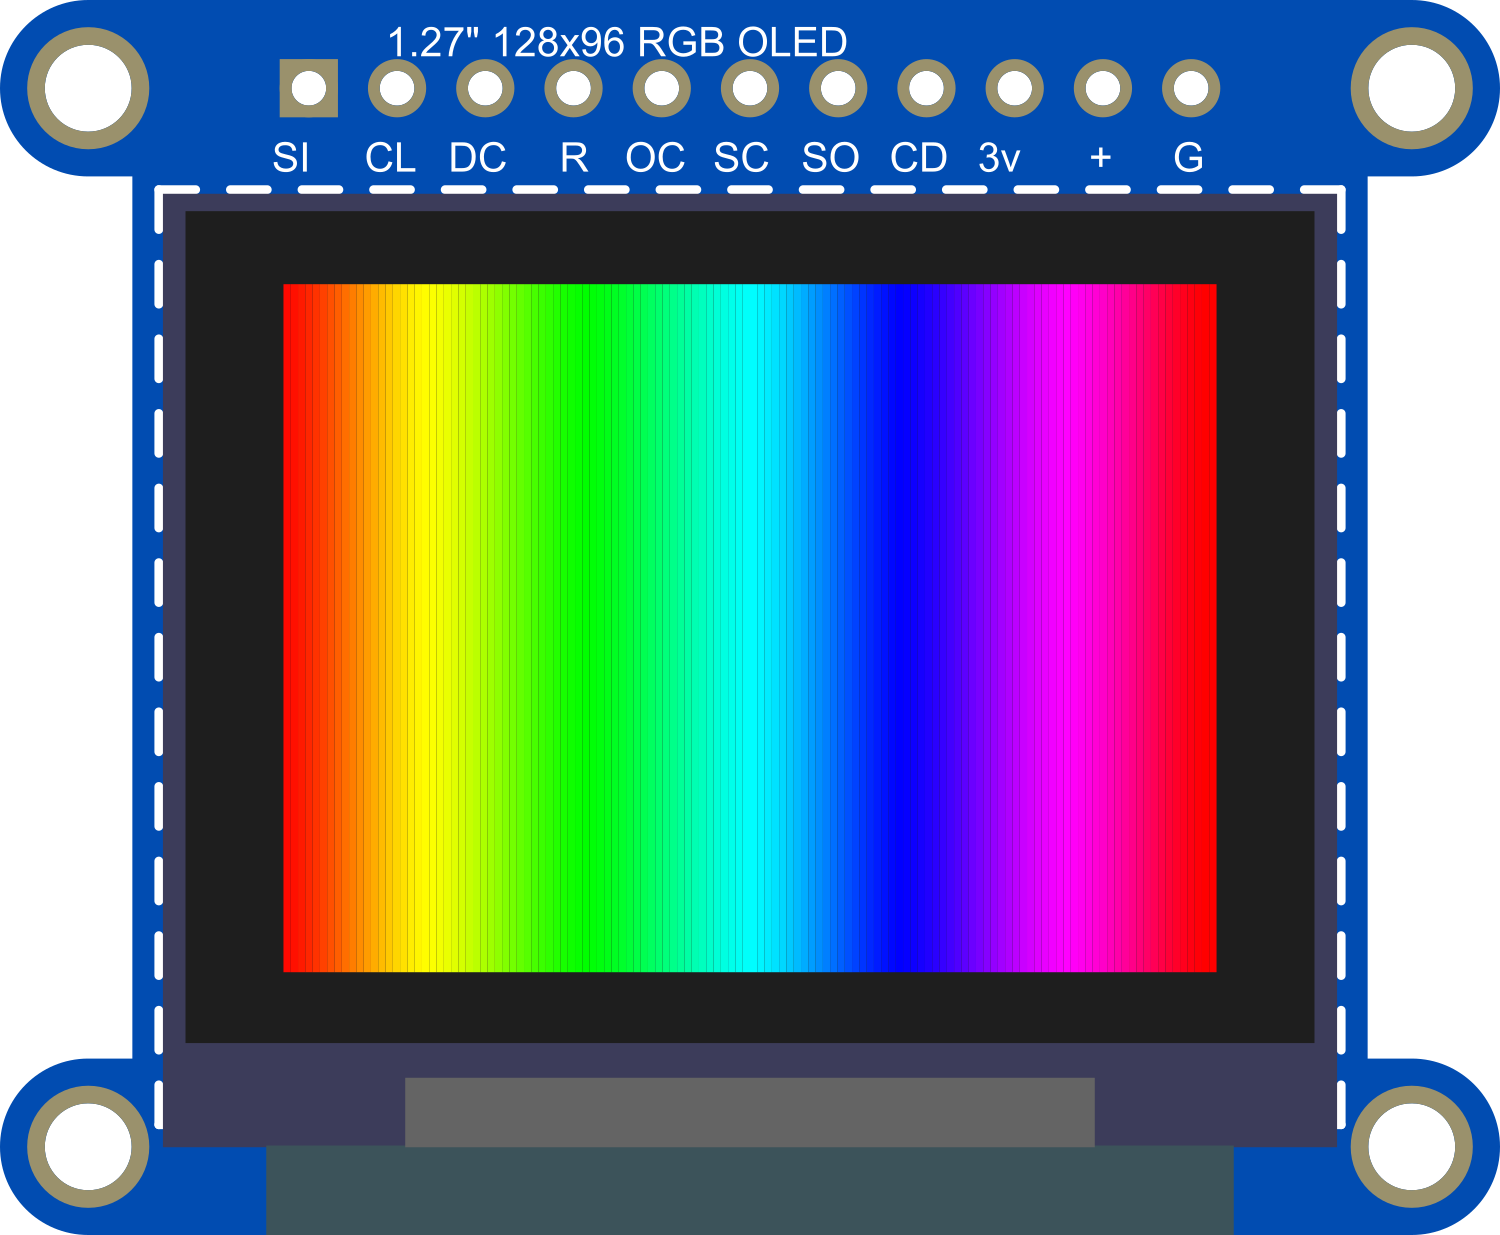
The Adafruit 1.27 inch 16-bit Color OLED with microSD holder is a compact and vibrant display module suitable for adding visual output to your electronics projects. With its high contrast ratio and 16-bit color depth, it can display rich, colorful graphics and text. This OLED is perfect for wearable devices, small instruments, or any application where space is at a premium and a high-quality display is required. The built-in microSD card holder adds the convenience of storing images and fonts, making it ideal for dynamic content display.
Explore Projects Built with Adafruit 1.27 inch 16-bit Color OLED w microSD holder


Explore Projects Built with Adafruit 1.27 inch 16-bit Color OLED w microSD holder
Common Applications
- Wearable devices
- Portable instruments
- User interfaces for small-scale projects
- Data visualization for sensors and real-time data
Technical Specifications
Key Technical Details
- Display Size: 1.27 inches
- Resolution: 128x96 pixels
- Color Depth: 16-bit color (65,536 colors)
- Interface: SPI
- Operating Voltage: 3.3V to 5V
- Logic Level: 3.3V (5V tolerant)
Pin Configuration and Descriptions
| Pin Number | Name | Description |
|---|---|---|
| 1 | GND | Ground connection |
| 2 | VCC | Power supply (3.3V - 5V) |
| 3 | SCL | SPI Clock |
| 4 | SDA | SPI Data |
| 5 | RES | Reset pin |
| 6 | DC | Data/Command control pin |
| 7 | CS | SPI Chip Select |
| 8 | SD_CS | microSD Card Chip Select |
Usage Instructions
Integrating with a Circuit
- Connect the GND pin to the ground of your power supply.
- Connect the VCC pin to a 3.3V or 5V power supply.
- Connect the SCL, SDA, RES, DC, and CS pins to the corresponding SPI pins on your microcontroller (e.g., an Arduino UNO).
- If using the microSD card feature, connect the SD_CS pin to a digital pin on your microcontroller.
Best Practices
- Use a level shifter if your microcontroller operates at a higher voltage than 3.3V.
- Keep the SPI lines as short as possible to reduce noise and improve display performance.
- When using the microSD card feature, ensure that the card is formatted correctly and the file system is supported by your code.
Example Code for Arduino UNO
#include <SPI.h>
#include <Adafruit_GFX.h>
#include <Adafruit_SSD1351.h>

// Pin definitions
#define OLED_CS     10 // Chip select for the OLED display
#define OLED_DC     9  // Data/command for the OLED display
#define OLED_MOSI   11 // MOSI for the OLED display (connect to SDA)
#define OLED_CLK    13 // Clock for the OLED display (connect to SCL)
#define OLED_RESET  8  // Reset for the OLED display
#define SD_CS       4  // Chip select for the microSD card

// Create an Adafruit_SSD1351 object
Adafruit_SSD1351 oled = Adafruit_SSD1351(OLED_CS, OLED_DC, OLED_MOSI, OLED_CLK, OLED_RESET);

void setup() {
  // Initialize the display
  oled.begin();

  // Fill the screen with black
  oled.fillScreen(SSD1351_BLACK);

  // Set text color to white
  oled.setTextColor(SSD1351_WHITE);

  // Set the cursor to top-left corner
  oled.setCursor(0, 0);

  // Display some text
  oled.println("Hello, World!");
}

void loop() {
  // Main loop does nothing, text is displayed on the screen
}
Troubleshooting and FAQs
Common Issues
- Display not powering on: Check the connections to VCC and GND. Ensure that the power supply is within the specified voltage range.
- No display output: Verify that the SPI connections are correct and that the correct pins are being used in your code.
- Garbled display: Ensure that the reset pin (RES) is connected and properly initialized in your code. Also, check for correct SPI clock polarity and phase settings.
Solutions and Tips
- Double-check all wiring against the pin configuration table.
- Make sure that the library used in your code supports the Adafruit 1.27 inch OLED.
- If using the microSD card feature, ensure that the SD_CS pin is correctly defined and that the microSD card is properly seated in the holder.
FAQs
Q: Can I use this display with a 5V microcontroller? A: Yes, the display is 5V tolerant, but it is recommended to use a level shifter for SPI lines.
Q: What library should I use for this display? A: The Adafruit_SSD1351 library is recommended for this OLED display.
Q: How do I store images on the microSD card for display? A: Images should be stored in a format that your code can read (e.g., BMP) and the file system should be compatible with your microcontroller's SD card library.
Q: Can I use this display in outdoor environments? A: OLED displays are generally not suitable for direct sunlight as they can be difficult to read. Additionally, extreme temperatures or humidity can damage the display.