How to Use Pushbutton: Examples, Pinouts, and Specs
Introduction
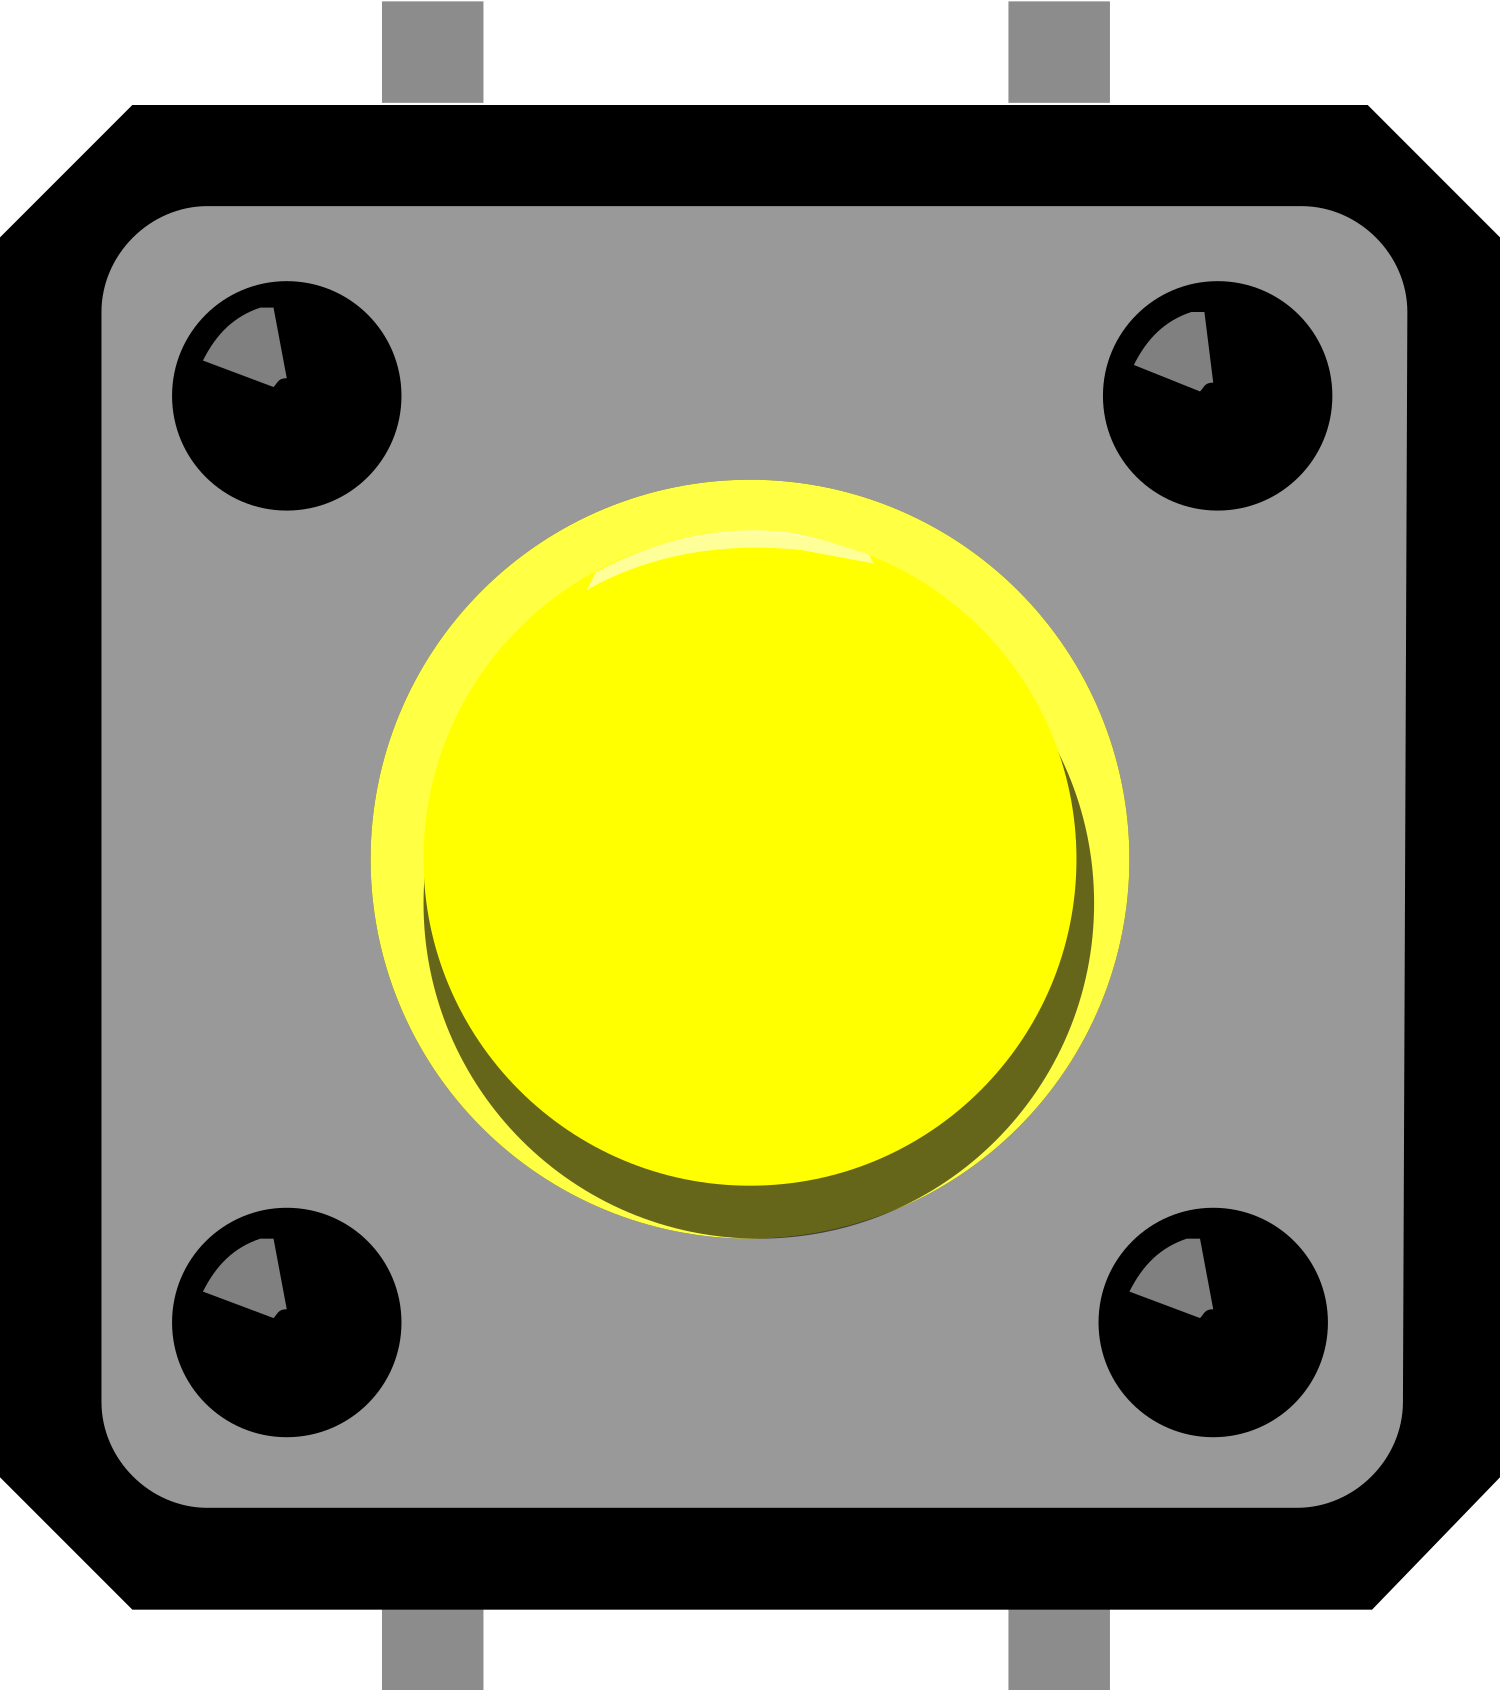
A pushbutton is a simple and fundamental component in electronics, serving as a mechanical switch. It operates by making or breaking an electrical connection when pressed. Pushbuttons are ubiquitous in electronic devices, used for a variety of applications such as initiating actions, inputting commands, and controlling operations.
Explore Projects Built with Pushbutton


Explore Projects Built with Pushbutton
Common Applications and Use Cases
- User interfaces (e.g., keyboards, control panels)
- Interactive installations (e.g., museum exhibits, public kiosks)
- Hobbyist projects (e.g., Arduino-based gadgets)
- Industrial controls (e.g., start/stop machinery)
Technical Specifications
Key Technical Details
- Contact Type: Momentary or Latching
- Contact Rating: Typically ranges from 50 mA to 5 A
- Operating Voltage: Usually up to 250V AC or 30V DC
- Contact Resistance: Often less than 10 mΩ
- Insulation Resistance: Typically greater than 100 MΩ
- Mechanical Life: Can range from 50,000 to 1,000,000 cycles
- Operating Temperature: Varies, often -20°C to +70°C
Pin Configuration and Descriptions
| Pin Number | Description |
|---|---|
| 1 | Normally Open (NO) |
| 2 | Common (COM) |
| 3 | Normally Closed (NC) |
- Normally Open (NO): This pin is disconnected from the common pin by default and gets connected when the button is pressed.
- Common (COM): This pin is the common terminal to which the NO or NC pins get connected depending on the button state.
- Normally Closed (NC): This pin is connected to the common pin by default and gets disconnected when the button is pressed.
Usage Instructions
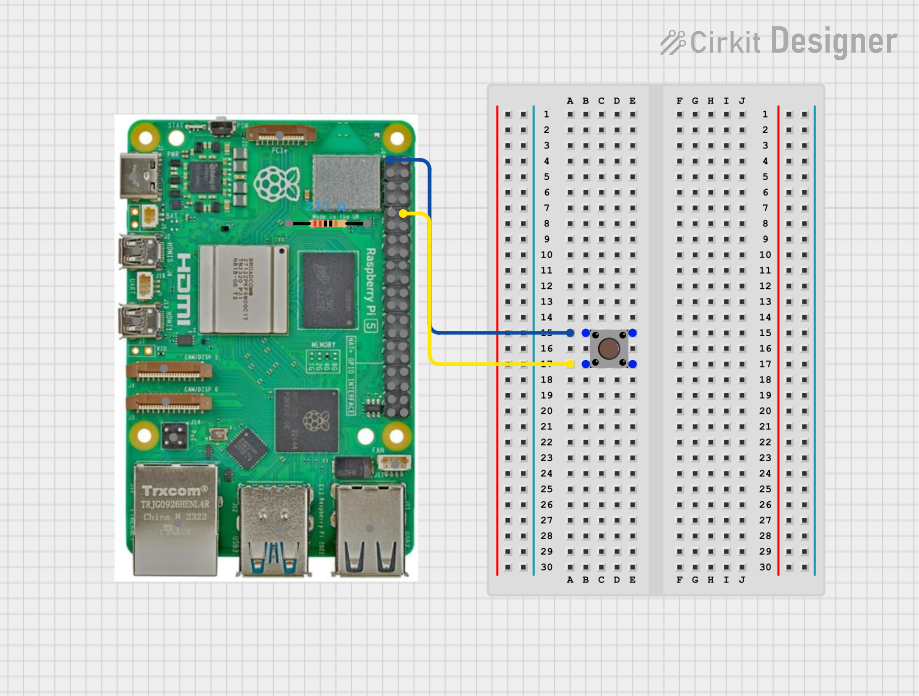
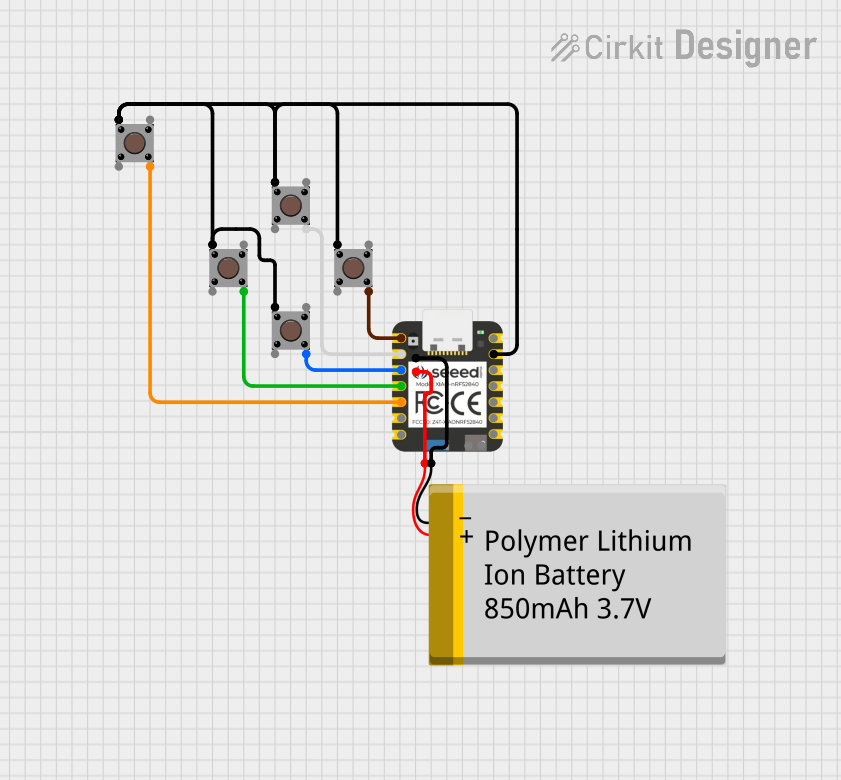
How to Use the Pushbutton in a Circuit
- Identify the Type of Pushbutton: Determine if the pushbutton is momentary or latching and whether you will use the normally open or normally closed contacts.
- Connect to Power Source: Connect one terminal (NO or NC) to the power source or signal line you wish to control.
- Connect to Load: Connect the common terminal (COM) to the load that will be controlled by the pushbutton.
- Debounce the Signal: Implement a debounce circuit or software routine to ensure stable signal transitions without noise.
Important Considerations and Best Practices
- Debouncing: Mechanical switches like pushbuttons often produce noisy signals when toggled. Use hardware debouncing with capacitors and resistors or software debouncing techniques to mitigate this.
- Current Limiting: Ensure that the current through the pushbutton does not exceed its rating to avoid damage.
- Mounting: Secure the pushbutton firmly to prevent movement that could cause intermittent connections.
- Protective Measures: Consider using pull-up or pull-down resistors to define the input state when the switch is open.
Example Code for Arduino UNO
// Define the pin connected to the pushbutton
const int buttonPin = 2;
// Define the pin for the LED
const int ledPin =  13;
// Variable for storing the pushbutton status
int buttonState = 0;

void setup() {
  // Initialize the LED pin as an output
  pinMode(ledPin, OUTPUT);
  // Initialize the pushbutton pin as an input
  pinMode(buttonPin, INPUT);
}

void loop() {
  // Read the state of the pushbutton value
  buttonState = digitalRead(buttonPin);

  // Check if the pushbutton is pressed.
  // If it is, the buttonState is HIGH:
  if (buttonState == HIGH) {
    // Turn on the LED
    digitalWrite(ledPin, HIGH);
  } else {
    // Turn off the LED
    digitalWrite(ledPin, LOW);
  }
}
Troubleshooting and FAQs
Common Issues Users Might Face
- Bouncing Signals: Erratic behavior due to signal noise when the button is pressed or released.
- Intermittent Operation: Loose connections or a faulty pushbutton can cause intermittent operation.
- No Response: The pushbutton may not work if it's not properly connected or if the circuit is not powered.
Solutions and Tips for Troubleshooting
- Debouncing: Implement a debounce algorithm in your code or add a debounce circuit.
- Check Connections: Ensure all connections are secure and the pushbutton is properly mounted.
- Test Continuity: Use a multimeter to check for continuity across the pushbutton terminals when pressed.
FAQs
Q: Can I use a pushbutton with a microcontroller like an Arduino? A: Yes, pushbuttons are commonly used with microcontrollers. Ensure you use a pull-up or pull-down resistor to define the input state.
Q: How do I know if my pushbutton is momentary or latching? A: A momentary pushbutton will only maintain contact while being pressed, whereas a latching pushbutton will stay in its last state until pressed again.
Q: What is the purpose of the NC terminal? A: The NC terminal is used when you want the circuit to be normally closed and open the circuit when the button is pressed.