
How to Use ARK Microhard DDL Carrier: Examples, Pinouts, and Specs
 Design with ARK Microhard DDL Carrier in Cirkit Designer
Introduction
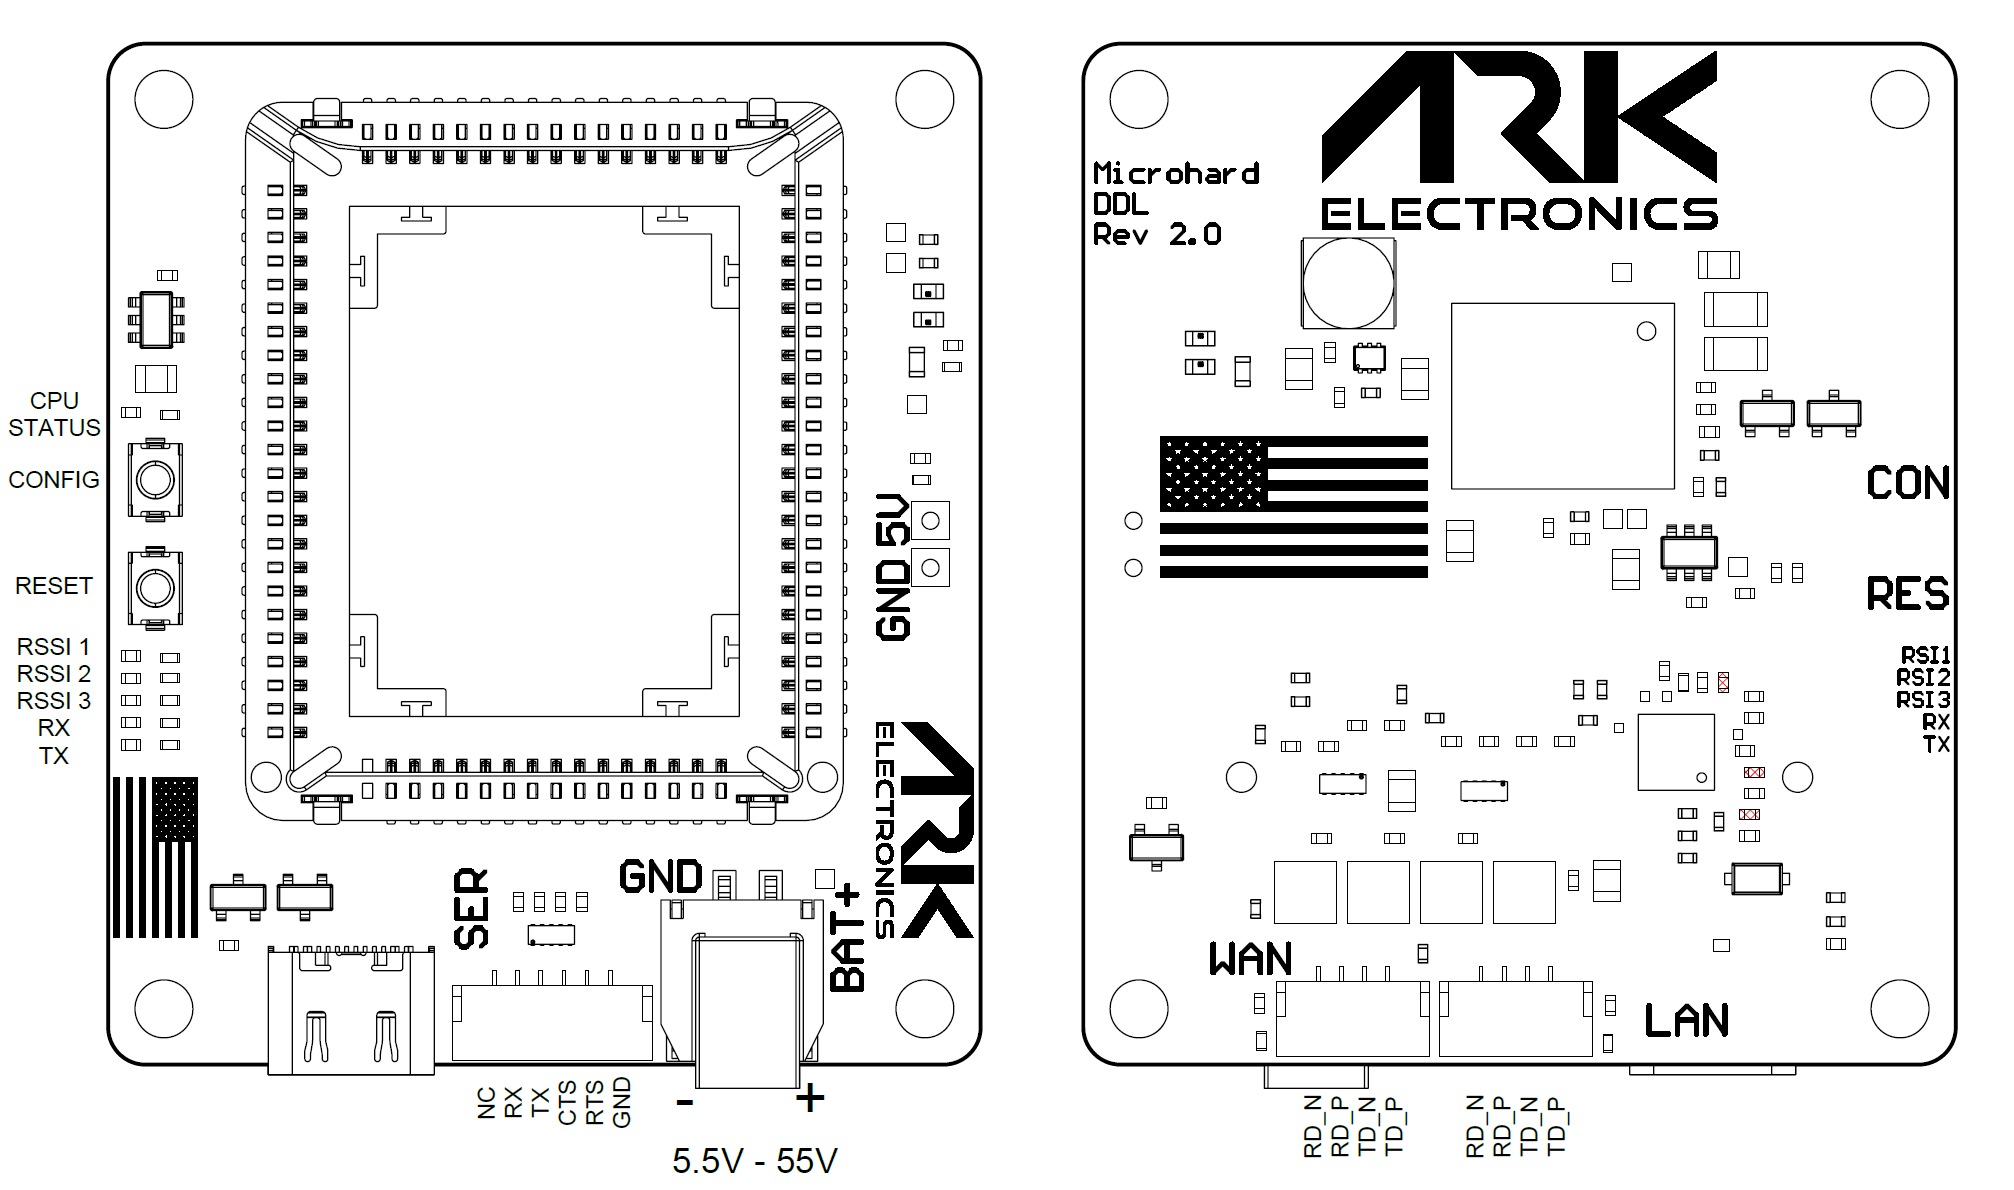
The ARK Microhard DDL Carrier is a compact and versatile carrier board designed to support the ARK Microhard DDL module. This carrier simplifies the integration of the DDL module into various electronic systems, providing a streamlined interface for communication and power management. Its robust design makes it suitable for a wide range of applications, including industrial automation, wireless communication systems, and IoT devices.
Explore Projects Built with ARK Microhard DDL Carrier
 Open Project in Cirkit Designer
 Open Project in Cirkit Designer
 Open Project in Cirkit Designer
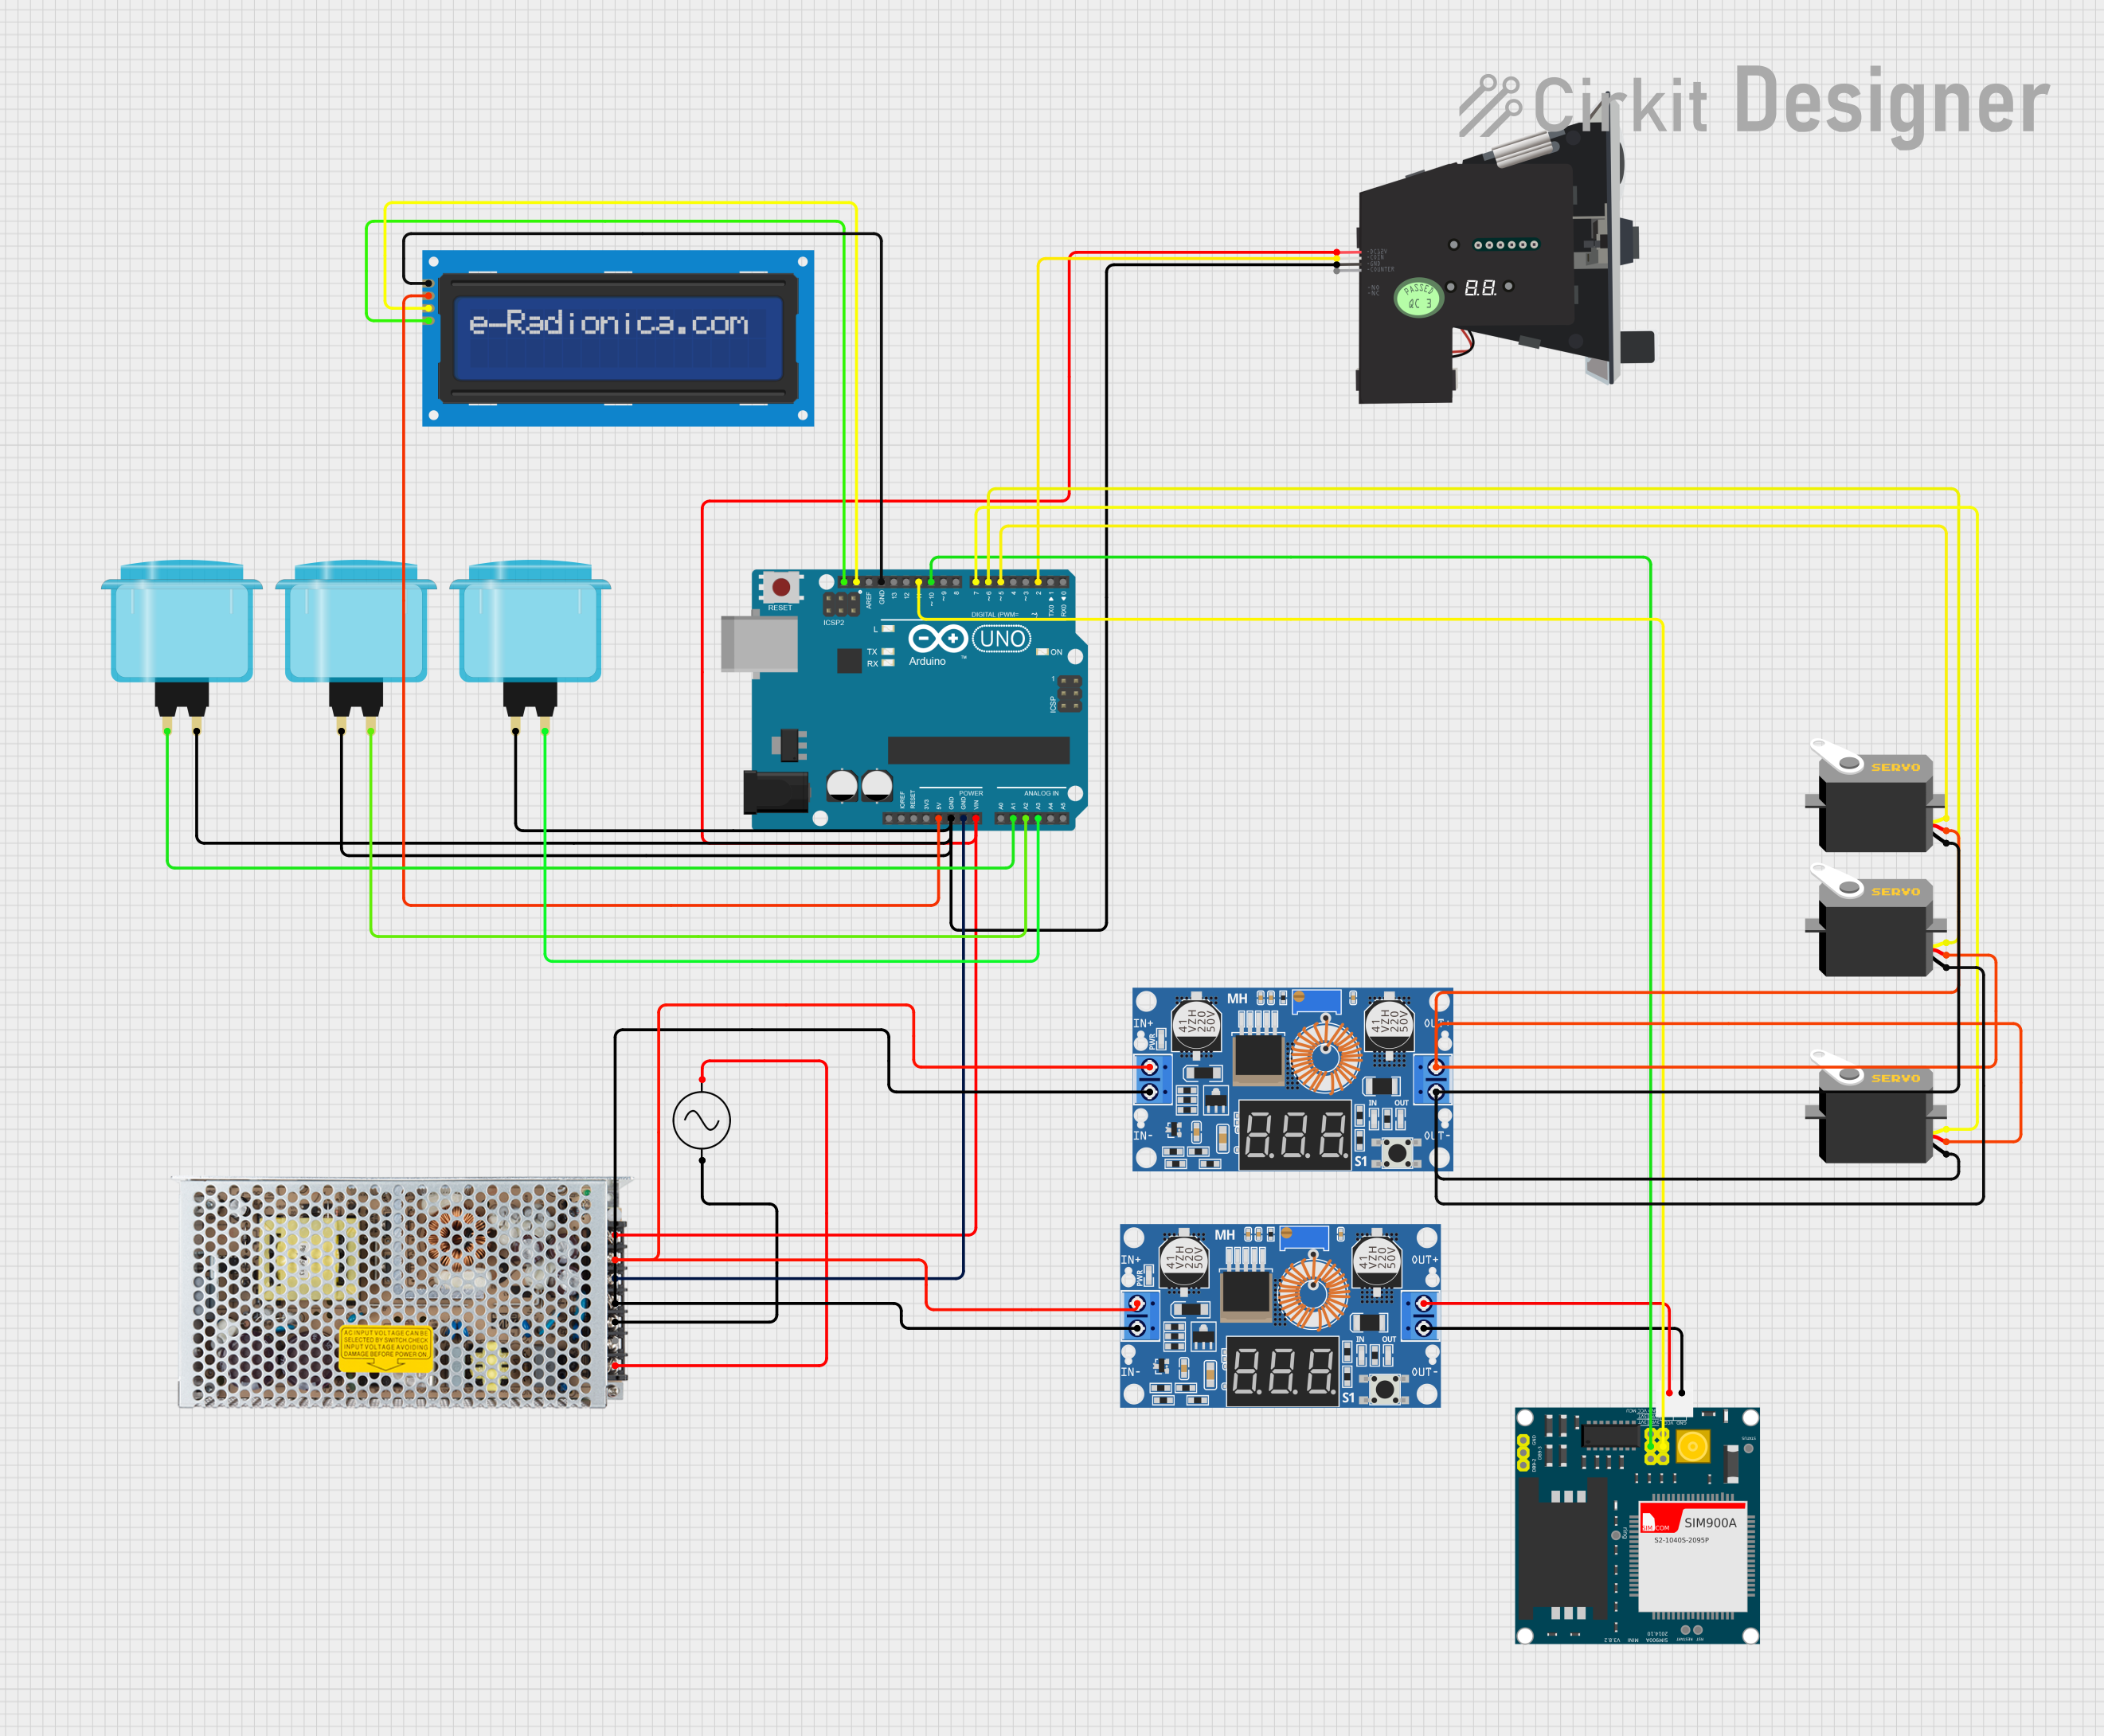 Open Project in Cirkit Designer
Explore Projects Built with ARK Microhard DDL Carrier
Open Project in Cirkit DesignerOpen Project in Cirkit DesignerOpen Project in Cirkit DesignerOpen Project in Cirkit DesignerCommon Applications
- Wireless data communication in industrial environments
- IoT device integration and prototyping
- Remote monitoring and control systems
- Robotics and automation projects
- Educational and research purposes
Technical Specifications
Key Technical Details
| Parameter | Specification |
|---|---|
| Manufacturer | ARK |
| Part ID | ARK Microhard DDL Carrier |
| Input Voltage Range | 3.3V to 5V |
| Communication Protocols | UART, SPI, I2C |
| Operating Temperature | -40°C to 85°C |
| Dimensions | 50mm x 30mm x 10mm |
| Mounting Type | PCB Mount |
| Compatible Module | ARK Microhard DDL Module |
Pin Configuration and Descriptions
The ARK Microhard DDL Carrier features a standard pinout for easy integration. Below is the pin configuration:
| Pin Number | Pin Name | Description |
|---|---|---|
| 1 | VCC | Power input (3.3V to 5V) |
| 2 | GND | Ground connection |
| 3 | TX | UART Transmit pin for serial communication |
| 4 | RX | UART Receive pin for serial communication |
| 5 | SCL | I2C Clock Line |
| 6 | SDA | I2C Data Line |
| 7 | SPI_MOSI | SPI Master Out Slave In |
| 8 | SPI_MISO | SPI Master In Slave Out |
| 9 | SPI_SCK | SPI Clock Line |
| 10 | SPI_CS | SPI Chip Select |
| 11 | RESET | Reset pin for the DDL module |
| 12 | GPIO1 | General-purpose input/output pin 1 |
| 13 | GPIO2 | General-purpose input/output pin 2 |
Usage Instructions
How to Use the Component in a Circuit
- Power Supply: Connect the VCC pin to a regulated power source (3.3V to 5V) and the GND pin to the ground of your circuit.
- Communication Interface: Depending on your application, connect the appropriate communication pins (UART, SPI, or I2C) to your microcontroller or host device.
- Module Integration: Mount the ARK Microhard DDL module onto the carrier board securely.
- Reset Functionality: Use the RESET pin to initialize or restart the module as needed.
- GPIO Usage: Configure the GPIO pins for additional functionality, such as status indication or external control.
Important Considerations and Best Practices
- Ensure the power supply voltage is within the specified range to avoid damaging the carrier board or the DDL module.
- Use decoupling capacitors near the power input to minimize noise and voltage fluctuations.
- When using UART communication, ensure the baud rate and other settings match between the carrier and the host device.
- For SPI and I2C communication, ensure proper pull-up resistors are used if required by your circuit design.
- Avoid exposing the carrier board to excessive heat, moisture, or static electricity.
Example: Connecting to an Arduino UNO
The ARK Microhard DDL Carrier can be easily connected to an Arduino UNO for prototyping. Below is an example of how to set up UART communication:
Wiring Diagram
| ARK Microhard DDL Carrier Pin | Arduino UNO Pin |
|---|---|
| VCC | 5V |
| GND | GND |
| TX | RX (Pin 0) |
| RX | TX (Pin 1) |
Arduino Code Example
// Example code for communicating with the ARK Microhard DDL Carrier via UART

void setup() {
  Serial.begin(9600); // Initialize UART communication at 9600 baud
  delay(1000);        // Wait for the module to initialize
  Serial.println("ARK Microhard DDL Carrier Initialized");
}

void loop() {
  // Send a test message to the DDL module
  Serial.println("Hello, ARK Microhard DDL Carrier!");

  // Check if data is available from the module
  if (Serial.available() > 0) {
    String receivedData = Serial.readString(); // Read incoming data
    Serial.print("Received: ");
    Serial.println(receivedData); // Print received data to the Serial Monitor
  }

  delay(1000); // Wait 1 second before sending the next message
}
Troubleshooting and FAQs
Common Issues and Solutions
No Communication with the Module
- Cause: Incorrect wiring or mismatched baud rate.
- Solution: Double-check the wiring and ensure the baud rate in your code matches the module's settings.
Module Not Powering On
- Cause: Insufficient or incorrect power supply.
- Solution: Verify the input voltage is within the 3.3V to 5V range and check for loose connections.
Unstable Communication
- Cause: Electrical noise or improper grounding.
- Solution: Add decoupling capacitors near the power input and ensure a solid ground connection.
Reset Pin Not Working
- Cause: Incorrect usage or connection.
- Solution: Ensure the RESET pin is momentarily pulled low to trigger a reset.
FAQs
Q1: Can I use the ARK Microhard DDL Carrier with a 3.3V microcontroller?
A1: Yes, the carrier board supports both 3.3V and 5V logic levels, making it compatible with a wide range of microcontrollers.
Q2: Do I need external pull-up resistors for I2C communication?
A2: It depends on your circuit. If your microcontroller does not have internal pull-ups enabled, you will need to add external pull-up resistors (typically 4.7kΩ) to the SDA and SCL lines.
Q3: Is the carrier board compatible with other modules?
A3: The ARK Microhard DDL Carrier is specifically designed for the ARK Microhard DDL module. Compatibility with other modules is not guaranteed.
Q4: How do I update the firmware on the DDL module?
A4: Firmware updates are performed via the UART interface. Refer to the ARK Microhard DDL module documentation for detailed instructions.