
How to Use JK BLD 750: Examples, Pinouts, and Specs
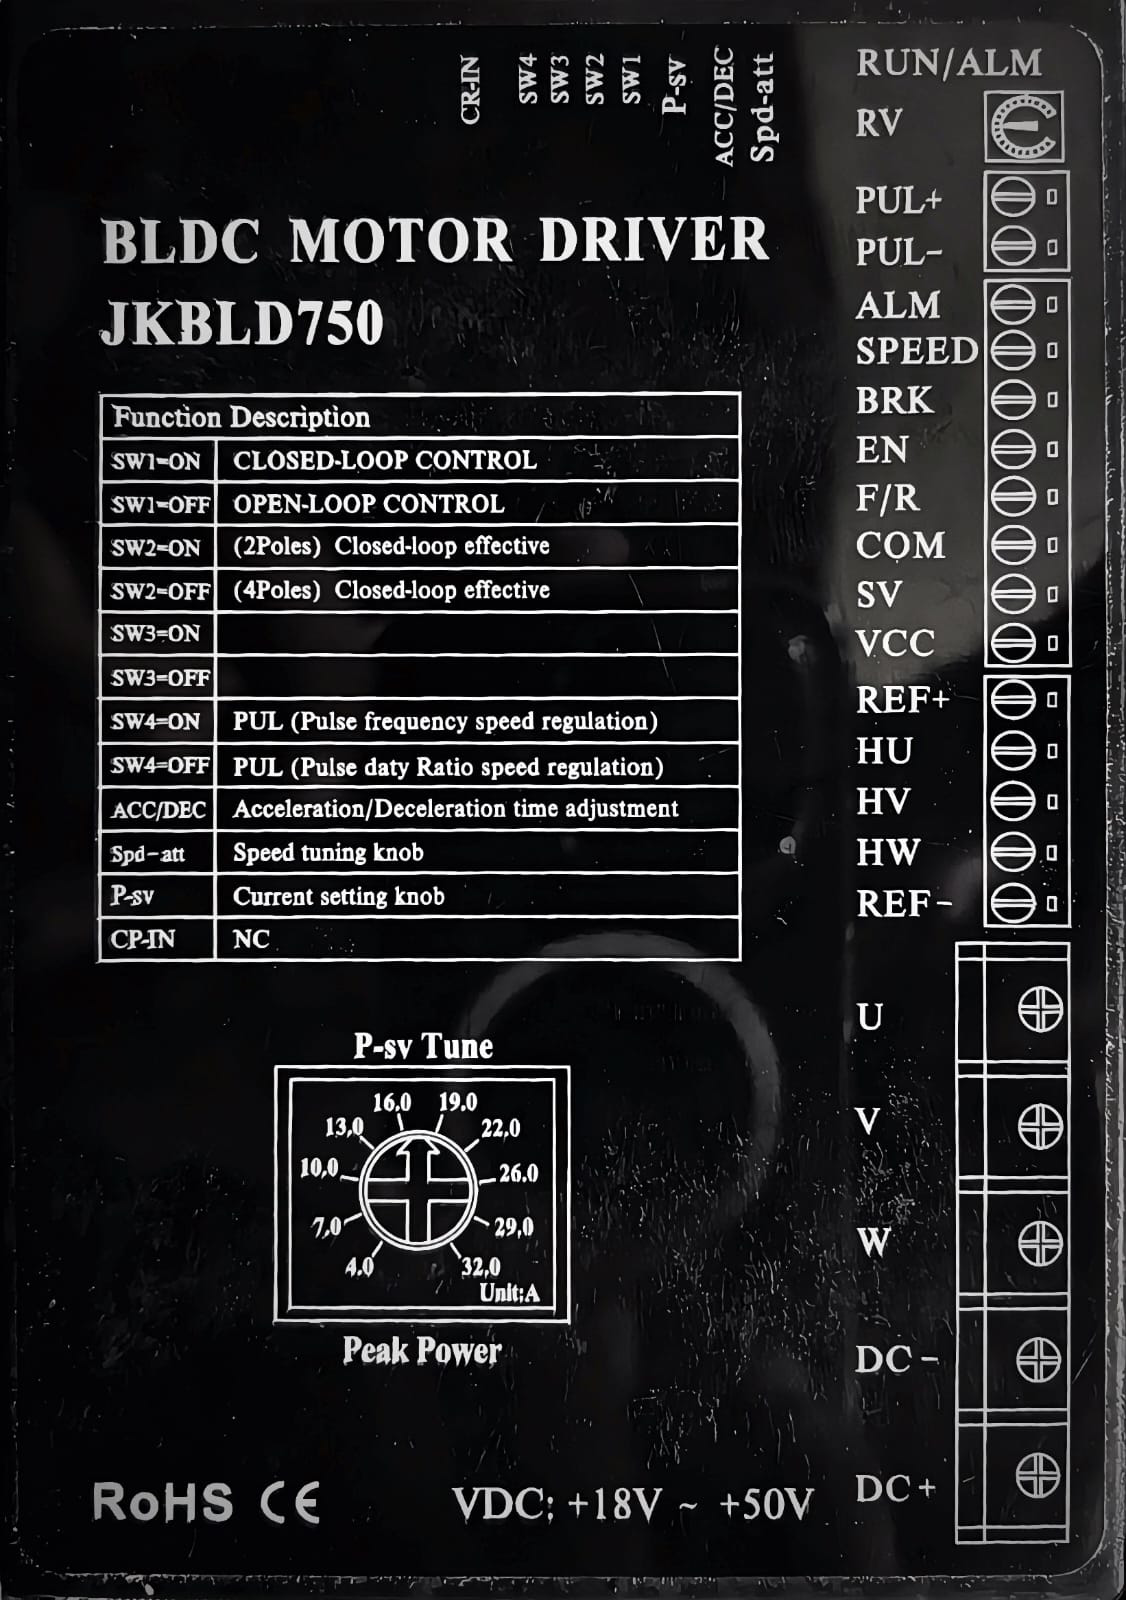
 Design with JK BLD 750 in Cirkit Designer
Introduction
The JK BLD 750 is a high-performance relay or contactor designed for switching applications in electrical circuits. It is capable of handling high current loads, making it ideal for industrial automation and control systems. This component is widely used in applications requiring reliable and efficient switching, such as motor control, power distribution, and industrial machinery.
Explore Projects Built with JK BLD 750
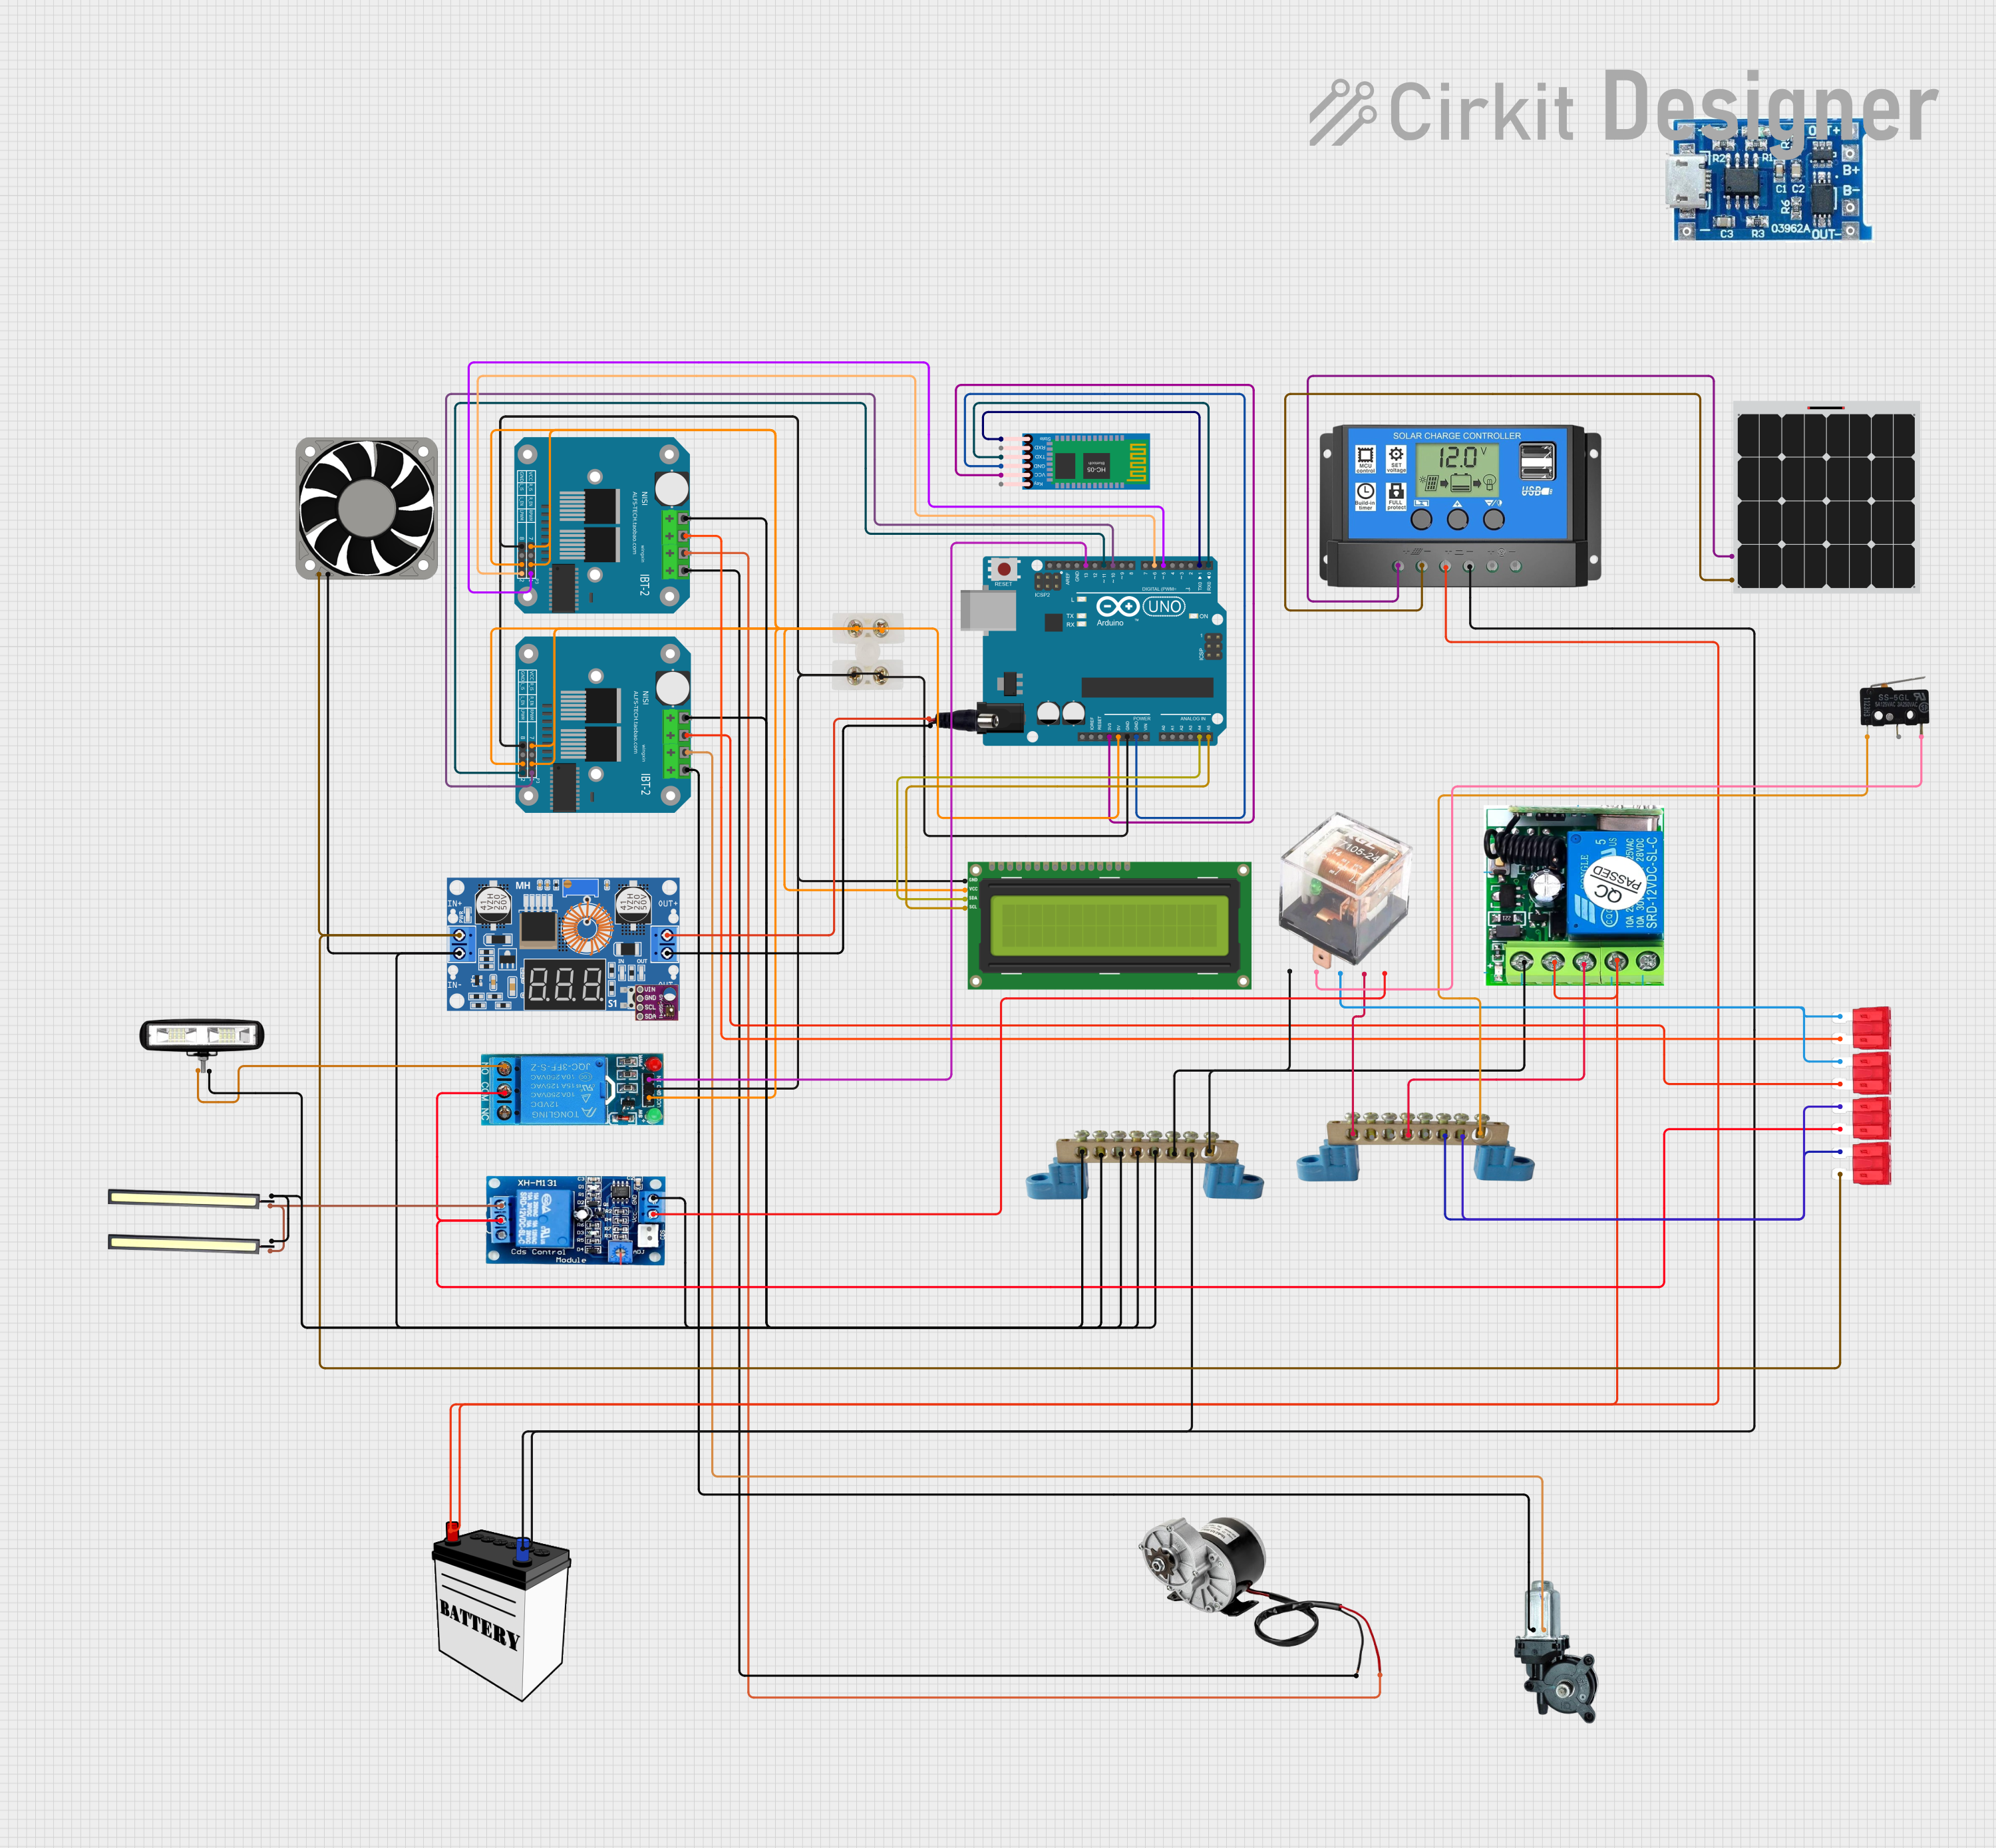 Open Project in Cirkit Designer
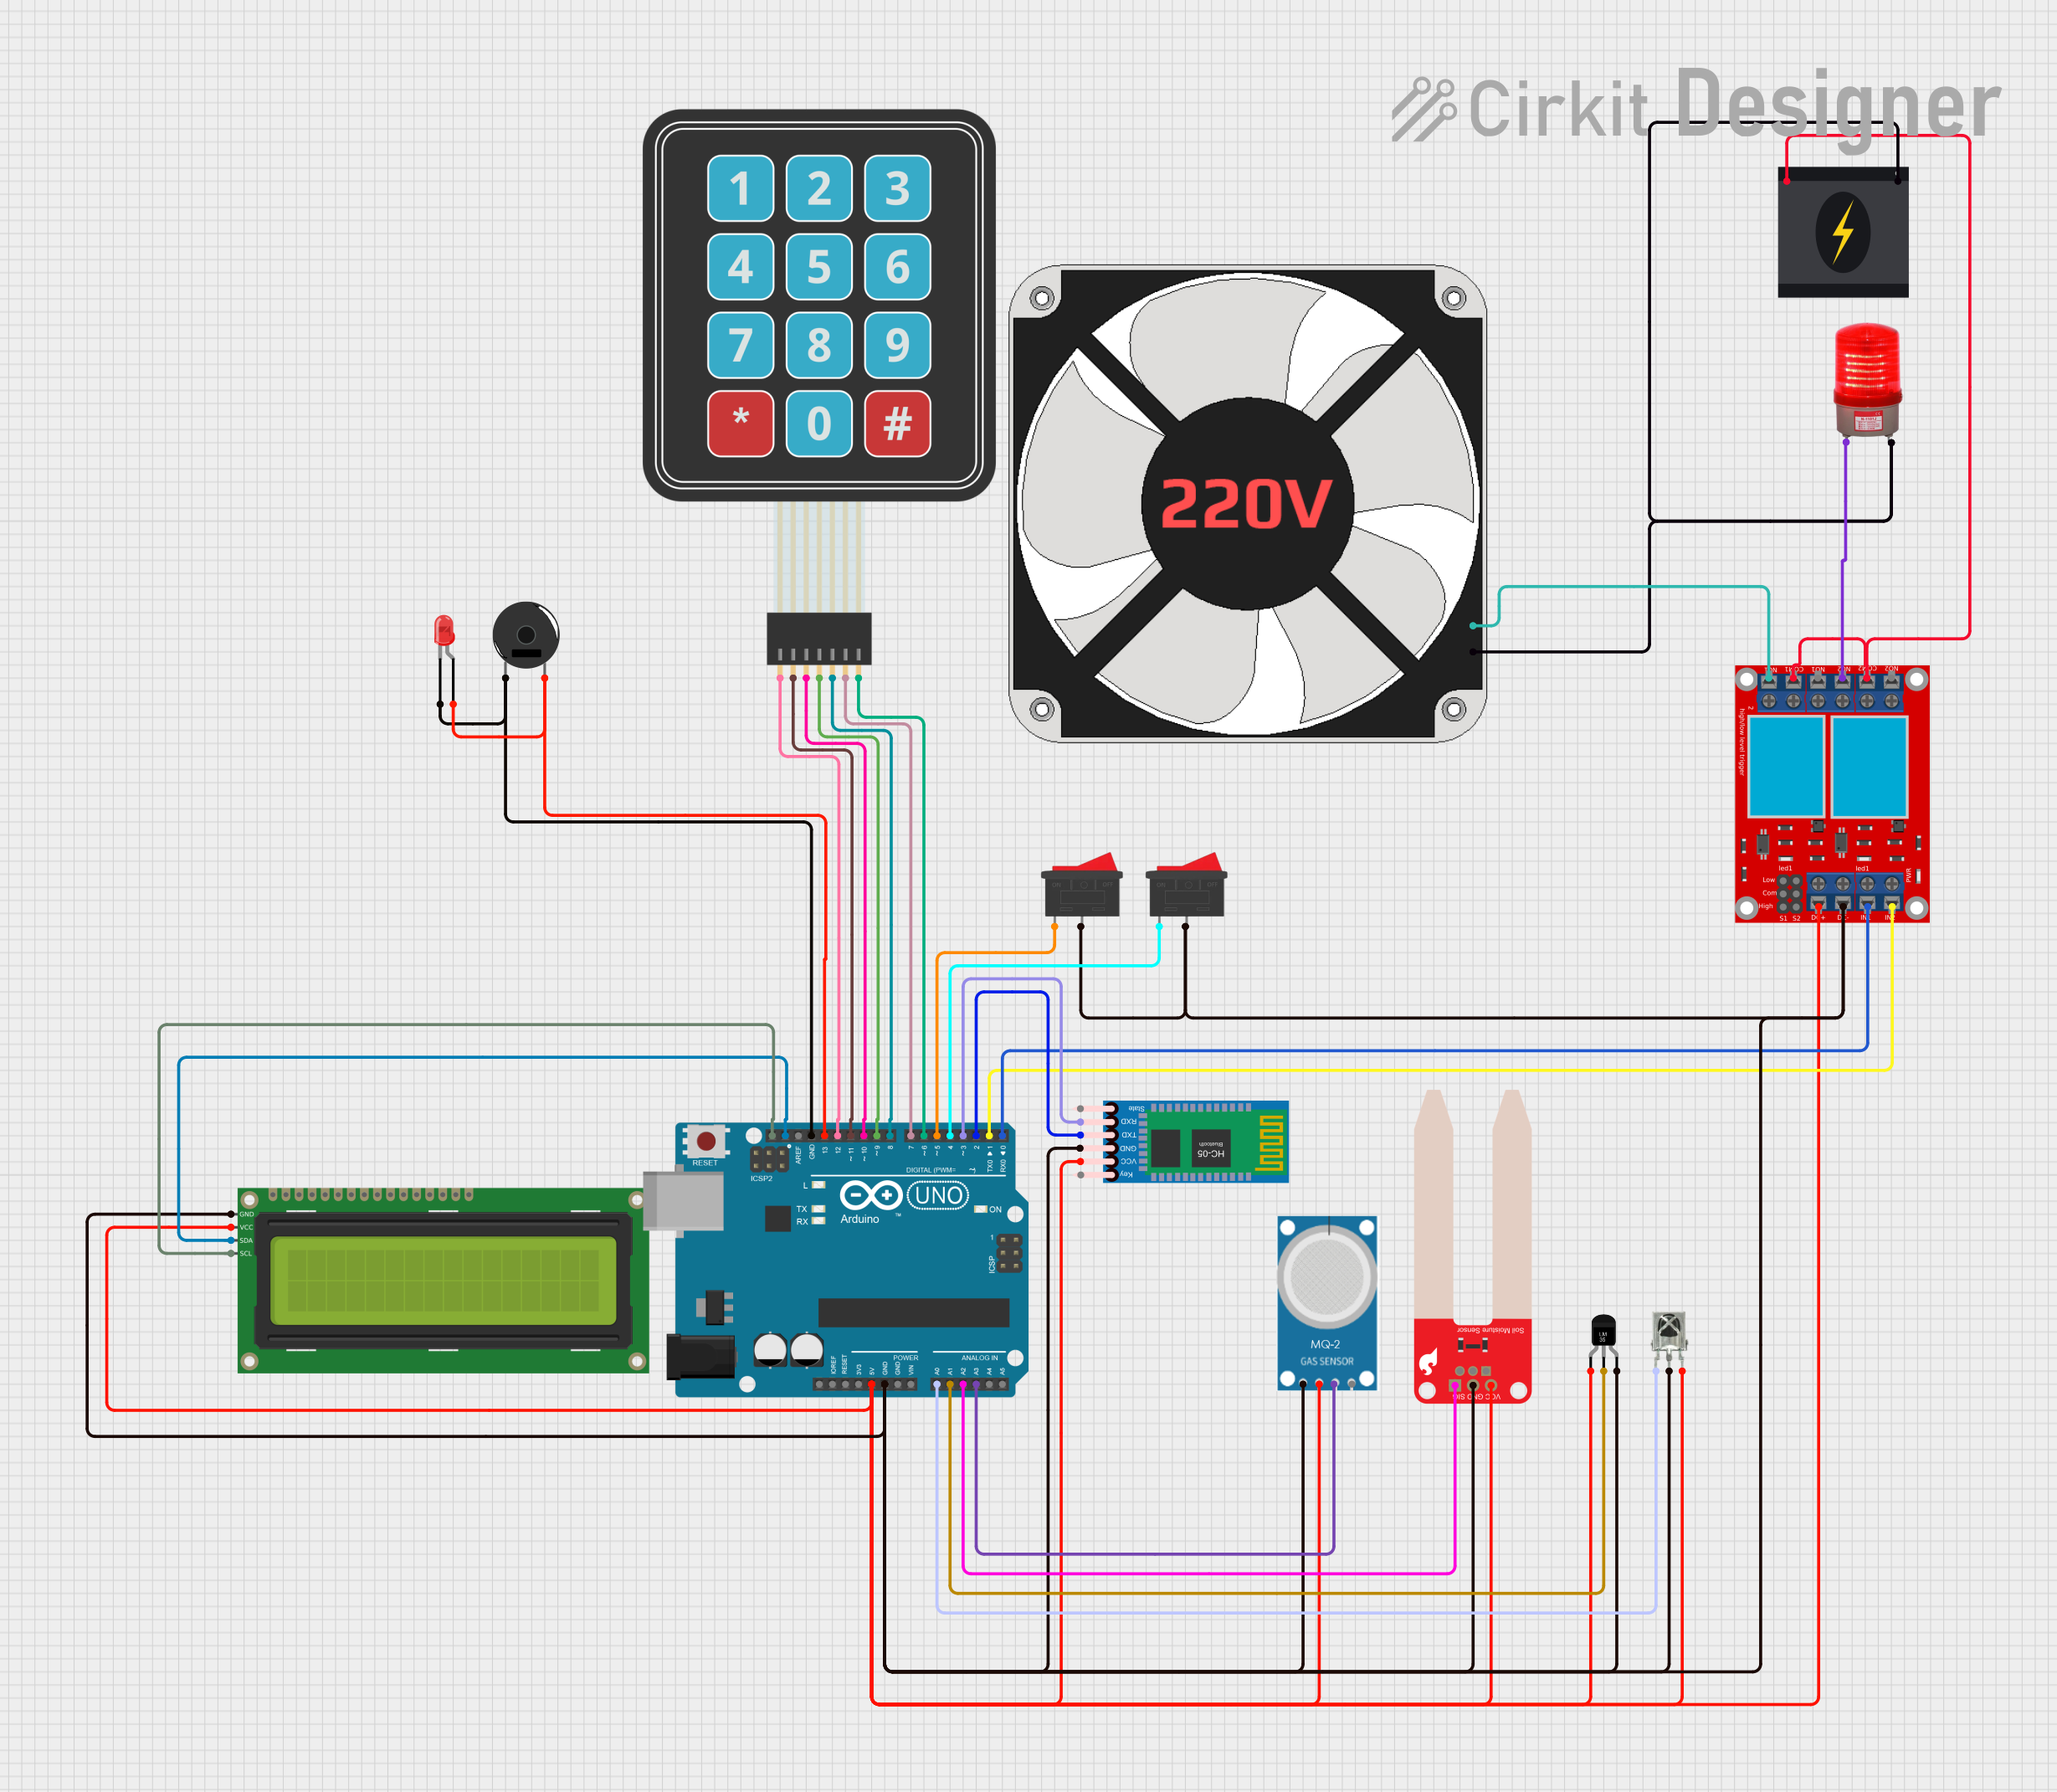 Open Project in Cirkit Designer
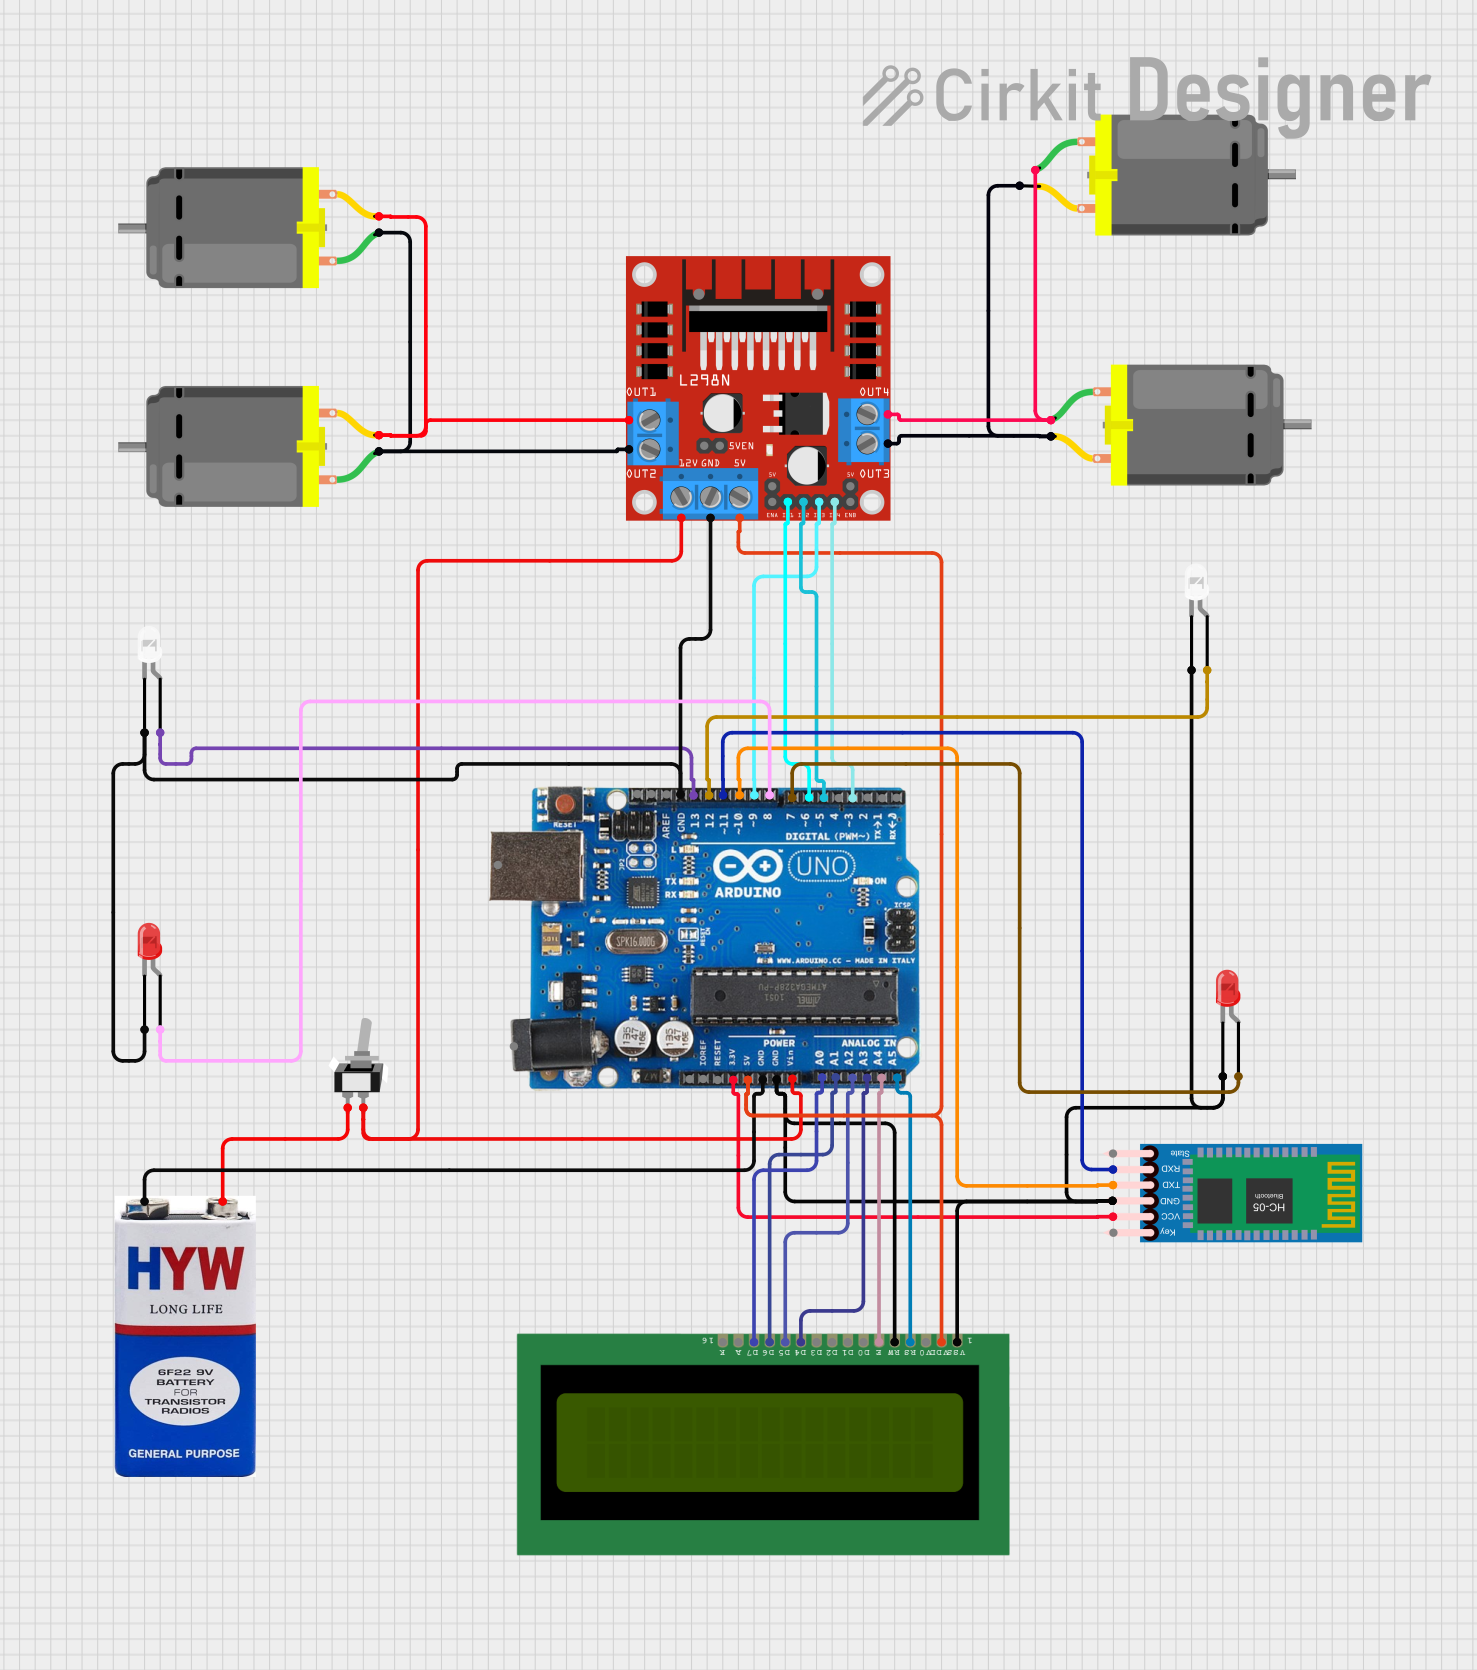 Open Project in Cirkit Designer
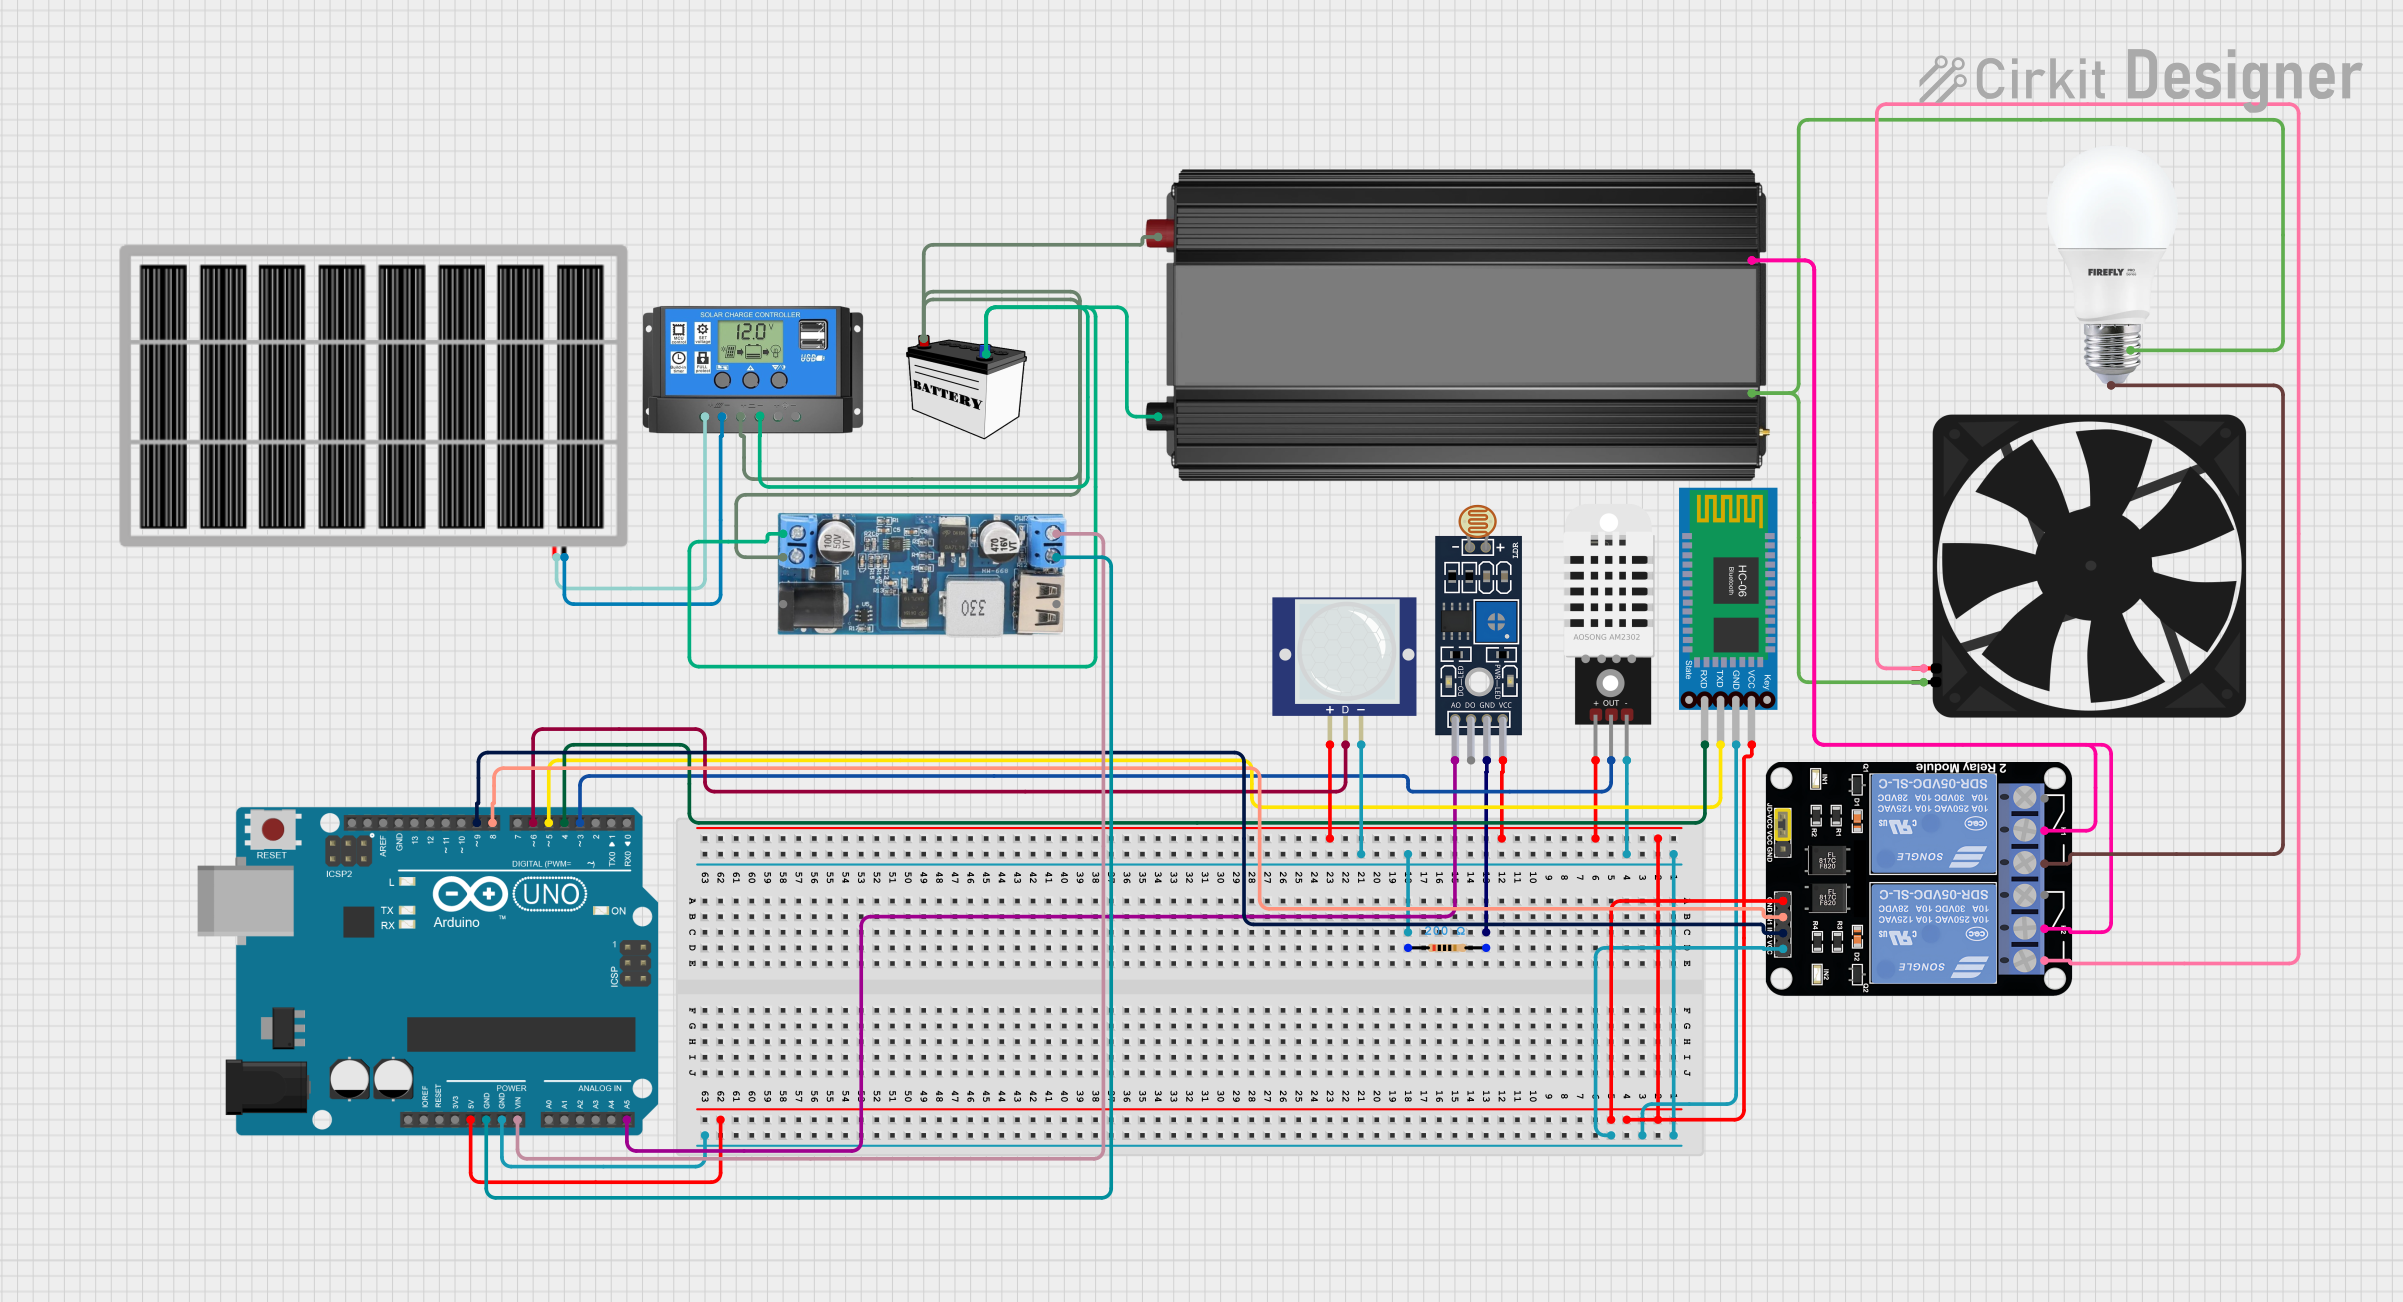 Open Project in Cirkit Designer
Explore Projects Built with JK BLD 750
Open Project in Cirkit DesignerOpen Project in Cirkit DesignerOpen Project in Cirkit DesignerOpen Project in Cirkit DesignerCommon Applications:
- Industrial automation systems
- Motor control circuits
- Power distribution panels
- HVAC systems
- Renewable energy systems (e.g., solar inverters)
Technical Specifications
Key Technical Details:
| Parameter | Value |
|---|---|
| Manufacturer | NILL |
| Part ID | BLD-750 |
| Type | Relay/Contactor |
| Rated Voltage | 24V DC (coil voltage) |
| Switching Voltage | Up to 250V AC / 30V DC |
| Rated Current | 50A (maximum load current) |
| Contact Configuration | SPST (Single Pole Single Throw) |
| Coil Resistance | 320Ω ± 10% |
| Operating Temperature | -40°C to +85°C |
| Insulation Resistance | ≥ 100MΩ at 500V DC |
| Mechanical Life | 10 million operations |
| Electrical Life | 100,000 operations (at full load) |
Pin Configuration and Descriptions:
| Pin Number | Pin Name | Description |
|---|---|---|
| 1 | Coil (+) | Positive terminal of the relay coil |
| 2 | Coil (-) | Negative terminal of the relay coil |
| 3 | Common (COM) | Common terminal for the load circuit |
| 4 | Normally Open (NO) | Connects to COM when the relay is activated |
Usage Instructions
How to Use the JK BLD 750 in a Circuit:
- Power the Coil: Connect the coil terminals (Pin 1 and Pin 2) to a 24V DC power source. Ensure the polarity is correct.
- Load Connection: Connect the load circuit to the Common (COM) and Normally Open (NO) terminals. When the relay is activated, the NO terminal will connect to COM, completing the circuit.
- Control Signal: Use a control signal (e.g., from a microcontroller or switch) to activate the relay by energizing the coil.
Important Considerations:
- Current Rating: Ensure the load current does not exceed the rated 50A to avoid damage.
- Back-EMF Protection: Use a flyback diode across the coil terminals to protect the circuit from voltage spikes when the relay is deactivated.
- Mounting: Securely mount the relay in a well-ventilated area to prevent overheating.
- Isolation: Maintain proper electrical isolation between the control and load circuits.
Example: Connecting the JK BLD 750 to an Arduino UNO
Below is an example of how to control the JK BLD 750 using an Arduino UNO:
// Define the pin connected to the relay coil
const int relayPin = 7;

void setup() {
  pinMode(relayPin, OUTPUT); // Set the relay pin as an output
  digitalWrite(relayPin, LOW); // Ensure the relay is off initially
}

void loop() {
  digitalWrite(relayPin, HIGH); // Activate the relay
  delay(5000); // Keep the relay on for 5 seconds
  digitalWrite(relayPin, LOW); // Deactivate the relay
  delay(5000); // Keep the relay off for 5 seconds
}
Note: Use a transistor or relay driver circuit to interface the Arduino with the JK BLD 750, as the Arduino's GPIO pins cannot directly supply the required current for the relay coil.
Troubleshooting and FAQs
Common Issues and Solutions:
Relay Not Activating:
- Cause: Insufficient coil voltage or incorrect wiring.
- Solution: Verify the coil voltage is 24V DC and check the wiring connections.
Excessive Heating:
- Cause: Overloading the relay or poor ventilation.
- Solution: Ensure the load current does not exceed 50A and improve ventilation around the relay.
Contact Sticking:
- Cause: High inrush current or worn-out contacts.
- Solution: Use a snubber circuit to suppress inrush current and replace the relay if contacts are damaged.
Noise or Chattering:
- Cause: Unstable control signal or insufficient coil voltage.
- Solution: Stabilize the control signal and ensure the coil voltage is within the specified range.
FAQs:
Q: Can the JK BLD 750 be used with AC loads?
- A: Yes, it can switch AC loads up to 250V, provided the current does not exceed 50A.
Q: Is the relay suitable for outdoor use?
- A: The relay is not weatherproof. Use it in a protected enclosure for outdoor applications.
Q: What is the recommended wire gauge for the load circuit?
- A: Use wires rated for at least 50A, such as 8 AWG or thicker, depending on the application.
Q: Can I use a 12V power supply for the coil?
- A: No, the coil is designed for 24V DC. Using a lower voltage may result in unreliable operation.
This concludes the documentation for the JK BLD 750. For further assistance, consult your circuit design requirements or seek professional advice.