How to Use gnd: Examples, Pinouts, and Specs

Introduction
The GND (Ground) pin is a fundamental component in any electrical or electronic circuit. It serves as the reference point for all voltage measurements and provides a common return path for electric current. In the context of Arduino UNO, the GND pin is essential for establishing a stable circuit and ensuring proper operation of connected components.
Explore Projects Built with gnd
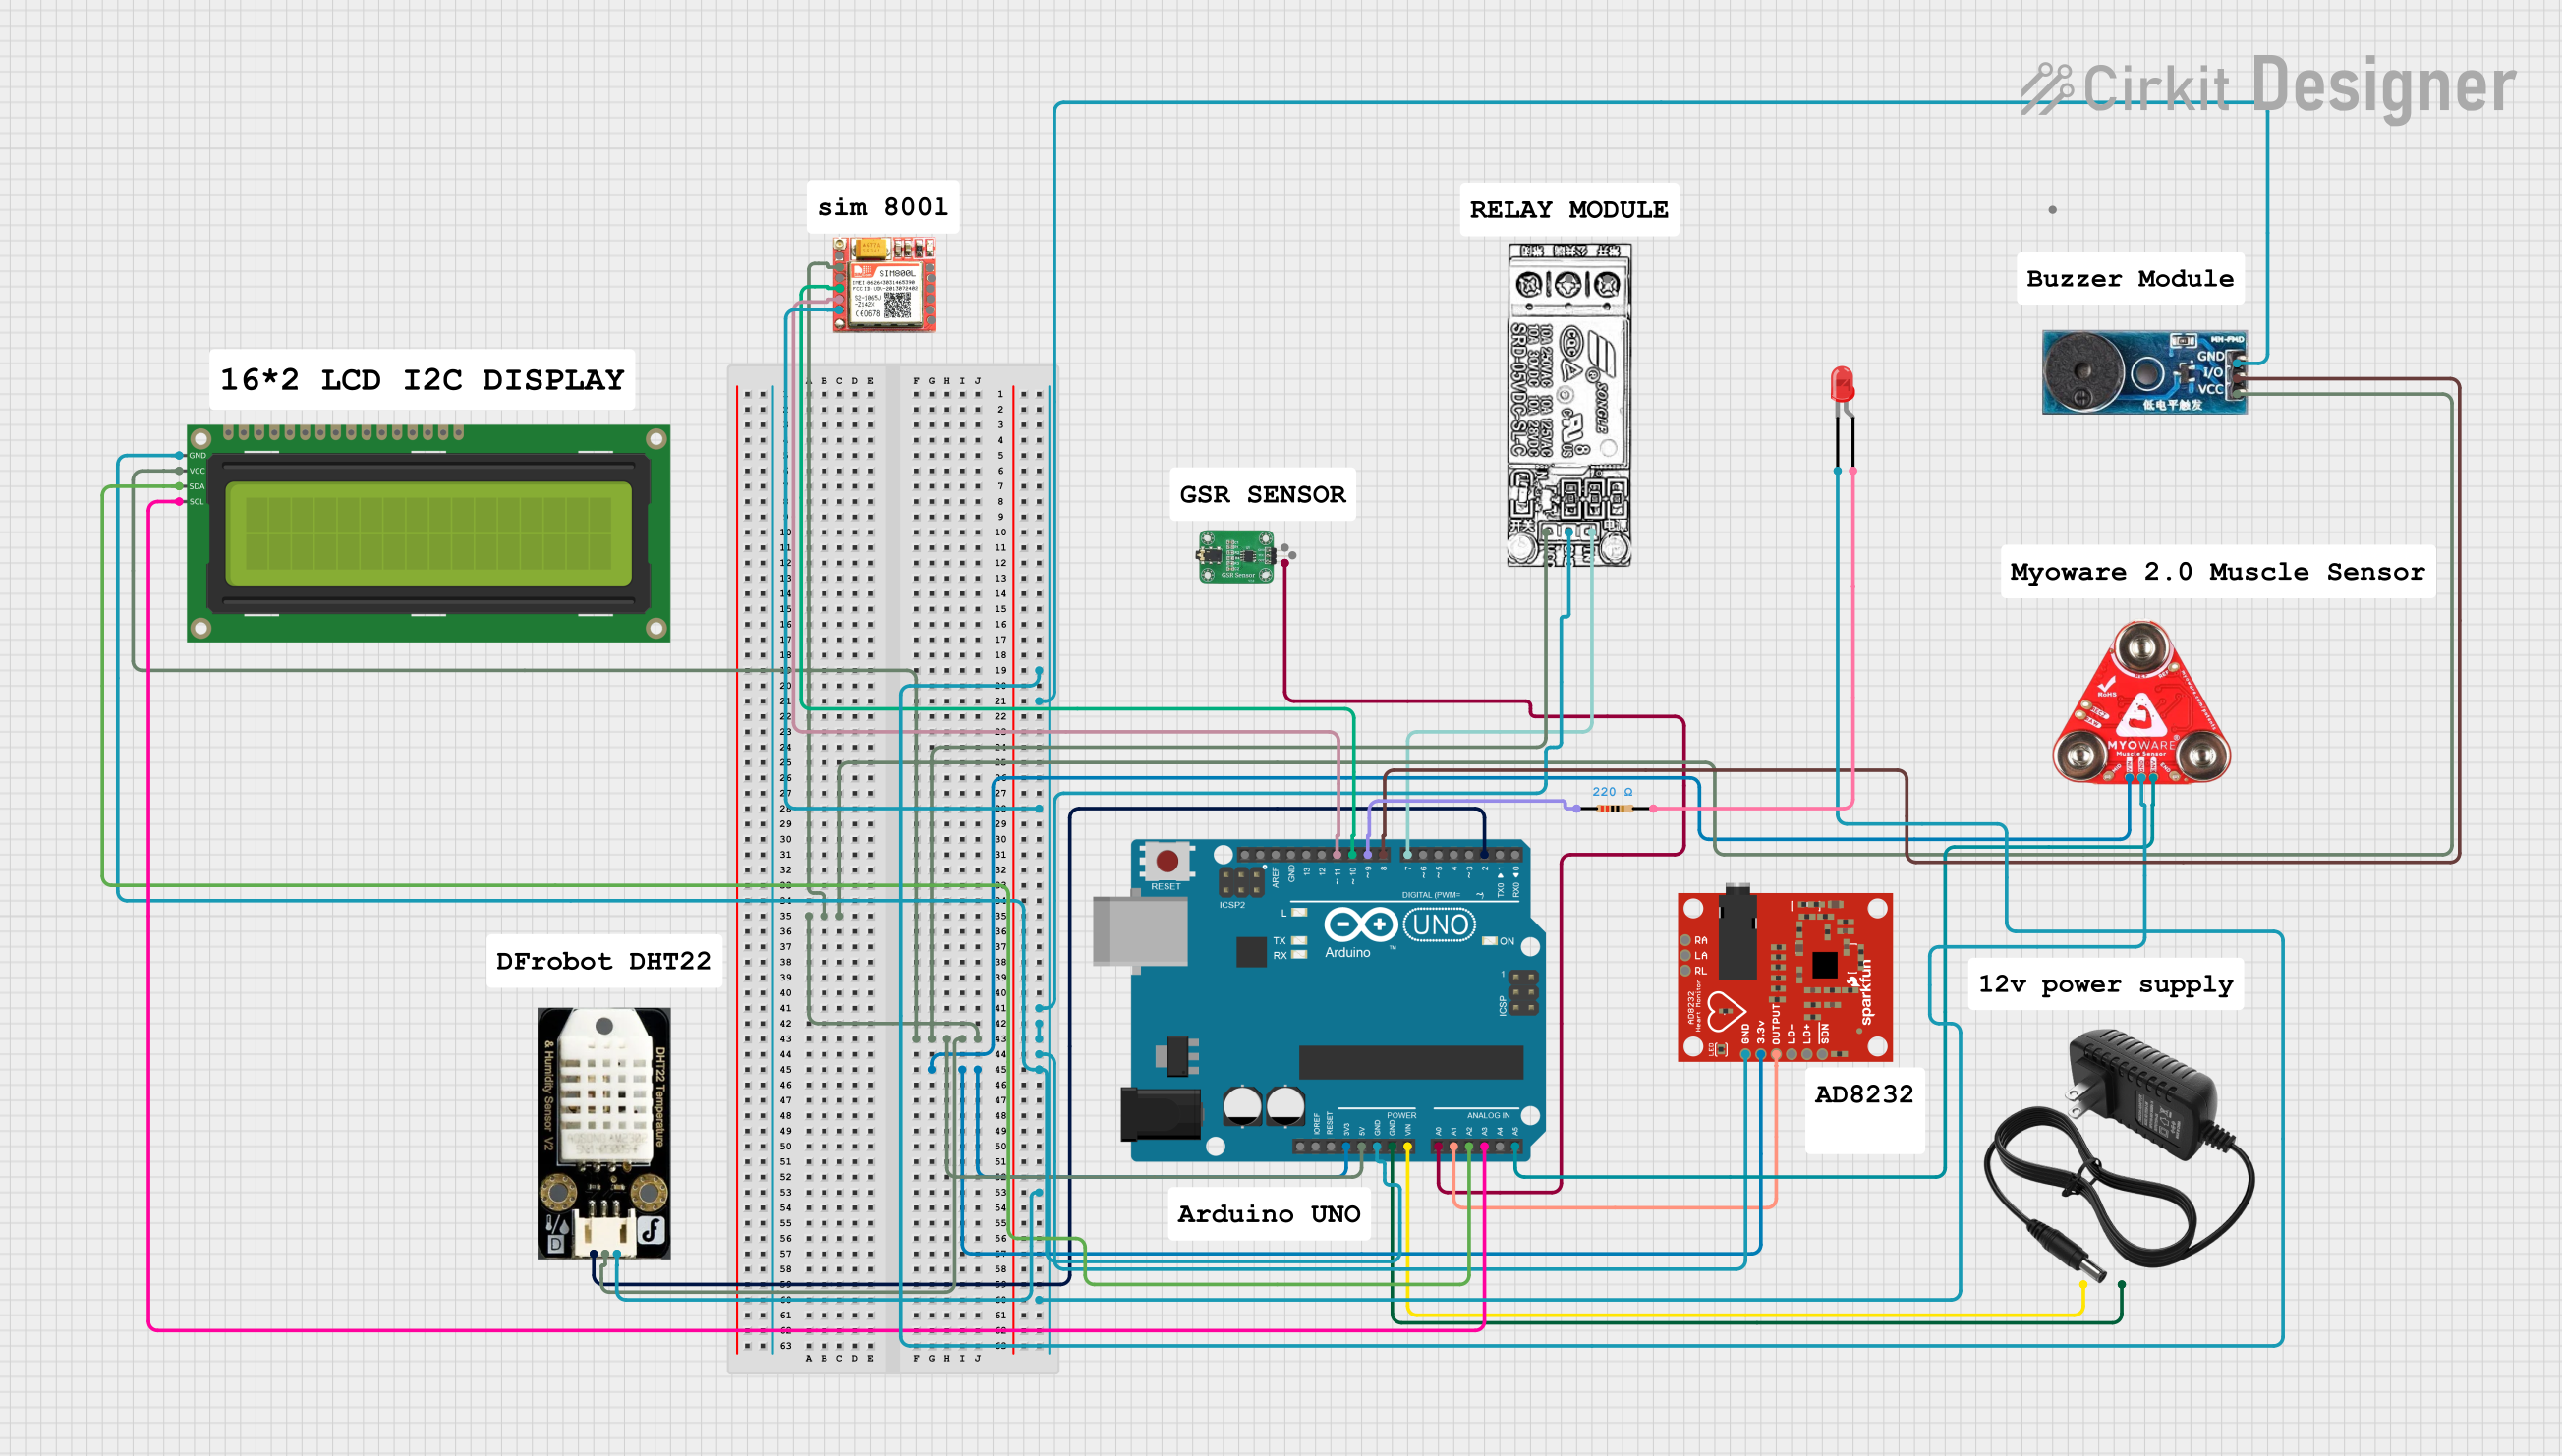

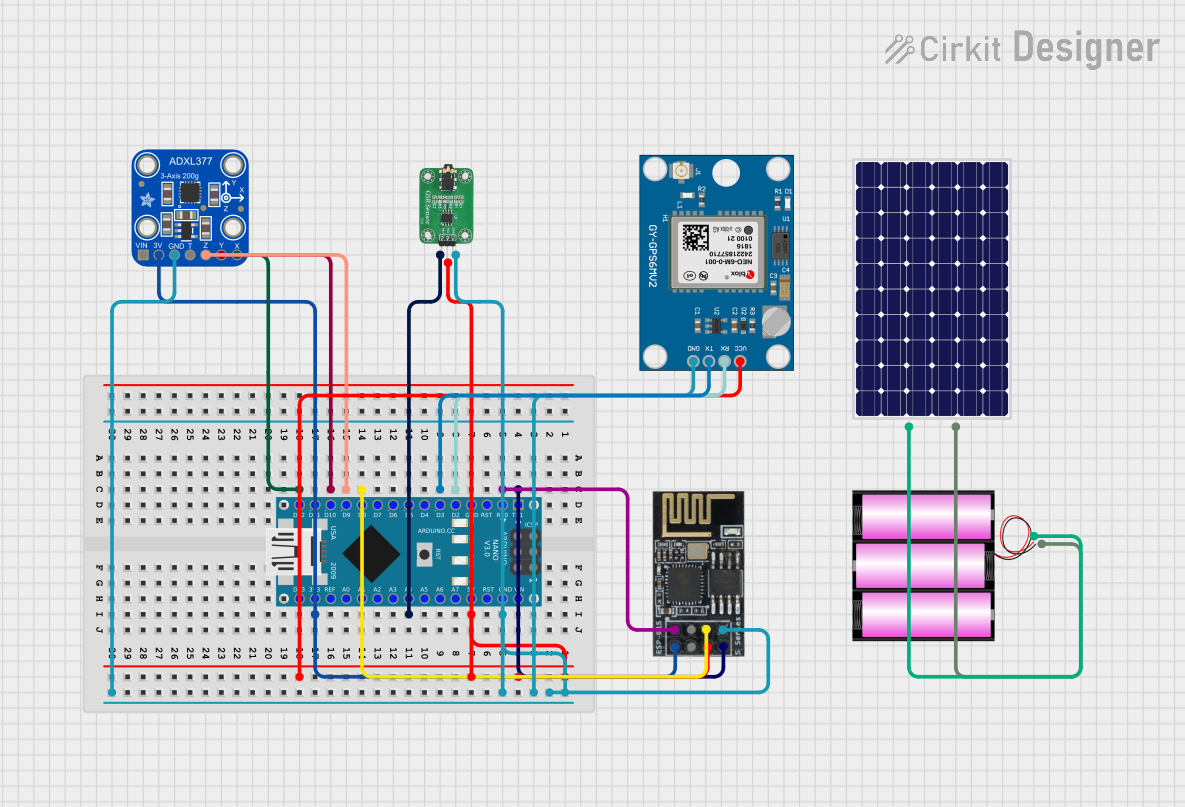

Explore Projects Built with gnd
Common Applications and Use Cases
- Establishing a common reference point in circuits.
- Completing electrical circuits for sensors, actuators, and other peripherals.
- Ensuring stable operation of microcontrollers and other electronic devices.
- Reducing noise and interference in signal processing circuits.
Technical Specifications
The GND pin on the Arduino UNO is designed to provide a stable ground connection for the board and connected components. Below are the key technical details:
General Specifications
| Parameter | Value |
|---|---|
| Manufacturer | Arduino |
| Manufacturer Part ID | UNO |
| Voltage Reference | 0V (Ground) |
| Current Capacity | Up to 500mA (shared with other pins) |
Pin Configuration and Description
The Arduino UNO board includes multiple GND pins for convenience. These pins are internally connected and function identically.
| Pin Label | Description |
|---|---|
| GND | Ground pin. Used as a reference point for voltage and a return path for current. |
Usage Instructions
How to Use the GND Pin in a Circuit
Connect the GND Pin to Your Circuit:
- Identify the GND pin on the Arduino UNO board.
- Connect the GND pin to the ground rail of your breadboard or directly to the ground terminal of your circuit.
Establish a Common Ground:
- Ensure that all components in your circuit share the same ground reference by connecting their ground terminals to the GND pin.
Avoid Ground Loops:
- When connecting multiple devices, ensure that there is only one ground reference point to prevent ground loops, which can cause noise and instability.
Important Considerations and Best Practices
- Shared Current Capacity: The GND pin shares its current capacity with other pins on the Arduino UNO. Ensure that the total current does not exceed the board's limits (500mA).
- Proper Grounding: For circuits with high-frequency signals or sensitive analog components, use a star grounding technique to minimize noise.
- Power Supply Ground: If using an external power supply, connect its ground terminal to the Arduino GND pin to maintain a common reference.
Example: Connecting a Sensor to Arduino UNO
Below is an example of connecting a temperature sensor (e.g., LM35) to the Arduino UNO, using the GND pin.
// Example: Reading temperature from an LM35 sensor
// Connect the LM35 sensor as follows:
// - VCC pin of LM35 to 5V on Arduino
// - GND pin of LM35 to GND on Arduino
// - OUT pin of LM35 to A0 on Arduino

const int sensorPin = A0; // Analog pin connected to LM35 OUT pin
float temperature;        // Variable to store temperature value

void setup() {
  Serial.begin(9600); // Initialize serial communication
}

void loop() {
  int sensorValue = analogRead(sensorPin); // Read analog value from sensor
  temperature = (sensorValue * 5.0 / 1023.0) * 100.0;
  // Convert analog value to temperature in Celsius
  Serial.print("Temperature: ");
  Serial.print(temperature);
  Serial.println(" °C");
  delay(1000); // Wait for 1 second before next reading
}
Troubleshooting and FAQs
Common Issues Users Might Face
No Voltage Reference:
- Problem: The circuit does not function as expected because there is no common ground.
- Solution: Ensure that all components in the circuit share the same ground reference by connecting their ground terminals to the GND pin.
Ground Loop Noise:
- Problem: Unwanted noise or instability in the circuit due to multiple ground paths.
- Solution: Use a single ground reference point and avoid creating loops in the ground connections.
Overloading the GND Pin:
- Problem: Excessive current draw through the GND pin causes overheating or instability.
- Solution: Ensure that the total current through the GND pin does not exceed the Arduino UNO's limit (500mA).
FAQs
Q: Can I use any GND pin on the Arduino UNO?
A: Yes, all GND pins on the Arduino UNO are internally connected and function identically. You can use any of them as needed.
Q: What happens if I don't connect the GND pin?
A: Without a ground connection, your circuit will lack a common reference point, leading to erratic behavior or failure to operate.
Q: Can I connect multiple devices to the same GND pin?
A: Yes, you can connect multiple devices to the same GND pin, but ensure that the total current does not exceed the board's capacity.
Q: How do I reduce noise in my circuit?
A: Use proper grounding techniques, such as star grounding, and avoid ground loops. Additionally, use decoupling capacitors near sensitive components.