How to Use GSR sensor: Examples, Pinouts, and Specs
Introduction
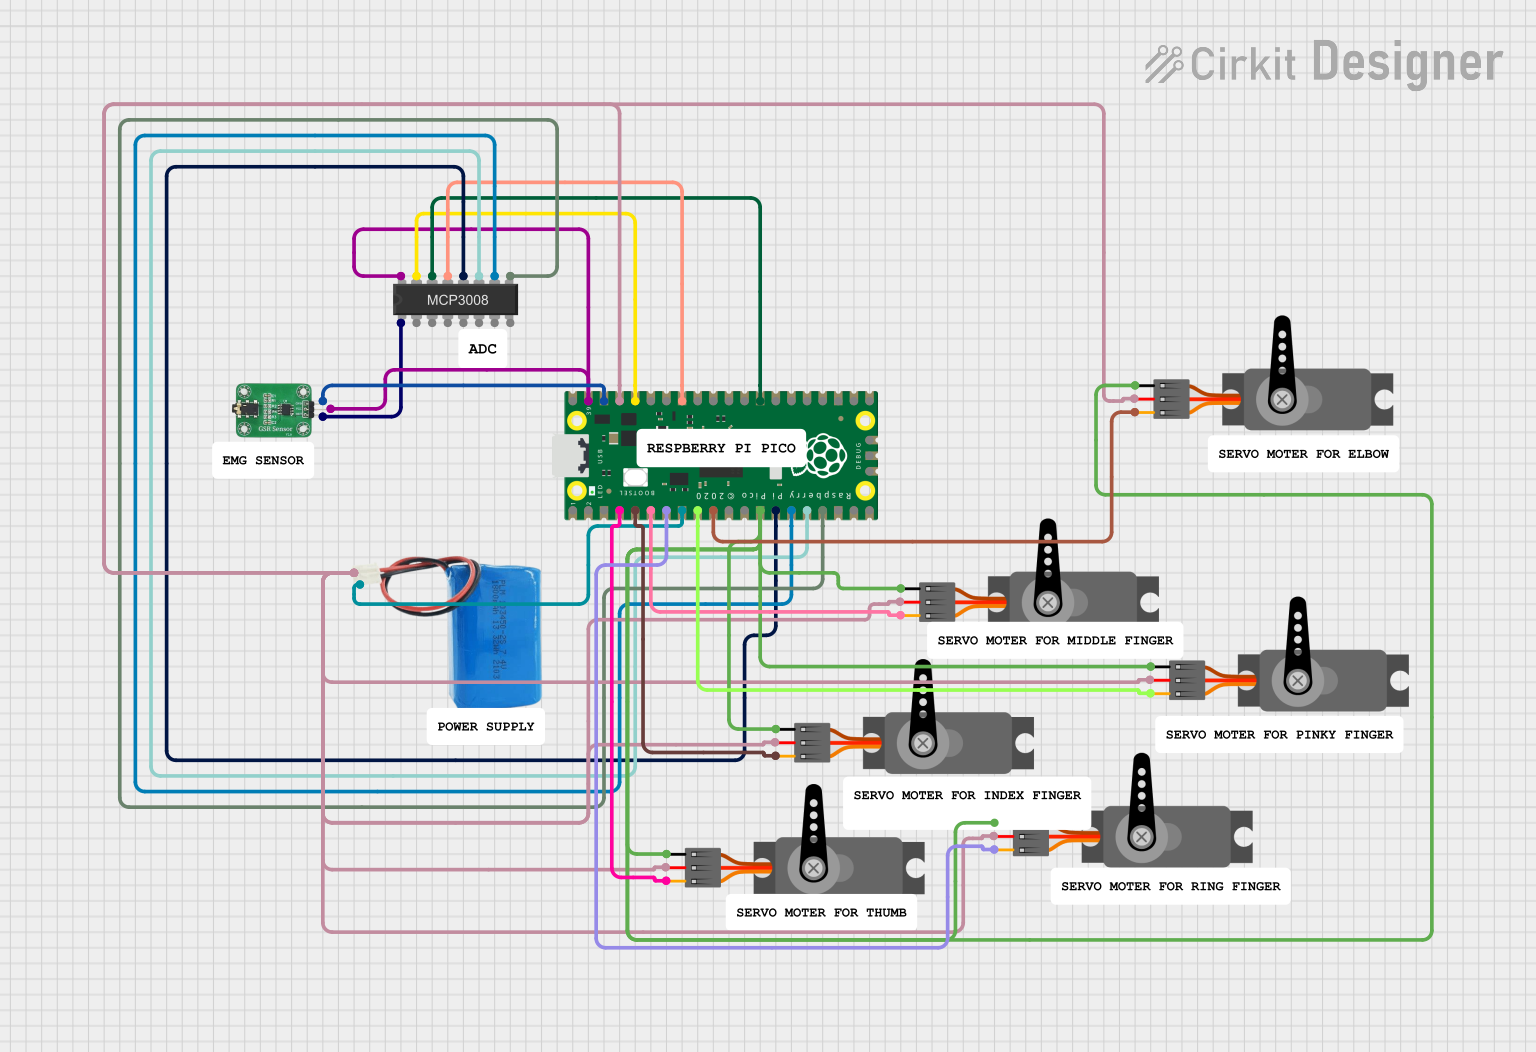
The Grove GSR (Galvanic Skin Response) Sensor is a device designed to measure the electrical conductance of the skin. This conductance varies with the moisture level of the skin, which is influenced by sweat gland activity. The GSR sensor is widely used in biofeedback systems, psychological studies, and wearable devices to assess emotional arousal and stress levels.
Explore Projects Built with GSR sensor
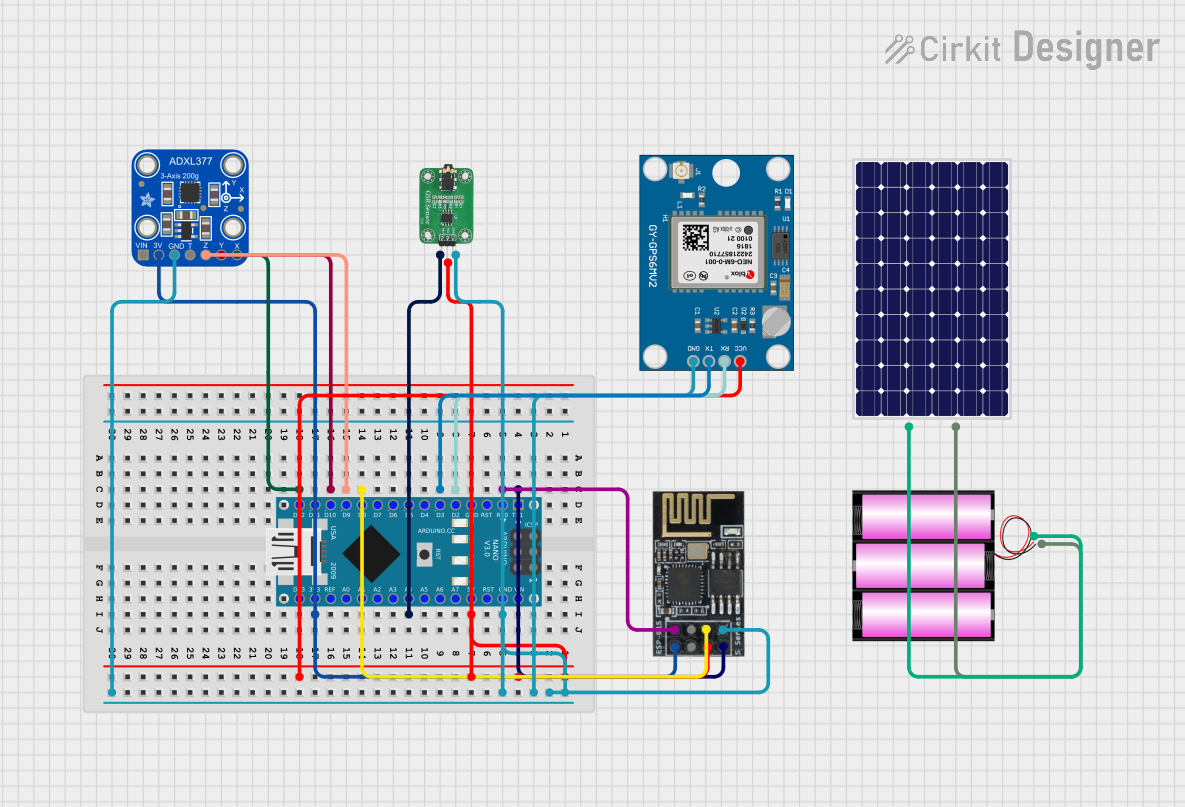
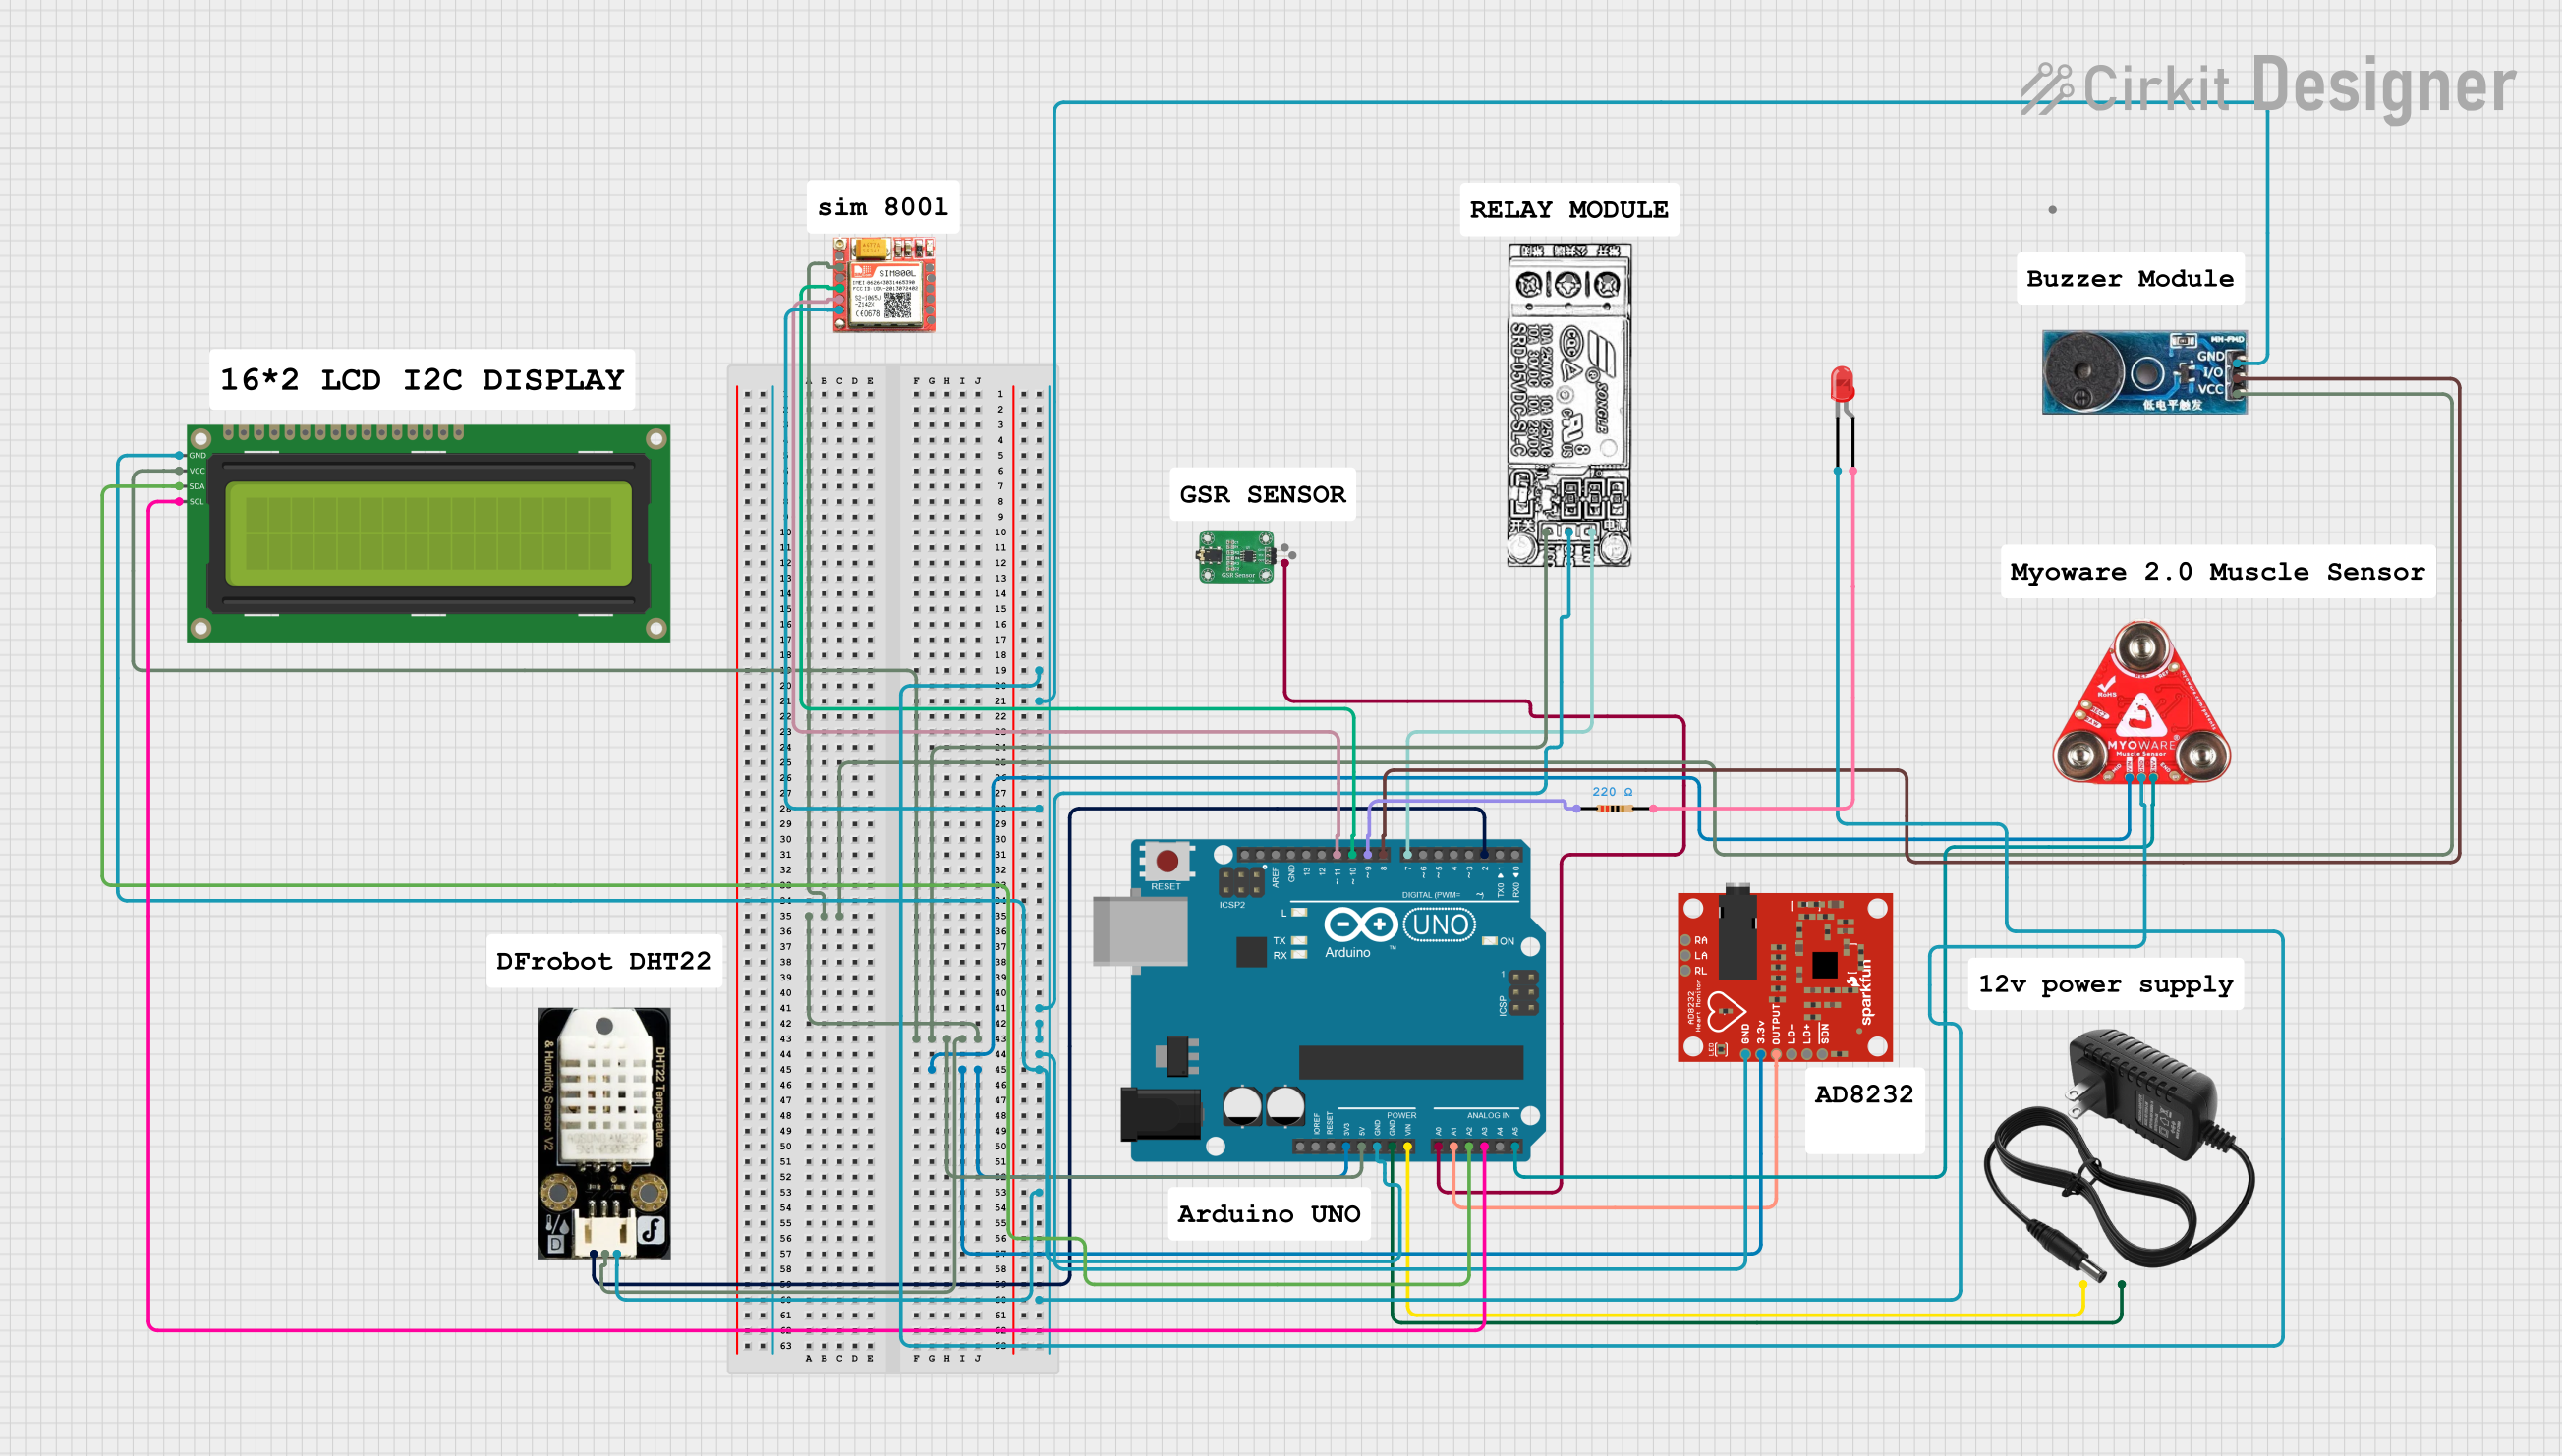
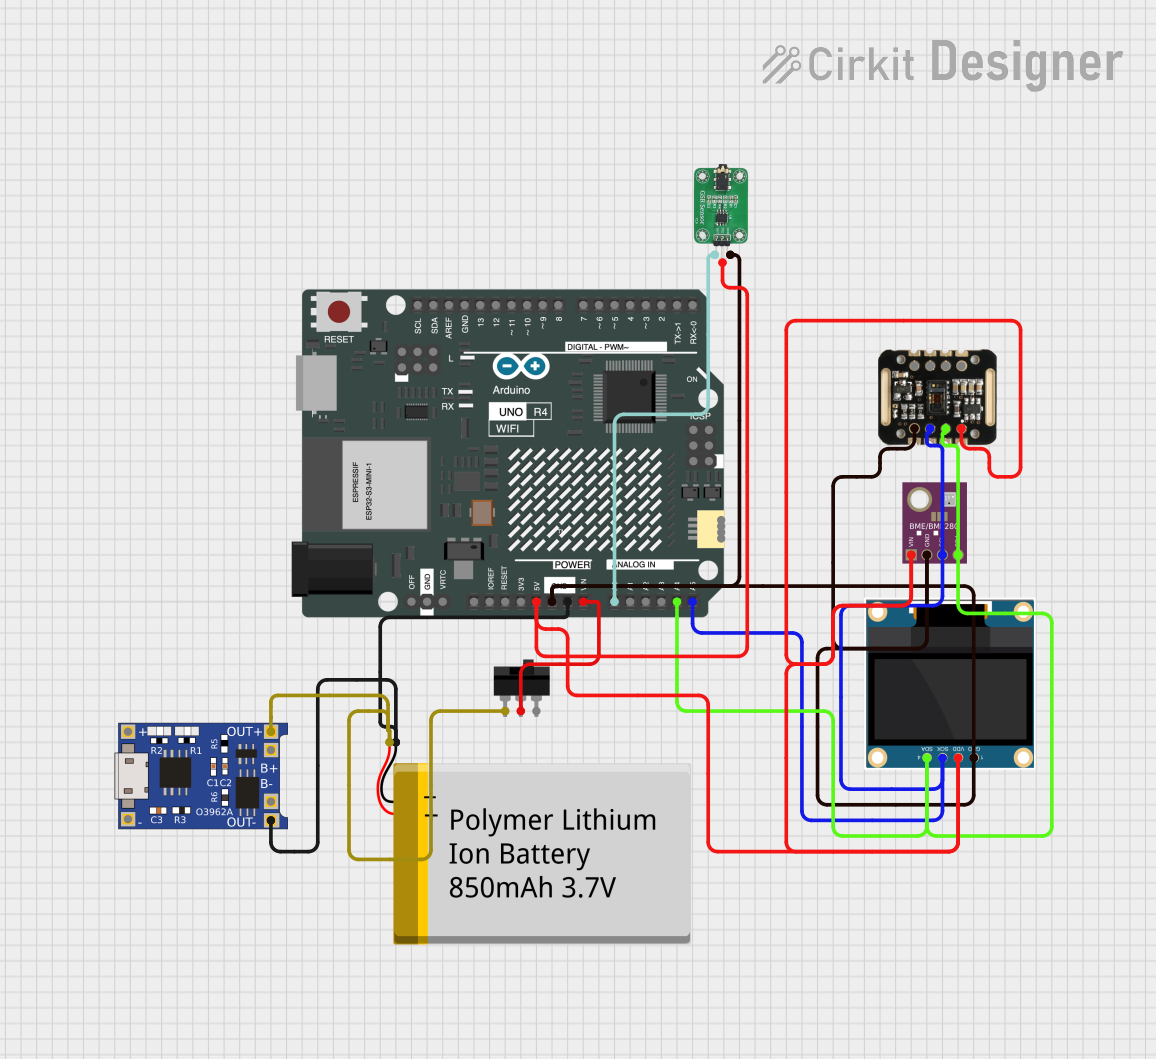
Explore Projects Built with GSR sensor
Common Applications and Use Cases
- Biofeedback systems for stress management
- Psychological and emotional studies
- Wearable health monitoring devices
- Lie detection systems
- Research in human-computer interaction
Technical Specifications
The following table outlines the key technical details of the Grove GSR Sensor:
| Parameter | Specification |
|---|---|
| Manufacturer | Grove |
| Part ID | Sensor |
| Operating Voltage | 3.3V to 5V |
| Output Signal | Analog voltage |
| Measurement Range | 0 to 1023 (10-bit ADC output) |
| Interface Type | Analog |
| Operating Temperature | 0°C to 50°C |
| Dimensions | 20mm x 20mm x 10mm |
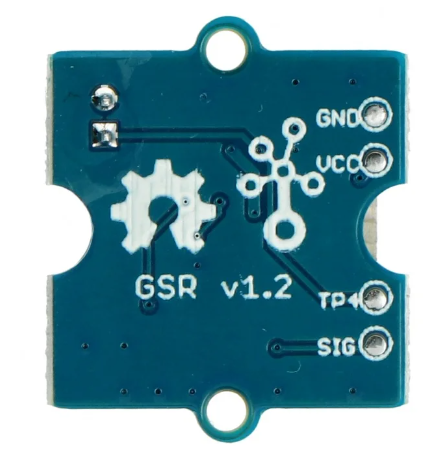
Pin Configuration and Descriptions
The Grove GSR Sensor has a 4-pin interface. The pin configuration is as follows:
| Pin Number | Pin Name | Description |
|---|---|---|
| 1 | VCC | Power supply (3.3V to 5V) |
| 2 | GND | Ground |
| 3 | SIG | Analog signal output |
| 4 | NC | Not connected |
Usage Instructions
How to Use the GSR Sensor in a Circuit
Connect the Sensor to a Microcontroller:
- Connect the
VCCpin to the 3.3V or 5V power supply of your microcontroller. - Connect the
GNDpin to the ground of your microcontroller. - Connect the
SIGpin to an analog input pin on your microcontroller (e.g., A0 on an Arduino UNO).
- Connect the
Attach the Electrodes:
- Place the GSR electrodes on the skin (e.g., fingers or palm) using the provided straps or adhesive pads.
- Ensure good contact between the electrodes and the skin for accurate readings.
Read the Analog Signal:
- The sensor outputs an analog voltage proportional to the skin's conductance. This signal can be read using the microcontroller's ADC (Analog-to-Digital Converter).
Important Considerations and Best Practices
- Skin Preparation: Clean the skin area where the electrodes will be placed to remove dirt or oils that may affect the readings.
- Avoid Noise: Keep the sensor and wires away from sources of electrical noise to ensure stable readings.
- Calibration: Perform calibration to map the raw ADC values to meaningful conductance or arousal levels.
- Electrode Placement: Consistent placement of electrodes is crucial for repeatable results.
- Power Supply: Use a stable power supply to avoid fluctuations in the sensor's output.
Example Code for Arduino UNO
Below is an example code snippet to read data from the Grove GSR Sensor using an Arduino UNO:
// Define the analog pin connected to the GSR sensor
const int GSR_PIN = A0;

void setup() {
  // Initialize serial communication for debugging
  Serial.begin(9600);
  Serial.println("GSR Sensor Test");
}

void loop() {
  // Read the analog value from the GSR sensor
  int gsrValue = analogRead(GSR_PIN);

  // Print the raw ADC value to the Serial Monitor
  Serial.print("GSR Value: ");
  Serial.println(gsrValue);

  // Add a small delay to stabilize readings
  delay(500);
}
Troubleshooting and FAQs
Common Issues and Solutions
No Output or Constant Value:
- Cause: Loose or improper connection of the electrodes.
- Solution: Ensure the electrodes are securely attached to the skin and the sensor is properly connected to the microcontroller.
Fluctuating or Noisy Readings:
- Cause: Electrical noise or poor skin contact.
- Solution: Keep the sensor away from noise sources and ensure good contact between the electrodes and the skin.
Low Sensitivity:
- Cause: Dry skin or improper electrode placement.
- Solution: Moisten the skin slightly or adjust the electrode placement for better contact.
Sensor Not Detected by Microcontroller:
- Cause: Incorrect wiring or power supply issues.
- Solution: Double-check the wiring and ensure the sensor is powered with the correct voltage.
FAQs
Q: Can the GSR sensor be used with a 3.3V microcontroller?
A: Yes, the Grove GSR Sensor is compatible with both 3.3V and 5V microcontrollers.
Q: How do I interpret the raw ADC values?
A: The raw ADC values (0-1023) represent the skin's electrical conductance. Higher values indicate higher conductance, which is typically associated with increased moisture or sweat.
Q: Can I use the GSR sensor for long-term monitoring?
A: Yes, but ensure the electrodes are comfortable and periodically check for skin irritation.
Q: Is the sensor waterproof?
A: No, the sensor itself is not waterproof. Avoid exposing it to water or excessive moisture.