
How to Use Pilot Lamp Yellon: Examples, Pinouts, and Specs
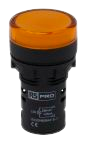
 Design with Pilot Lamp Yellon in Cirkit Designer
Introduction
The Pilot Lamp Yellon is a small indicator light designed to signal the operational status of a device or system. It is commonly used in control panels, industrial equipment, and machinery to provide visual feedback to operators. The yellow light emitted by the Yellon variant is typically associated with caution or warning, making it ideal for applications where attention is required.
Explore Projects Built with Pilot Lamp Yellon
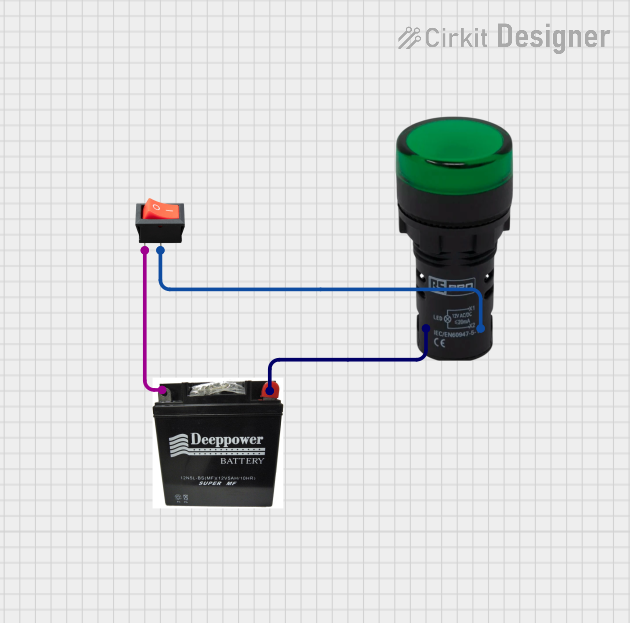 Open Project in Cirkit Designer
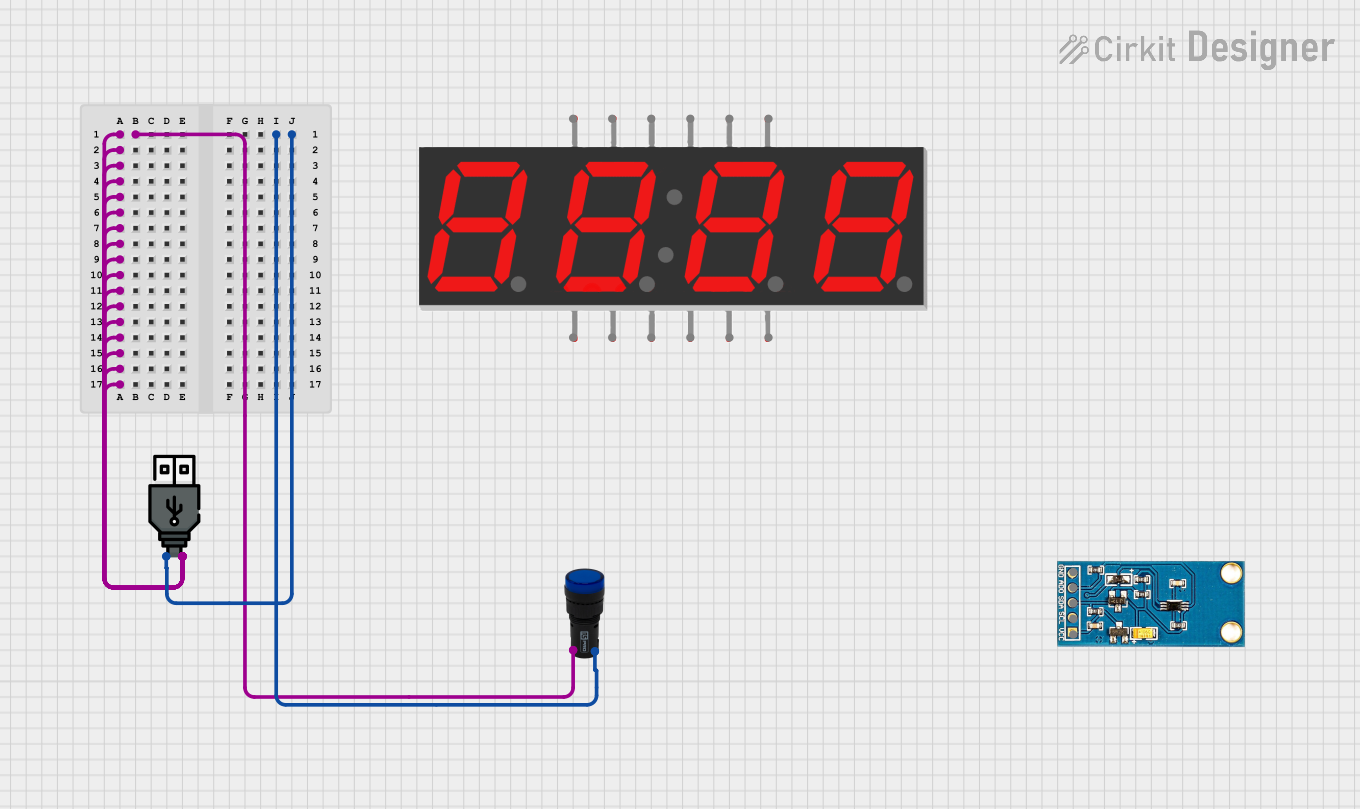 Open Project in Cirkit Designer
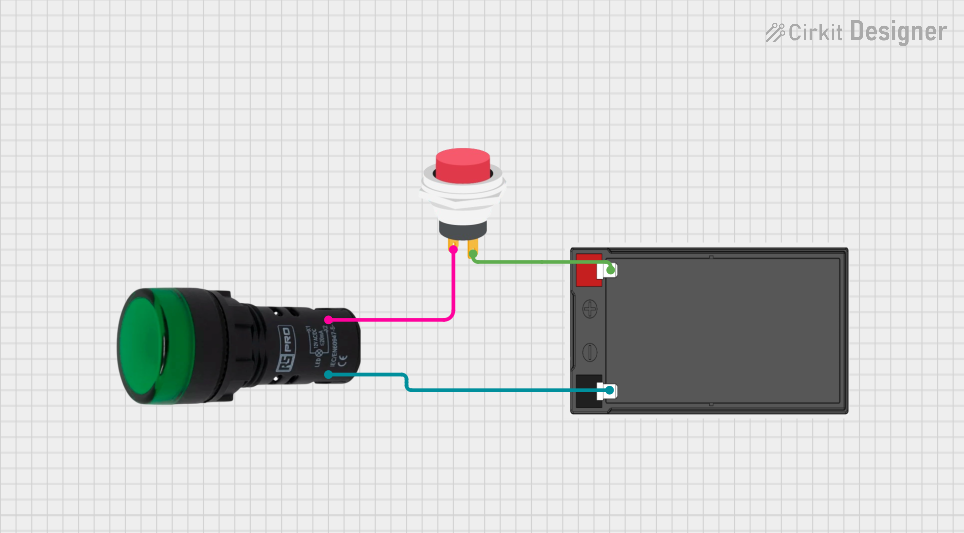 Open Project in Cirkit Designer
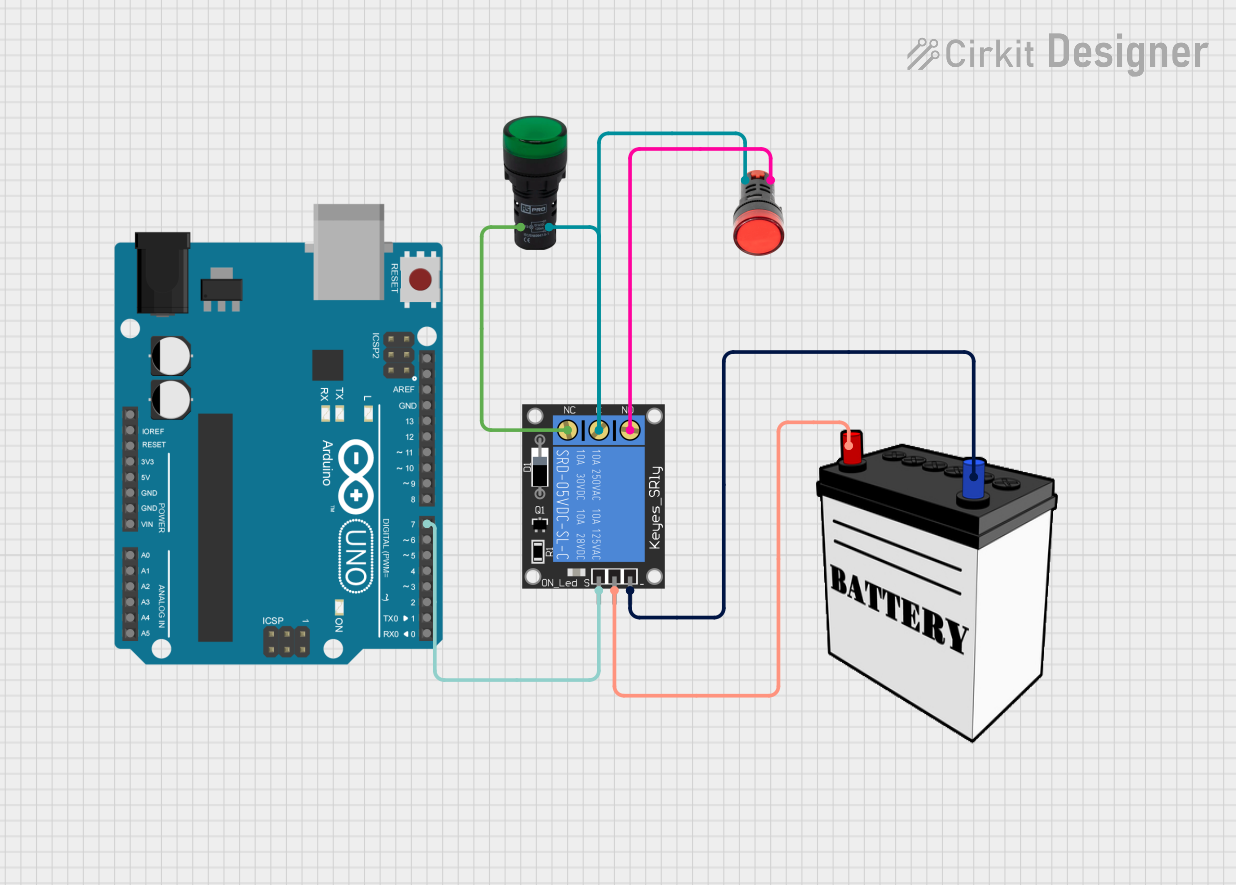 Open Project in Cirkit Designer
Explore Projects Built with Pilot Lamp Yellon
Open Project in Cirkit DesignerOpen Project in Cirkit DesignerOpen Project in Cirkit DesignerOpen Project in Cirkit DesignerCommon Applications and Use Cases
- Control panels in industrial and manufacturing environments
- Electrical switchboards and distribution panels
- Machinery status indicators
- Automotive dashboards
- Home appliances and consumer electronics
Technical Specifications
Key Technical Details
| Parameter | Value |
|---|---|
| Operating Voltage | 12V DC (common variant) |
| Current Consumption | 20mA |
| Light Color | Yellow |
| Mounting Hole Diameter | 22mm |
| Lamp Type | LED-based |
| Lifespan | 30,000 hours (typical) |
| Operating Temperature | -20°C to 70°C |
| Housing Material | Polycarbonate (flame-retardant) |
Pin Configuration and Descriptions
| Pin Number | Label | Description |
|---|---|---|
| 1 | Positive (+) | Connect to the positive terminal of the power supply. |
| 2 | Negative (-) | Connect to the negative terminal (ground). |
Usage Instructions
How to Use the Pilot Lamp Yellon in a Circuit
- Determine the Operating Voltage: Ensure the power supply matches the lamp's rated voltage (e.g., 12V DC).
- Prepare the Mounting Hole: Drill a 22mm diameter hole in the panel or surface where the lamp will be installed.
- Install the Lamp: Insert the lamp into the hole and secure it using the provided locking nut.
- Connect the Wires:
- Attach the positive wire from the power supply to the
Positive (+)pin. - Attach the ground wire to the
Negative (-)pin.
- Attach the positive wire from the power supply to the
- Test the Lamp: Power on the circuit to verify that the lamp illuminates correctly.
Important Considerations and Best Practices
- Polarity Matters: Ensure correct polarity when connecting the lamp to avoid damage.
- Voltage Compatibility: Do not exceed the rated voltage to prevent overheating or failure.
- Environmental Conditions: Avoid exposing the lamp to extreme temperatures or moisture unless it is rated for such conditions.
- Secure Connections: Use proper connectors or soldering to ensure reliable electrical connections.
Example: Connecting to an Arduino UNO
The Pilot Lamp Yellon can be used with an Arduino UNO to indicate the status of a process. Below is an example code snippet:
// Define the pin connected to the Pilot Lamp Yellon
const int pilotLampPin = 13;

void setup() {
  // Set the pilot lamp pin as an output
  pinMode(pilotLampPin, OUTPUT);
}

void loop() {
  // Turn the pilot lamp ON
  digitalWrite(pilotLampPin, HIGH);
  delay(1000); // Keep it ON for 1 second

  // Turn the pilot lamp OFF
  digitalWrite(pilotLampPin, LOW);
  delay(1000); // Keep it OFF for 1 second
}
Note: Use a current-limiting resistor (e.g., 470Ω) between the Arduino pin and the lamp to protect the microcontroller.
Troubleshooting and FAQs
Common Issues and Solutions
Lamp Does Not Light Up:
- Cause: Incorrect polarity or loose connections.
- Solution: Verify the wiring and ensure the positive and negative terminals are connected correctly.
Lamp Flickers:
- Cause: Unstable power supply or loose connections.
- Solution: Check the power source and secure all connections.
Lamp Overheats:
- Cause: Operating at a voltage higher than the rated value.
- Solution: Use a power supply that matches the lamp's rated voltage.
Short Lifespan:
- Cause: Operating in extreme environmental conditions or frequent power cycling.
- Solution: Ensure the lamp is used within its specified temperature range and avoid excessive on/off cycles.
FAQs
Q: Can the Pilot Lamp Yellon be used with AC power?
A: No, this variant is designed for DC power only. Use a compatible AC-to-DC converter if needed.Q: Is the lamp waterproof?
A: The standard model is not waterproof. For outdoor or wet environments, use a waterproof variant.Q: Can I replace the LED inside the lamp?
A: The LED is typically not replaceable. If the lamp fails, replace the entire unit.Q: What resistor value should I use with an Arduino?
A: A 470Ω resistor is recommended to limit the current and protect the Arduino pin.
This concludes the documentation for the Pilot Lamp Yellon. Follow the guidelines above for safe and effective use of this component.